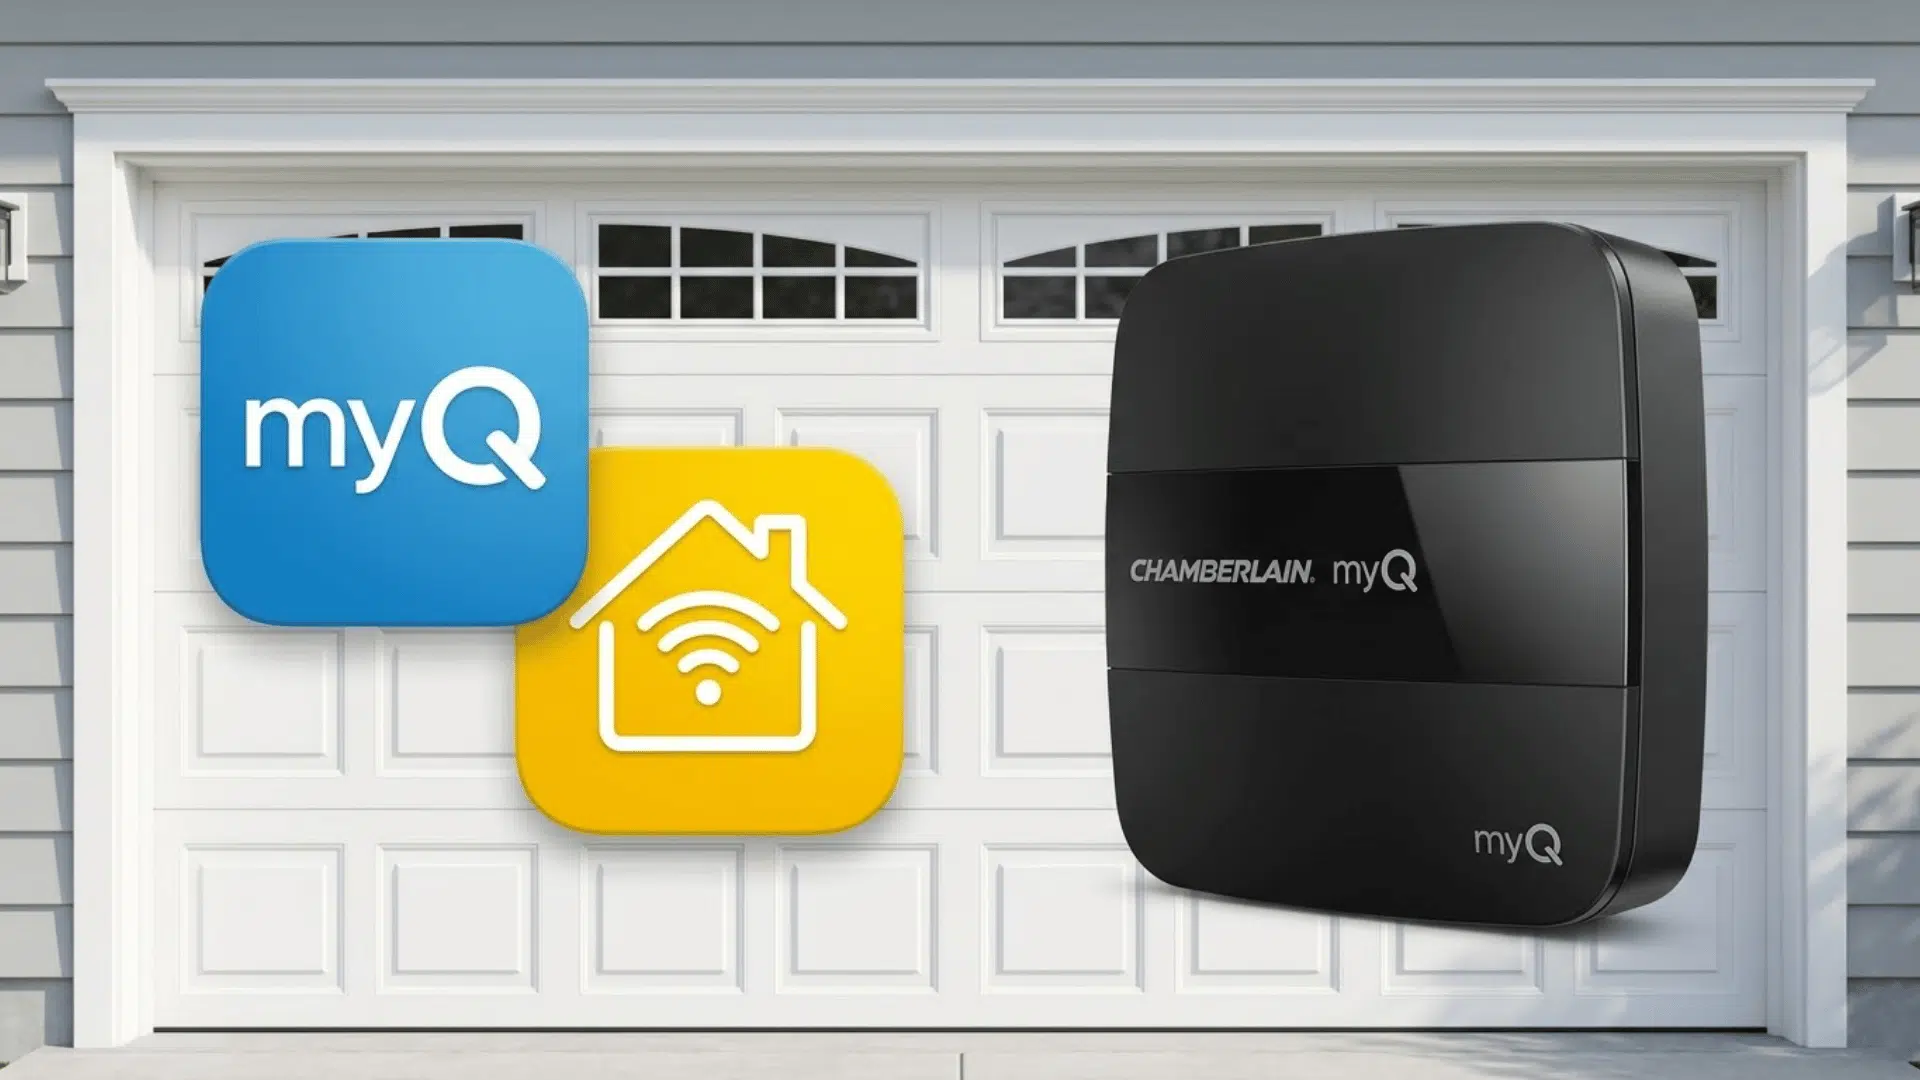
I opened Apple Home expecting my garage door to show up like every other smart device in the house. It didn’t, and a quick search told me why.
Chamberlain pulled the plug on native support years ago, and most online tutorials still talk about tools that stopped working long before you clicked them.
If you’re trying to get myq HomeKit access working right now, in 2026, you need current information, not a recycled workaround from 2022.
I’ve tested the hardware options, checked which openers actually qualify, and confirmed what still works today.
You’ll find the real answer here, along with every reliable method that gets your garage door talking to Siri and the Home app again.
myQ and Apple HomeKit: Where Things Stand
Chamberlain and LiftMaster garage door systems still lack official myQ HomeKit support in 2026.
Chamberlain’s support documentation confirms Apple HomeKit and Siri commands are not compatible with current myQ hardware or firmware.
The myQ Home Bridge, once the official link between myQ and HomeKit, was discontinued in 2022. Chamberlain ended remaining support for that bridge on June 15, 2024.
API restrictions introduced around the same time also broke third-party tools like the myQ Homebridge plugin, cutting off another common workaround.
The good news: myQ HomeKit access is still possible today. Homeowners typically add a local controller, install HomeKit-compatible hardware, or use a limited shortcut-based method; all part of controlling your smart home from your iPhone once Apple Home is involved.
Check Your myQ Garage Door Opener Before Choosing a Workaround
Before buying any HomeKit hardware, check your model label, learn button color, and the condition of your garage door springs, cables, and rollers so you don’t waste money on the wrong solution
- Yellow Learn button: Usually indicates Security+ 2.0. RATGDO and several HomeKit retrofit controllers work well here.
- Older Security+ opener: Points to an earlier Chamberlain or LiftMaster system. RATGDO or compatible retrofit hardware may still work.
- White Learn button: Means your opener runs Security+ 3.0. RATGDO and Meross MSG150 currently don’t support this system.
- Basic dry contact opener: A traditional wired setup. Several universal HomeKit controllers are compatible.
- Existing myQ Home Bridge: Legacy HomeKit hardware that may still function, though Chamberlain no longer offers official support.
Don’t pick hardware based on the myQ logo alone. Confirm your exact opener model and Learn button color first. Chamberlain’s current white-button openers run Security+ 3.0, and RATGDO support is currently limited to Security+ 1.0 and 2.0 systems.
What Are the Best Ways to Connect myQ to HomeKit Now?
With native support gone, the myQ HomeKit workarounds that actually work fall into two camps: retrofit hardware that talks directly to your opener, and older software tricks that Chamberlain has mostly broken, similar to how keyless entry systems have evolved past their original hardware.
| Method | Best For | Status |
|---|---|---|
| RATGDO with native HomeKit firmware | Local HomeKit control | Works on supported openers, medium setup |
| Meross HomeKit controller | Simpler retrofit | Works on compatible openers, easy to medium |
| iSmartgate | One or multiple doors | Works with compatible hardware, medium |
| Tailwind | Extra arrival features | Model-dependent, medium |
| Existing myQ Home Bridge | Owners who already have one | Sometimes works, medium |
| Homebridge myQ plugin | Legacy setups only | No longer recommended, great difficulty |
| HOOBS myQ plugin | Legacy setups only | No longer reliable, high difficulty |
| IFTTT + Siri Shortcut | Closing the door by voice | Partial functionality, easy |
| Home Assistant + direct myQ API | Direct integration | No longer works |
I tried the Homebridge plugin route myself before it got archived, and I’d rather deal with three wires and a screwdriver than fight a broken API again.
How to Add a Compatible myQ Opener to HomeKit With RATGDO
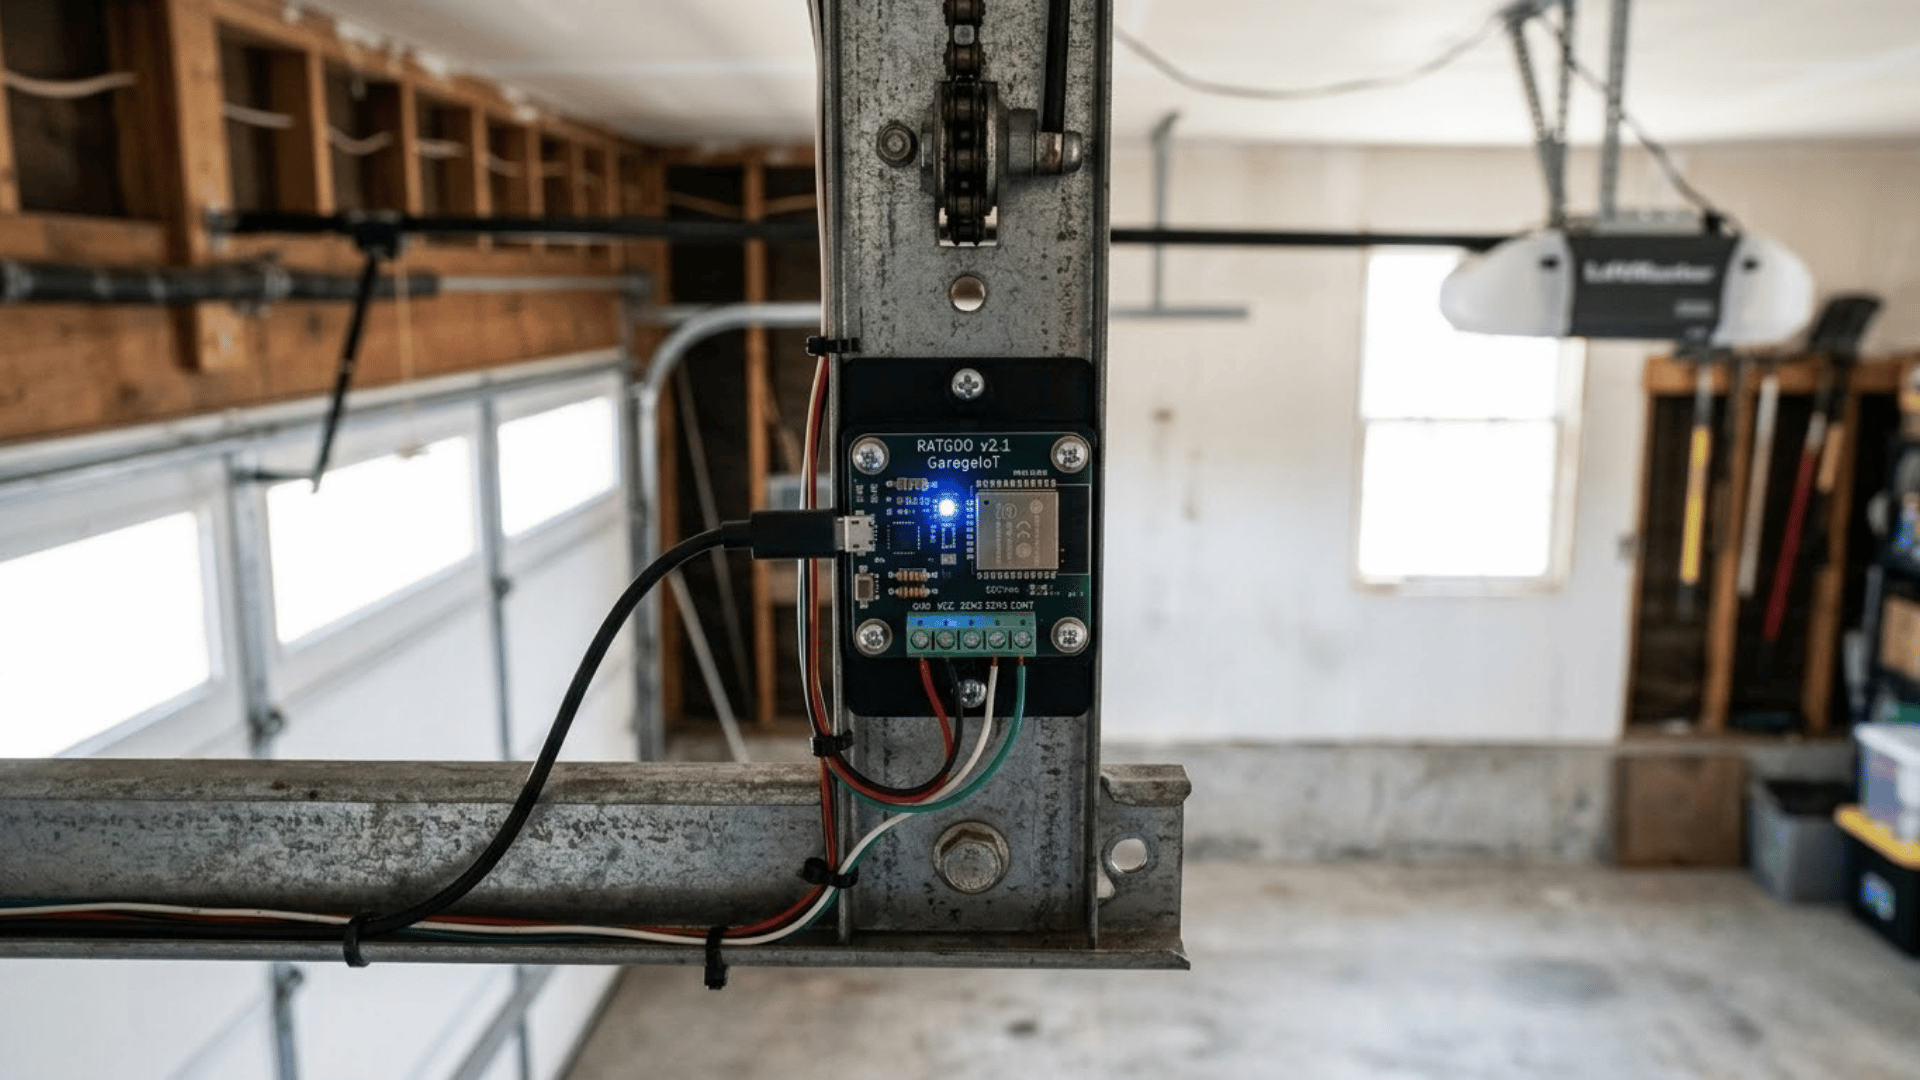
RATGDO connects locally to your garage door opener instead of relying on Chamberlain’s cloud API. That local connection is why the myQ HomeKit community keeps recommending it, and why its native HomeKit firmware sees regular updates and active support.
Step 1: Confirm That Your Opener Is Supported
Before buying anything, check which control system your opener runs. RATGDO’s compatibility depends entirely on this, so confirming it first saves you from returns and wasted setup time.
- Security+ 2.0 openers: Generally supported, identified by a yellow Learn button.
- Security+ 1.0 openers: Older systems, often compatible with RATGDO.
- Dry contact openers: Traditional wired setups, typically supported.
- White Learn button: Indicates Security+ 3.0, not currently supported.
- Model label: Cross-check your exact opener model before purchasing.
Note: RATGDO currently does not support Security+ 3.0 openers.
Step 2: Connect RATGDO to a Computer
Getting firmware onto the board starts with a simple USB connection. Do this step before any wiring touches your actual garage door opener.
- USB cable: Connect RATGDO directly to your computer.
- Browser access: Use a supported browser for the flashing tool.
- Power check: Confirm the board powers on and is detected.
- Firmware page: Navigate to the official RATGDO installer site.
- Board selection: Choose the correct board revision from the list.
Step 3: Install the Native HomeKit Firmware
Native firmware is what makes this whole setup simpler than older methods. It means Apple Home talks to RATGDO directly, with nothing extra running in between.
- Installer tool: Use the official HomeKit RATGDO firmware installer.
- Firmware version: Select the native HomeKit build, not the MQTT version.
- Flash process: Follow the on-screen flashing instructions carefully.
- No Homebridge needed: Native firmware skips Homebridge entirely.
- No Home Assistant needed: The door connects straight to Apple Home.
Step 4: Wire RATGDO to the Garage Door Opener
Wiring varies by opener model and board revision, so follow the right diagram rather than a single universal method.
- Correct diagram: Match your exact opener model and board revision.
- Power off first: Disconnect opener power before touching any wiring.
- Terminal identification: Locate the correct control board terminals.
- Careful connection: Connect wires exactly as your diagram specifies.
- Double-check: Confirm connections before restoring power.
Step 5: Connect RATGDO to Wi-Fi
With wiring done, RATGDO needs your home network to communicate locally instead of relying on any outside cloud service.
- Network band: Use your home’s 2.4GHz Wi-Fi network.
- Credentials entry: Enter your Wi-Fi name and password.
- Local connection: Confirm RATGDO joins your home network successfully.
- Signal strength: Check for a stable connection near the opener.
- Status confirmation: Verify the board shows as connected.
Step 6: Add the Garage Door to Apple Home
This is where the door appears in Apple’s ecosystem, ready for Siri commands and automations.
- Open Home: Launch the Apple Home app on your device.
- Add Accessory: Select the option to add a new accessory.
- Setup code: Scan or manually enter the HomeKit setup code.
- Assign room: Place the door into your Garage room.
- Rename door: Give the accessory a clear, recognizable name.
Step 7: Test Door Position and HomeKit Controls
Testing every function now prevents surprises later, especially once you start building automations around the door.
- Open command: Confirm the door opens through Apple Home.
- Close command: Confirm the door closes reliably.
- Door status: Check that current position reports accurately.
- Extra sensors: Test garage light and obstruction sensor if supported.
- Siri request: Ask Siri for the garage door’s current status.
Tip: For extra peace of mind, many homeowners pair this setup with installing a garage camera alongside their HomeKit sensors.
How to Add HomeKit With a Meross Garage Door Controller
- Compatibility check: Use Meross’s online compatibility checker before buying anything.
- Chamberlain models: You may need additional hardware for full compatibility.
- Controller installation: Mount the controller near your existing opener unit.
- Sensor placement: Position the door sensor so it accurately detects open and closed states.
- Network connection: Connect the controller to a 2.4GHz Wi-Fi network.
- HomeKit setup: Scan the HomeKit code and assign the accessory to your Garage room.
- Side-by-side testing: Test myQ and HomeKit controls separately to confirm both work.
- Security+ 3.0 warning: Meross confirms the MSG150 does not support Security+ 3.0 openers.
Running myQ and Meross side by side isn’t unusual. Plenty of homeowners keep myQ active for services like Amazon Key delivery while letting Meross handle Siri commands and Apple Home automations. Just confirm your opener’s Security+ version before purchasing, since that white Learn button rules out the MSG150 entirely.
What Can You Do With a Security+ 3.0 myQ Opener?
Newer Chamberlain models with white Learn buttons run Security+ 3.0. Chamberlain confirms these openers are not backward compatible with many Security+ 2.0 accessories, which rules out most current myQ HomeKit retrofit options.
RATGDO does not currently support Security+ 3.0. Its own documentation confirms this, so don’t buy one expecting it to work here.
One route worth checking is a compatible remote-based controller. Some retrofit solutions trigger the opener through its physical remote instead of talking to the protocol directly.
A newer category worth watching is mechanical or Matter-based button controllers, though no single product is universally confirmed yet.
If you’d rather skip extra hardware entirely, sticking with the myQ app remains the simplest option until broader Security+ 3.0 support arrives.
Can You Use a Siri Shortcut With myQ Without HomeKit?
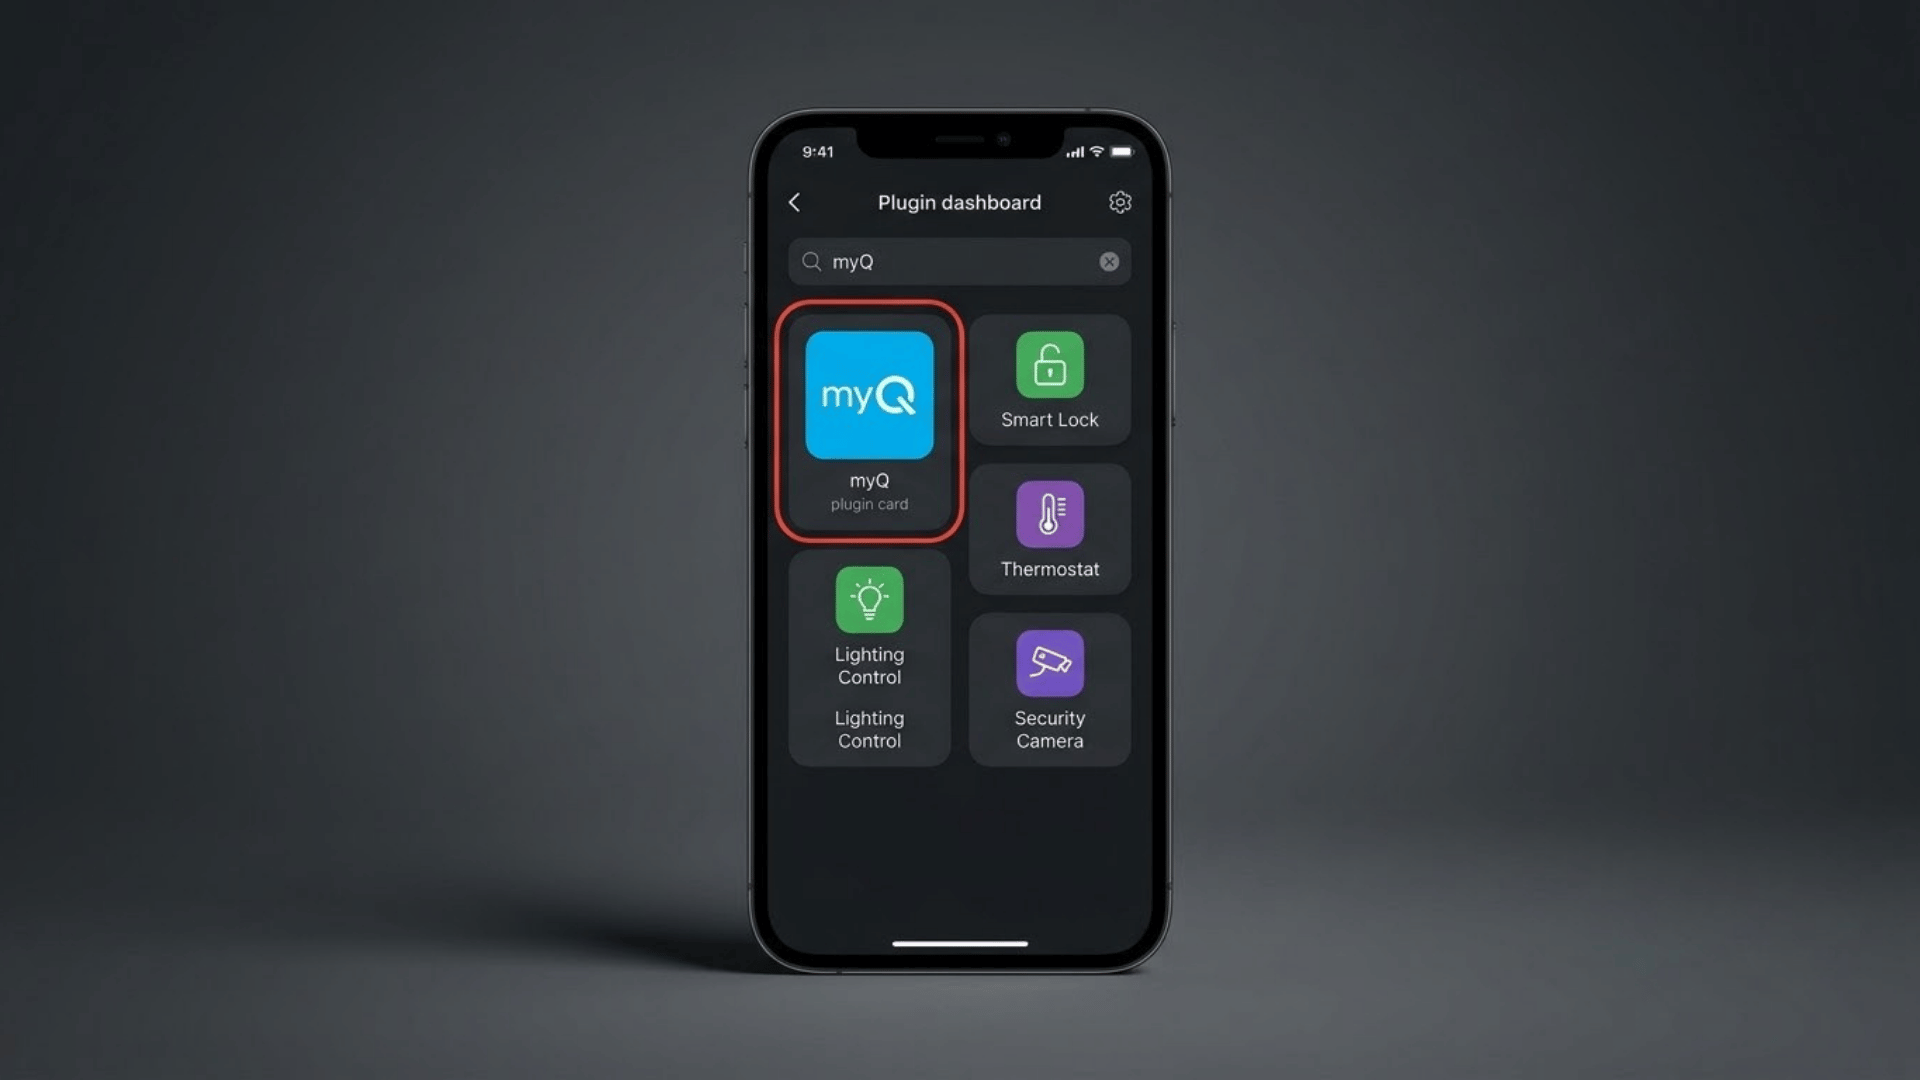
Yes, but the current workaround is limited and does not turn myQ into a HomeKit accessory. myQ connects to IFTTT, and IFTTT offers an iOS Shortcut workflow that lets Siri trigger a myQ close command.
This setup doesn’t give you full Apple Home control. It also doesn’t currently match the open-and-close experience of a real HomeKit garage accessory.
- IFTTT connection: Link your myQ account to IFTTT first.
- Shortcuts connection: Connect the IFTTT service within iOS Shortcuts.
- Close Door action: Choose the myQ Close Door action specifically.
- Door selection: Select which garage door the shortcut controls.
- Shortcut creation: Create or run the new iOS Shortcut.
- Siri-friendly name: Give the shortcut a name Siri can recognize easily.
- Command testing: Test the shortcut before relying on it daily.
Treat this as a voice convenience for one specific action, not a substitute for the hardware-based methods covered earlier.
myQ Home Bridge vs. Homebridge: What Is the Difference?
These names sound nearly identical, which sends many people shopping for the wrong product entirely. One is discontinued Chamberlain hardware, the other is general HomeKit software, and neither reliably connects myQ HomeKit today.
| Name | What It Is | Current Status |
|---|---|---|
| myQ Home Bridge | Chamberlain/LiftMaster physical HomeKit bridge | Discontinued and unsupported |
| Homebridge | Open-source software adding unsupported devices to HomeKit | Still active generally |
| homebridge-myQ | myQ-specific plugin for Homebridge | Retired |
| HOOBS | Homebridge-based platform and interface | myQ cloud integration no longer dependable |
Tip: If you see “Homebridge” recommended for myQ anywhere in 2026, check the post date first. Most of that advice predates the API lockdown and no longer applies.
Why Homebridge and HOOBS No Longer Fix myQ by Themselves
The old myQ HomeKit setup used to be simple. The Homebridge plugin logged into myQ’s cloud account on your behalf, pulled your garage door into its system, and exposed it to Apple Home as a normal accessory.
That path is now closed. The Homebridge myQ repository explicitly states the plugin is officially retired and points users toward RATGDO instead.
The older joeshaw/myq-homekit project followed the same fate and sits archived on GitHub.
Home Assistant made a similar call. It removed its direct myQ integration in December 2023 after Chamberlain kept restricting third-party API access, leaving no reliable cloud-based path forward.
Installing an old plugin from an outdated tutorial is therefore not a dependable myQ HomeKit setup in 2026.
myQ HomeKit Not Working? Check These Problems First
Most myQ HomeKit issues trace back to one of a handful of root causes, not a broken app or a bad Wi-Fi day. Before restarting anything, run through the table below to narrow down what’s actually going wrong.
| Problem | Check | Likely Cause |
|---|---|---|
| Garage missing from Home | Pairing mode, code, network | Setup incomplete |
| “No Response” error | Wi-Fi signal, power, hub | Connection dropped |
| Wrong door status | Sensor placement | Sensor misaligned |
| Siri only works at home | Home hub setup | No hub configured |
| RATGDO won’t control opener | Protocol, wiring | Wrong protocol match |
| Meross won’t trigger opener | Model compatibility | Missing accessory |
| Homebridge plugin fails | Plugin status | Plugin retired |
| White button won’t pair | Learn button color | Security+ 3.0 unsupported |
| Old Homebridge disconnects | Hardware age | Legacy, unsupported |
Tip: I check the Learn button color before I touch a single setting, since half the “broken” setups I’ve run into were never going to work with that opener in the first place.
Conclusion
Chamberlain closed the official door, but you still have real options for getting your garage into Apple’s ecosystem.
Getting myQ HomeKit access working today comes down to matching the right hardware to your specific opener, since one wrong purchase can waste both your money and your weekend.
Get it right, and your garage door behaves as it should in Apple Home from day one. Check your opener’s Learn button color right now, then pick the method that actually matches what you have. That small step saves you from buying hardware that won’t work for your setup.
Frequently Asked Questions
Does Adding RATGDO Void My Garage Door Opener’s Warranty?
Possibly, since Chamberlain doesn’t officially endorse third-party hardware, so check your warranty terms first.
Can I Still Use The myQ App After Installing A HomeKit Bridge?
Yes, RATGDO and Meross typically run alongside myQ instead of replacing the original app.
How Long Does A RATGDO Or Meross Installation Usually Take?
Most homeowners finish setup within thirty to sixty minutes with the right wiring diagram ready.
Will My Garage Door Still Open During A Wi-Fi Outage?
Yes, physical remotes and wall buttons keep working even without an active Wi-Fi connection.