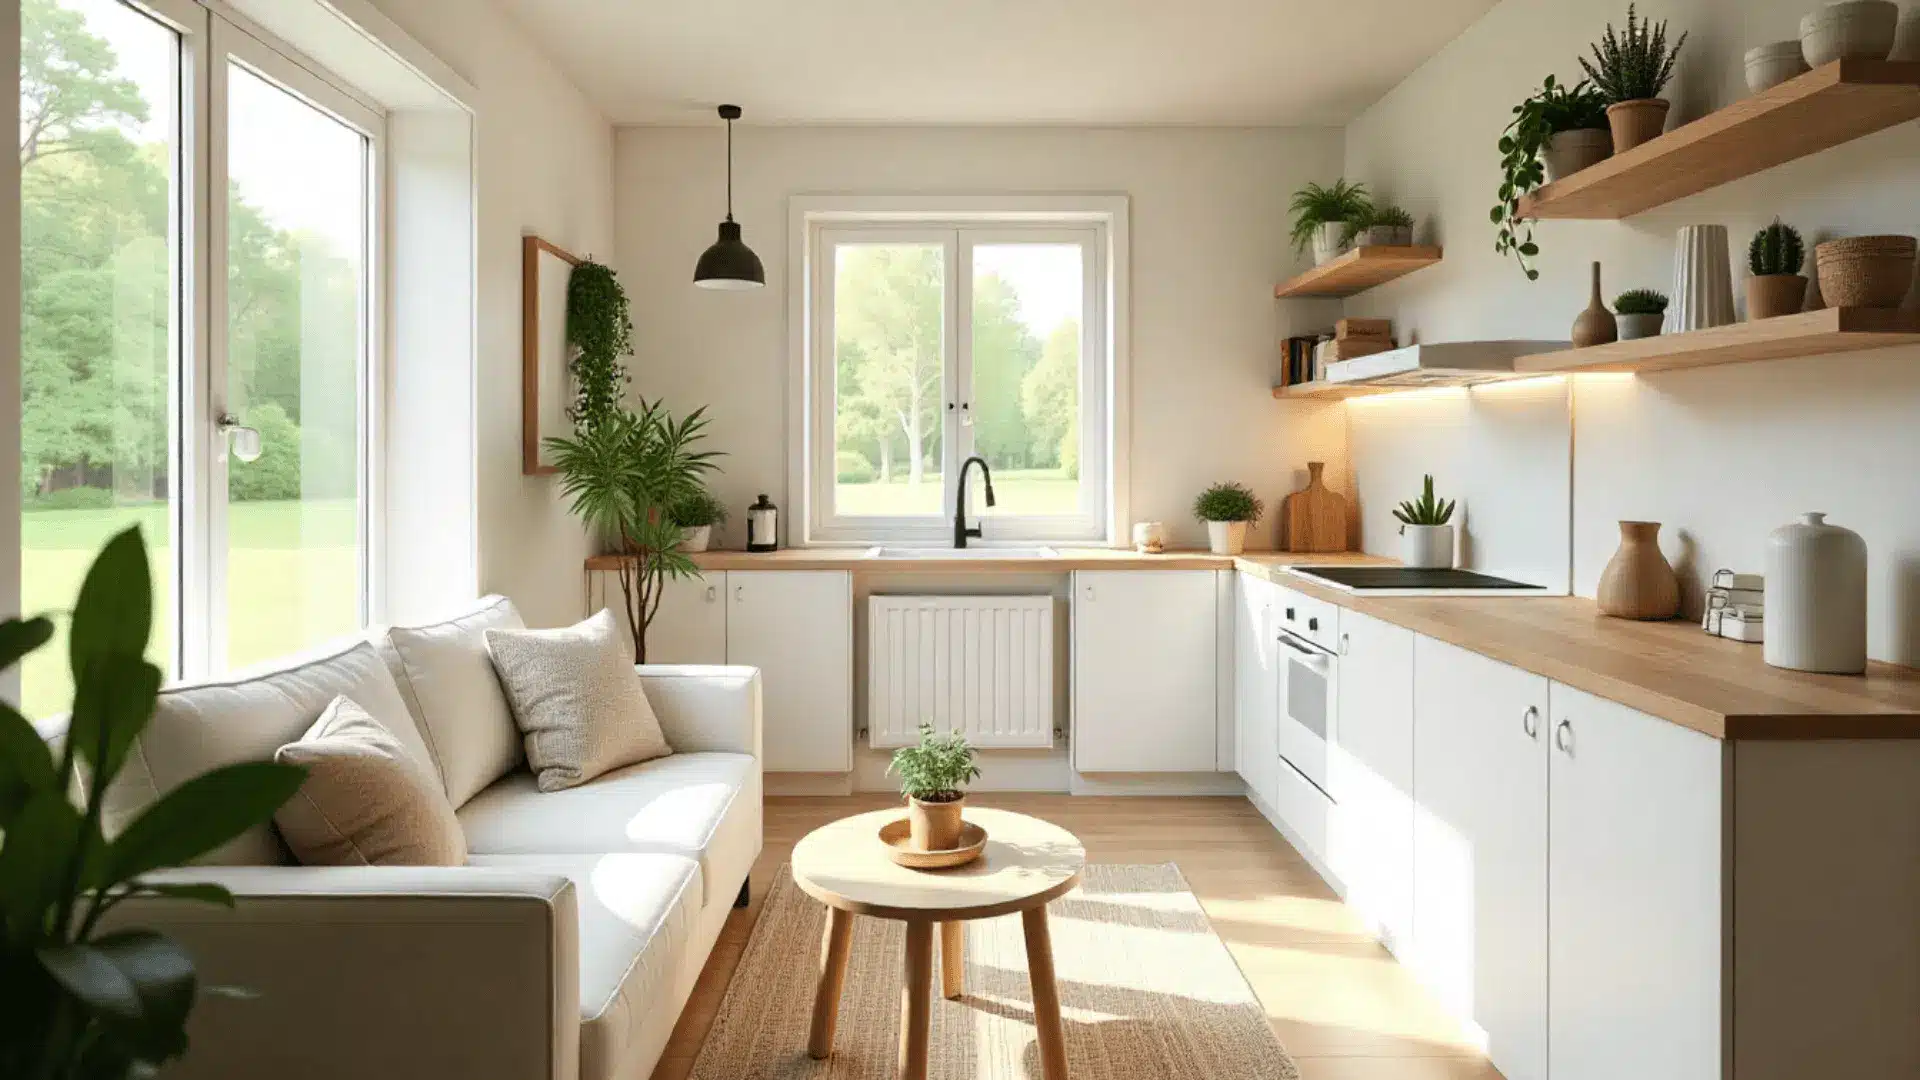
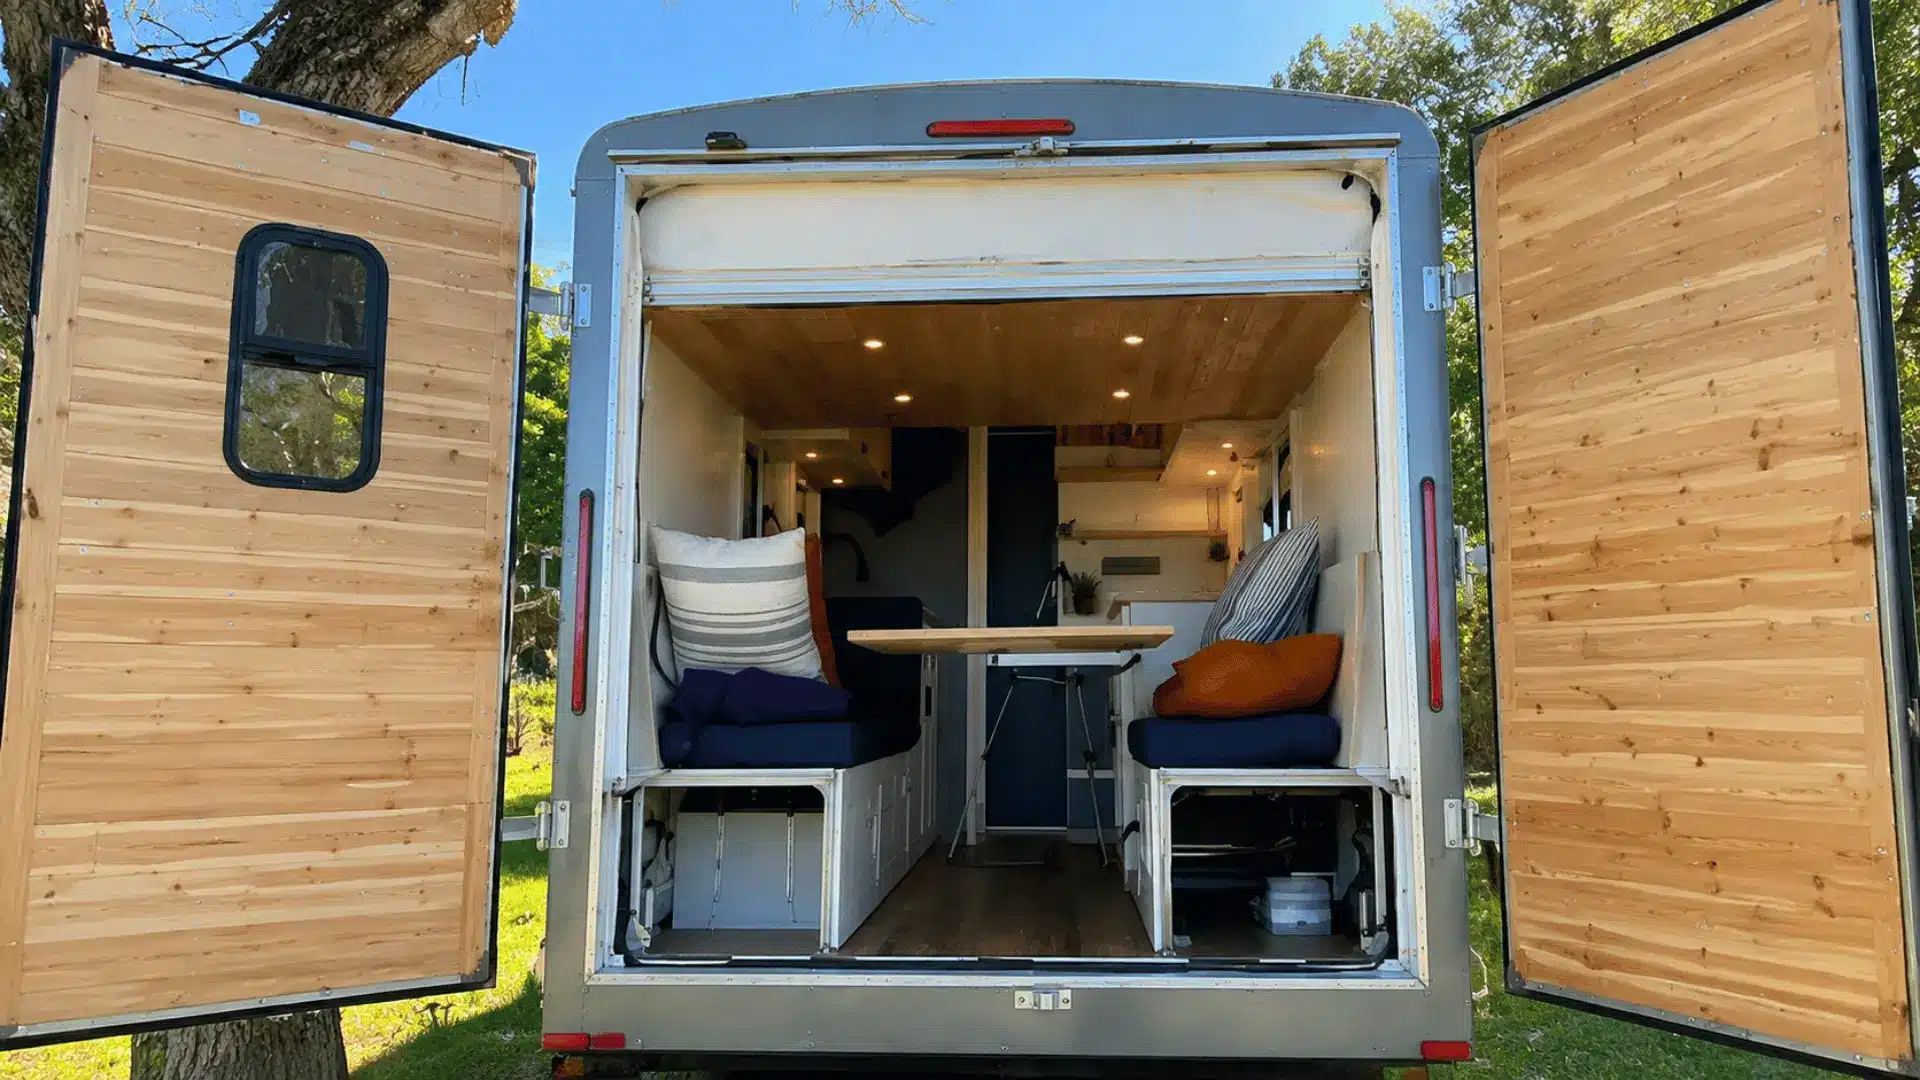
An empty cargo trailer can become a comfortable camper, but poor planning can lead to wasted space, excess weight, and expensive rework.
A cargo trailer camper conversion gives you control over the bed, storage, power, kitchen, and bathroom, yet every choice affects how the trailer tows and functions.
I know it can feel difficult to decide what belongs in a small space and what should stay out. You will learn how to choose the right trailer size, plan a practical layout, estimate costs, manage weight, and install essential systems.
By the end, you will have a clearer plan for building a camper that fits your trips and budget.
Cargo Trailer Camper Conversion Basics
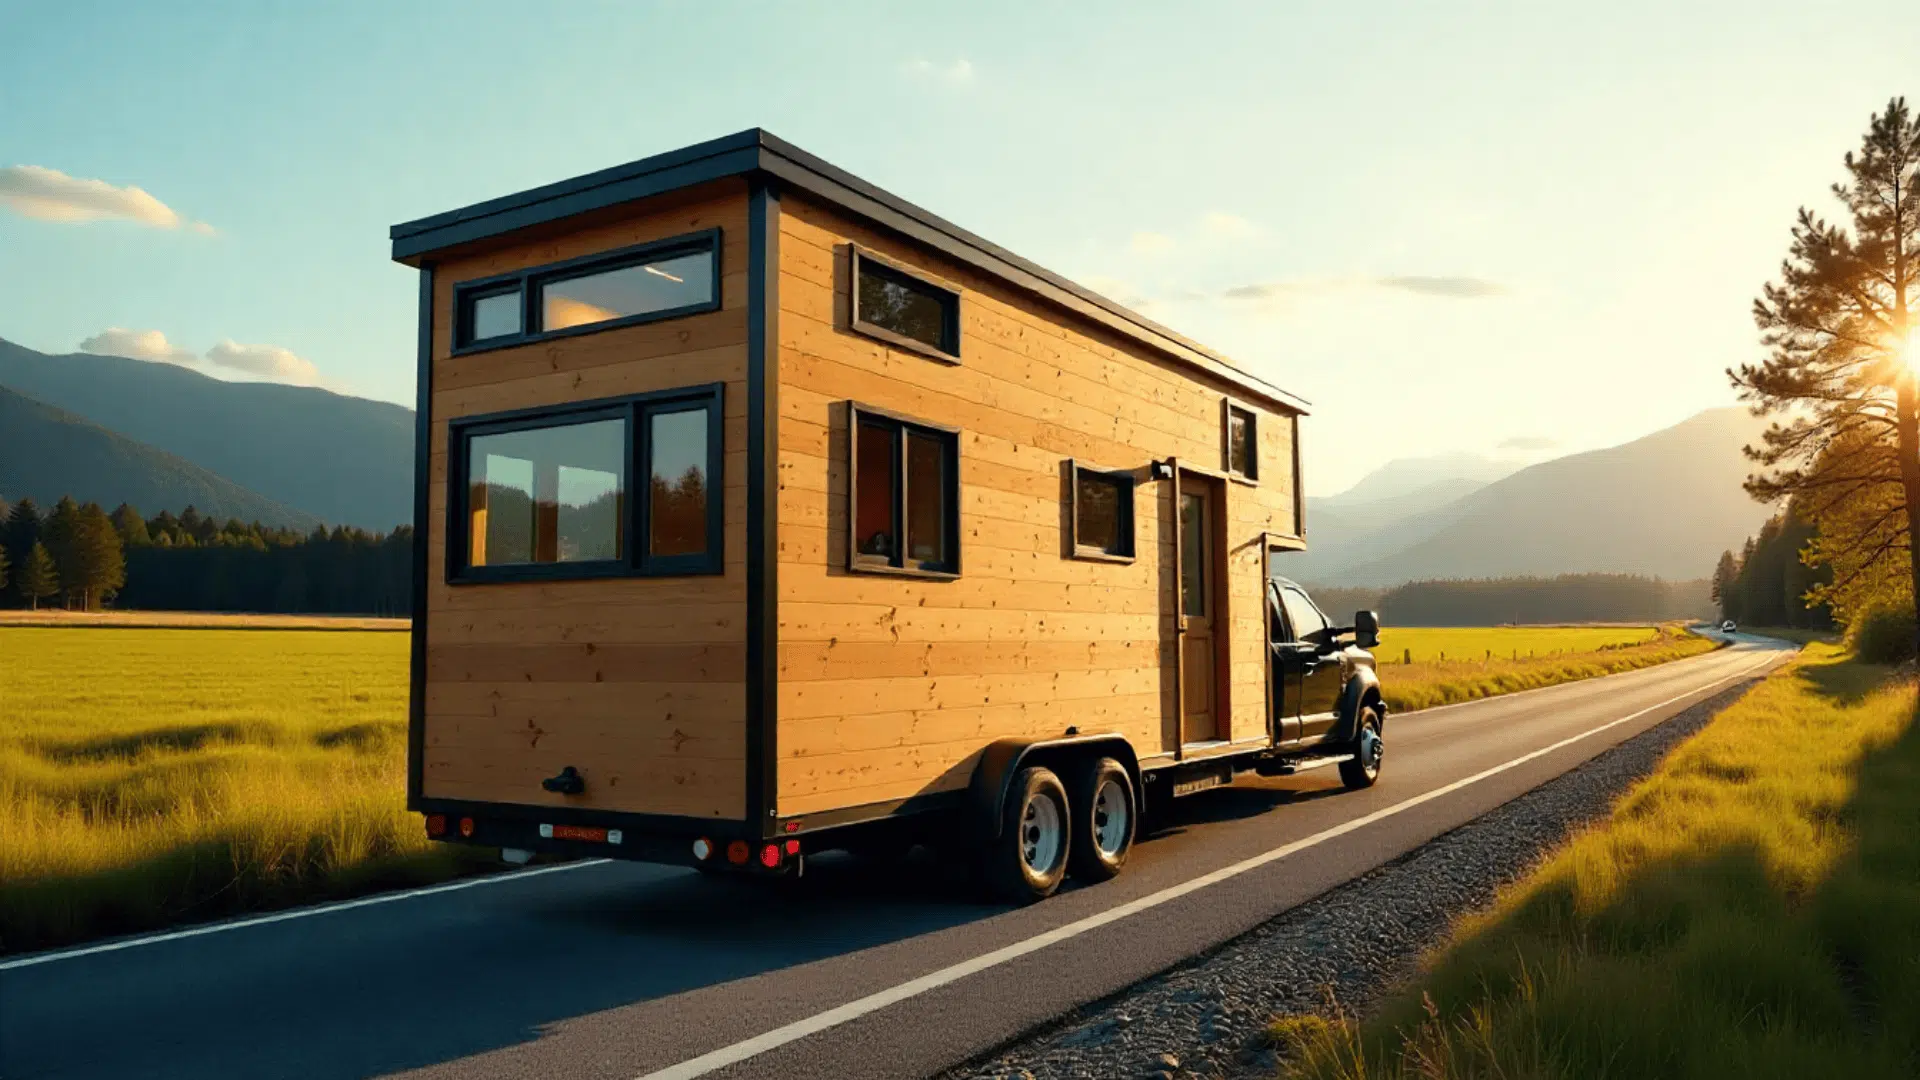
An enclosed trailer conversion takes a standard cargo trailer and equips it with the features needed for camping. Instead of starting with an empty frame, you already have a roof, walls, floor, doors, chassis, and road-ready structure.
A basic build may include insulation, ventilation, a bed, lighting, and storage. More complete conversions can add a kitchen, solar panels, batteries, freshwater tanks, a toilet, shower, air conditioning, and permanent cabinetry.
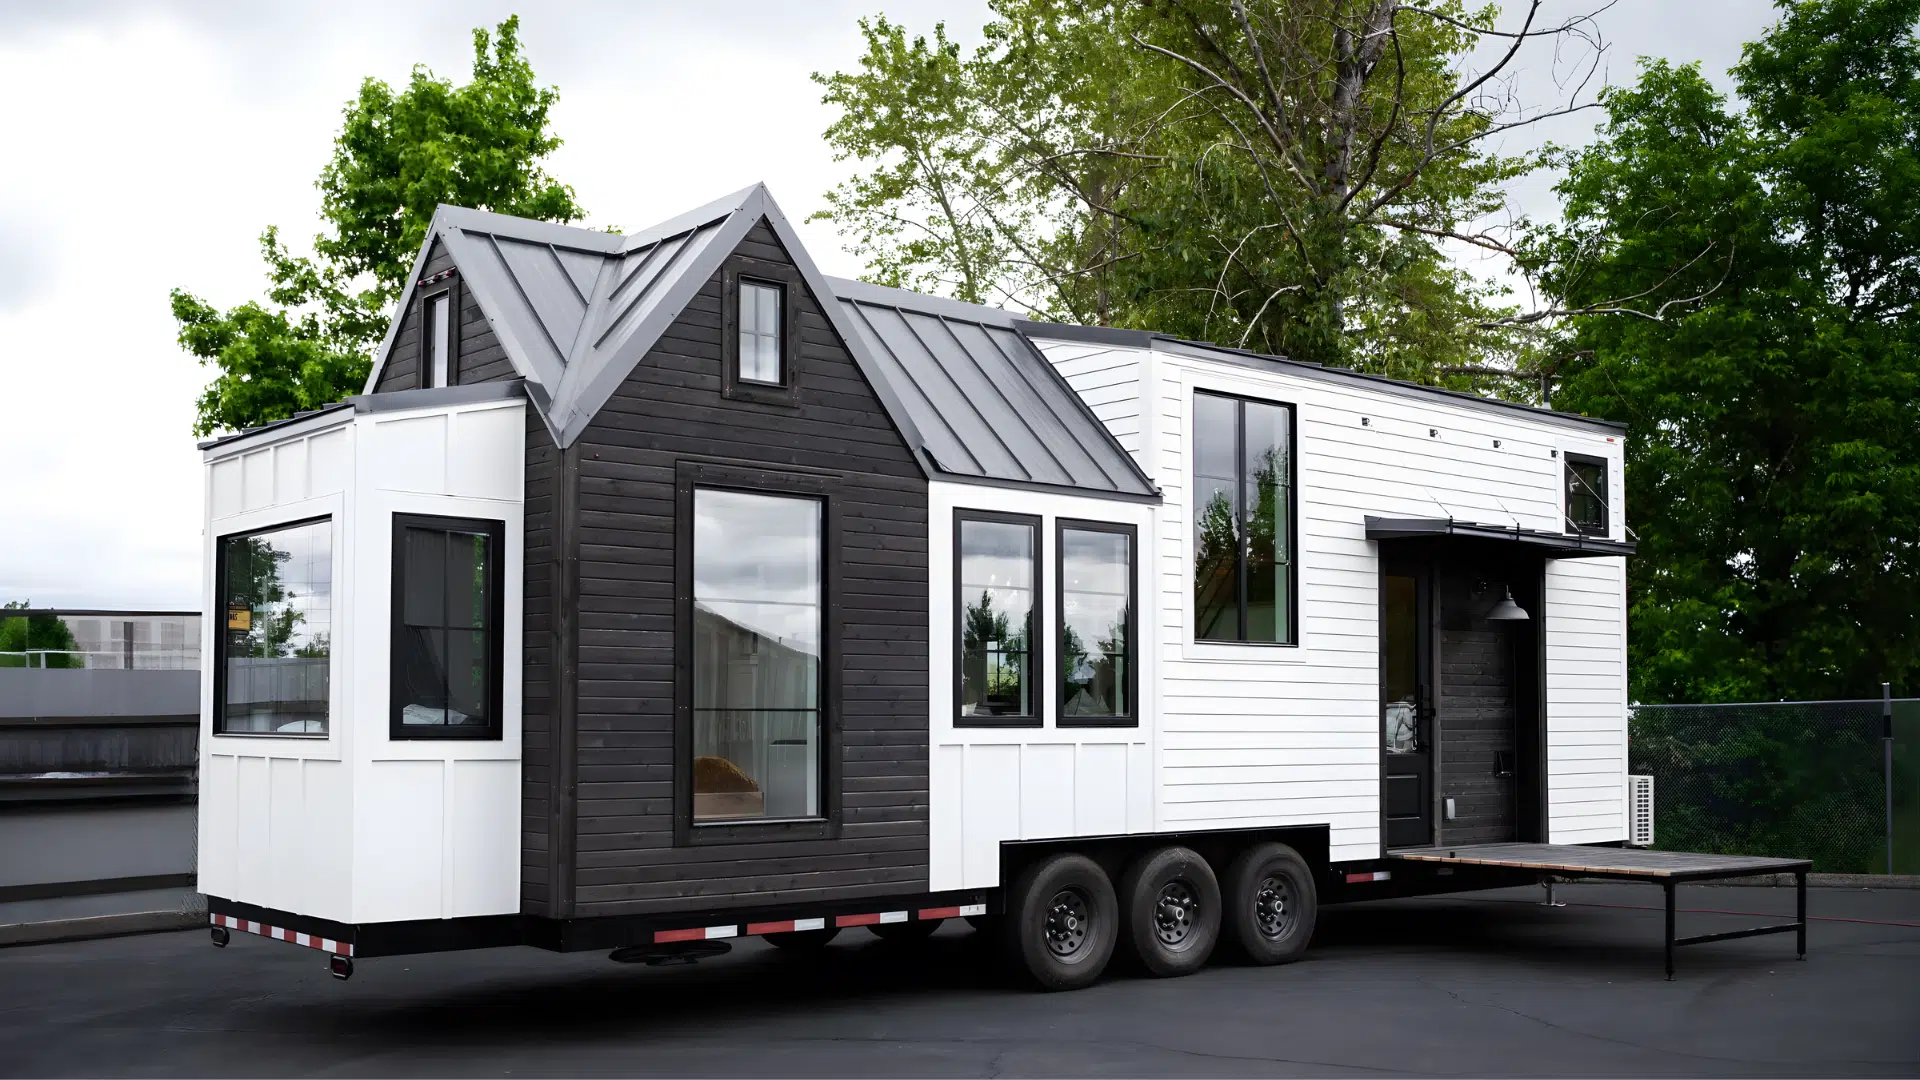
The biggest advantage is flexibility. You are not restricted to a factory RV floor plan, so sleeping space, storage, power, and other essentials can match the way you actually travel. This flexibility is why many builders end up with a compact home on wheels rather than just a weekend camper.
However, every feature adds cost, weight, and complexity. Planning the trailer as one complete system helps prevent a comfortable-looking interior from becoming too heavy or difficult to tow.
Choosing the Right Trailer Size and Layout
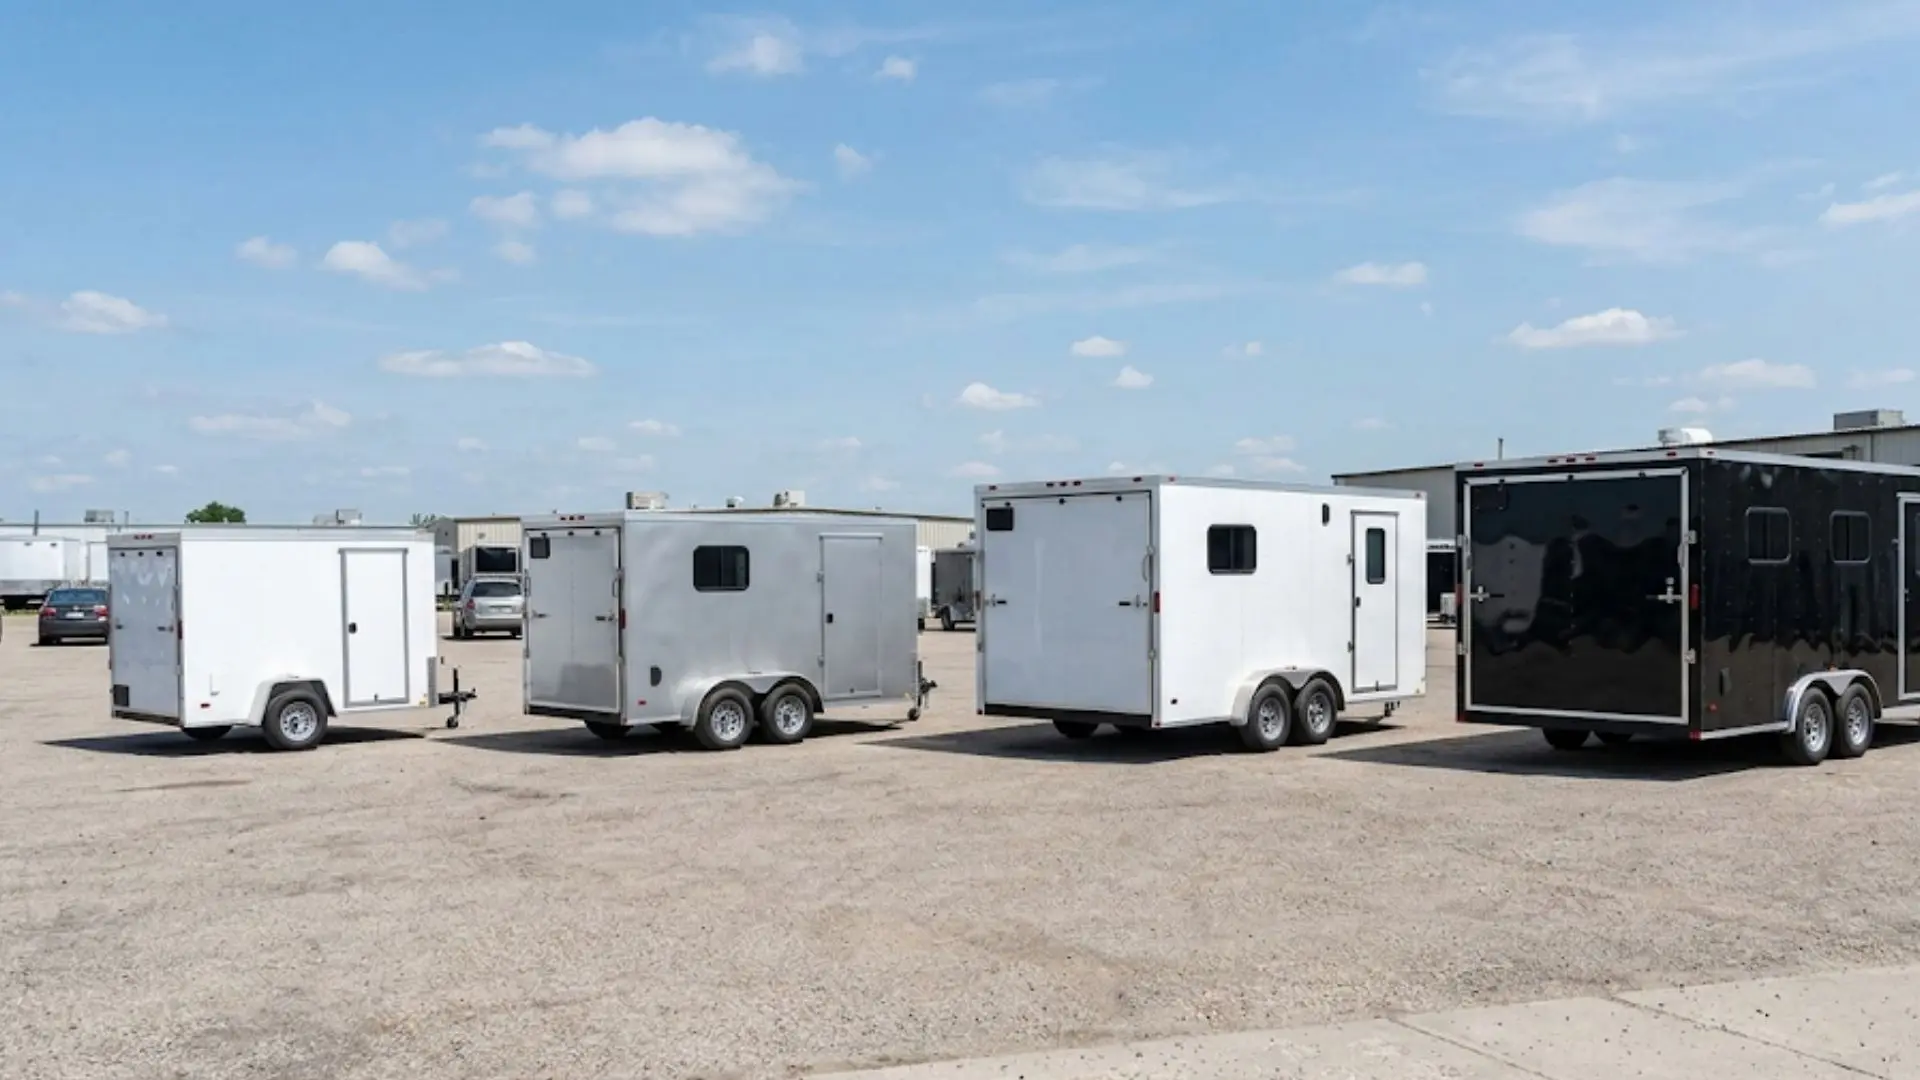
Trailer size affects sleeping space, storage, amenities, towing weight, and layout flexibility, so choose a size that matches how many people will use it.
- 4×8 cargo trailer: Best for minimalist camping, with enough room for sleeping and basic storage. Folding furniture works well because permanent kitchens or bathrooms can quickly make the space cramped.
- 6×12 cargo trailer: A practical choice for one or two people, offering space for a bed, compact kitchen, storage, battery equipment, and possibly a portable toilet.
- 7×14 cargo trailer: Provides more flexibility for separate sleeping, cooking, and storage zones. A fixed bed, kitchen counter, water tanks, and compact bathroom may fit comfortably.
- 7×16 and larger: Better suited to families or longer trips, with room for separate sleeping areas, larger kitchens, bathrooms, water tanks, additional batteries, seating, and storage.
- Floor plan: Position doors, windows, vents, beds, tanks, batteries, kitchen equipment, and storage before construction. Keep heavy components balanced and maintain a clear walking path.
The best layout gives you enough comfort without adding unnecessary size or weight. Browsing small-space layout ideas from other tiny builds can also help you decide which features actually deserve room in your trailer. Always confirm your tow vehicle can safely handle the trailer when fully loaded.
How to Convert a Cargo Trailer Into a Camper
Following a logical construction order reduces the chance that you will need to remove finished walls or furniture to correct wiring, plumbing, leaks, or layout problems.
Building out a cargo trailer gets easier when you use an adjustable system instead of locking everything into place. Here’s how I’d set it up.
Tools And Materials
- E-track rail system
- E-track 2×4 brackets
- 2×4 lumber
- 2×6 lumber
- Plywood sheets
- Saw
- Saw guide
- Drill
- Measuring tape
- Mattress
- Storage bins and camping accessories
Once you have these ready, you’re set to start building the frame that everything else attaches to.
Step 1: Install the E-Track Rail System
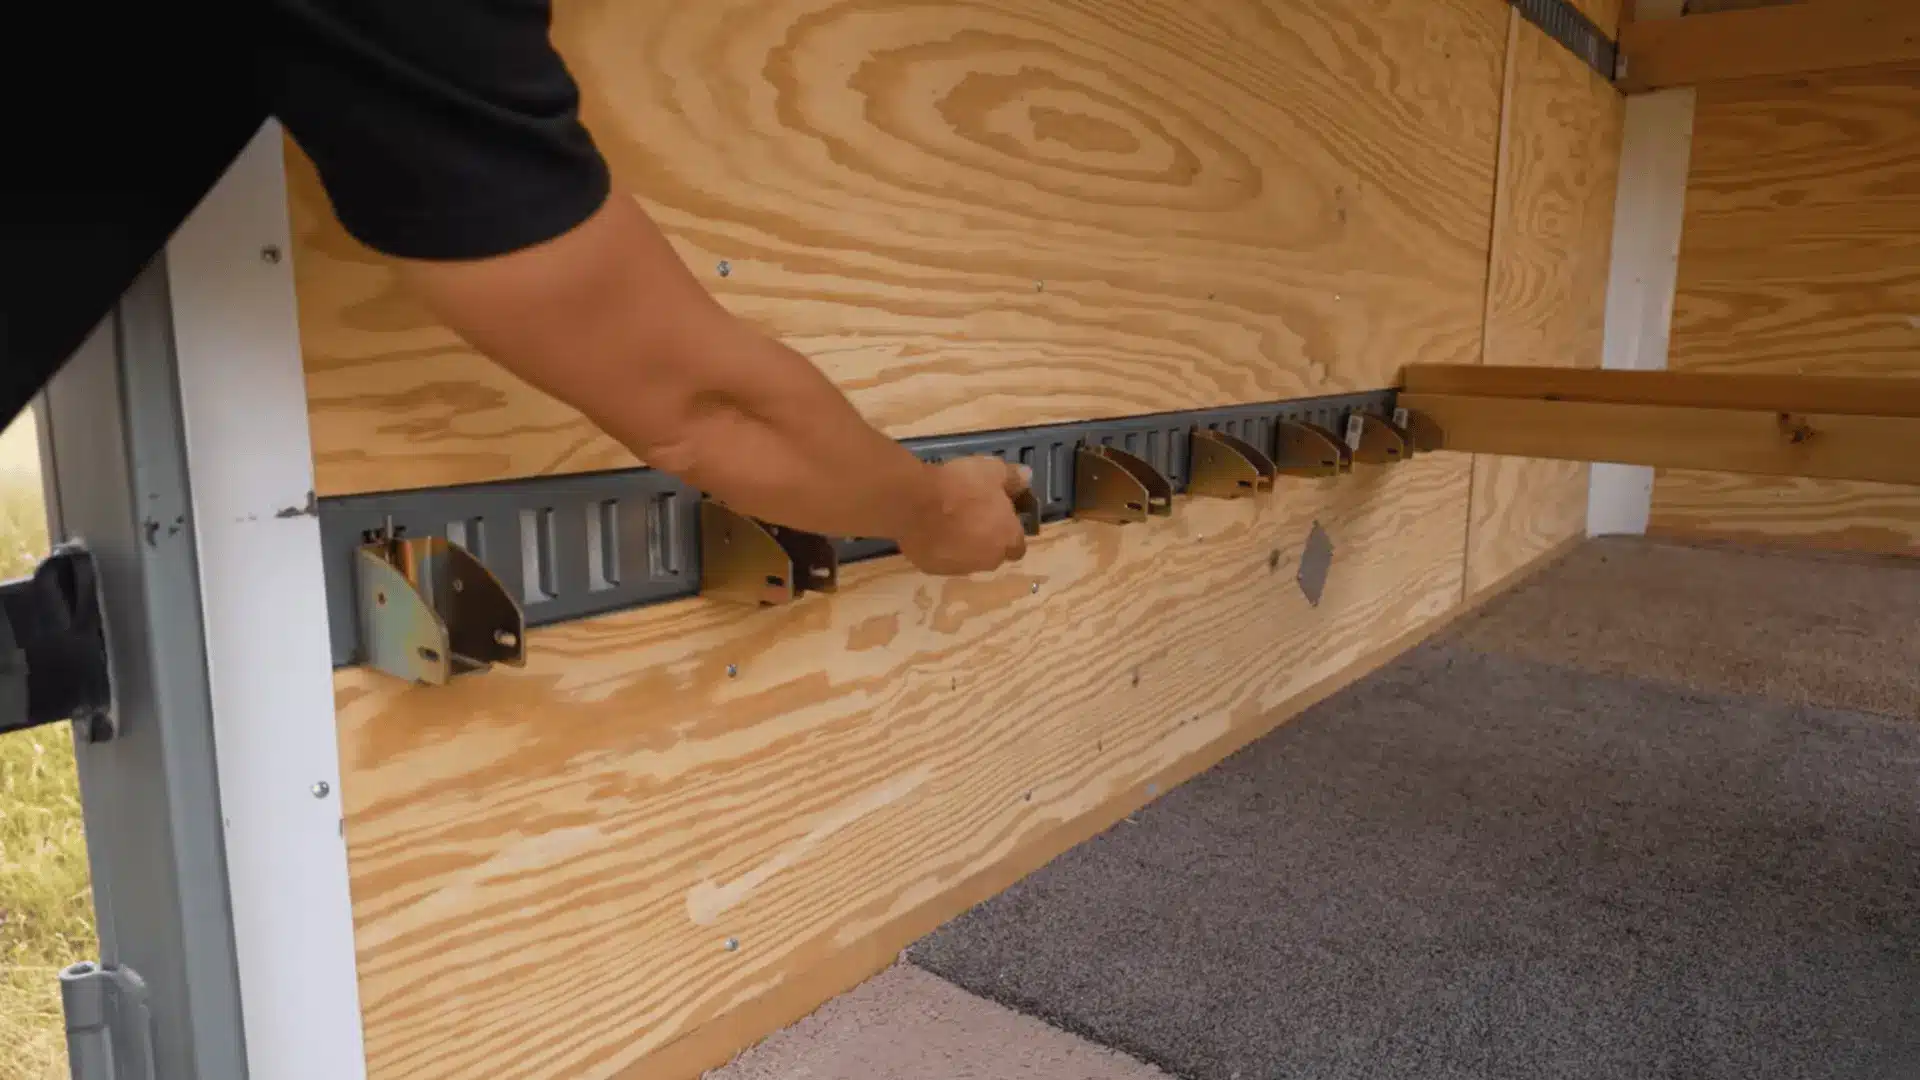
Decide where you want the rails installed before adding any platforms. This system becomes the main support structure for your entire build.
Mount rails horizontally if you want more front-to-back adjustment room. Add vertical sections instead if you want platforms that move up and down later.
This flexibility matters most in the first few months. Your sleeping and storage needs change once you actually start using the trailer.
Step 2: Add the 2×4 Support Brackets
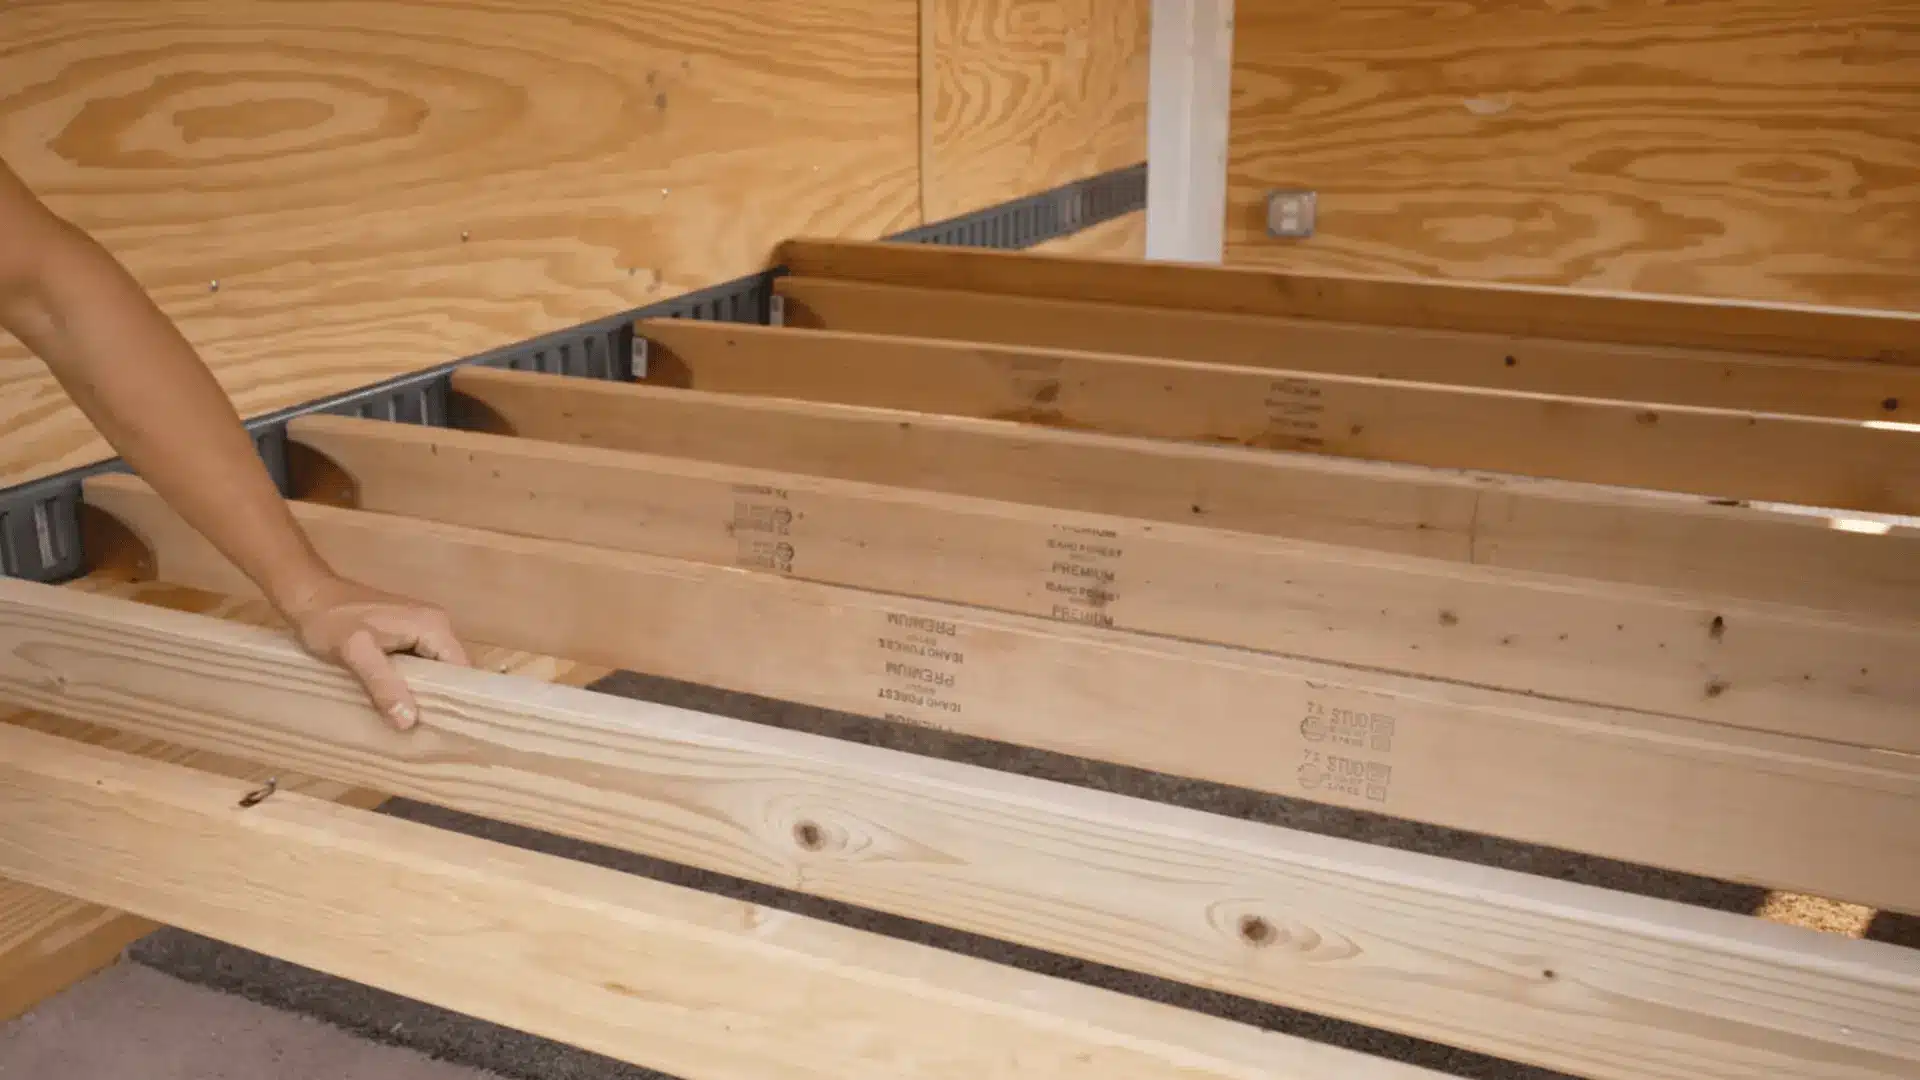
Cut your 2×4 lumber to match the trailer’s interior width. The cuts don’t need to be perfect, since the brackets give you adjustment room.
Slide the 2×4 pieces into the E-track brackets and position them where you need support. Leave them removable for flexibility, or screw them in for a fixed setup.
I’d leave them removable at first. You’ll want to shift the layout once you see how the space actually feels loaded.
Step 3: Build the Bed Support Platforms
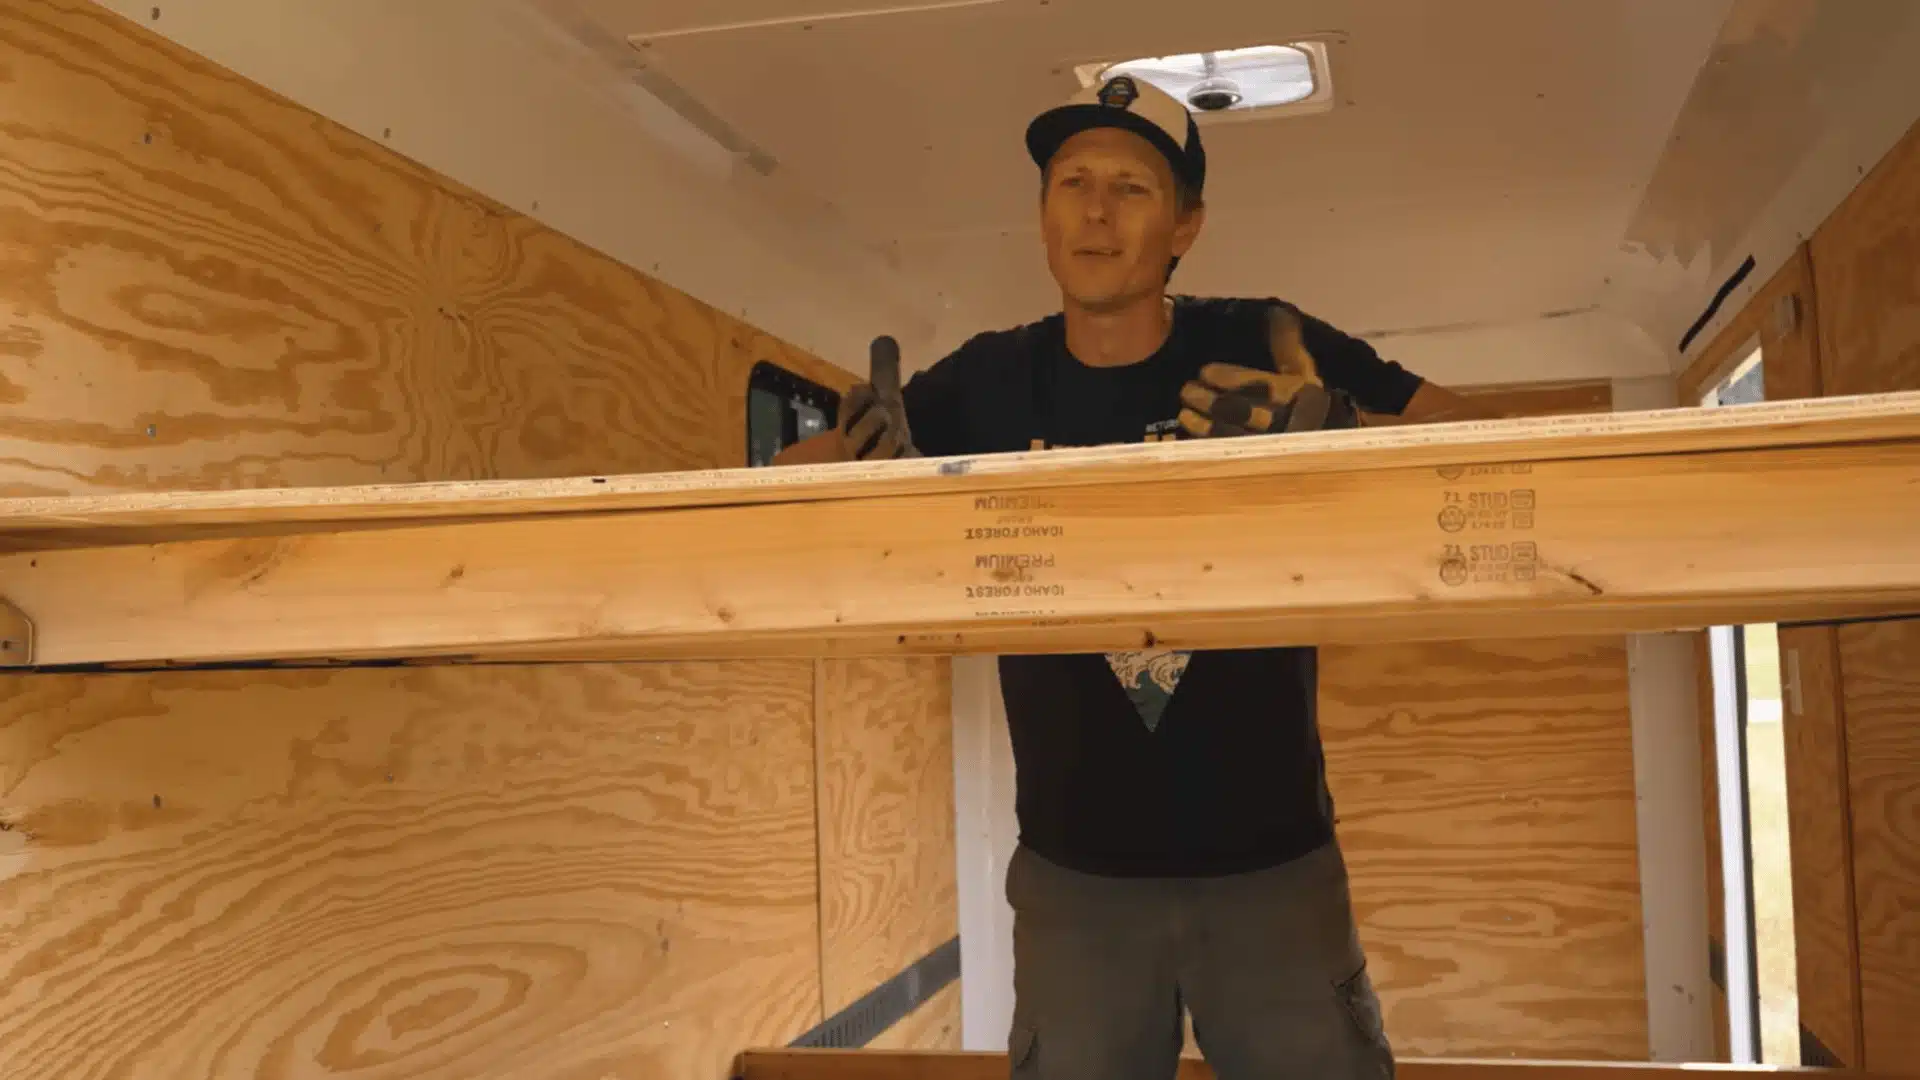
Place plywood sheets over the 2×4 supports to form your bed platforms. Exact measurements aren’t critical here, since the frame design already allows some flexibility.
Add an optional 2×6 board along the platform’s edge. It stops the mattress from sliding during travel and doubles as a guard rail for upper bunks.
Skip the guard rail only if you’re building a single low platform. Anything raised needs that edge for safety.
Step 4: Create Your Sleeping and Storage Layout
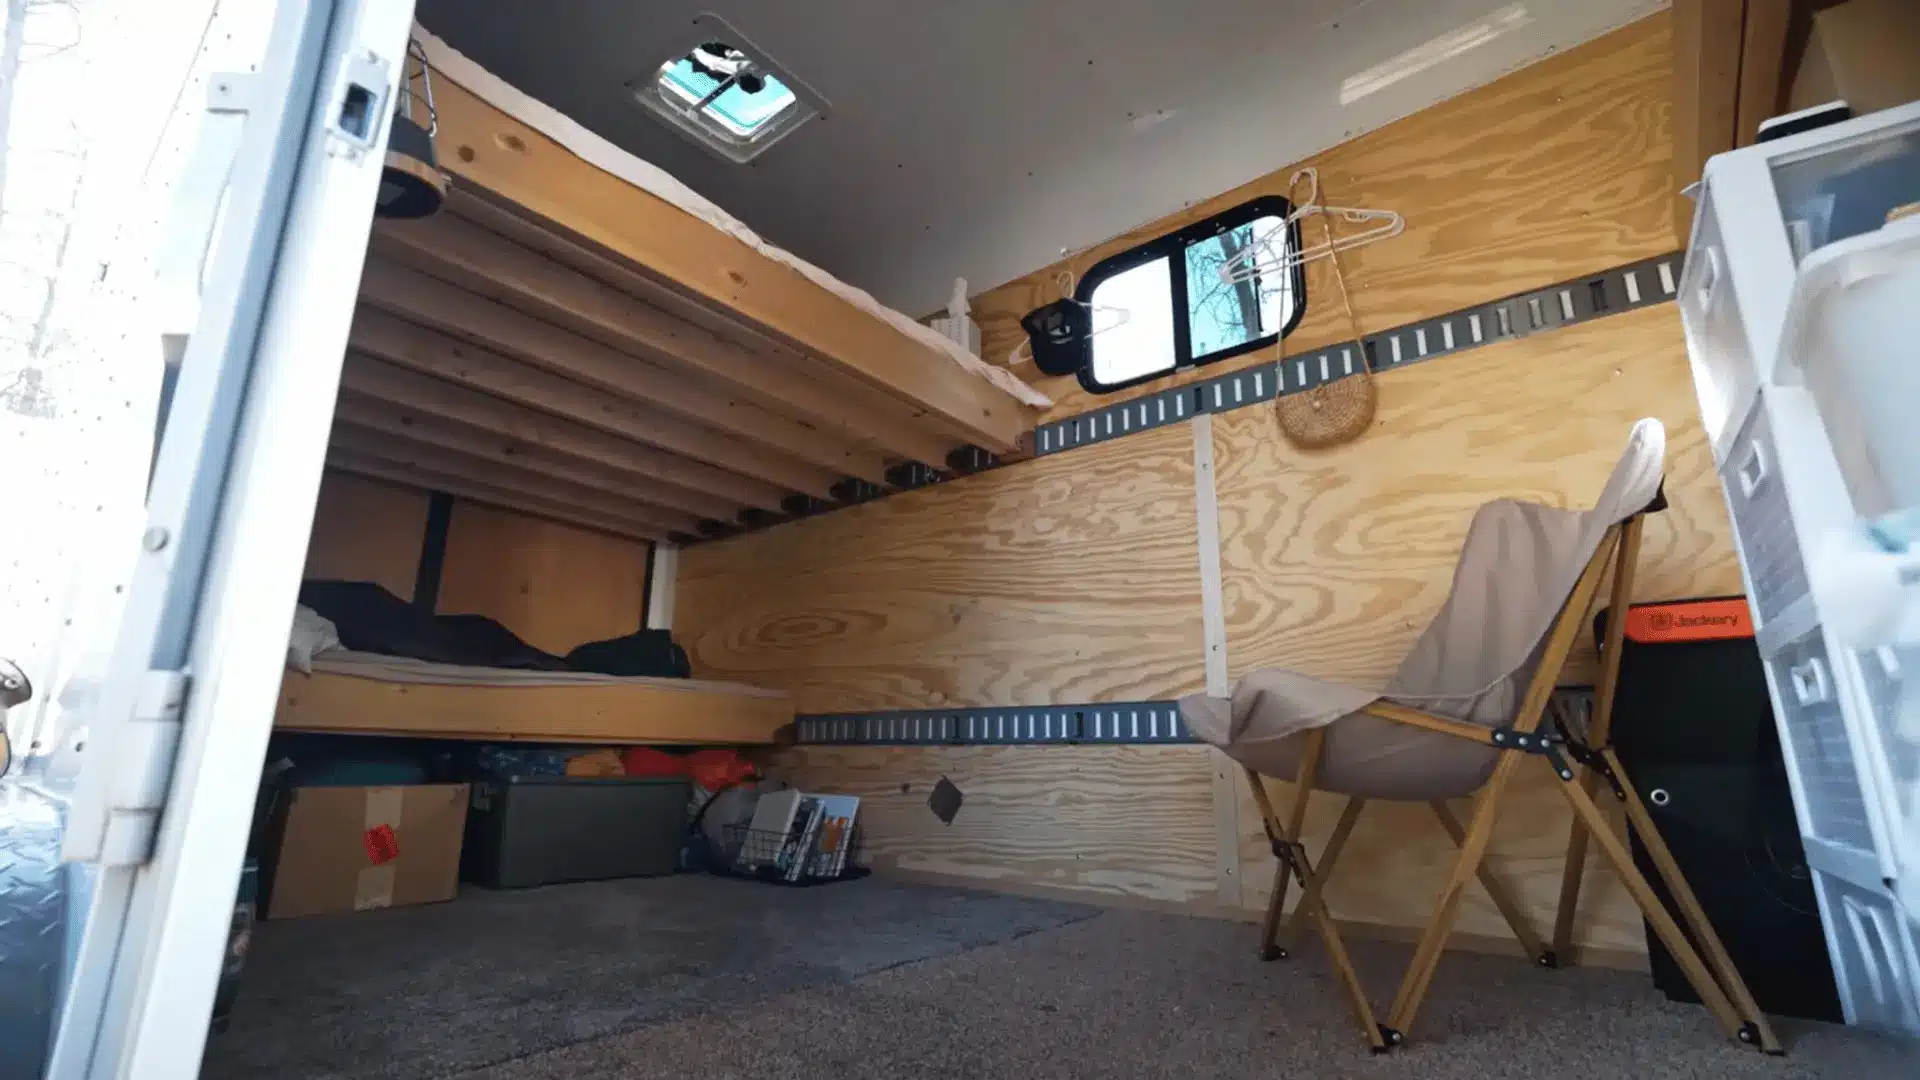
Choose a layout based on how you’ll actually use the trailer day to day. A lower queen bed with an upper bunk keeps storage room open underneath.
You can also raise the main bed and use the space below for gear. Since the platforms stay adjustable, you can change this setup anytime your trips change.
Think about who’s sleeping where before you commit. Solo trips and family trips need very different layouts.
Step 5: Add Camper Gear and Storage
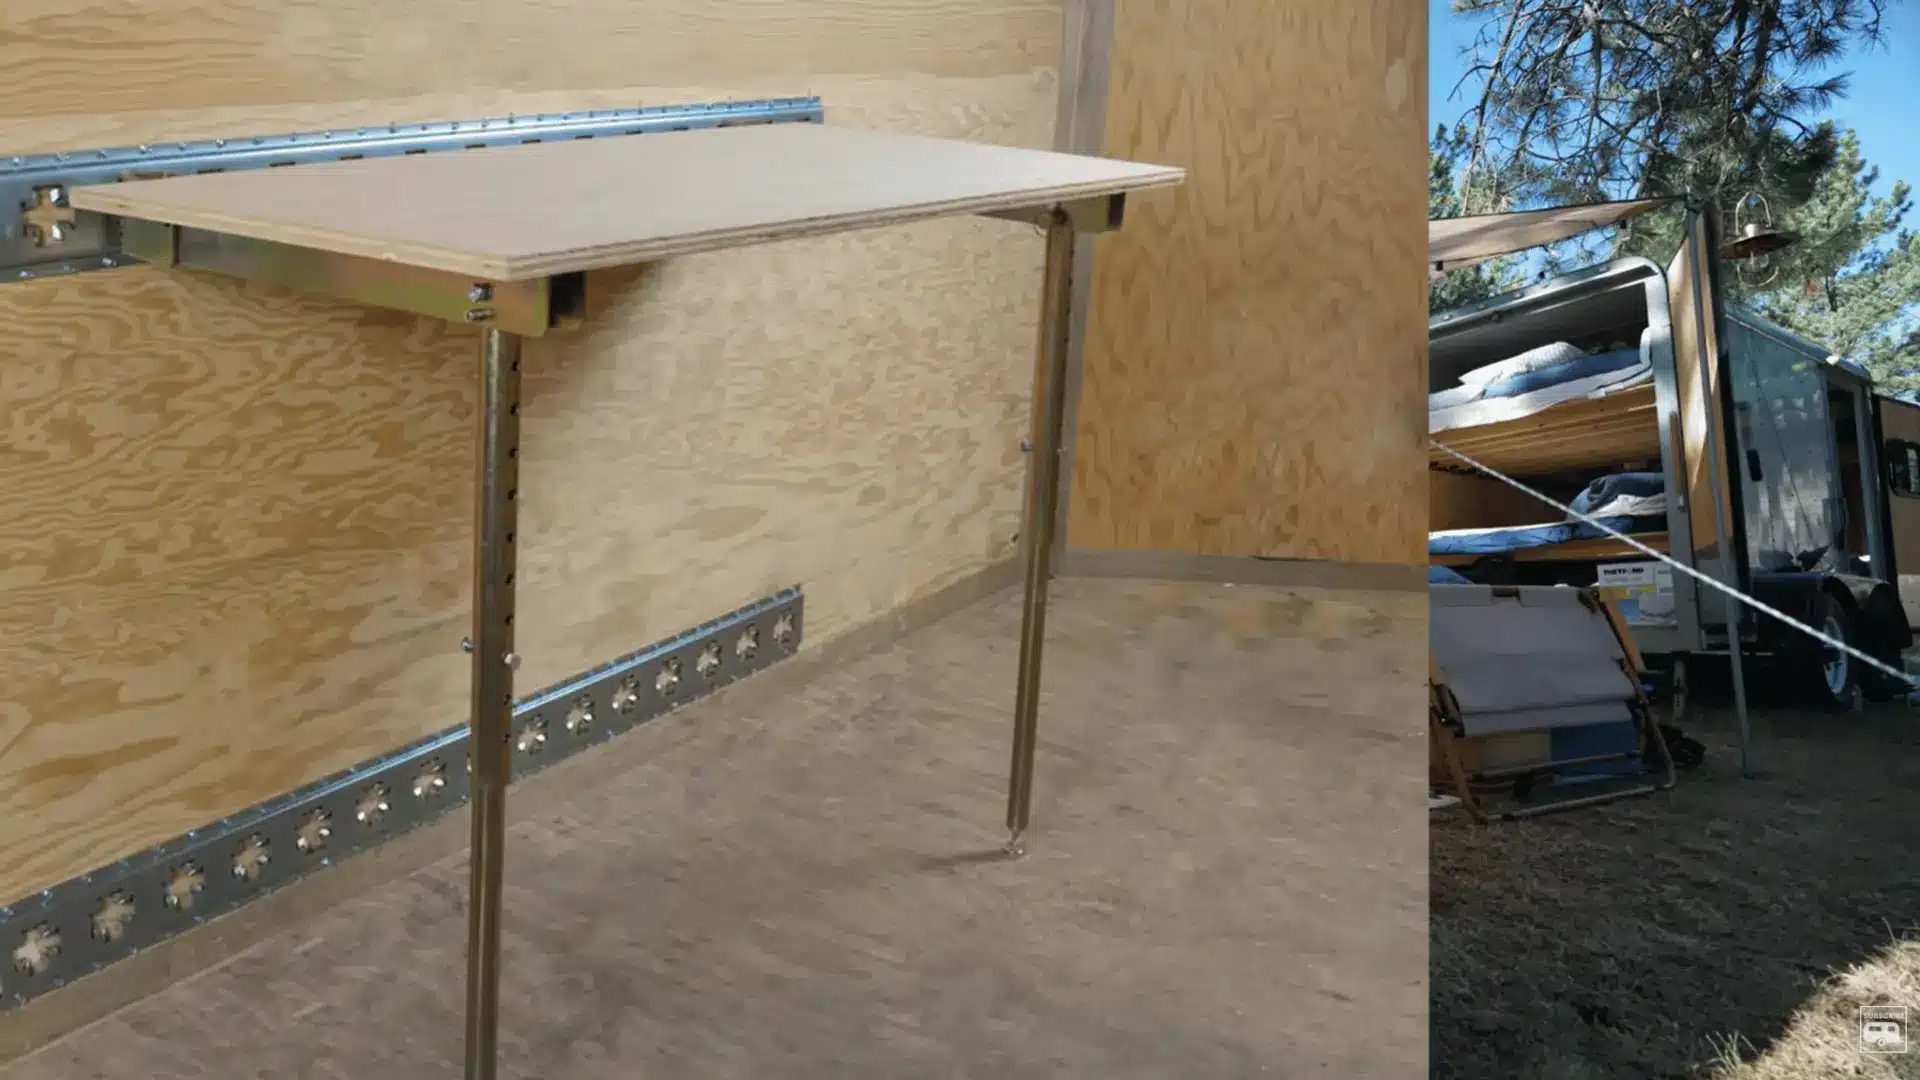
Use the open space under your beds for camping gear, storage bins, and kitchen supplies. Keep the items you reach for most within easy access.
Add removable shelves or cabinets using the same E-track system. This keeps the whole trailer flexible instead of locking it into one permanent design.
I’d avoid built-in cabinets early on. Track-mounted storage lets you fix mistakes without tearing anything out.
Step 6: Finish the Interior Setup

Add your mattresses, lighting, power setup, ventilation, and cooking or hygiene supplies last. Keep the setup simple so items can move as your needs change.
Test the full layout before securing anything permanently. The real advantage of this system is adjusting the trailer for different trips and gear loads.
Give it one real trip before locking anything down. You’ll spot layout problems on the road that you’d never catch sitting in the driveway.
For an in-depth look at the whole process, check out the complete video tutorial below:
How Much Does a Cargo Trailer Camper Conversion Cost?
The trailer itself is only one part of the total budget.
Based on the SERP results provided, DIY conversions commonly fall between $5,000 and $15,000, although elaborate builds can go beyond that range. Costs depend heavily on trailer size, the amount of DIY labor, electrical capacity, plumbing, appliances, climate control, and interior finishes.
| Cost Area | Typical Components | Approximate Range |
|---|---|---|
| Trailer | New or used enclosed trailer | $3,000 to $8,000 |
| Insulation and framing | Walls, floor, ceiling materials | $500 to $1,500 |
| Electrical | Battery, inverter, wiring, lighting | $1,000 to $4,000 |
| Plumbing | Tanks, pump, piping, fixtures | $500 to $2,000 |
| Interior | Bed, cabinetry, furniture, finishes | $1,000 to $5,000 |
| Overall DIY build | Basic through fuller setups | About $5,000 to $15,000+ |
A simple camper with sleeping space, storage, insulation, and basic electricity will usually cost less than one with a large solar system, air conditioner, plumbing, custom cabinetry, and a full bathroom.
One way to control costs is to complete the essential systems first. You can add solar capacity, upgraded furniture, or other optional features after using the trailer and deciding what you actually need.
Planning Power, Water, Kitchen, and Climate Control
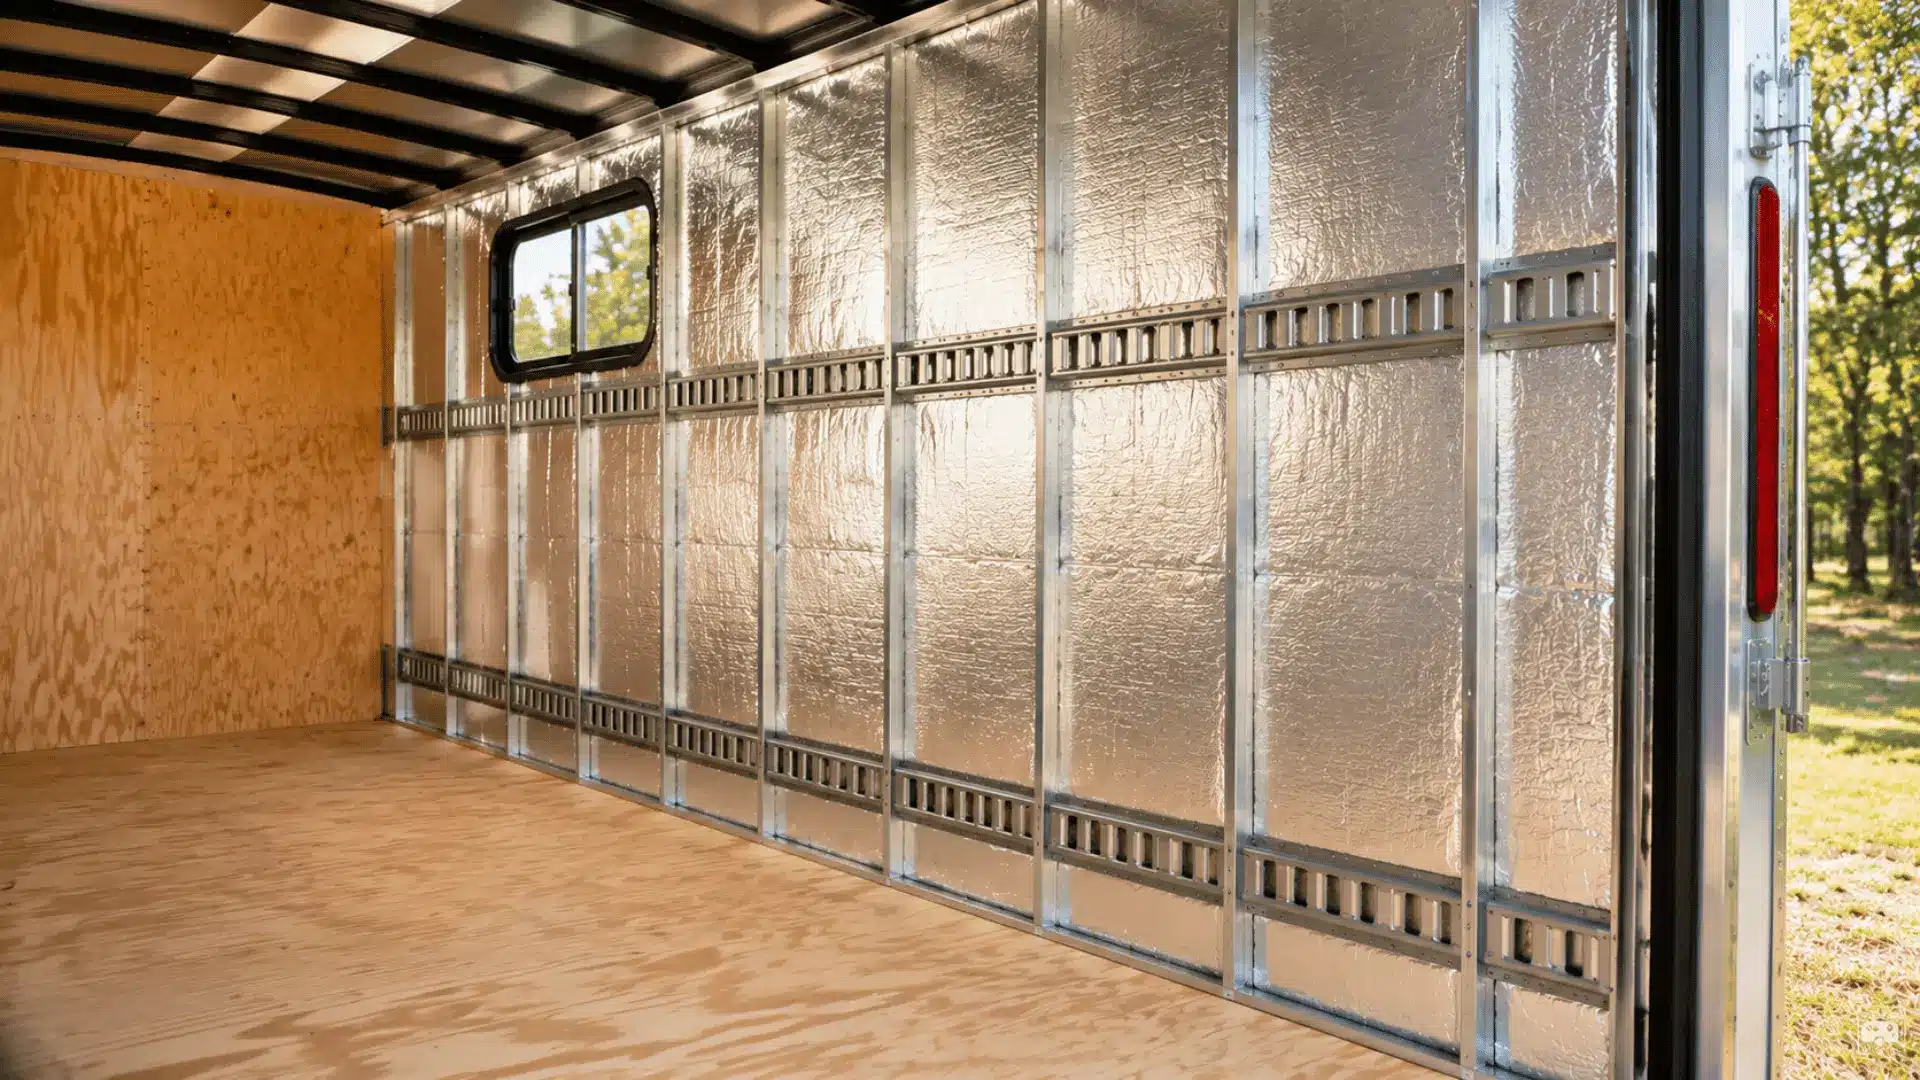
Plan power, plumbing, cooking, heating, and cooling together because they all compete for limited floor space, payload capacity, and budget.
1. Electrical and Solar
A simple electrical system may need only a 12V battery, fuse panel, LED lighting, USB charging, and a shore-power connection.
Campers designed for longer off-grid stays may add solar panels, a charge controller, larger battery capacity, an inverter, 120V outlets, and battery monitoring.
Size the system around actual energy use. Lights, phone charging, ventilation fans, and water pumps require far less power than air conditioners, microwaves, or induction cooking equipment. Comparing durable solar battery options ahead of time can help you match capacity to what you’ll actually use.
Oversized batteries and inverters add cost and weight, so calculate expected loads before buying components.
2. Plumbing and Bathroom
A simple water setup can use a freshwater container, small pump, sink, faucet, and portable gray-water container.
A more permanent installation may add fixed freshwater and gray-water tanks, a water heater, shower, and dedicated toilet. Portable, cassette, and composting toilets can also reduce the amount of permanent plumbing required.
A full wet bath is convenient but uses valuable floor space and increases water consumption and trailer weight. For short camping trips, a portable toilet and separate shower arrangement may provide enough functionality without taking over the interior.
3. Kitchen Setup
Keep the kitchen proportional to the way you actually camp.
For many people, a compact counter, portable stove, small sink, refrigerator, and food storage provide everything necessary for weekend trips. Larger trailers can handle more permanent kitchens, but oversized counters and residential-style cabinets quickly reduce living space.
Think about how often you cook indoors before dedicating a large percentage of the camper to kitchen equipment.
4. Heating, Cooling, and Ventilation
Insulation improves comfort but cannot replace active ventilation or climate control.
A powered roof vent may be enough for mild conditions, while hotter climates can justify a portable air conditioner, rooftop RV unit, or mini-split. Heating needs depend on climate, available power, and the conditions in which the trailer will be used.
Ventilation remains important even in cool weather. Cooking, showers, wet equipment, and people sleeping inside raise humidity levels, so regular airflow helps limit condensation and moisture buildup.
Common Cargo Trailer Conversion Mistakes
Most expensive mistakes begin during the planning stage rather than during final construction.
- Ignoring payload limits: Water, batteries, furniture, and appliances can push the trailer beyond its safe carrying capacity.
- Poor weight distribution: Staying under GVWR doesn’t guarantee the trailer is properly balanced.
- Building too early: Finalize plumbing, electrical routes, and the floor plan before closing walls.
- Adding excessive cabinetry: Permanent furniture adds weight and reduces future flexibility.
- Ignoring ventilation: Insulation cannot prevent every condensation problem without adequate airflow.
- Poor exterior sealing: Windows, vents, and utility penetrations can become leak points.
- Underestimating storage: An empty layout feels much larger than the same trailer loaded for a camping trip.
Keeping the first version relatively simple makes it much easier to correct these issues without tearing apart finished work.
Maintaining a Converted Cargo Camper
Regular maintenance helps protect your converted camper from leaks, road vibration, uneven tire wear, moisture buildup, and loose fittings that can develop over time.
- Inspect exterior seals: Check the roof, windows, vents, and doors for cracks or gaps that could allow water behind insulation and interior wall panels.
- Check tires and running gear: Look for unusual tire wear and maintain bearings, brakes, hitch components, and other moving parts according to manufacturer recommendations.
- Monitor trailer weight: Reweigh the camper after adding batteries, appliances, water tanks, cabinetry, or other upgrades that can reduce its remaining payload capacity.
- Control interior moisture: Ventilate the trailer between trips, especially after wet or humid camping conditions, to reduce condensation and trapped moisture.
- Tighten interior hardware: Inspect E-track fittings, bed supports, shelves, cabinets, and fasteners because regular road vibration can gradually loosen mounted components.
A simple inspection before and after longer trips can catch small problems early, helping the camper remain safer, drier, and more reliable over time.
Final Take
Turning an empty trailer into a practical camper is about making smart choices before adding features. I would start by matching the trailer size to your needs, checking payload and towing limits, and planning the floor layout around real camping habits.
You should also map electrical, water, ventilation, and storage systems before closing the walls. A bed, basic power, and good airflow may be enough for short trips, while longer stays may call for solar, plumbing, cooling, or bathroom equipment.
This approach keeps the build safer, lighter, and easier to improve. Apply these planning steps to your cargo trailer camper conversion, then add extra features only when they serve a clear purpose.
Frequently Asked Questions
Can Any Enclosed Trailer Be Converted Into a Camper?
Many enclosed cargo trailers can be converted, but the trailer must have suitable structural condition, payload capacity, dimensions, and towing compatibility. Check the frame, roof, floor, axle ratings, tires, and brakes before investing heavily in the interior.
Does a Cargo Trailer Camper Need a Bathroom?
No. Many smaller conversions use a portable or cassette toilet and skip a permanent shower. This reduces plumbing complexity, water use, weight, and lost floor space. A full bathroom is usually more practical for larger trailers or extended trips.
Is a 6×12 Cargo Trailer Big Enough for a Camper?
A 6×12 can work well for one or two people when the layout remains efficient. It can accommodate a bed, compact kitchen, storage, electrical equipment, and possibly a portable toilet without becoming excessively large to tow.
Is a 7×14 Good for a Cargo Camper Conversion?
A 7×14 offers a useful balance between interior room and overall trailer size. It provides more space for permanent sleeping, cooking, storage, electrical equipment, and even a compact bathroom while remaining smaller than many conventional travel trailers.
Do You Need Solar Panels on a Cargo Camper?
No. Campers that regularly use powered campsites can rely mainly on shore power and a battery. Solar becomes more useful for off-grid trips where lights, fans, refrigeration, pumps, and other equipment need power without hookups.
Should You Weigh the Trailer After the Conversion?
Yes. Actual scale weight is more reliable than adding estimated component weights. Weigh the camper after construction and again when loaded with the water, food, gear, and equipment normally carried during a trip.