Sprinkler system installation can save time, water, and money when it is planned the right way from the start. The tricky part isn’t just digging trenches or placing sprinkler heads.
It is knowing your water pressure, flow rate, pipe depth, zone layout, and leak testing before anything gets buried. One missed check can lead to weak spray, dry patches, or repairs that mean digging the yard again.
I will walk you through the setup, tools, installation steps, cost, and mistakes to avoid so the system works before the soil goes back in.
First, let us look at what to check before starting.
What to Check Before Starting
Before you touch a shovel, lock in three basics first. Skip any of them, and you could end up redoing work, wasting money, or fixing problems that were avoidable later.
I’ve seen more sprinkler projects stall because these early checks were skipped than because of anything involving pipe, fittings, sprinkler heads, trench depth, or the actual installation work later on.
- Call 811 first: The service is free, and utility marking helps you avoid buried lines, costly repairs, dangerous strikes, and delays before any digging starts on your property.
- Check your permit rules: Many towns care less about the trench itself than the backflow preventer, so confirm local requirements before buying parts or scheduling the installation work too early.
- Measure your PSI and GPM: Those two numbers directly affect zone count, sprinkler head selection, pipe sizing, and how much water the system can deliver without pressure problems later on.
Get these three checks settled before moving forward.
Every decision that follows depends on accurate utility markings, local requirements, and water pressure and flow measurements from the start onward.
Tools and Materials Required
Before you dig, gather every tool and material needed for the full installation. Missing one fitting or valve can leave an open trench sitting unfinished far longer than you planned.
- Trenching equipment
- MP Rotator adjustment key
- 100 mm PVC pipe
- 25 mm blue line pipe
- Low-density poly pipe
- Tapping saddle
- Solenoid valve
- Shut-off valve
- Irrigation wire
- Sprinkler bodies
- Sprinkler nozzles
- Articulated risers or swing arms
- Threaded elbows
- Tee fittings
- Pipe clips
- Flush caps
Sprinkler System Installation: DIY Step-By-Step
This is the actual build. Get your tools and materials ready first, then work through the six steps from trenching to backfilling.
Follow the order closely. Skipping ahead is how trenches end up sitting open while you stop halfway through the job to find a missing fitting.
Step 1: Dig the Trenches and Install the Path Sleeve
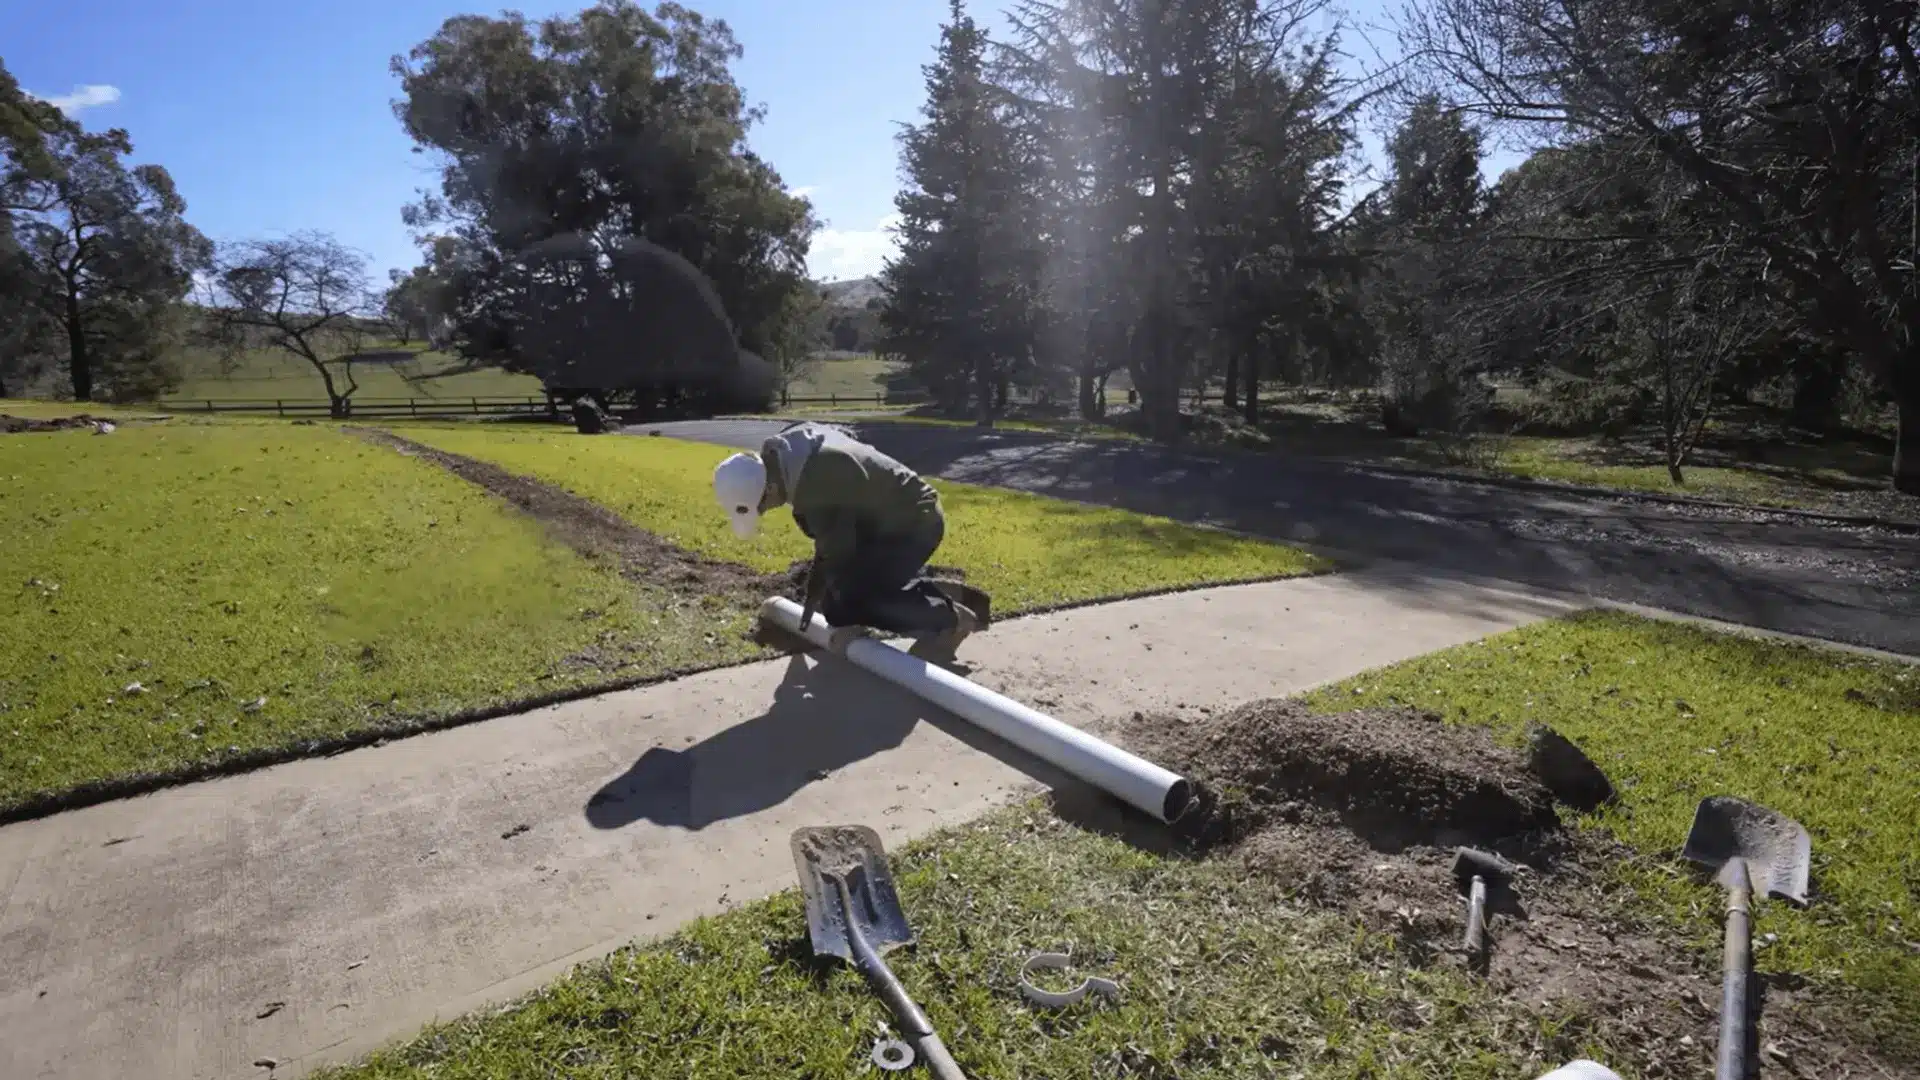
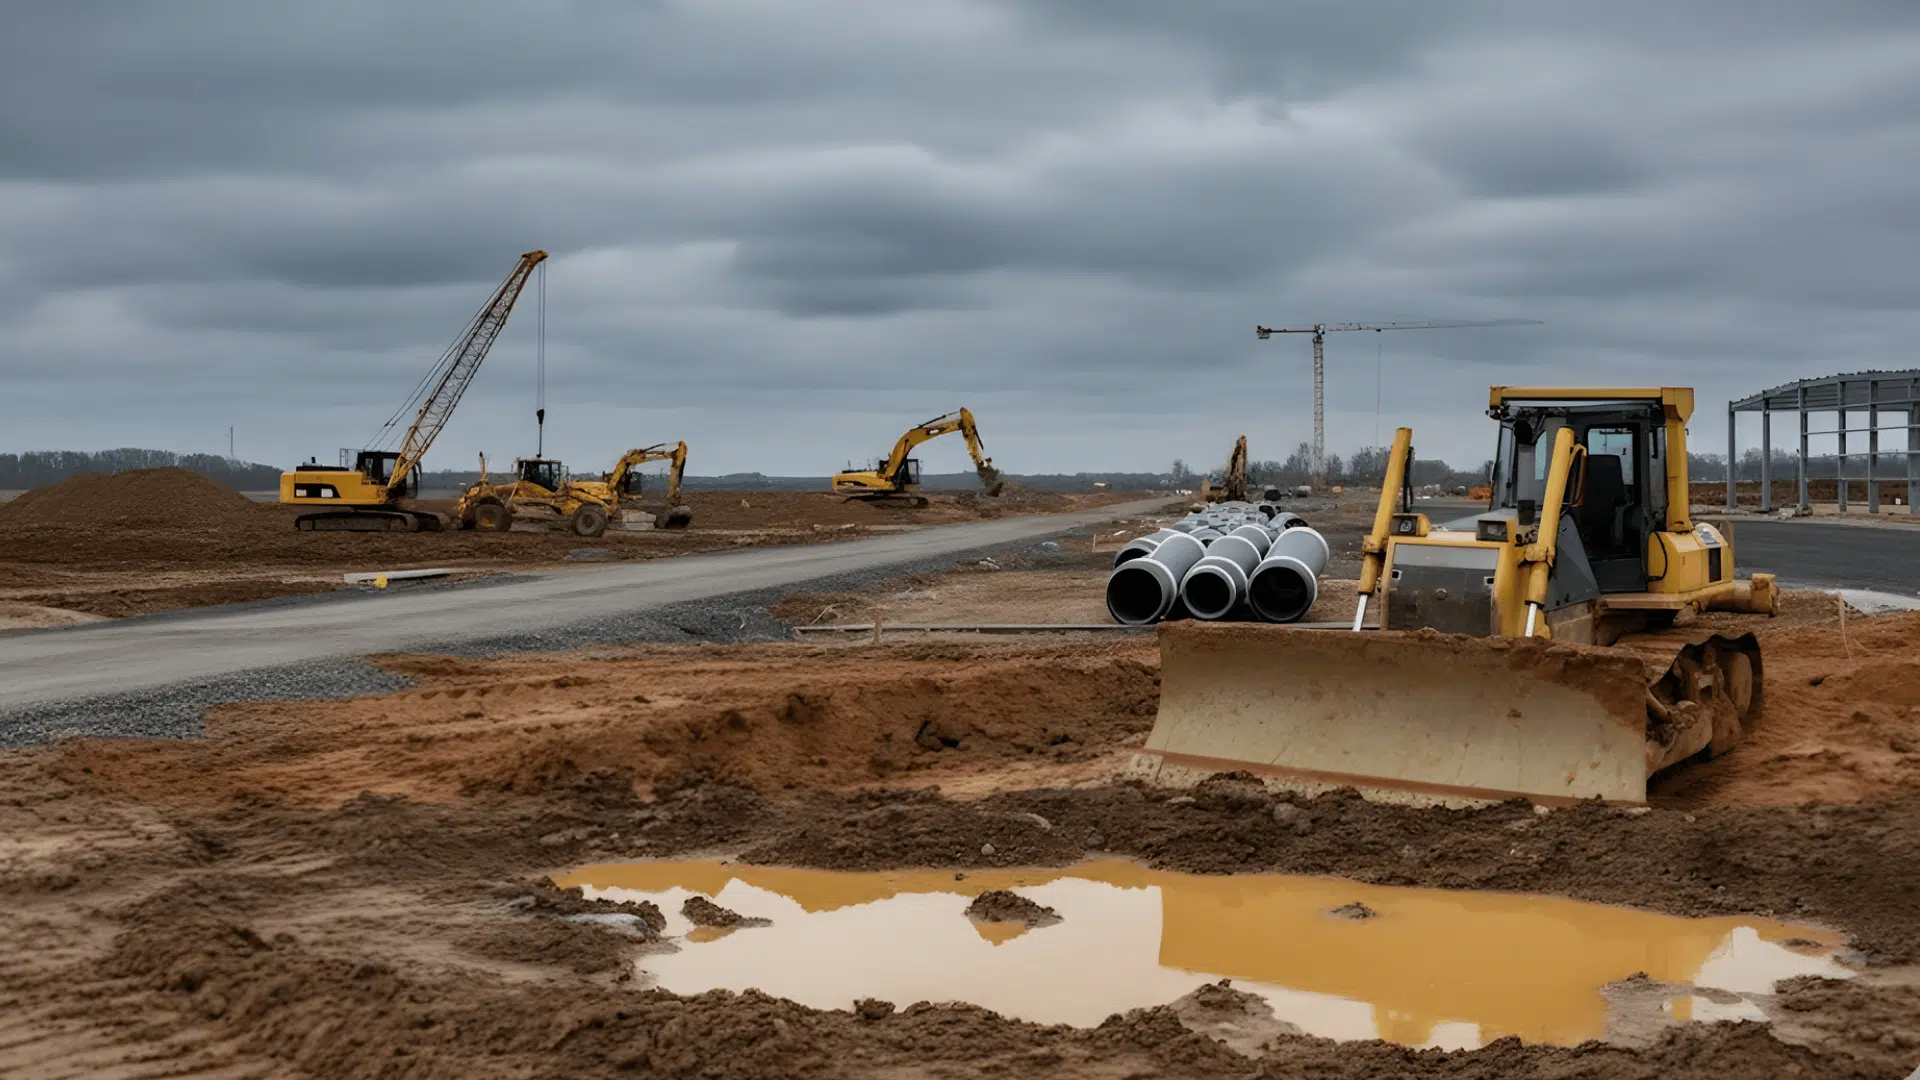
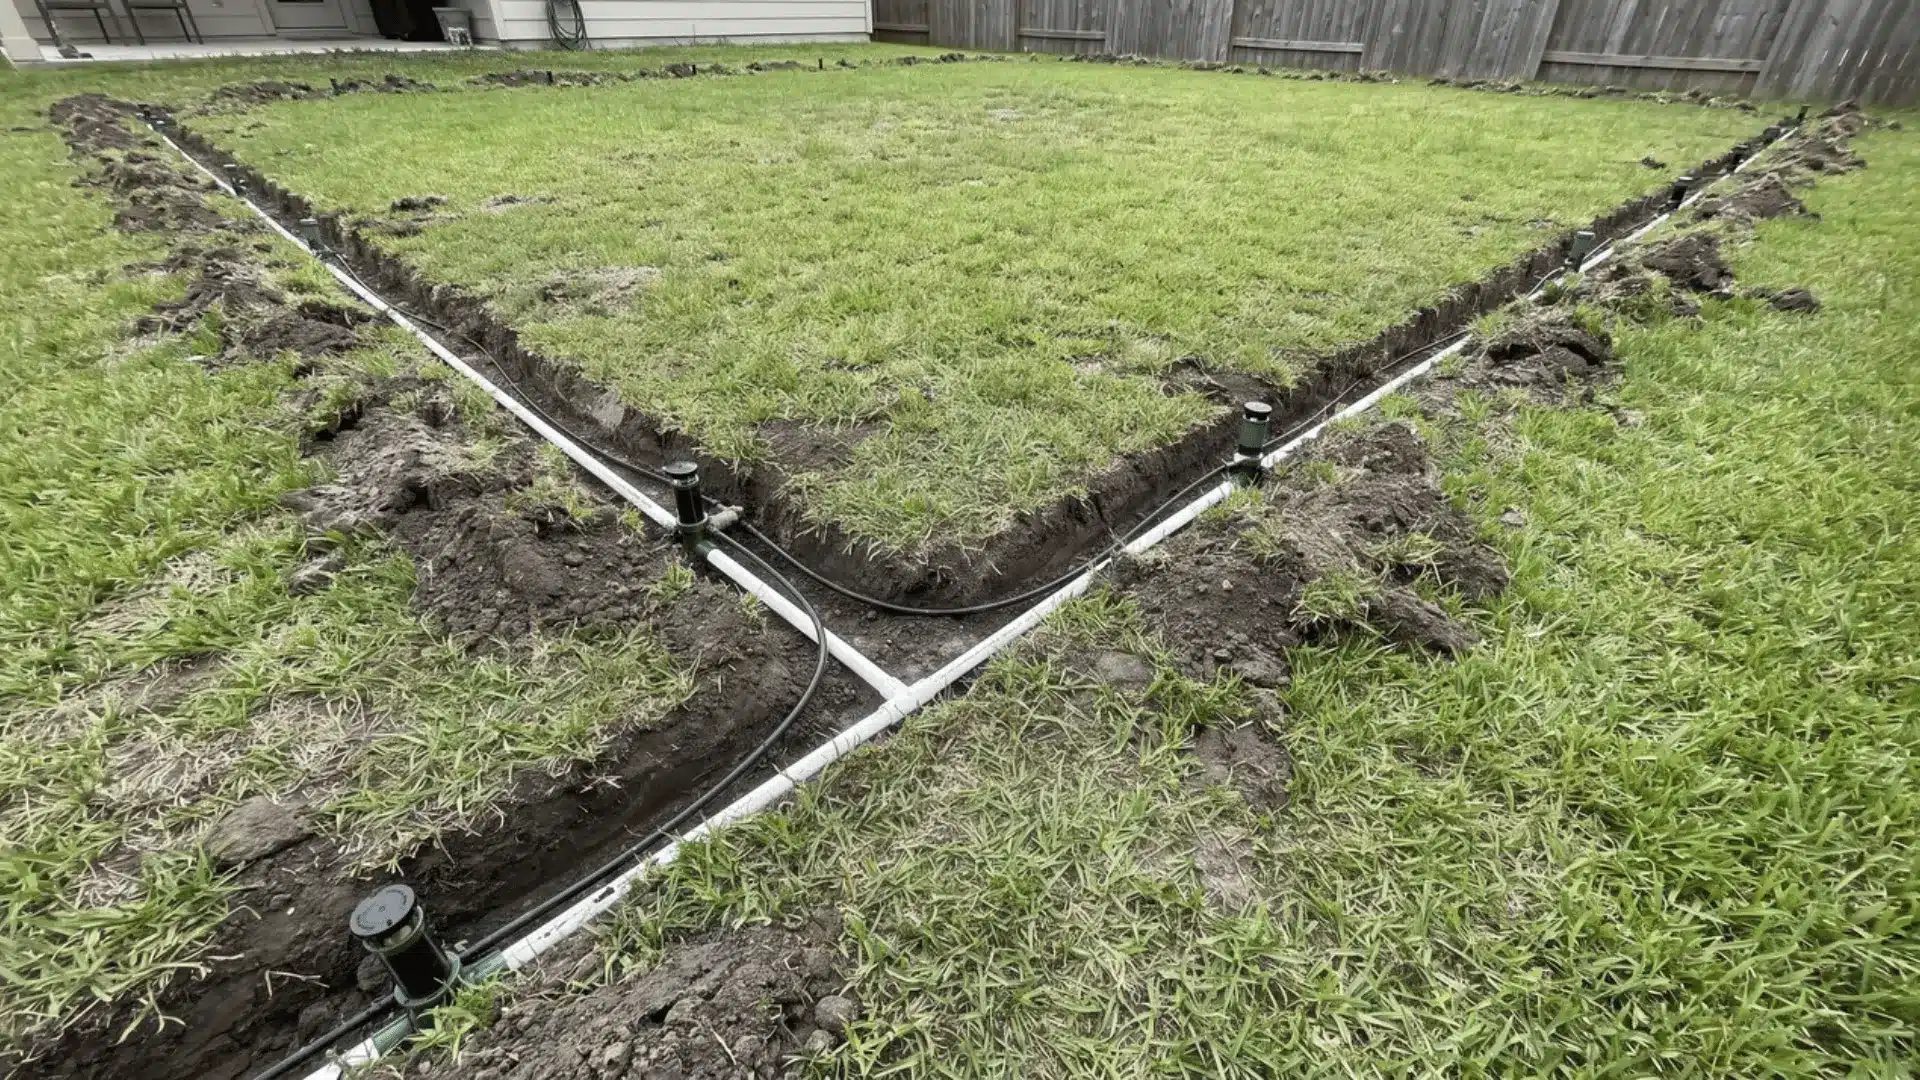
Mark the main line and every branch before digging. Keep trenches at least 200 mm deep so normal yard work is less likely to accidentally strike the irrigation pipe later.
Where a pipe crosses beneath a path, install the 100 mm PVC sleeve first. Feed the irrigation pipe through that sleeve rather than placing it directly beneath the path itself.
Step 2: Position the Sprinklers and Assemble the Swing Arms
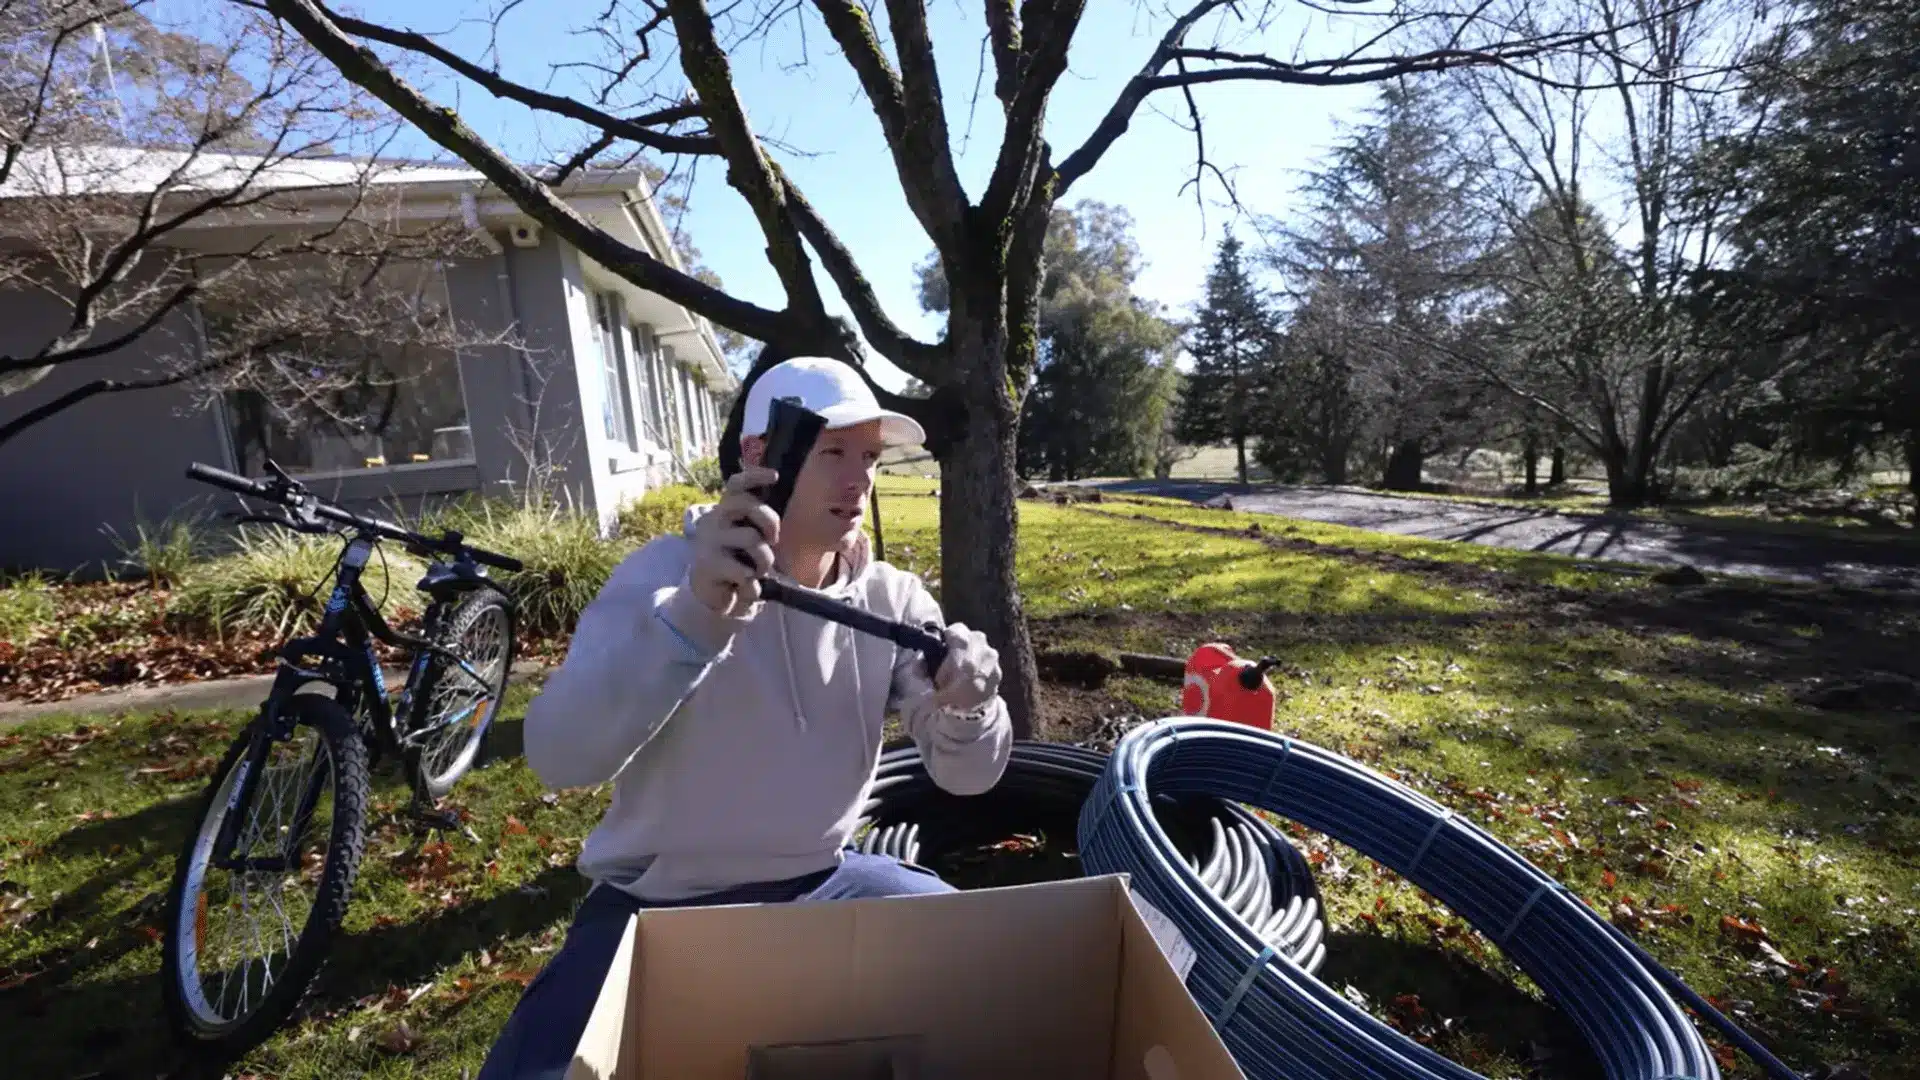
Set every sprinkler position before covering any pipe.
Dig enough space for the sprinkler body, threaded elbow, and riser to sit naturally without bending or forcing connections during installation itself.
Connect the threaded elbow to the poly pipe, then attach the swing arm and sprinkler body. The riser lets you set the height now and raise it later when needed.
Step 3: Shut Off the Water and Connect the Main Supply
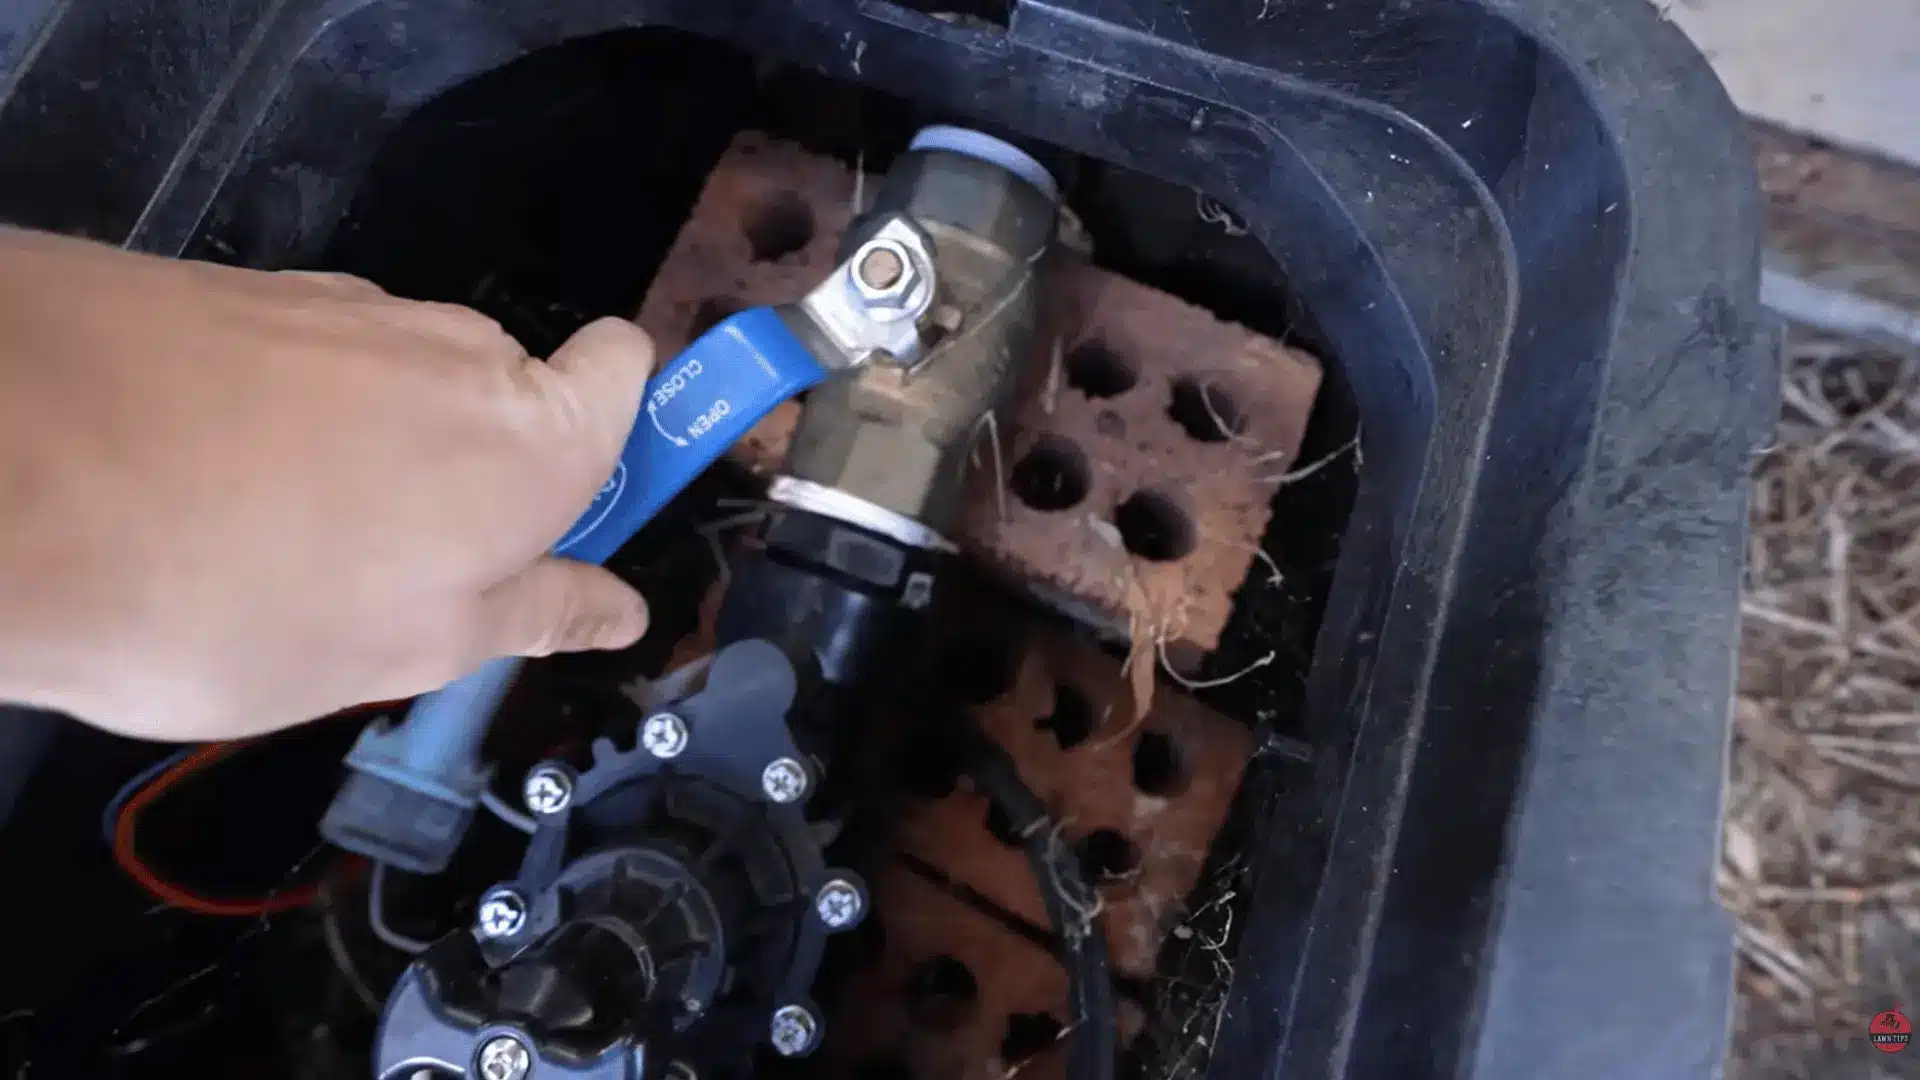
Shut off the water before cutting into the main line.
Open another outlet downstream first so pressure drains from the pipe before you make the new irrigation connection safely there.
Fit the tapping saddle to the main line, then connect the 25 mm blue line pipe. Run this higher-pressure supply line from the new connection directly toward the manifold itself.
Step 4: Build the Manifold and Run the Distribution Pipes
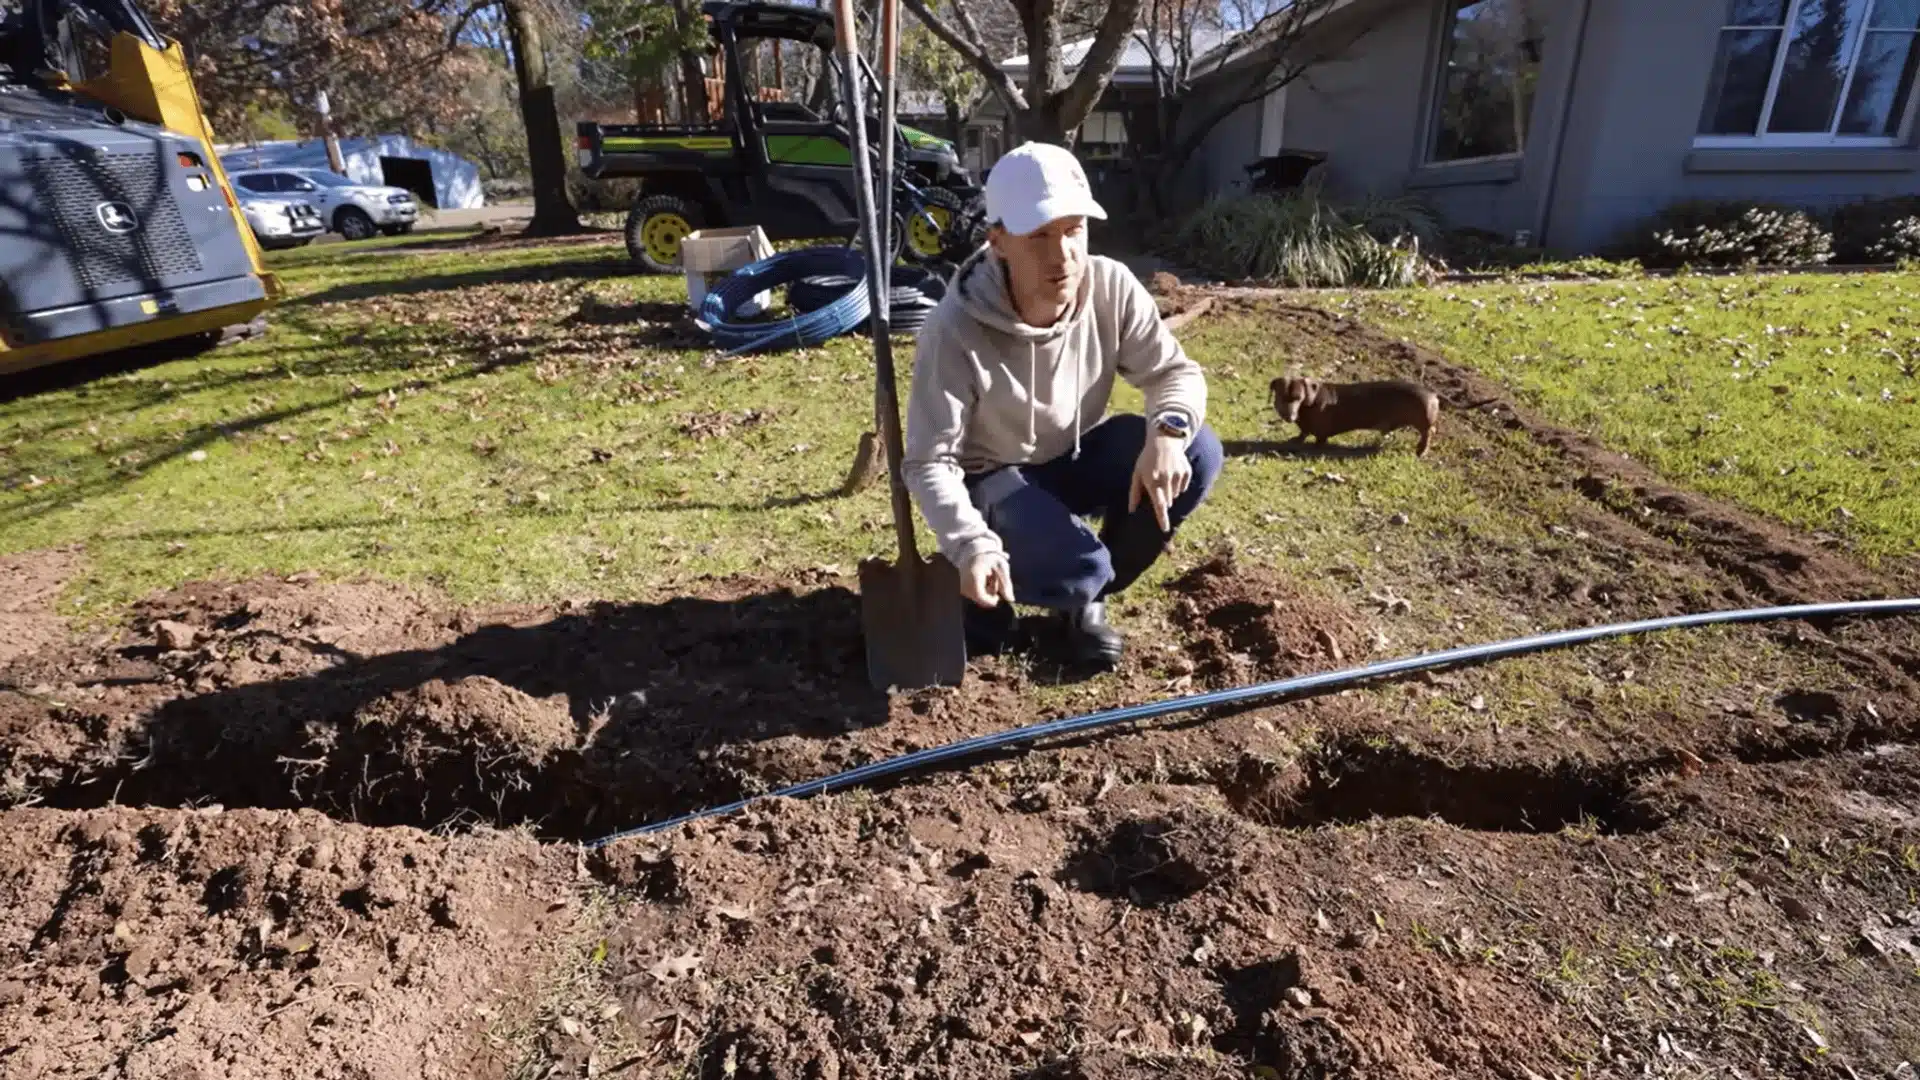
Run the blue line into the manifold and connect it to the solenoid valve.
Add the irrigation wire at this point so the valve can operate automatically when needed later, the same way a broader home automation setup ties devices into one system.
From the solenoid outlet, switch to low-density poly pipe and run it through the trenches. Use tee fittings to branch toward each threaded elbow and swing arm along the route.
Step 5: Flush the Pipes and Check for Leaks
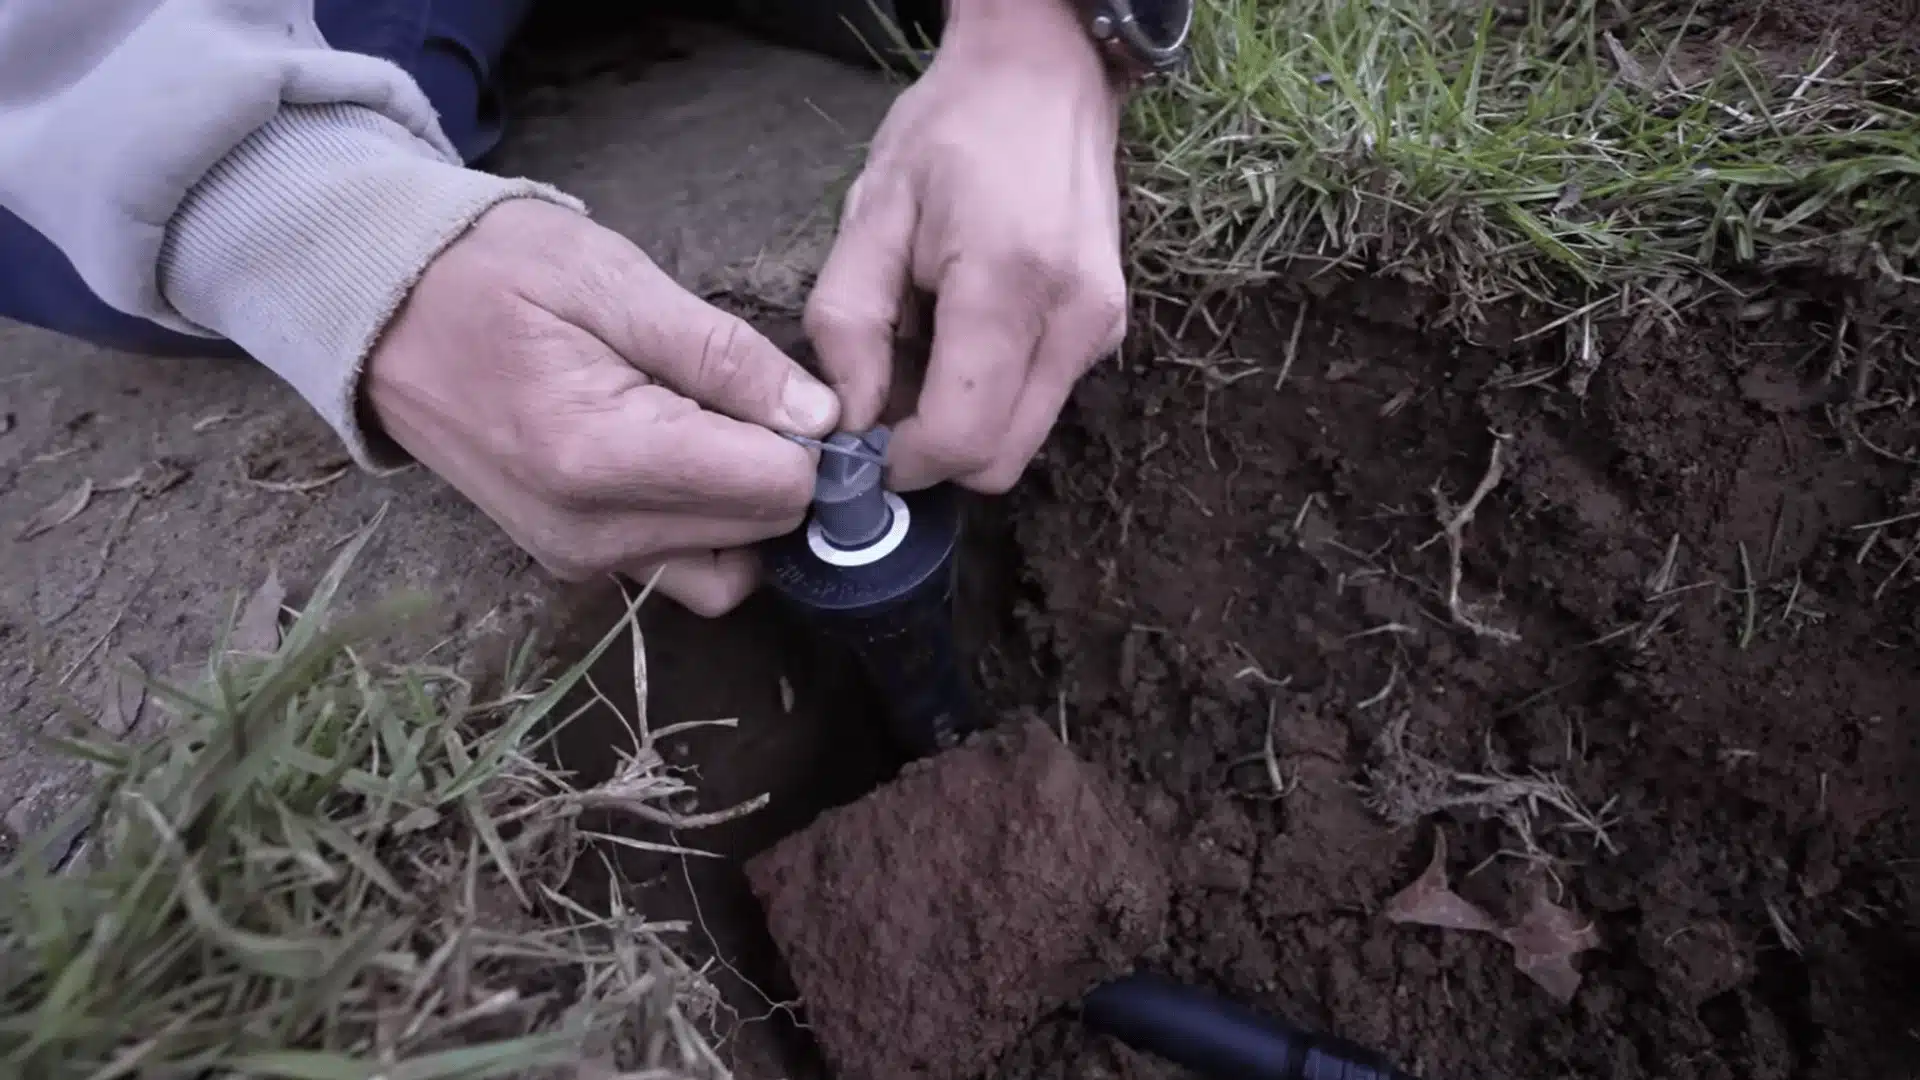
Keep the flush caps fitted instead of installing the nozzles immediately.
Bring the pressure back slowly so loose debris can clear through the open flushing points before fully installing the nozzles.
Check the manifold, solenoid, fittings, and every branch while the trenches remain open.
Once the system holds pressure without leaks, remove the caps and install the sprinkler nozzles.
Step 6: Adjust the Sprinklers and Backfill the Trenches
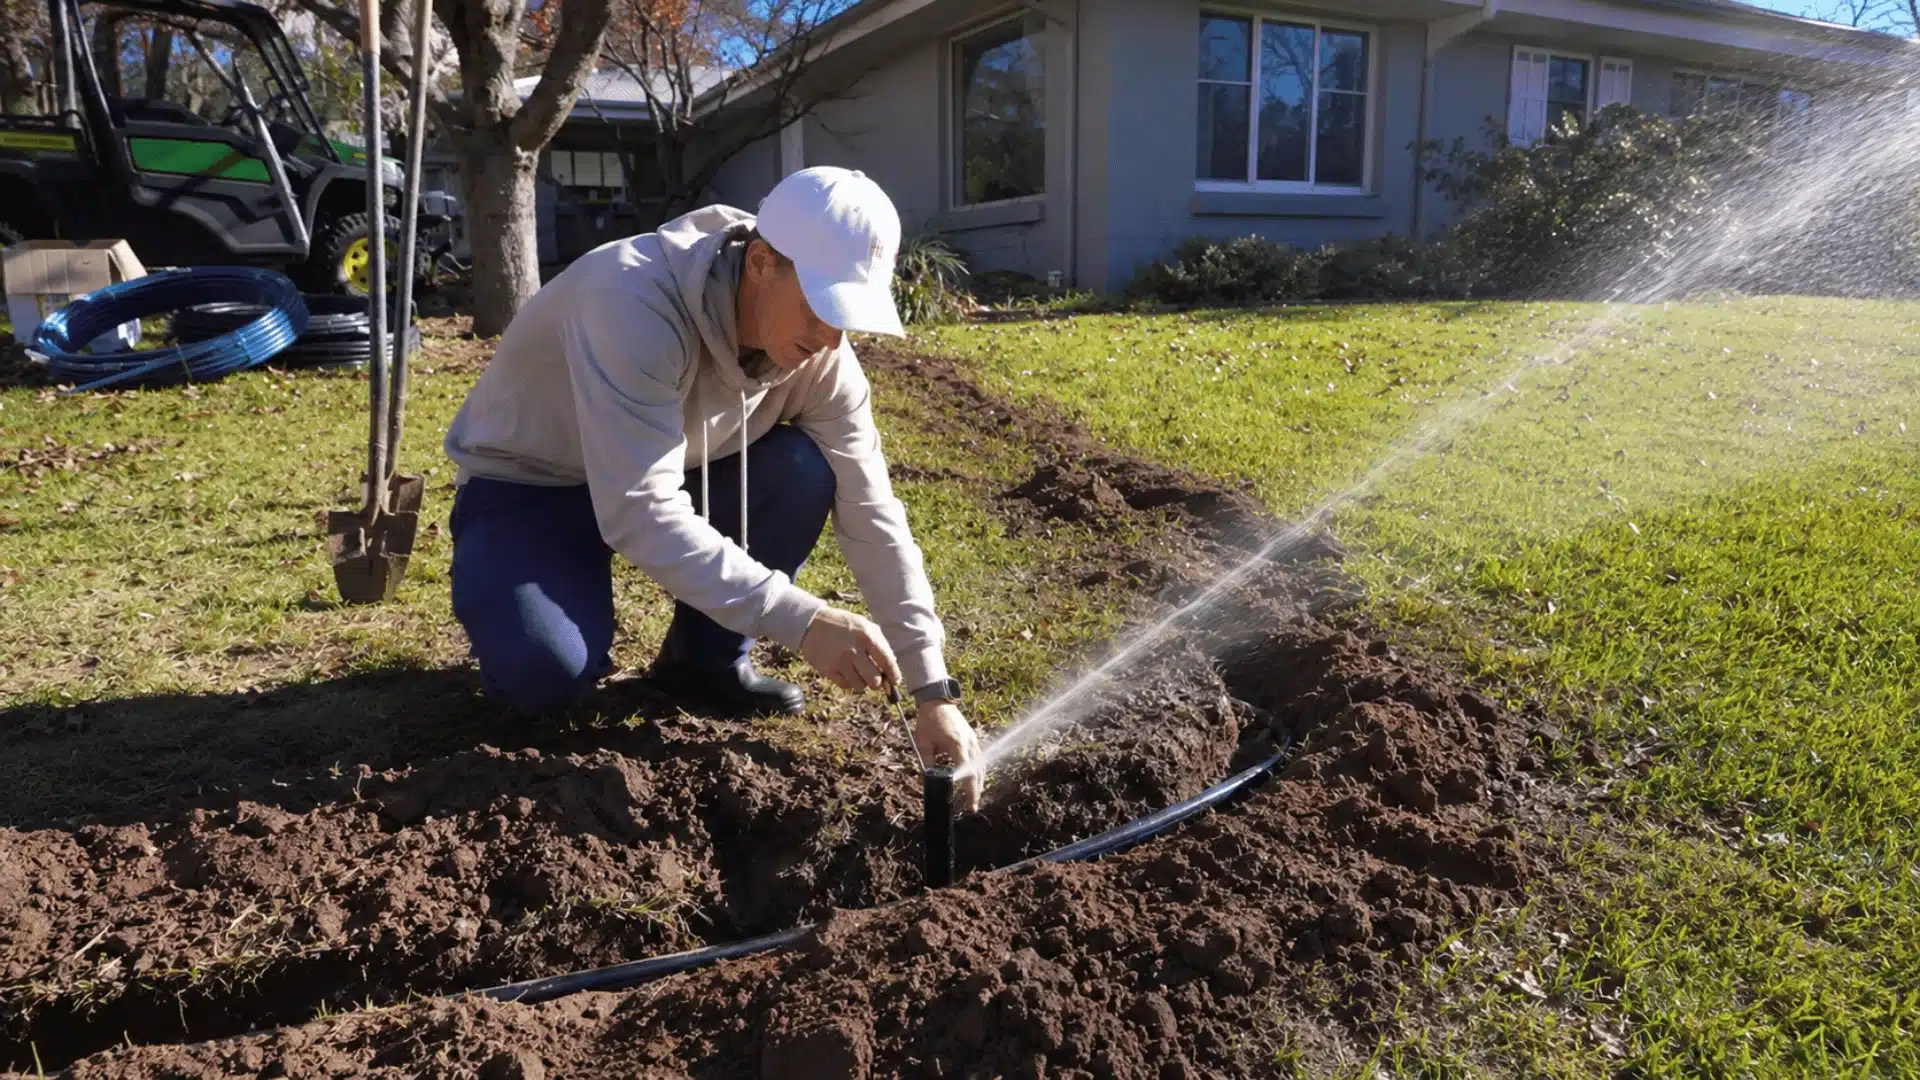
Run the system and adjust each nozzle so water covers the lawn without spraying the path or fence. Use the adjustment key to change throw distance and spray arc carefully.
Keep the trenches open until the system has run long enough to rule out leaks. Lay the pipe flat, cover it with soil, then top up once the soil settles.
For further information, go through this video:
How Many Sprinkler Zones Do You Need?
Most residential yards need one zone for every 5 to 6 rotary heads or 8 to 10 spray heads your PSI and GPM can support without a pressure drop.
Your PSI (Pounds per Square Inch) and GPM (Gallons per Minute) numbers determine how many heads each zone can support.
Divide your total GPM by the flow rate each head needs to find a safe starting point.
If you put too many heads on one zone, pressure drops across the system. That usually shows up as weak spray, uneven coverage, and dry patches near the edges.
Which Sprinkler Heads Should You Use?
Small, boxy lawns generally do best with fixed spray heads, while larger or irregular yards call for rotary heads. Head type should match the yard.
Small, boxy lawns usually work well with fixed spray heads because they cover shorter distances and can be spaced closely.
Larger or irregular yards are usually better suited to rotary heads. They throw water farther, helping you cover more ground without packing too many heads into each zone.
If you’re reshaping the yard itself rather than just watering it, a rock garden layout can also cut down on the number of zones you need in the first place, since drought-tolerant beds need far less coverage than turf.
Matching Head Spacing to Water Pressure
Head spacing depends on how far your available pressure can push the spray.
Most rotary heads throw about 15 to 30 feet at 50 PSI, but lower pressure shortens that distance.
If heads are spaced farther apart than your pressure supports, dry strips can form between them. Place them too close together, and you may waste water through unnecessary overlap.
How Deep Does Sprinkler Pipe Need to Be Buried?
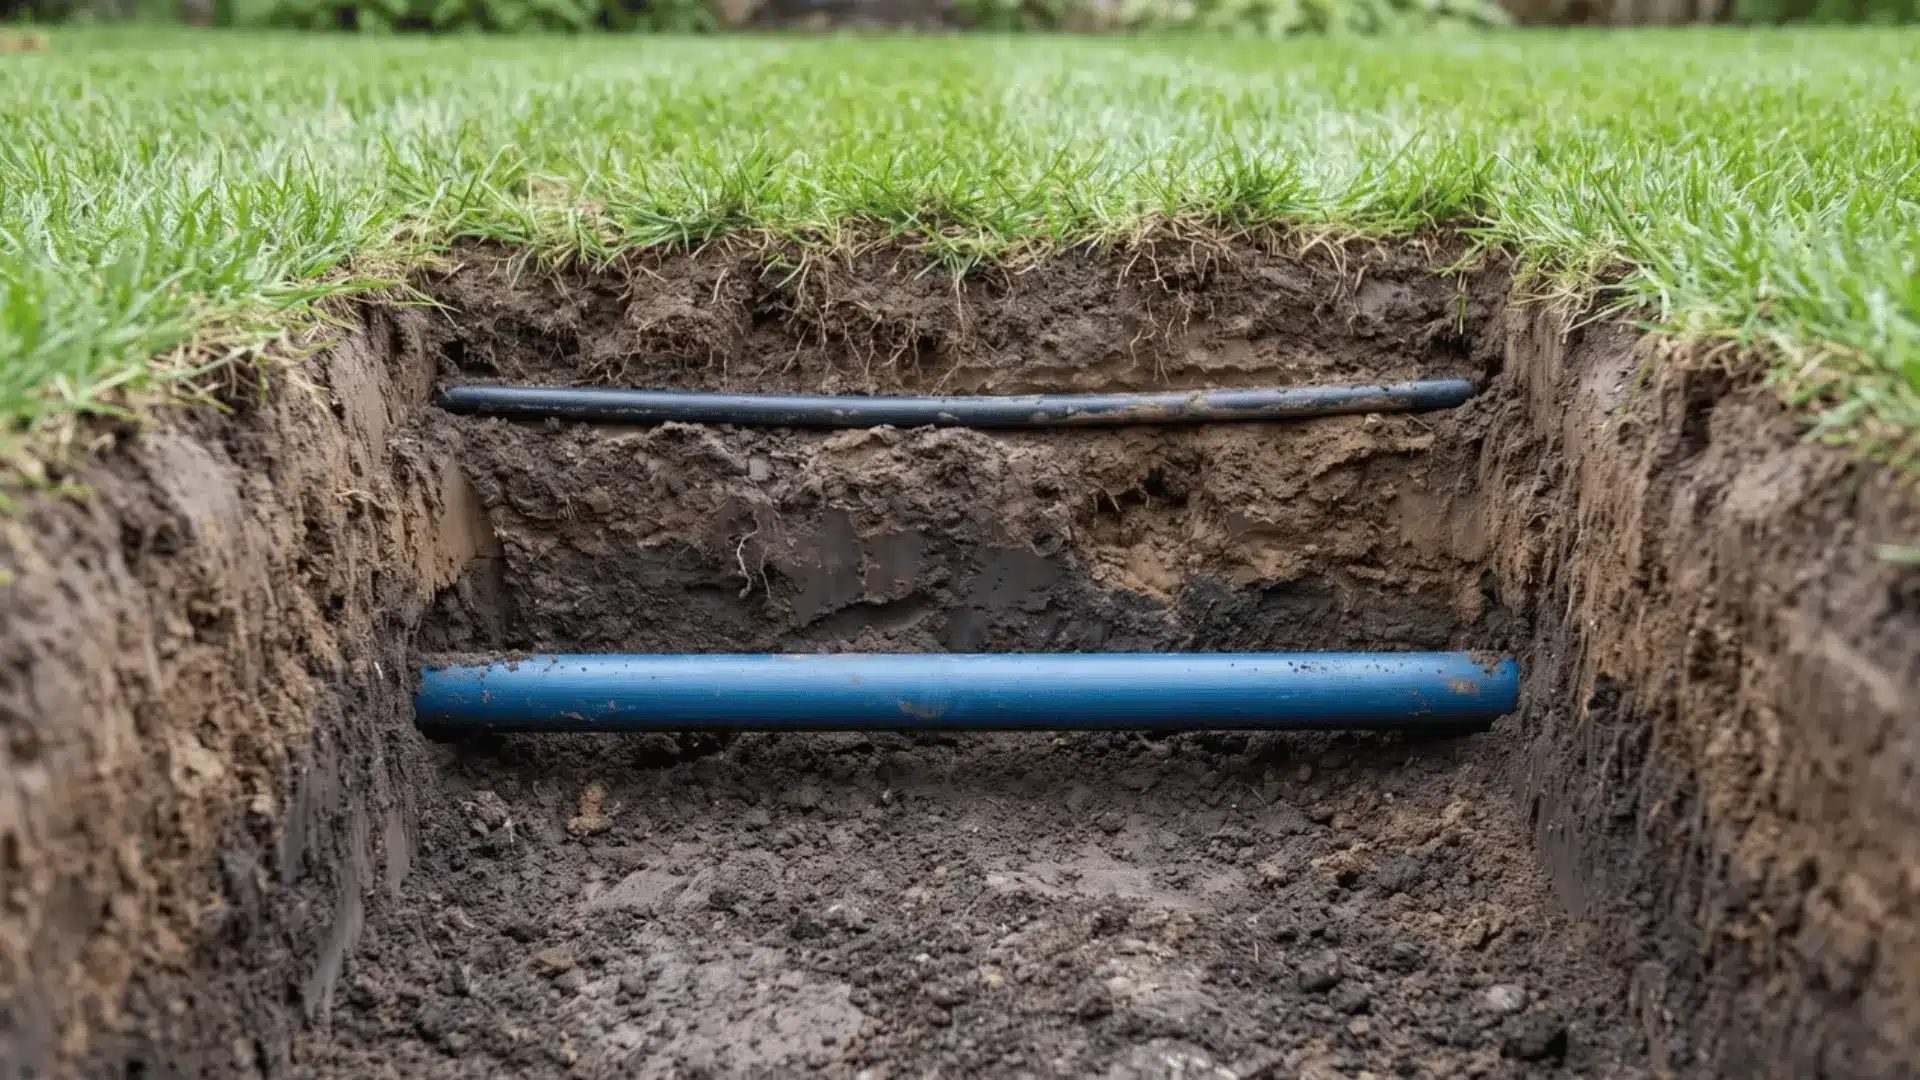
Lateral lines typically need 8 to 12 inches of cover, and mainlines need 12 to 18 inches, though pipe diameter, surface traffic, and local frost depth can all push those numbers deeper.
Larger main pipes usually need more cover than smaller lateral lines. A line beneath a driveway also needs greater protection than one running under soft lawn.
Frost depth becomes more important in colder regions, where freezing conditions can require deeper burial.
Local requirements may push pipe depth beyond what basic physical protection alone requires. Lateral lines typically sit this deep because they carry more pressure and need additional protection.
Extra depth does not replace winterizing. Water left inside can freeze, expand, and crack the pipe, so blow out the sprinkler lines before the first freeze each fall.
Cost Breakdown: Installation, Materials, and Maintenance
Costs on this project swing a lot depending on who’s doing the work. Here’s how US averages break down.
| Category | DIY | Professional |
|---|---|---|
| Materials only | $1,500 to $2,500 | Included in service cost |
| Labor/service | $0 (your time) | $2,000 to $4,000 |
| Total installation | $1,500 to $2,500 | $3,500 to $6,500 |
| Per zone | $600 to $1,000 | $1,200 to $2,000 |
| Winterizing (fall) | $50 to $60 (compressor rental) | $60 to $150, averaging $90 |
| Spring activation | $0 (your time) | $45 to $140 |
| Annual maintenance plan | Not typically offered | $140 to $400 |
Note:Pricing reflects national averages as of 2026 and shifts by region, so confirm current rates for your zip code before budgeting.
Materials stay roughly the same either way. The gap comes almost entirely from labor, which is why DIY saves the most on bigger yards.
These are national averages, and your actual price depends heavily on where you live.
Local labor rates, climate, and even how many pros are competing for work in your area all move these numbers up or down.
A winterization job that runs $90 in one state can hit $250 in another with harsher winters and higher demand.
Always check quotes for your specific zip code before budgeting off a national number.
Worth factoring into that budget: the EPA’s WaterSense program estimates that swapping a standard clock timer for a WaterSense-labeled controller can cut irrigation water use by up to 30 percent and save around 15,000 gallons a year, which offsets part of the upfront cost over time.
Mistakes That Cause Most System Failures
Most redo jobs come back to a handful of preventable mistakes. Catch these while the trenches are open, because repairs become slower and more expensive once everything is buried.
- Skipping pressure and flow checks: Weak spray and dry patches often appear after backfilling. Measure PSI and GPM first so every zone has enough water to run properly.
- Putting too many heads on one zone: Exceeding your available flow drops pressure across every sprinkler. Fewer heads per zone usually gives you more reliable coverage.
- Spacing sprinkler heads too far apart: If pressure cannot support the planned throw distance, dry strips develop between heads. Match spacing to the actual reach of each sprinkler.
- Backfilling before checking for leaks: Slow leaks can stay hidden underground for weeks. Run the system, inspect every fitting, and confirm pressure holds before covering the pipes.
- Skipping the pipe flush: Dirt and debris left inside new lines can clog sprinkler nozzles. Flush every branch before fitting the nozzles and making final adjustments.
- Ignoring trench slope: Water can remain trapped when pipes cannot drain. A 1-2% grade helps water move out instead of sitting inside the line.
Take the extra time to test pressure, coverage, drainage, and every connection before closing the trenches. Those checks are far easier than digging the system back up later.
Conclusion
Sprinkler system installation works best when you slow down before the pipes disappear underground.
The main goal is not just getting water to each head. It is making sure every zone has enough pressure, every pipe sits at the right depth, and every fitting holds steady before backfilling.
A good system should water evenly, drain properly, and stay easy to maintain through each season.
DIY can save money, but only when the planning, testing, and final checks are done with care.
Planning to install your own sprinkler system? Check your PSI and GPM first, keep the trenches open during testing, and build it one step at a time.
Frequently Asked Questions
How Much Does It Cost to Install a Sprinkler System Yourself?
DIY materials usually run $1,500 to $2,500 for a standard yard. Professional installation costs $3,500 or more for the same job. Your total shifts with yard size, zone count, and head type. Renting a trencher adds cost, but it still lands well below professional labor rates.
Can I Install a Sprinkler System Myself without Professional Help?
Yes, if you’re comfortable with basic plumbing and wiring. Most standard yards take two to three days from start to finish. Getting your PSI and GPM numbers right matters more than experience. Those two numbers drive every design decision that follows.
Do I Need a Permit to Install a Sprinkler System in My Yard?
It depends on where you live. Many towns require a permit for the backflow preventer, not the sprinkler lines themselves. Check with your local building department before you dig. Requirements shift a lot from one city to the next.
How Deep Does a Sprinkler System Need to Be Buried?
Lateral lines typically sit 8 to 12 inches deep. Mainlines run 12 to 18 inches deep, since they carry more pressure. Cold climates push both numbers deeper, below the local frost line. But depth alone won’t stop pipe from freezing if you skip winterizing.