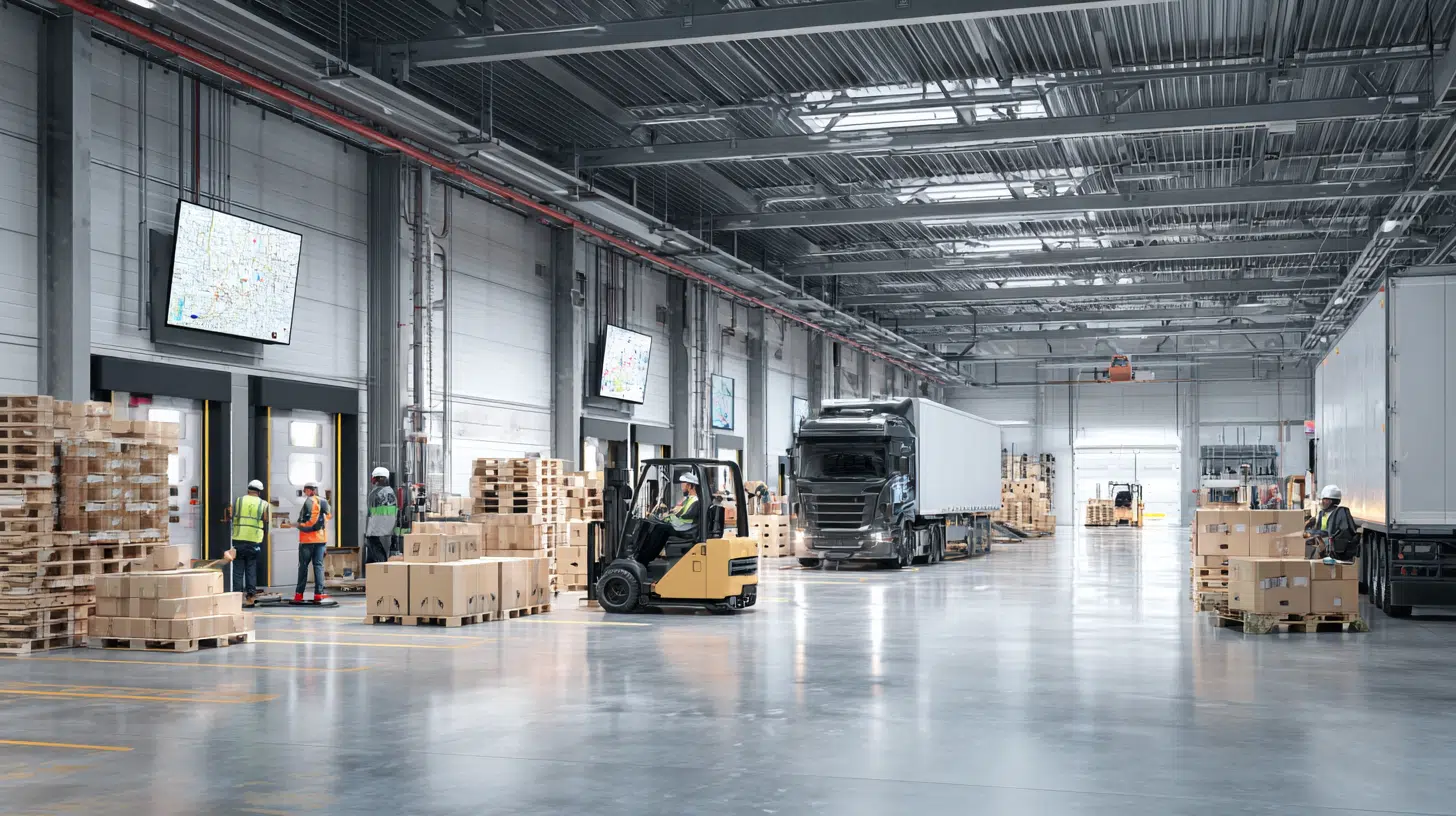
I’ve walked into warehouses that look perfect on paper and still lose an hour a day to backtracking, crossed paths, and product sitting in the wrong spot.
That mismatch usually traces back to one thing: warehouse layout design that was drawn to fill space instead of following how goods actually move.
A good layout follows product from the dock to the shelf and back out again, cutting steps instead of adding rack rows for their own sake.
Below, you’ll find the layout shapes, the planning steps, and the tools that make the process faster. Start with what a warehouse layout is actually built to do.
What is Warehouse Layout Design?
Warehouse layout design is the process of deciding how storage areas, loading docks, aisles, workstations, equipment, inventory, and staff fit within the available space.
The aim is not to fill every square foot. It is to make day-to-day movement easier and more efficient.
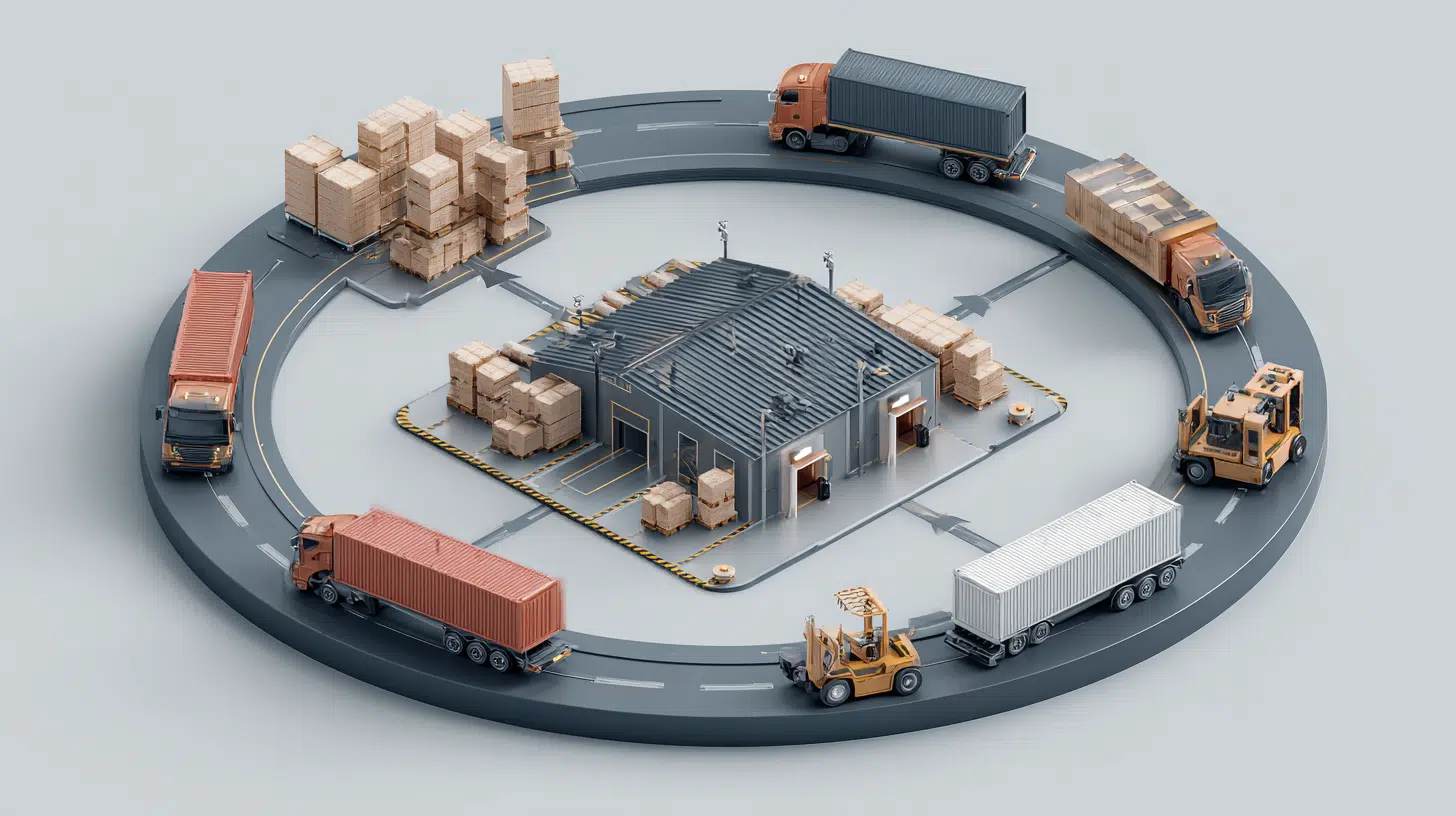
A practical layout follows the path goods take through the building, from receiving and storage to picking, packing, and shipping.
The fewer unnecessary steps, crossings, and backtracks involved, the easier the operation is to manage. That is why a neat floor plan is not always a good working layout.
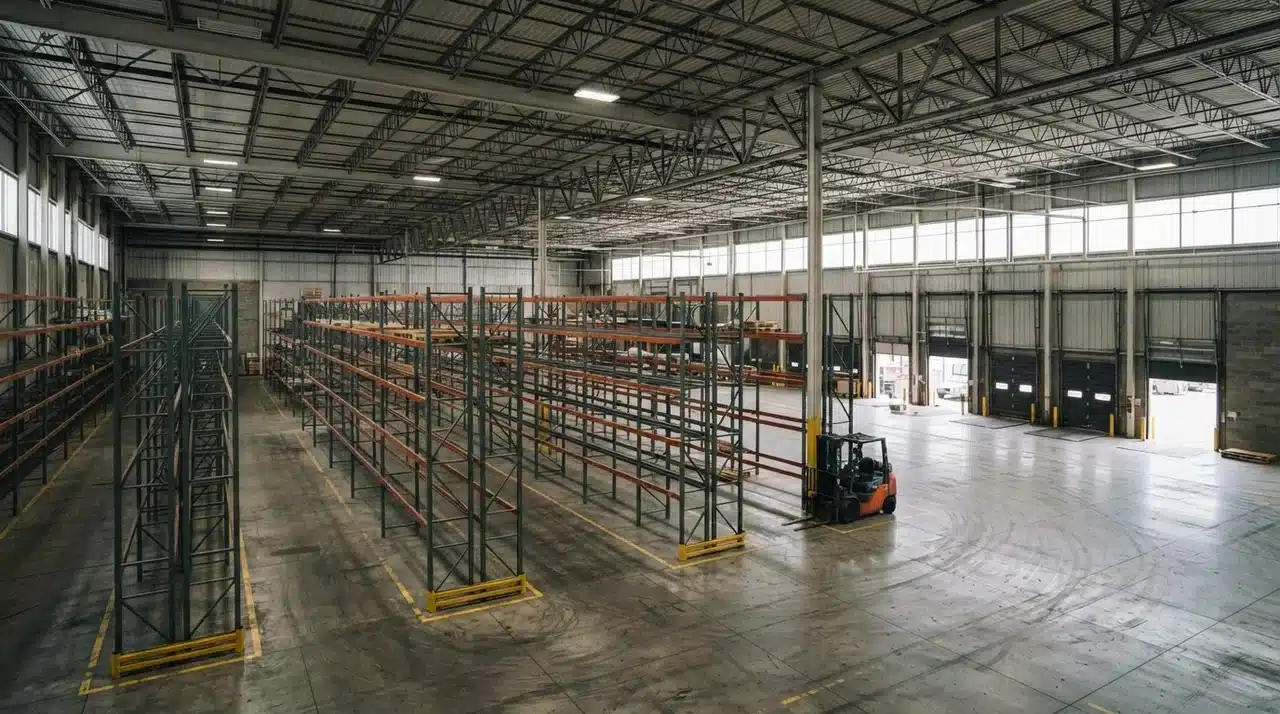
Racks can fit perfectly on paper, but if workers and equipment constantly cross paths, the setup can still slow everything down. Product flow matters just as much as the physical arrangement.
The Main Warehouse Layout Types
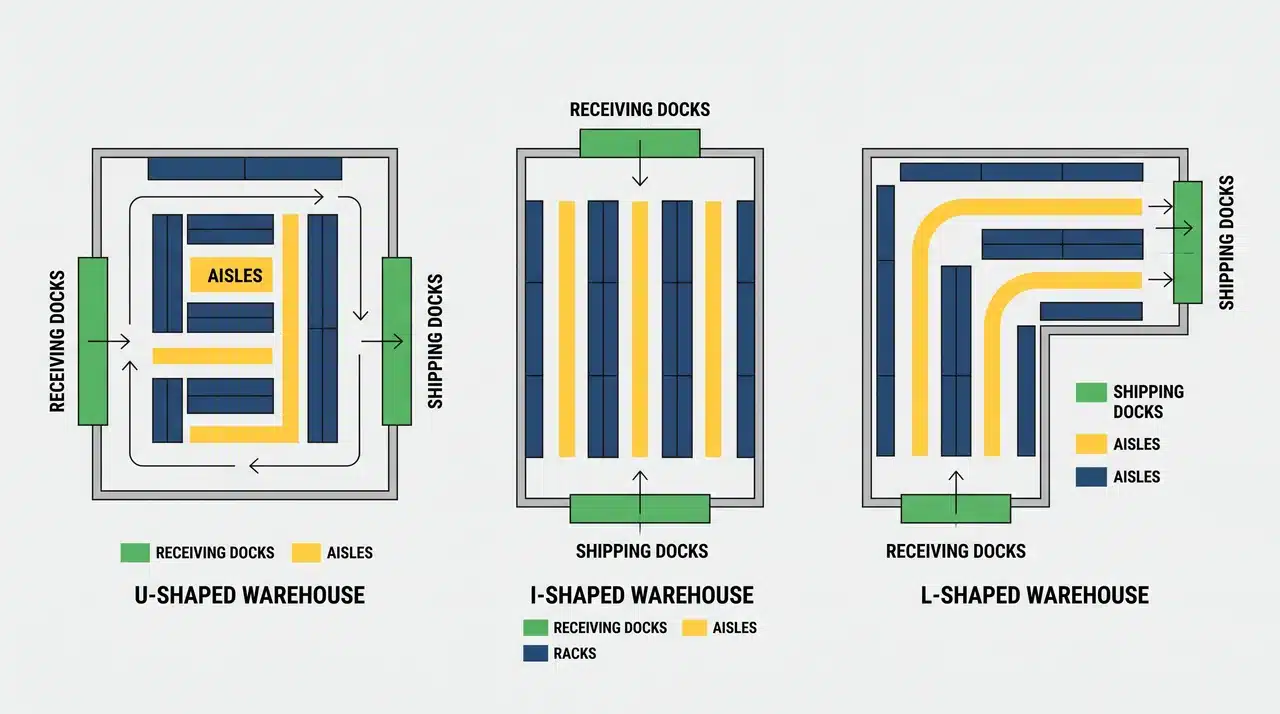
No single layout works for every warehouse. Building shape, dock locations, inventory, order patterns, and equipment all affect the right choice.
1. U-Shaped Warehouse Layout
A U-shaped layout puts receiving and shipping on the same general side of the building.
That setup makes shared dock and staging space easier to manage. One crew can often handle both functions without walking far between them.
Travel distance tends to drop in this layout, especially for moderate-volume operations. Product doesn’t have to cross the whole building to reach either end.
The tradeoff shows up around the shared dock area. When inbound and outbound trucks queue near the same doors, congestion builds fast.
This layout tends to work well for flexible operations without a fixed high-volume flow. Multi-tenant buildings and shared-dock facilities often end up here too, simply because of how the building is built.
2. I-Shaped Warehouse Layout
An I-shaped layout puts receiving at one end and shipping at the other.
Product moves straight through the building in one direction, with no crossover between inbound and outbound activity.
That separation keeps operations clean. Trucks and staff aren’t competing for the same space at any point in the process.
The catch is length. This layout needs a building long enough to support a full straight-through run from one end to the other.
High-volume operations tend to benefit most here. When you’re moving a lot of product every day, keeping inbound and outbound completely separate reduces bottlenecks.
3. L-Shaped Warehouse Layout
An L-shaped layout puts receiving and shipping on adjoining sides of the building, rather than opposite ends or the same side.
This still separates inbound and outbound activity, just not in a straight line. It’s a middle ground between the U and I shapes.
Buildings with irregular dimensions often end up here. When the space won’t allow a straight run, the L-shape adapts to the shape you’ve got.
The tradeoff is travel distance. The product may need to move at an angle or take a longer path than a straight-through layout would allow.
Here’s a quick look at how the three compare:
| Layout | Basic Flow | Main Advantage | Main Limitation | Often Suits |
|---|---|---|---|---|
| U-shaped | Same-side flow | Compact movement | Dock congestion | Flexible operations |
| I-shaped | Straight-through | Clear product flow | Needs length | High-volume facilities |
| L-shaped | Adjacent sides | Separates activities | Can require more travel | Certain building shapes |
None of these is a fixed rule. The right shape depends on your building, your dock setup, and how your product actually moves.
Warehouse Layout Design Tools and Software

Most people planning a layout today start with a screen, not a blank sheet of paper.
Warehouse layout design tools let you drag racks, aisles, docks, and workstations into a scaled floor plan, then move things around before you bolt a single shelf to the floor.
- Online drag-and-drop planners: browser-based tools built around warehouse-specific symbols such as pallet racks, forklifts, and dock doors. These work well for a first pass at zoning and traffic flow, and most run with no download or setup.
- CAD and drafting software: better suited to complex or multi-building sites where measurements need to be exact and shared with contractors or architects.
- Template-based diagram tools: pre-built warehouse shapes you customize, useful when you need something presentable fast for a stakeholder review or a lender.
A layout tool will not replace measuring your actual space, calculating storage needs, or walking the floor once racks go in.
What it does well is let you test a few configurations side by side, a U-shape against an L-shape, or wider aisles against denser racking, before committing to a physical build.
For a straightforward single-building warehouse, a browser-based planner is usually enough.
For multi-tenant buildings, cold storage, or anything requiring permits and engineering sign-off, pair the tool’s output with a facility engineer or architect who can confirm the plan against your building’s structural limits.
How to Design a Warehouse Layout Step-by-Step
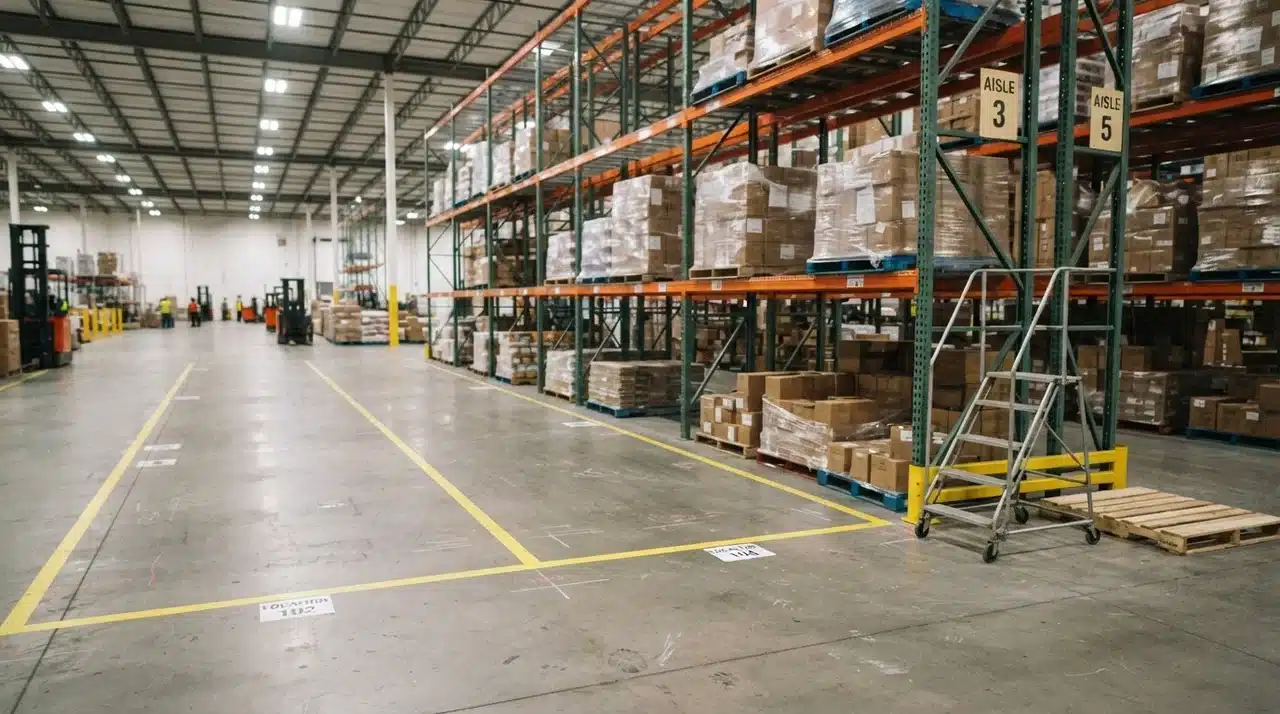
This is the process that ties everything together. Eight steps, in order, from measuring your space to testing the finished layout.
1. Measure the Available Warehouse Space
Start with the full picture: total usable floor area, ceiling height, and any columns or walls that break up the space.
Then account for doors, loading docks, and any fixed equipment that isn’t moving. Don’t forget offices and support spaces either. They eat into your footprint just as much as a rack would.
Here’s the part people miss. Gross square footage and usable storage space are not the same number.
Once you subtract columns, docks, offices, and clearance zones, your real storage footprint is almost always smaller than the number on the building spec sheet.
2. Map How Inventory Moves Through the Warehouse
Follow the actual sequence product takes through your building:
- Receiving
- Inspection or staging
- Putaway
- Storage
- Picking
- Packing
- Shipping
Add returns or cross-docking into this sequence if either applies to your operation.
This step matters more than people give it credit for. Mapping each warehouse operations stage before you draw a single wall keeps the floor plan honest.
Your floor plan should follow the operation. Don’t force the operation to bend around a floor plan you already drew.
3. Calculate Storage Requirements
Your storage needs come from several factors working together, not one formula. Consider:
- SKU count
- Pallet versus case storage
- Inventory levels
- Product dimensions
- Turnover rates
- Seasonal inventory
- Special handling requirements
A high SKU count with low turnover needs different storage than a low SKU count moving fast.
I’d avoid chasing a single space-utilization percentage you found online. Every warehouse’s mix of product and volume is different enough that one number rarely fits.
4. Choose the Right Storage System
Your storage method changes your layout, not the other way around. Common options include:
- Pallet racking
- Shelving
- Bins
- Floor stacking
- High-density storage
- Automated storage systems
Pallet racking needs different aisle clearance than bin shelving does. High-density storage changes how far apart your access points need to be.
Pick the storage system based on what you’re storing and how often you access it. Then build the layout around that choice.
5. Plan Aisles and Material Movement
Aisle width depends on what’s moving through it. Think through:
- Forklifts
- Pallet jacks
- Carts
- Picking methods
- Pedestrian movement
- Rack dimensions
- Turning requirements
A forklift needs far more turning room than a hand cart does, and that difference should show up in your aisle plan.
If you’re in the U.S., check your plan against a material handling equipment guide along with applicable OSHA requirements, fire codes, and local regulations before finalizing clearances.
6. Place High-Activity Inventory Carefully
This step is often called slotting. It means putting your fastest-moving SKUs where they’re easiest to reach. Fast-moving product deserves positions that cut down on unnecessary picking and replenishment travel.
If your best sellers sit at the back of the warehouse, every single order pays the cost of that decision.
7. Check Receiving, Staging, Packing, and Shipping Space
Warehouse planning tends to become storage-heavy fast. Racks get all the attention.
But insufficient staging or packing space can create bottlenecks even when your rack capacity looks perfect on paper.
Products need somewhere to sit while they it for the next step. Skip that space, and everything backs up right where it’s needed most.
8. Test the Layout Before Finalizing It
Before you commit, run the layout through a few real scenarios. Test:
- Common pick paths
- Forklift movements
- Replenishment routes
- Receiving peaks
- Shipping peaks
- Worker and equipment intersections
- Staging capacity
Walk through a typical high-volume day on paper, and see where paths cross, or space runs short.
In the freight playbooks I build for carriers, this is the step that catches the expensive mistakes, because a paper plan hides bottlenecks that only show up once a warehouse is running under full load.
A simple scenario test like this catches problems a clean floor plan drawing never will.
Warehouse Layout Design Best Practices
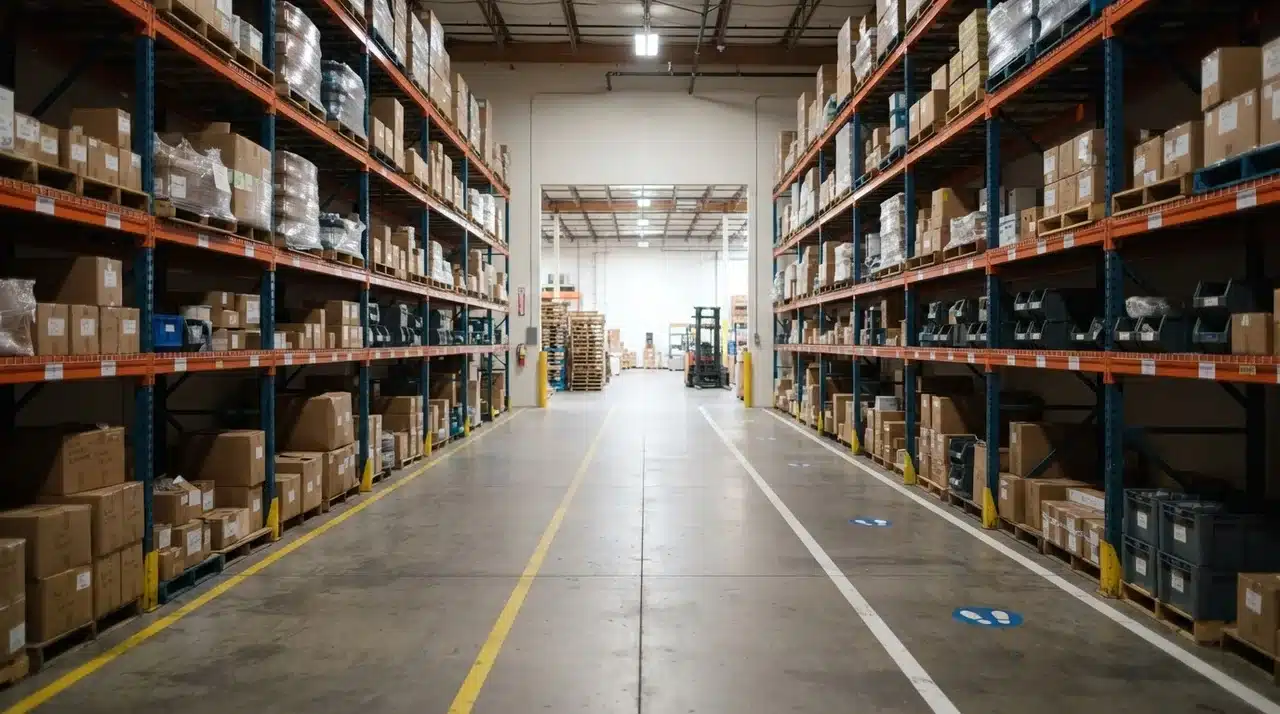
A good warehouse layout should make daily movement easier, not just fit more storage into the building.
Keep walking and forklift travel as short as possible, and place fast-moving inventory where workers can reach it with fewer trips.
Do not use every open area for storage. Receiving and shipping need enough staging space to handle busy periods, and traffic routes should keep pedestrians, forklifts, and outbound activity from crossing too often.
Vertical storage can help, but rack limits, sprinklers, equipment clearance, and safety requirements still matter.
Replenishment also needs its own clear path. If restocking constantly gets in the way of active picking, delays can build quickly.
It also helps to leave some flexibility because inventory levels, order volume, and equipment needs can change over time.
These practices work best as regular checks, not one-time decisions. Review the layout as your operation changes so small problems do not turn into daily bottlenecks.
Common Warehouse Layout Mistakes
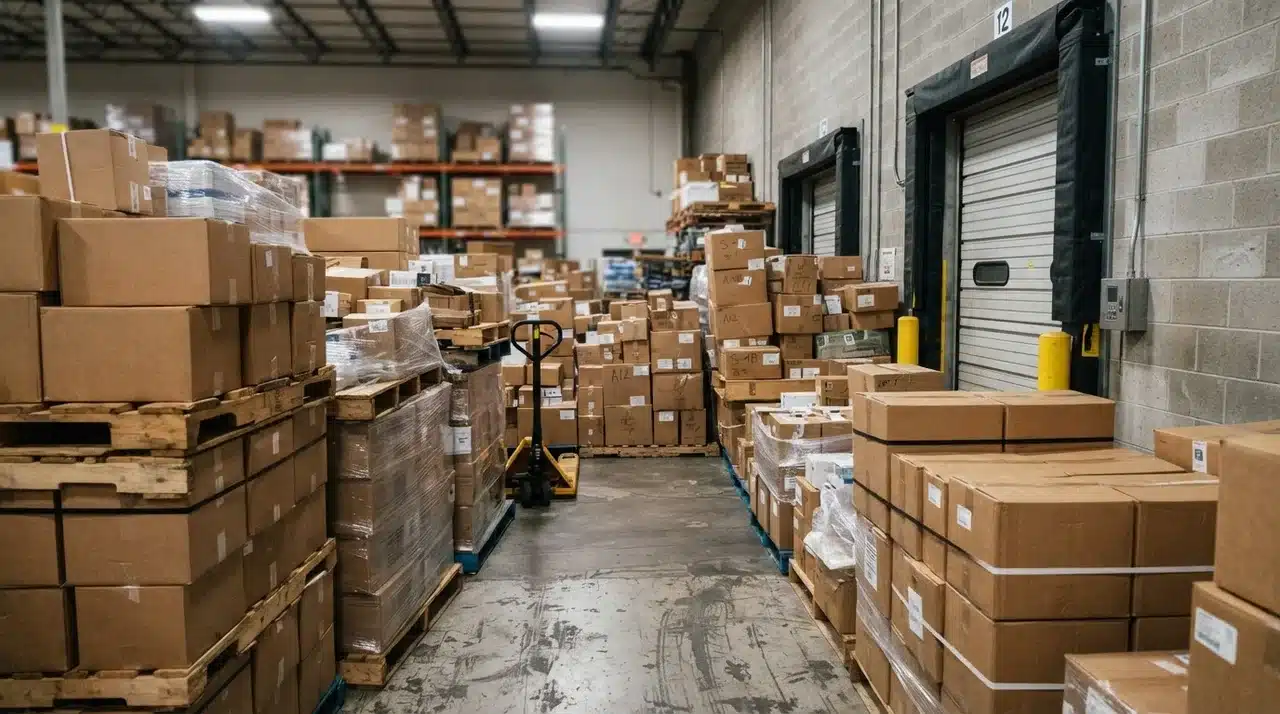
Some mistakes show up again and again, even in layouts that started with good intentions.
- Placing racks before mapping the actual workflow
- Maximizing storage density at the expense of movement
- Making staging areas too small
- Ignoring forklift turning requirements
- Mixing heavy inbound and outbound traffic
- Putting fast-moving SKUs in poor locations
- Forgetting replenishment routes entirely
- Planning around average demand instead of peak activity
- Failing to leave room for future operational changes
Most of these come from designing only for today’s conditions. A layout that can’t flex tends to fail the moment volume or SKU count shifts.
How Do You Know a Warehouse Layout is Working?
Verifying a layout means measuring how product actually flows. Not just checking that it looks like the plan.
Track pick time per order and dock-to-stock time. These numbers tell you whether your flow shape is doing what it’s supposed to.
Don’t stop at steady-state numbers, either. A layout can look fine on a normal Tuesday and still fall apart during a peak week.
I’ve seen this exact pattern: metrics look healthy all quarter, then a seasonal spike hits and the same shape mismatch from before shows up again.
Test your busiest period, not just your average one.
A visual check won’t catch any of this. Neat rows and organized shelves can sit right next to a bottleneck you can’t see just by walking the floor. Throughput problems hide behind a tidy-looking layout more often than you’d think.
Conclusion
A strong warehouse does more than hold inventory. It supports faster decisions, smoother daily work, and fewer small problems that quietly drain time and space.
The best warehouse layout design comes from matching the building to real operating needs, then checking how well that setup performs once work begins.
Layout choices, storage zones, traffic flow, equipment needs, and future growth all matter, but they work best when planned as one connected system.
Small layout changes can often make a noticeable difference without requiring a full facility redesign.
Use the ideas in this guide to review your current setup, spot weak points, and start planning a warehouse that works harder for your operation.
Ready to make every square foot work smarter? Start reviewing your warehouse layout today and turn small changes into smoother, faster operations.
Frequently Asked Questions
What are the four types of warehouse layout?
The four common types are U-shaped, L-shaped, I-shaped, and modular or hybrid layouts. U-shaped layouts share one dock area for receiving and shipping. I-shaped layouts separate the two at opposite ends. L-shaped layouts sit in between, often used when space is irregular.
What is the ideal warehouse layout?
There’s no single ideal layout. The right choice depends on dock configuration, order volume, and SKU variety. A shared-dock facility with moderate volume usually favors a U-shape. High-throughput operations with separate inbound and outbound docks do better with an I-shape. The ideal layout is the one that matches your actual flow, not a fixed template.
Do I need special software to design a warehouse layout?
You don’t need software to start, but most planners use it anyway because it turns rough measurements into a scaled, shareable floor plan in minutes. Online drag-and-drop planners and CAD tools help you test layout shapes before committing to a physical build. Gather your flow and volume data first, then let a tool speed up the drawing, not replace the planning.
How wide should warehouse aisles be?
Aisle width depends on your equipment, not one fixed number. Manual picking and hand trucks generally work with aisles around 5 feet, standard counterbalance forklifts typically need 10 to 13 feet, and narrow-aisle or turret trucks can run in 5 to 7 feet. OSHA’s aisle clearance rule requires enough width for the equipment you use rather than one universal figure, so confirm your setup against local fire code before finalizing width.