
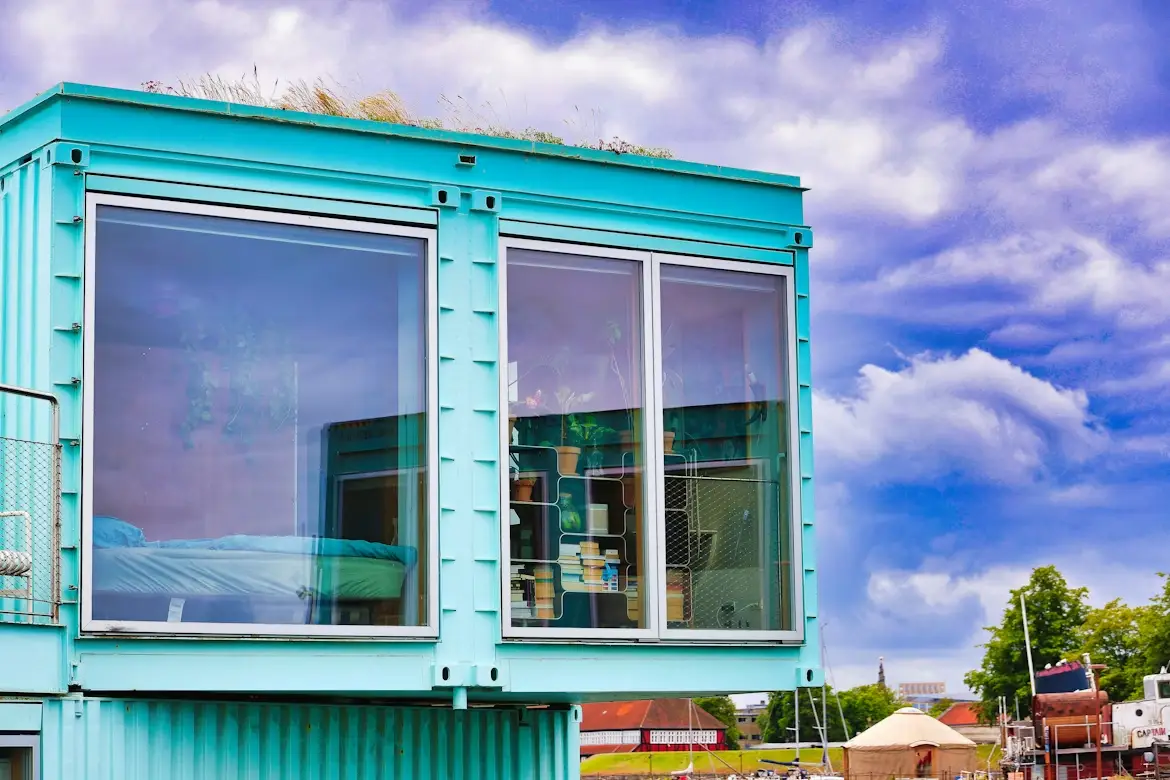
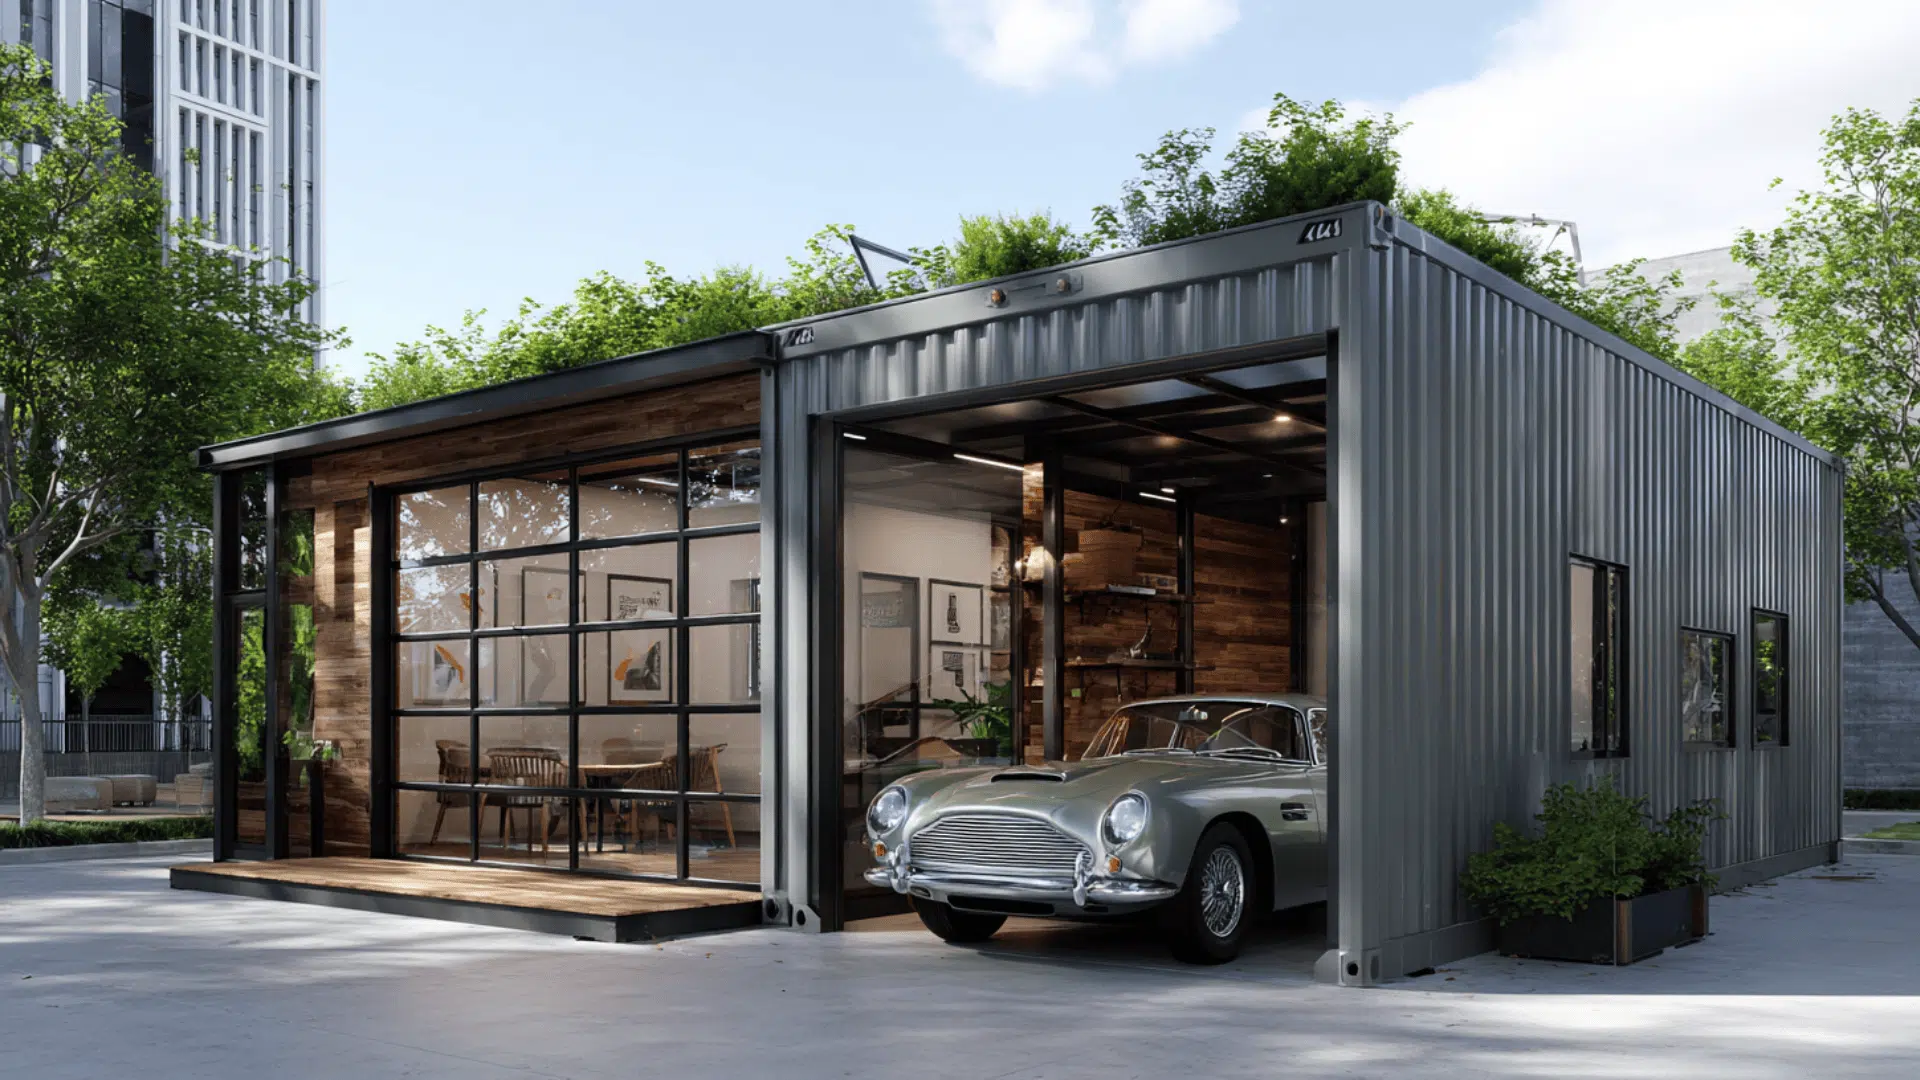
Not everyone is ready to build a full container home. But a detached backyard space? That’s a different conversation entirely. Whether you need a home office that actually feels separate from the house, a woodworking shop, an art studio, or a music room with real soundproofing potential, a shipping container might be the most practical thing you put on your property this year.
Suppliers like SCS Australia have made it easier than ever to source containers in various sizes and conditions, and a growing number of homeowners are discovering that these steel boxes can be transformed into seriously functional spaces for a fraction of what a traditional build would cost.
Here’s everything you need to know before you get started.
Why a Container Works So Well for This
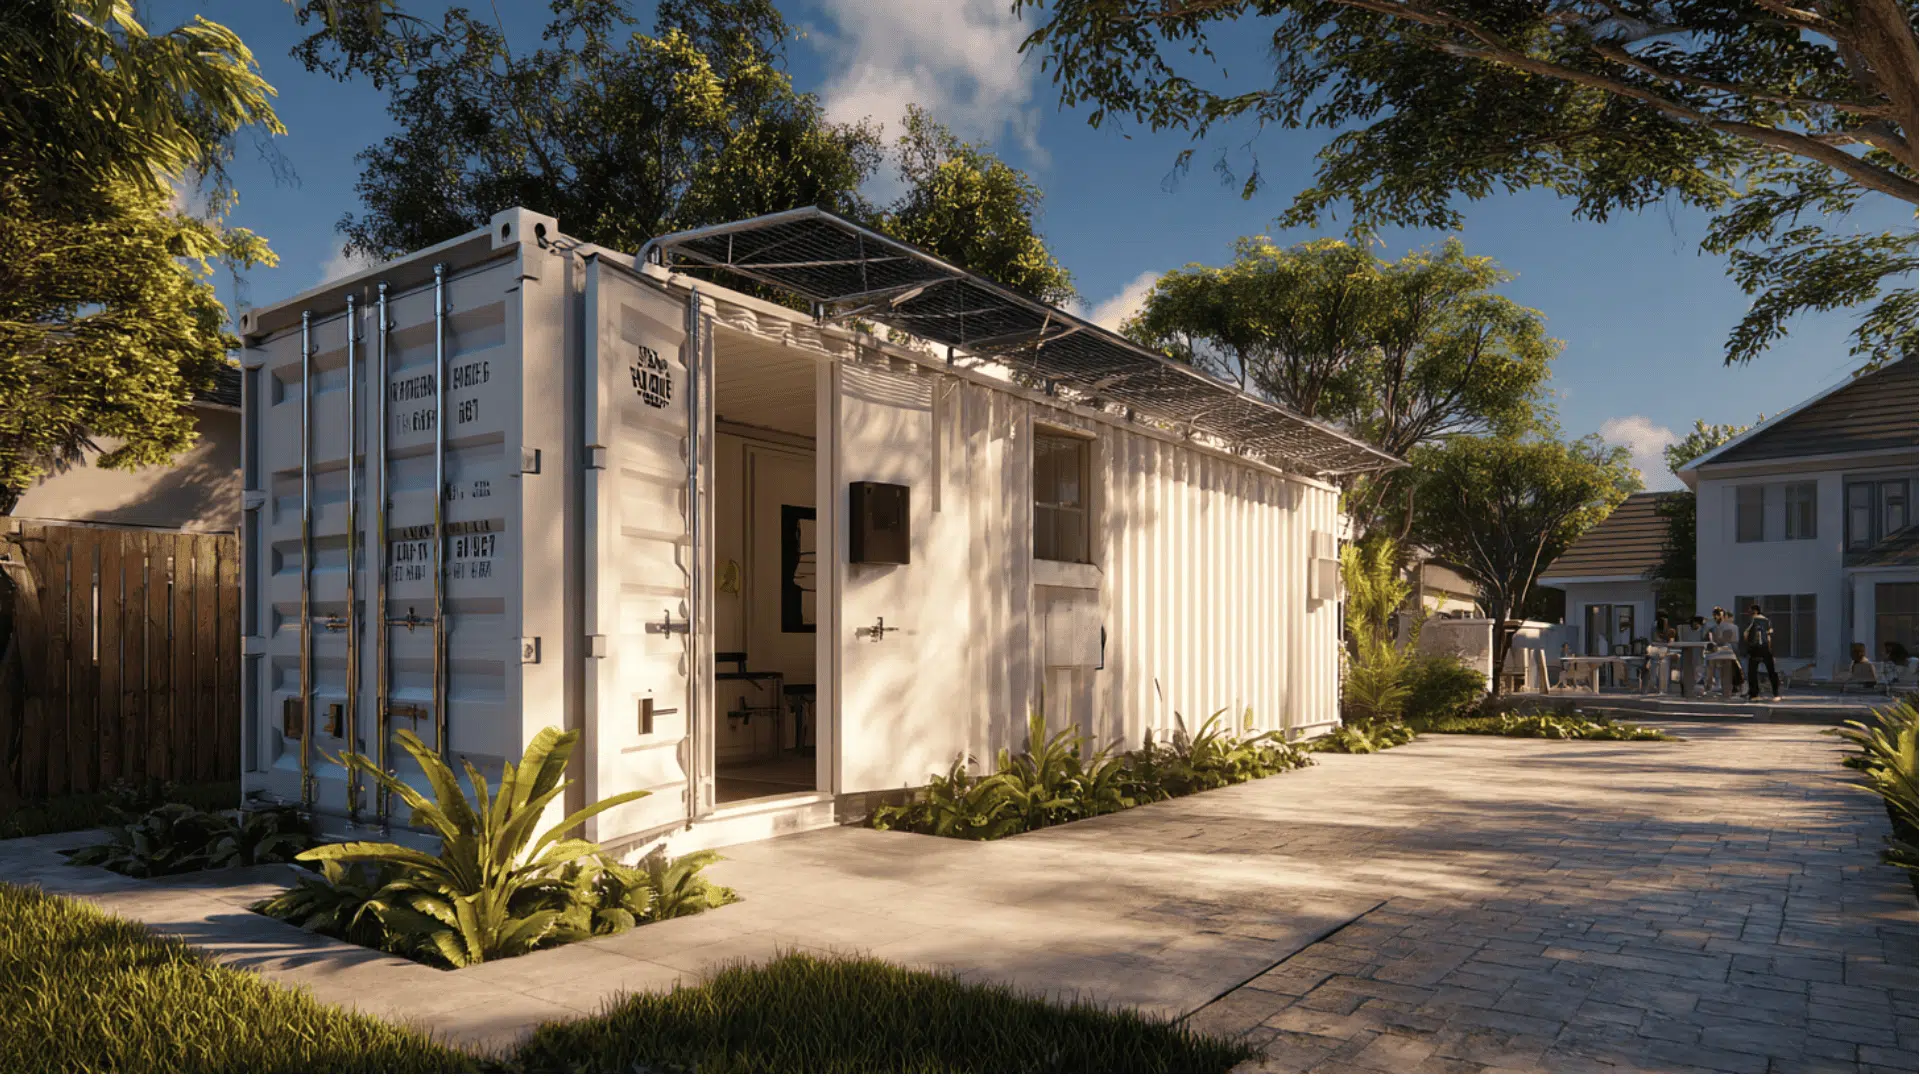
A standard 20-foot shipping container gives you roughly 14.8 square metres of floor space — compact, but plenty for a focused single-purpose room. Step up to a 40-foot container and you’re looking at around 29.7 square metres, which is comfortable for a full workshop with room to move around equipment.
The structural case for containers is strong. They’re engineered to be stacked eight high on cargo ships in rough seas, which means they’re overbuilt for static use on dry land. That translates to a frame that handles heavy tool mounting, overhead storage, and even loft platforms without complaint.
They’re also weatherproof by design, which gives you a head start on protecting tools, equipment, canvases, or instruments from the elements.
New vs Used: What to Buy
This is usually the first decision you’ll face, and it comes down to budget versus aesthetics.
A used container graded as “cargo worthy” or “wind and water tight” will cost significantly less than a new one. Expect some surface rust, dents, and wear — but structurally these are sound. If you’re painting the exterior anyway or lining the interior walls, the cosmetic condition matters very little.
A new or “one trip” container has made a single journey from the factory and is in near-perfect condition. The interior is clean, the doors seal tightly, and you’ll have an easier time with any custom modifications. If budget allows, it’s worth it for a studio where you’ll spend a lot of time.
The Modifications Worth Making
A bare container is a starting point, not a finished room. These are the upgrades that make the biggest difference:
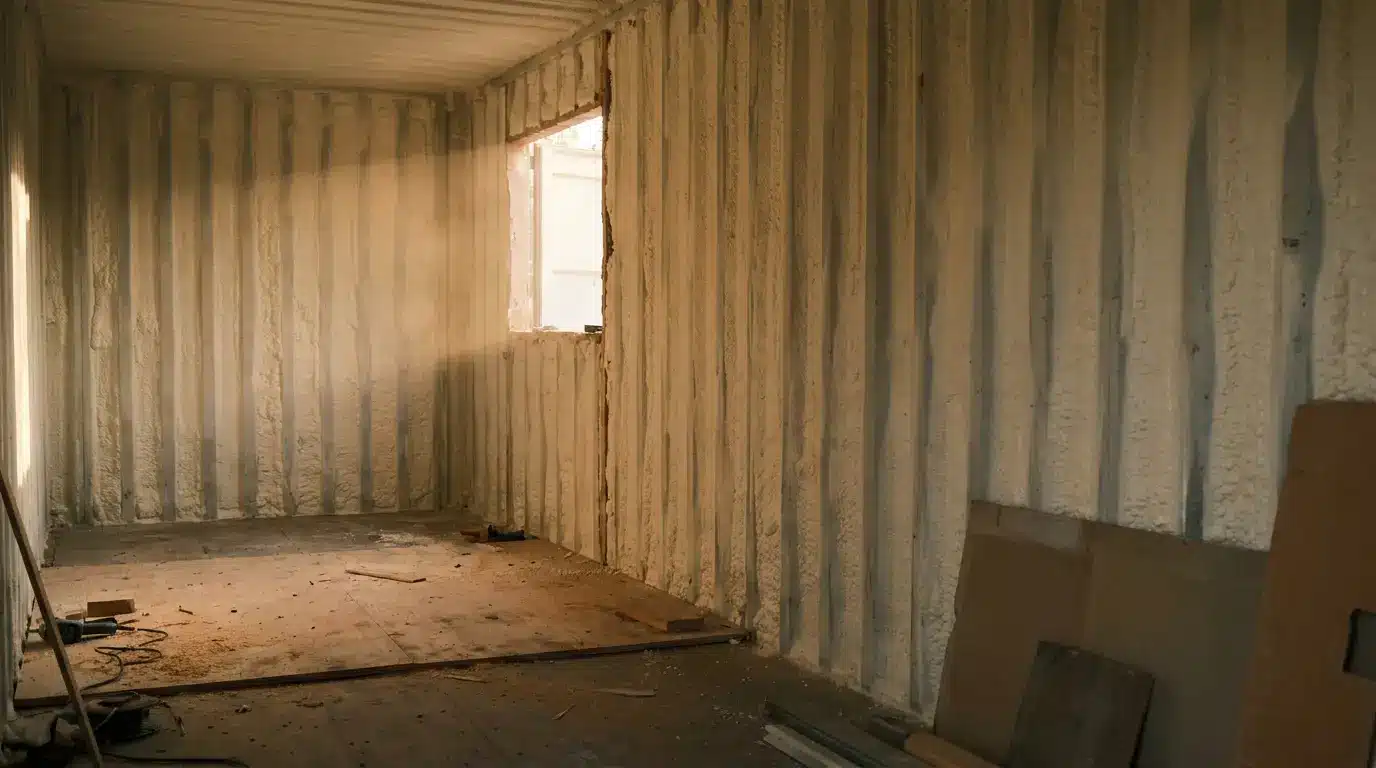
Insulation. This is non-negotiable. Steel conducts heat and cold aggressively. Spray foam is the most effective option for containers because it bonds directly to the walls, acts as a vapour barrier, and doesn’t leave dead air space where condensation can build up. Rigid foam panels are a more affordable alternative and easier to DIY.
Flooring. Most container floors are marine-grade hardwood treated with pesticides — fine structurally, but worth covering if you’re spending long hours in the space. Rubber matting works well for workshops. For studios, plywood subfloor with timber flooring on top is a popular and comfortable choice.
Windows and ventilation. A single door at one end isn’t enough airflow for working in. Even one or two windows cut into the side walls transforms the feel of the interior. A small split-system air conditioner handles both heating and cooling efficiently in a space this size.
Electrical. Running a single cable from your home’s switchboard to the container is straightforward for most licensed electricians. Once you have power, the interior fit-out — lighting, power points, any data cabling — is standard work.
Soundproofing. Containers have surprisingly good bones for acoustic treatment. The steel shell reflects sound inward rather than outward, and once you add insulation and internal wall lining, you can create a genuinely quiet recording or practice space with relatively modest acoustic panel investment.
Placement and Permits
Before you order anything, check your local council requirements. Most Australian councils treat a shipping container as a structure, which means it may require a development application depending on its size, how permanent the installation is, and how close it sits to boundaries.
In many cases, a container on temporary footings — rubber pads or adjustable feet — is treated differently than one on a concrete slab. A concrete slab is the more stable long-term option and better for heavy workshop equipment, but the permit pathway is worth understanding first.
Access is the other practical consideration. A 20-foot container is delivered by tilt-tray truck and needs around 20–22 metres of clear run-in space. A 40-foot container needs more. If your property has gates, trees, or tight corners between the street and the backyard, confirm delivery feasibility with your supplier before committing.
What It Costs
Ballpark figures for Australia, recognising that prices shift with supply and demand:
- Used 20-foot container: $2,500–$4,500
- New/one-trip 20-foot container: $5,000–$7,500
- Delivery: $300–$800 depending on distance and access
- Insulation and lining: $1,500–$4,000 depending on materials and whether you DIY
- Electrical connection: $800–$2,000
- Windows and ventilation: $500–$2,000
A basic but functional backyard studio or workshop can realistically come together for $8,000–$15,000 all in. A more refined fit-out with quality finishes, flooring, and climate control could push toward $20,000–$25,000 — still well below the cost of a stick-built structure of comparable size.
The Bottom Line
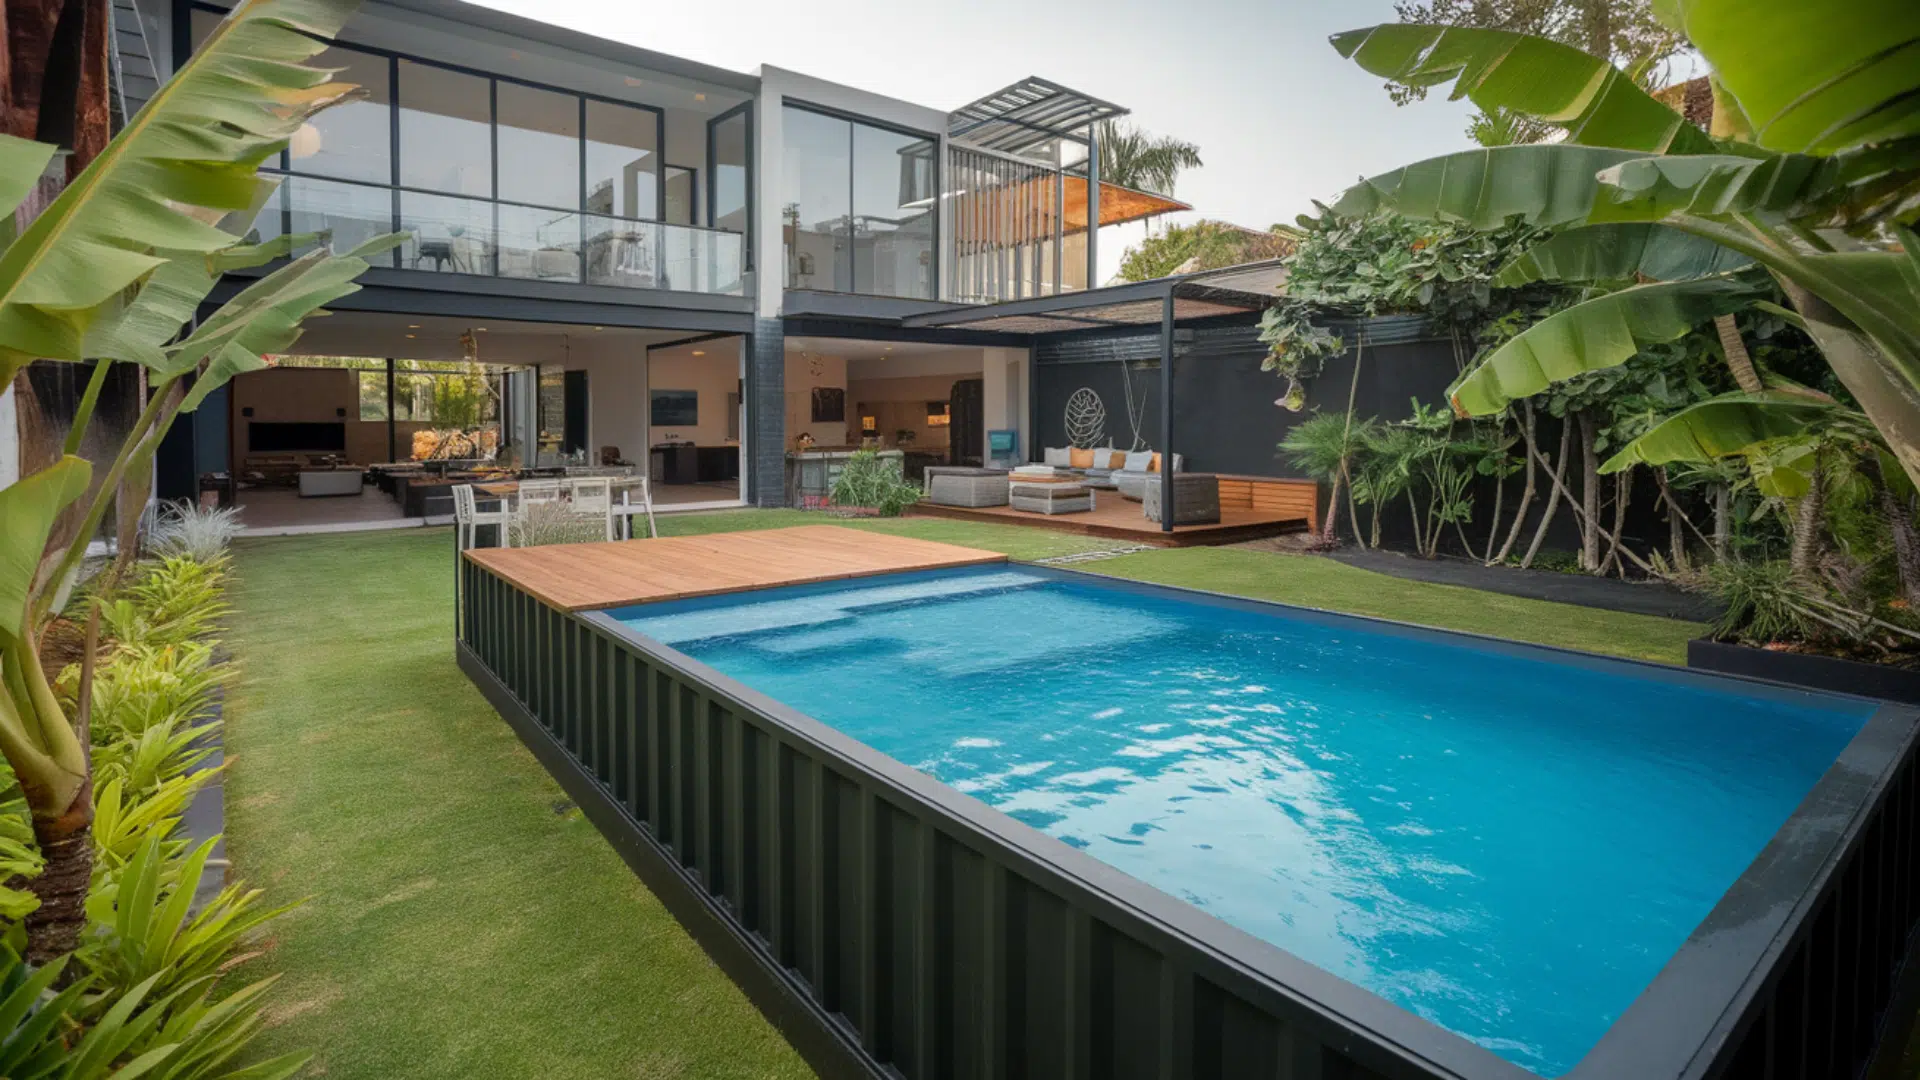
A shipping container studio or workshop hits a sweet spot that a lot of other options don’t: it’s durable, fast to set up, easier to permit than a permanent extension, and genuinely adaptable to whatever you actually need the space for. You’re not locked into a single use. The same box that works as a woodworking shop today can be reclad and repurposed as an office in five years.
If you’ve been putting off carving out that dedicated space because a full renovation felt too big or too expensive, a container might be exactly the shortcut you were looking for.


One Response
What books can I get from this author Jason Miller. I’m interested in building a container home.