Flood damage changes a home really quickly.
And, it’s not just about what you can see. Floors, wiring, insulation, and even the structure can take a hit.
That’s what makes it so frustrating. You’re not just cleaning up water. You’re dealing with damage that can move fast if you don’t handle it ASAP.
Moisture stays trapped. Mould starts forming. Materials weaken.
Now, here’s the thing; restoring a home after a flood? It takes more than quick fixes. You need a clear approach. One that deals with damage at the root.
If you’re stepping into this situation, knowing where to start helps more than anything else.
We’re here to help you with that.
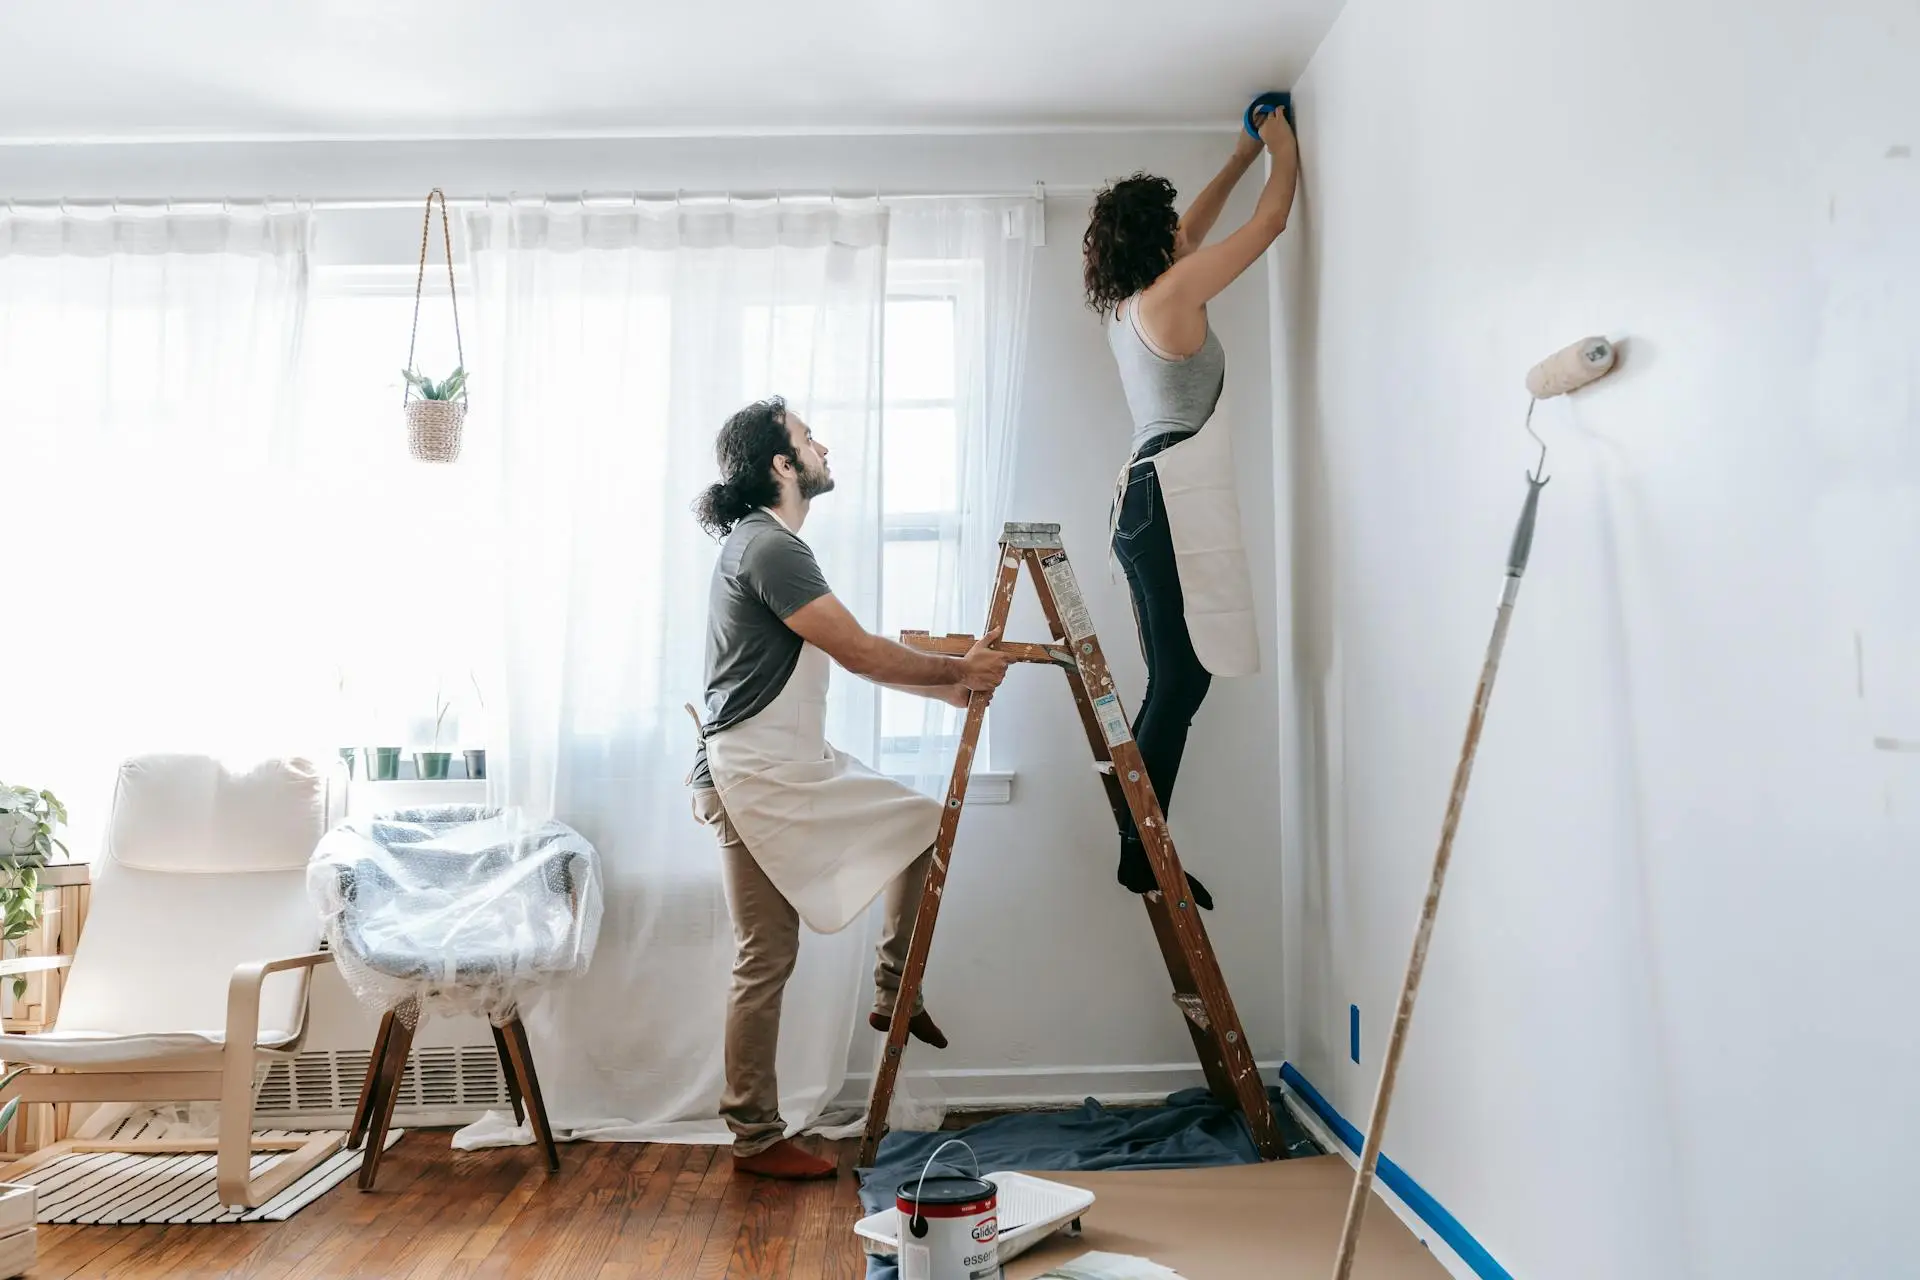
Fix the Damage First Before Thinking About Repairs
So, what’s the first instinct after a flood? To fix what looks broken, right?
Walls, floors, furniture – feels urgent. But jumping straight into repairs? Not the path we recommend.
Water doesn’t stay on the surface. It moves into materials you can’t fully see. Plasterboard, insulation, wooden framing. Moisture hides there. If it stays, the damage can be long-term.
That’s why restoration comes first. Remove the water. Dry the space completely. Deal with anything that can’t be saved.
But do you have the right equipment to do that? If you want to save time and the hassle of fixing errors, call in experts who offer professional flood restoration solutions.
Do not skip this or rush it. If you do that, repairs won’t hold. The damage comes back. Sometimes, it’s a lot worse than before.
Remove Standing Water as Quickly as Possible
In the early stages, you’ve got to be quick.
Standing water spreads quickly. It seeps deep into flooring, walls, and furniture. If it stays for too long, it becomes much harder to remove.
So, get it out quickly. Use pumps or wet vacuums. The goal? Clearing as much water as possible in the shortest time.
Once most of the water is gone, the rest of the restoration process becomes easier to manage.
Dry and Dehumidify the Entire Space
You’d think removing water doesn’t mean the job is done – well, we hate to burst that bubble.
Moisture stays behind in the air. Inside materials. You might not see it, but it’s there.
You’ve got to dry things up. Opening windows is great but they can’t handle this alone.
Air movers help circulate air across surfaces. Dehumidifiers pull moisture out of the air. Together, they speed up the drying process.
Complete drying sets the foundation for everything that comes next.
Check for Structural Damage
Floodwater doesn’t just make your home look, well, unappealing; it also causes major damage to the structure.
Wood can warp. Foundations can shift slightly. Support structures may weaken.
So, what can you do? Inspect!
Walk through the property. See anything unusual? Uneven floors, cracks in walls, or areas that feel unstable.
If something doesn’t feel right, get a professional opinion.
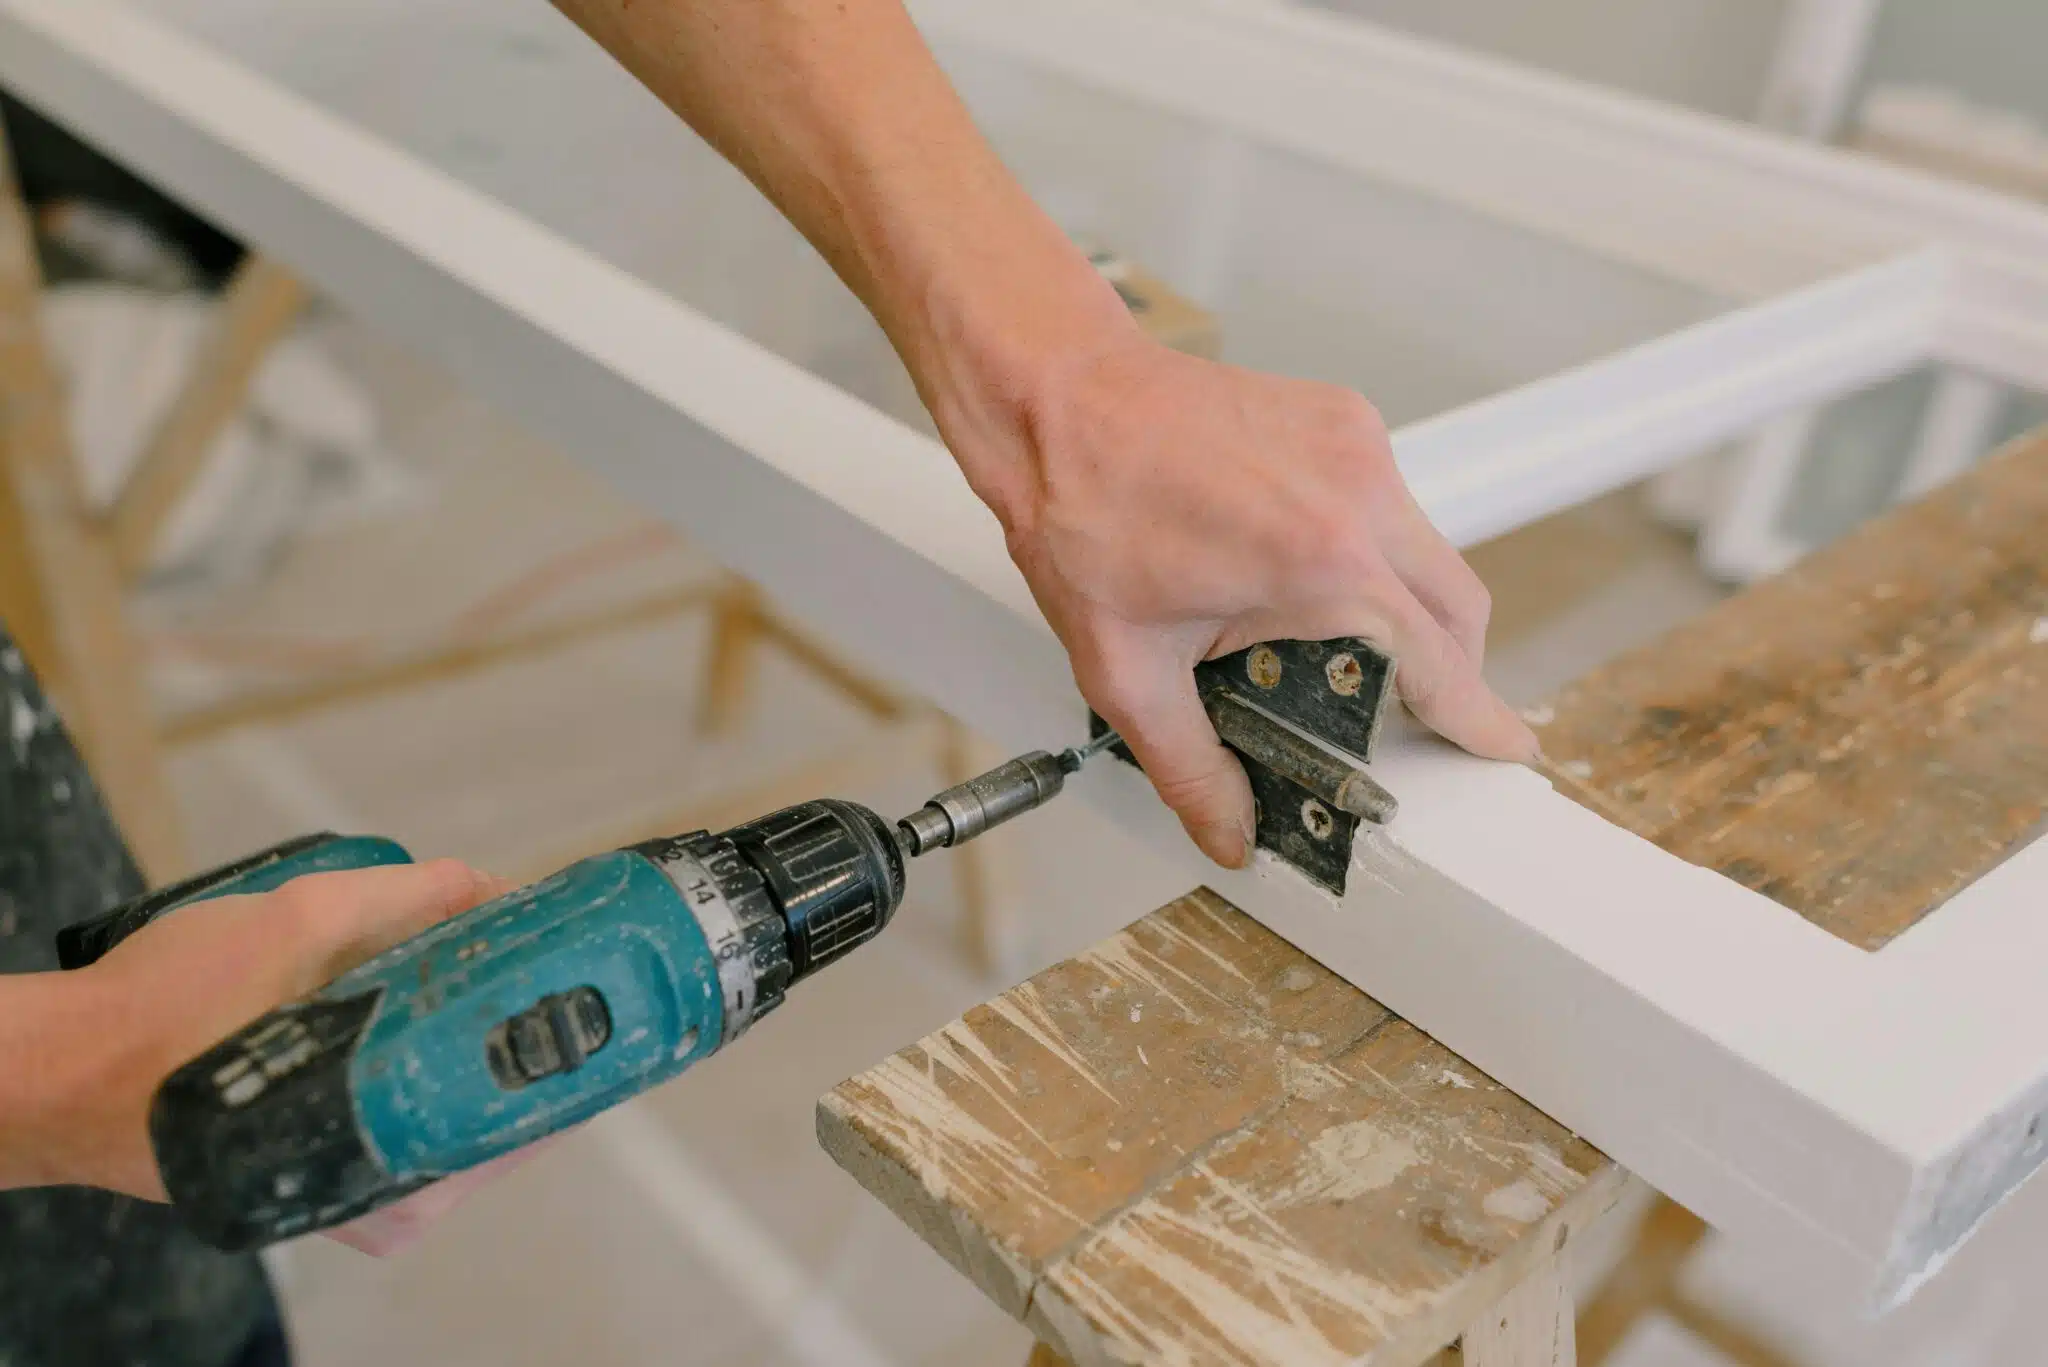
Remove and Replace Damaged Materials
Does everything survive a flood? Unfortunately, no. Carpets absorb water quickly and often can’t be fully restored. Plasterboard can trap moisture inside. Insulation loses effectiveness once soaked.
Holding onto these materials creates risk. They can carry moisture, support mould growth, and weaken the overall structure of the home.
Removing them clears the way for proper restoration. Also makes it easier to dry the remaining structure fully.
Clean and Sanitise All Affected Areas
Moisture isn’t all that floodwater brings, you know. It carries dirt, bacteria. Sometimes even harmful contaminants. The water may look clean, sure, but is it really? You can’t know what hides within.
That’s why cleaning needs to go beyond wiping things down.
Every affected area needs a deep-clean. Floors, walls, fixtures – anything that came into contact with water. The next step? Sanitise! It helps remove what basic cleaning leaves behind.
Inspect Electrical and Plumbing Systems
Water and systems don’t mix well. Flooding is no friend to your home’s wiring, sockets, and appliances. It can also impact plumbing lines and connections.
Everything could look fine – doesn’t mean there’s nothing wrong. Issues are often hidden.
So, before turning systems back on, have them checked. A qualified professional can assess whether it’s safe to use electricity and water as normal.
Better to confirm everything works safely than to assume it does, right?
Prevent Mould Growth Early
Mould doesn’t wait long. It’s a nasty and stubborn thing. Likes to stick around.
In damp conditions, it can start forming within a day or two. Once it appears, it spreads quickly. That’s when you find it hard to make it go away.
Prevention starts with proper drying, but it doesn’t stop there.
Keep an eye on humidity levels. Make sure airflow continues even after the main drying phase. Watch for any signs of dampness returning.
If you notice mould, act straight away.
Addressing it early keeps it contained. Waiting? Not a good idea. Gives it time to spread into areas that are harder to treat.
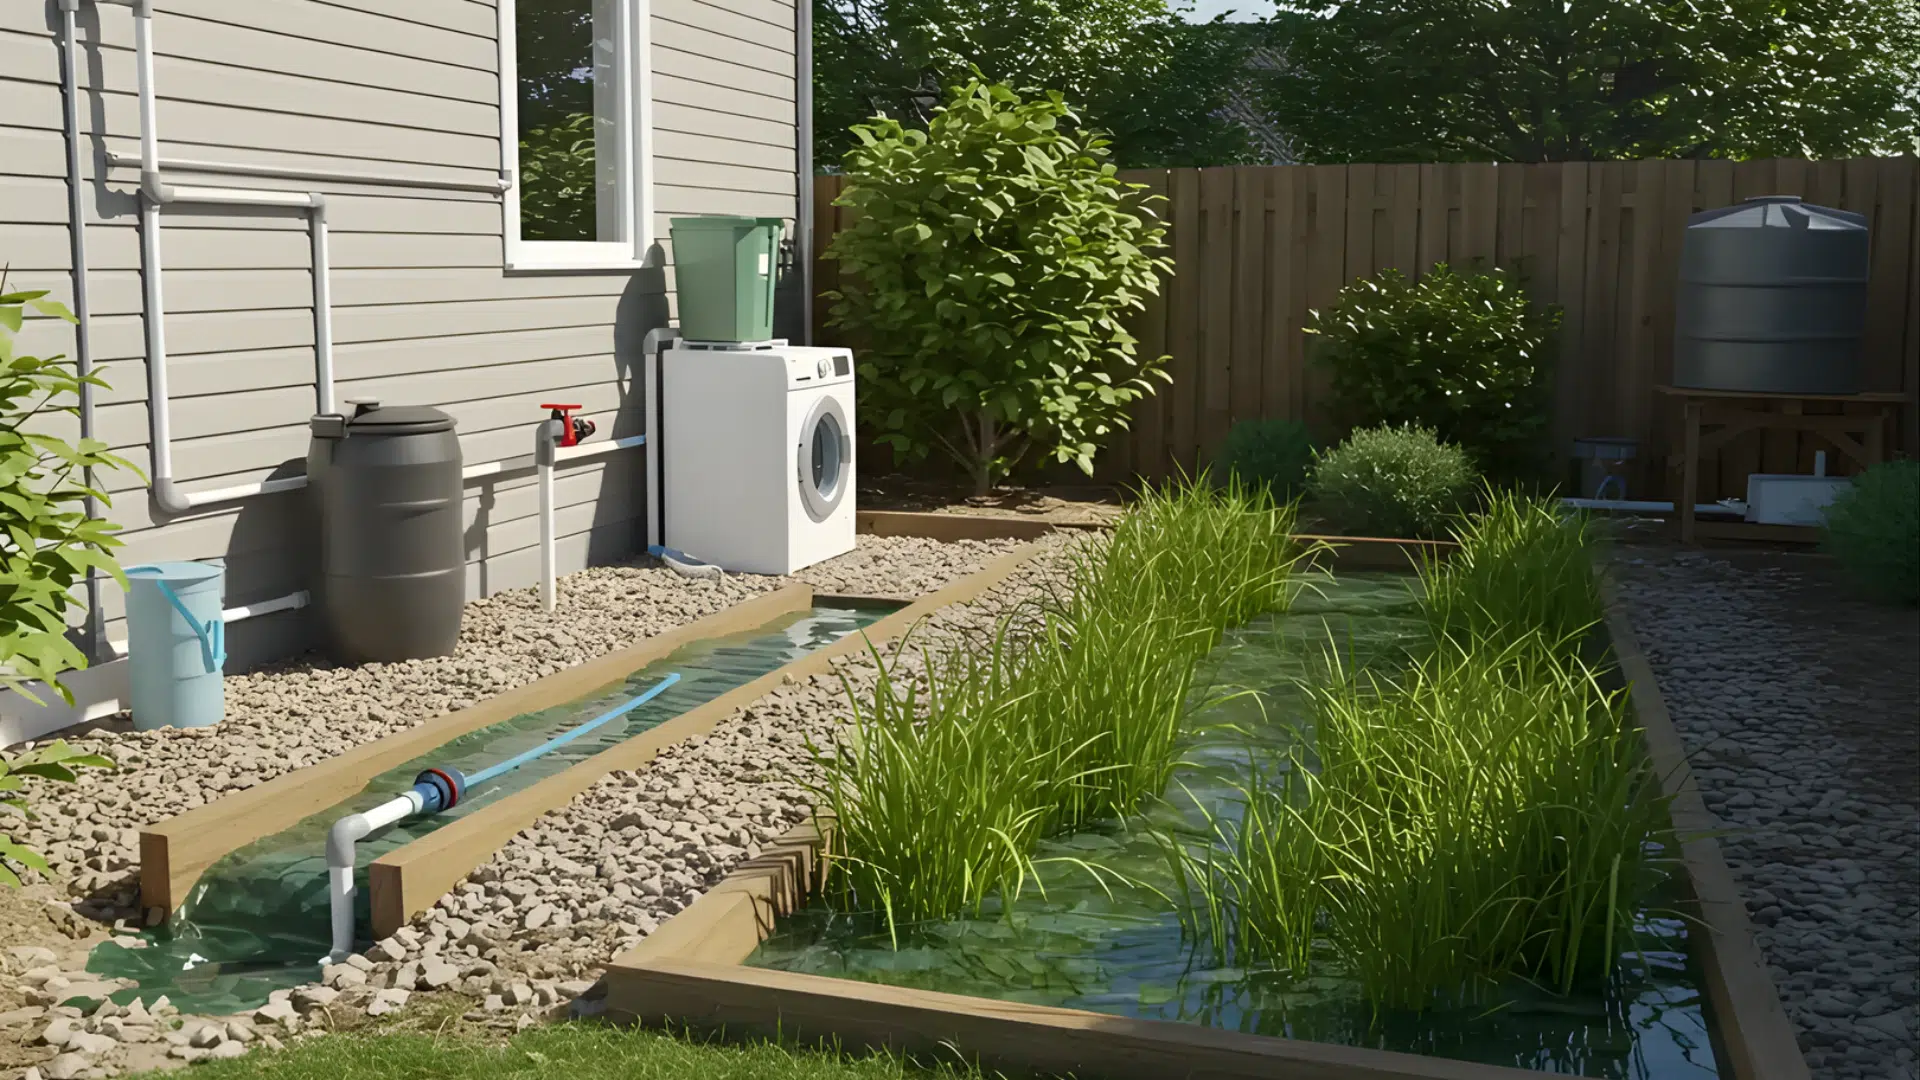
Restore and Rebuild with Durable Materials
Now that your space is clean and dry, let the rebuilding begin.
This stage isn’t just about replacing what was lost. Look at it as an opportunity to improve how the home handles future issues.
Choose materials that perform better in damp conditions. Water-resistant flooring, treated wood, and suitable insulation – they can reduce the impact of any future exposure.
Think long-term. A stronger rebuild helps the home recover better if it ever faces such conditions again.
When you reach the final stage, the situation looks very different from where it started. At first, it’s all urgency. Water everywhere. Damage you can’t understand. Decisions that feel rushed.
But, things begin to settle. The space dries out. Systems get checked. Damaged materials get replaced. And that’s where you just know you’re doing it right – with a clear direction.
And, remember, it’s not about how fast you move, but how well each step gets handled.