Most homeowners think about water safety only when something goes wrong. A strange smell, cloudy water, or a sick family member. At that point, you’re already reacting instead of preventing. A simple annual routine changes that entirely. When you take care of your home’s water on a regular schedule, you stay ahead of problems, protect your household’s health, and maintain the long-term value of your property.
This guide walks you through exactly what to do, season by season, so water safety becomes just another part of your regular home maintenance, not a stressful surprise.
Why Spring Is Your Most Important Window for Testing
Spring is when your water is most vulnerable. Snowmelt, heavy rainfall, and shifting soil all work together to push contaminants, bacteria, nitrates, and sediment toward your water source. If you have a private well, this is the time when surface water is most likely to seep in through cracks or gaps in your well casing. Even municipal water users can notice changes in water quality during spring due to increased runoff entering treatment systems.
Annual water testing done in spring gives you the most accurate picture of your water’s condition after the highest-risk period of the year. ETR Labs offers annual testing options designed specifically for homeowners, making it easy to get a thorough, reliable analysis without any guesswork. Schedule your test as soon as the ground thaws and the heavy rain season wraps up. This timing means your results reflect real-world conditions, not an unusually dry or cold stretch.
Knowing your spring baseline also gives you something to compare against. If your results look different next year, you’ll know something has changed, and you’ll be able to act on it before it becomes a serious issue.
Give Your Well a Visual Check Every Single Season
You do not have to be a plumber to spot a problem with your well. A basic visual inspection four times a year takes about ten minutes and can catch issues before they turn into expensive repairs or, worse, a contaminated water supply.
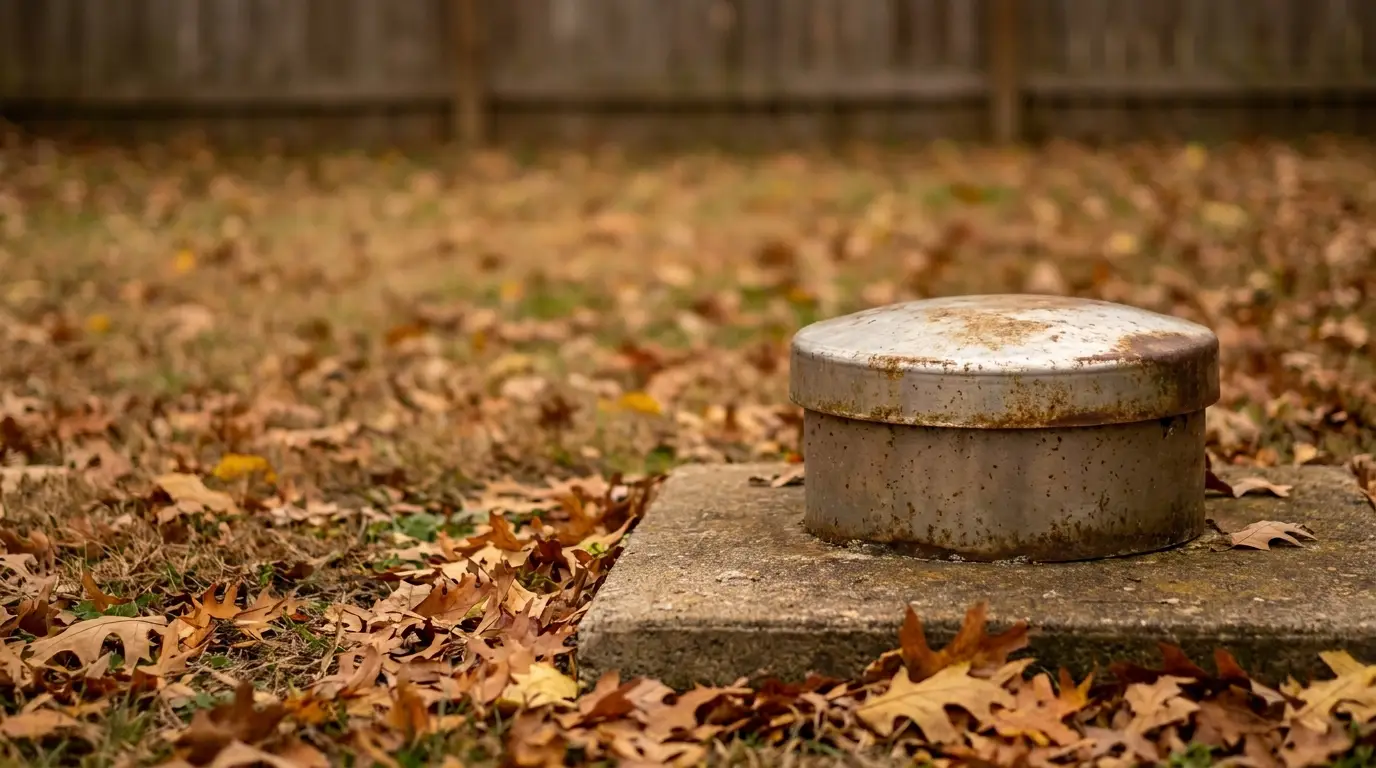
Walk out to your well and look at the cap first. It should sit tightly on top with no cracks, gaps, or water damage. A loose or broken well cap is one of the most common ways insects, small animals, and surface water get inside. Check the conduit, the pipe where electrical wiring enters the well, and make sure it is sealed properly with no visible gaps around the entry point.
Look at the ground around the well. There should be no standing water pooling nearby, no signs of flooding, and the soil should slope away from the wellhead so runoff does not drain toward it. If you notice any of these warning signs, call a licensed well contractor right away. A small fix now is far better than a full decontamination later.
What to Do Right Away If Bacteria Show Up in Your Results
Finding bacteria in your water test results is alarming, no question. Total coliform or E. coli detected in your well means you need to act immediately, not next week, not after you do more research. Schedule a well disinfection as soon as possible.
Well disinfection typically involves shock chlorination, where a measured amount of chlorine is introduced into the well to kill off the bacteria. This process is usually done by a licensed professional, and after treatment, your well should be retested to confirm the problem is resolved. Do not use the water for drinking, cooking, or brushing teeth until you receive a clean test result.
Keep Your Baseline Close and Your Records Even Closer
One of the most overlooked parts of water safety is keeping records. Your annual test results are only useful if you can compare them over time. When you know what your water normally looks like, what your typical pH is, how much iron is usually present, and what bacteria counts have historically been. You can spot a real change when it happens.
Store copies of every test result in your home’s maintenance file. Use a simple folder, a binder, or a digital folder, whatever system you already use for other home records. Label each report with the date and what season it covers, so it becomes a useful reference for ongoing plumbing maintenance and future home care decisions.
This habit pays off in more ways than one. If you ever sell your home, buyers and their inspectors will want to see the water quality history. Having clean, organized records of annual testing can speed up the sale process and give buyers confidence in the property. It is a small effort with a surprisingly big return.
Other Checkpoints Worth Adding to Your Year-Round Routine
Beyond the spring test and seasonal visual checks, a few other habits round out a solid year-round routine. In summer, pay attention to how your water looks, smells, and tastes. Any change from your normal is worth noting. Heat and dry conditions can affect water table levels and concentrate certain minerals.
In the fall, do another visual check before the ground freezes. Make sure any above-ground components are protected and in good shape before winter arrives. In areas with hard winters, well equipment can shift or crack under frost pressure, so catching any damage before the freeze sets in is a smart move.
Winter is a good time for reviewing your records from the past year and scheduling your spring testing in advance. Many testing services book up fast in early spring. Getting your appointment lined up in January or February means you will not miss the critical post-snowmelt window.
If you notice anything out of the ordinary at any point in the year, unusual color, odor, neighbors reporting issues, or any nearby land use changes like construction or new agricultural activity, do not wait for your annual test. Get your water checked right away.
Putting Your Annual Routine on Paper
A routine only works if you actually follow it. Take everything in this guide and put it into a simple checklist you can reference each year. Pin it somewhere you will see it — on a home maintenance calendar, in your household binder, or on your phone.
Here is what a basic annual water safety checklist looks like: schedule spring testing after snowmelt, do a visual well inspection each season, act immediately on any bacteria detection, file test results right away, check for physical changes in water throughout the year, and do a final fall inspection before winter.
Six items. One year. A much safer home. Water safety does not have to be complicated — it just has to be consistent. Start this year, keep the records, and your household will be better protected for every year that follows.
FAQ
Q1: Why is spring the best time to test my water?
Answer: Spring is the most important time to test your water because it’s when your water supply is most vulnerable due to snowmelt, heavy rainfall, and shifting soil. These factors can introduce contaminants and bacteria into your water source. Testing during this period gives you the most accurate insight into your water’s condition after the highest-risk season.
Q2: How can I visually inspect my well, and what should I look for?
Answer: You can visually inspect your well in about ten minutes! Check that the well cap is tightly secured with no cracks or gaps, ensuring no insects or surface water can enter. Also, look around the well for any standing water or signs of flooding, and make sure the soil slopes away from the wellhead. If you see any issues, call a licensed well contractor to address them before they become bigger problems.
Q3: What should I do if I find bacteria in my water test results?
Answer: If bacteria like total coliform or E. coli show up in your water test results, act immediately. Schedule a well disinfection right away, typically involving shock chlorination performed by a licensed professional. Avoid using the water for drinking, cooking, or brushing your teeth until you receive a clean test result. ETR Labs recommends confirming safety with a follow-up laboratory test before returning to normal water use.