Small roof problems can become expensive fast when they go unnoticed. A practical roof inspection checklist helps you spot warning signs early and check each area in a clear order.
I like to start outside, then move indoors so you can compare visible roof damage with attic or ceiling clues. You do not need special equipment for the basic checks, but you do need to know what deserves attention.
I explain how to inspect shingles, flashing, gutters, roof edges, vents, and attic spaces safely. You can also learn which problems need monitoring and which signs mean it is time to call a professional.
What Does a Roof Inspection Include?
A complete roof inspection looks beyond the visible roofing material. The goal is to check how well the roof surface, drainage system, penetrations, edges, attic, and interior work together to keep water outside.
A typical inspection covers the roof covering, flashing, gutters, vents, chimneys, skylights, fascia, soffits, roof structure, attic ventilation, insulation, and interior signs of moisture.
Some checks can be completed safely from the ground or inside the attic. Only attempt roof-level inspection when access, slope, weather, and roofing material make it safe. Steep, wet, fragile, or visibly damaged roofs are better left to a qualified roofer.
Residential Roof Inspection Checklist
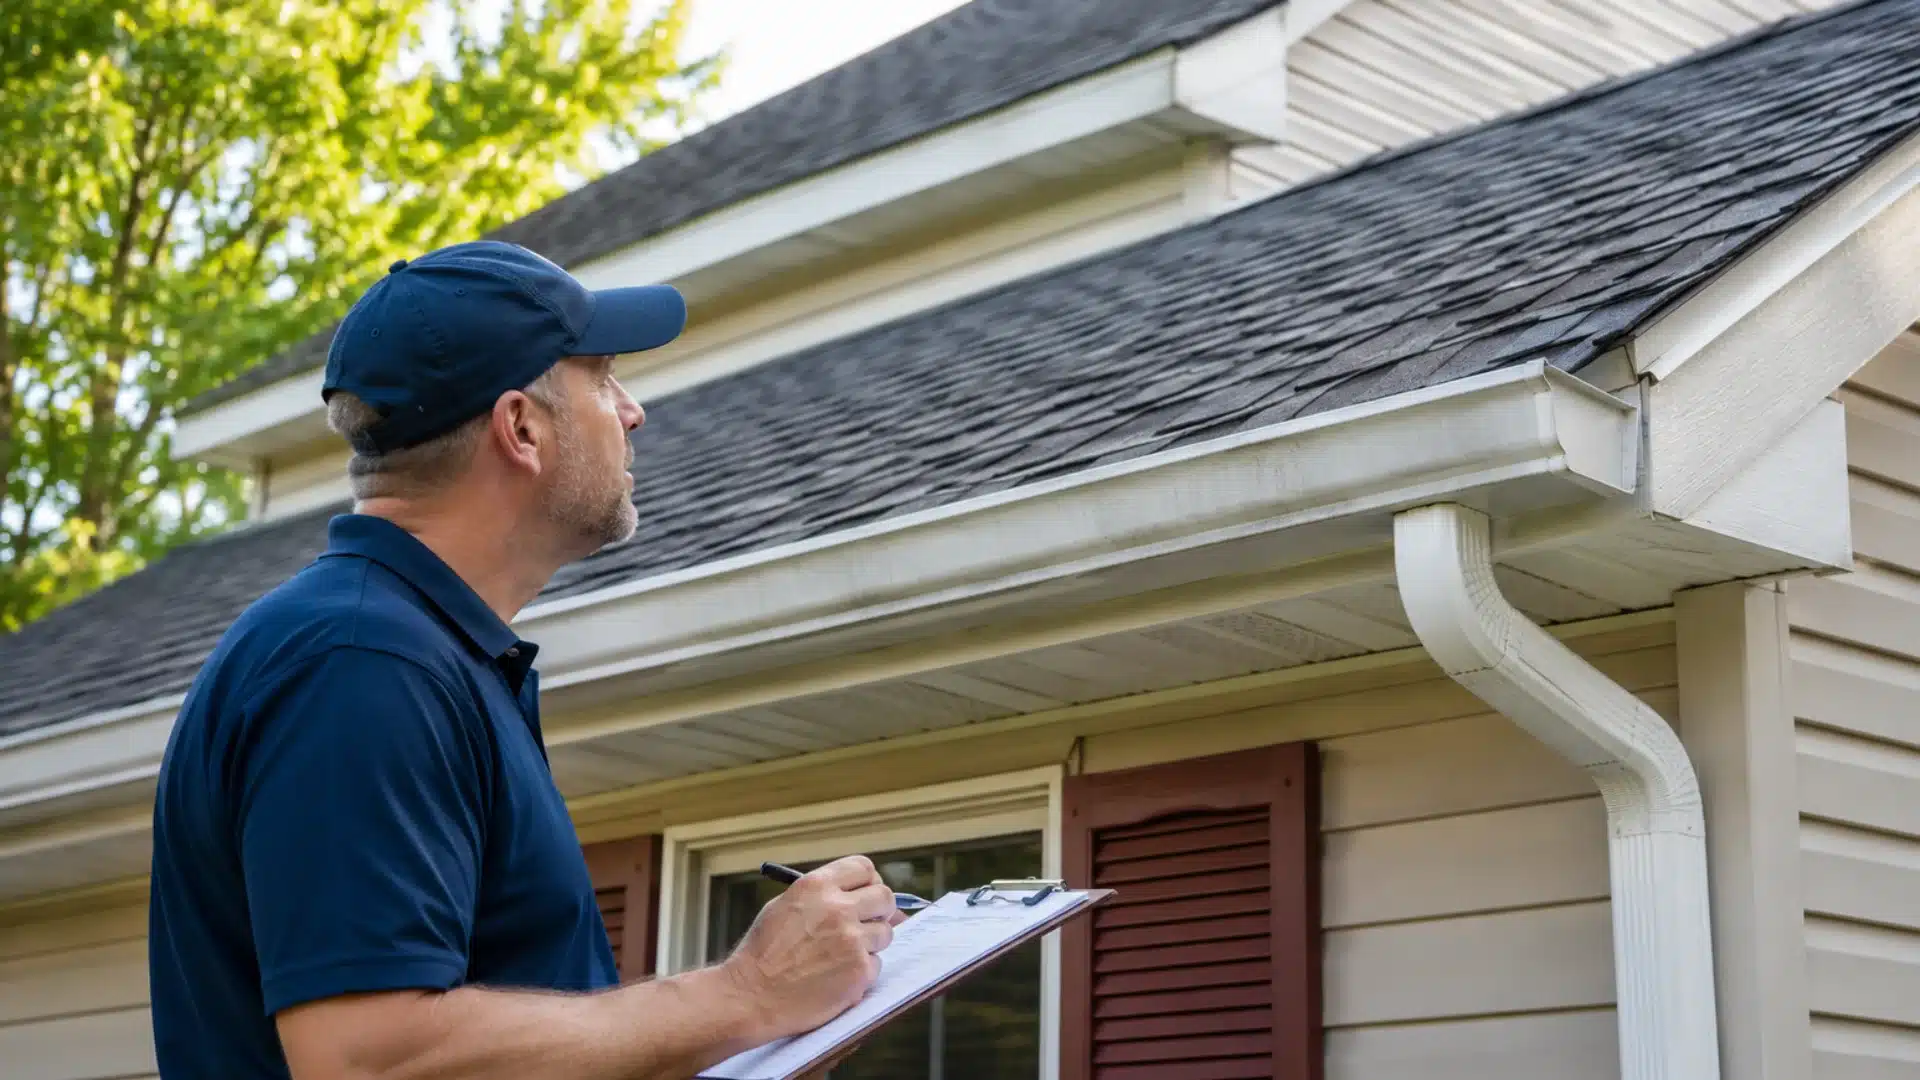
A useful inspection follows a set order. Start from the ground, move to accessible exterior components, and finish inside so exterior findings can be compared with conditions below the roof.
1. Start With a Ground-Level Roof Check
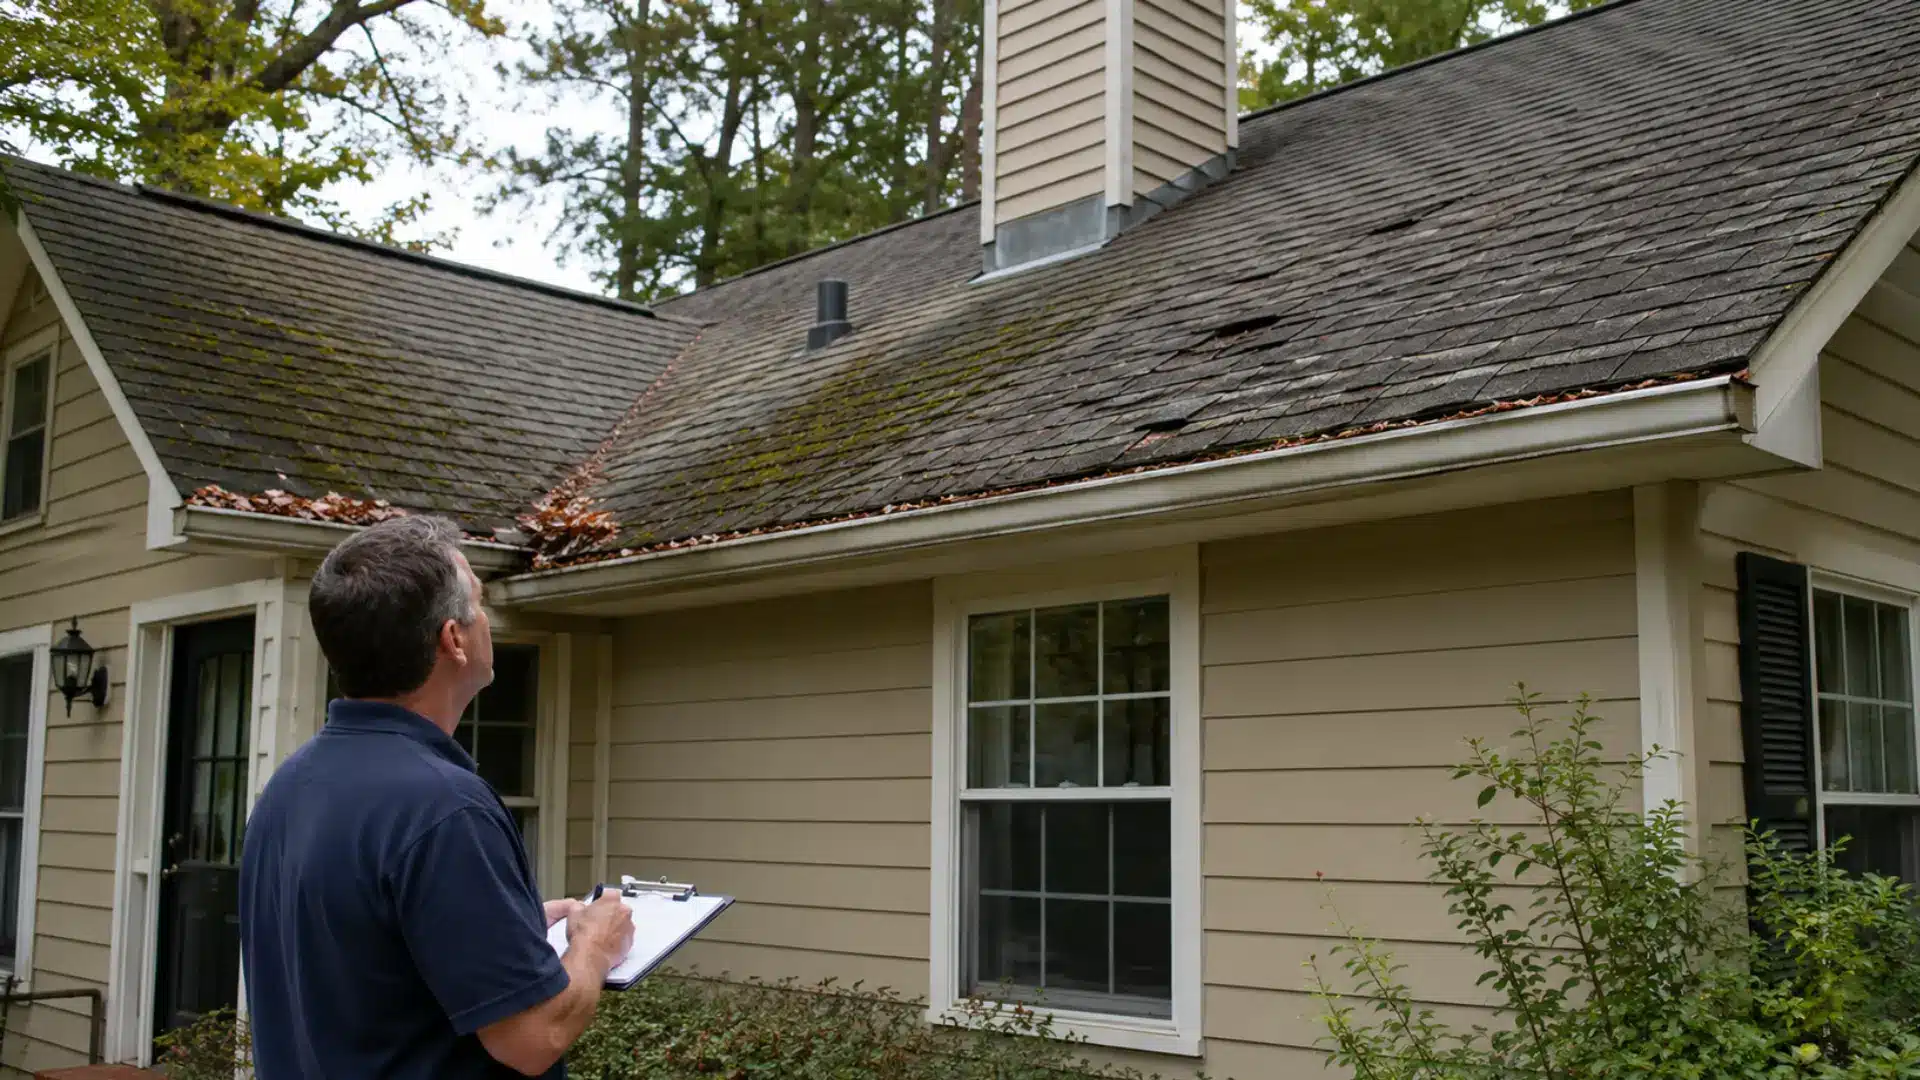
Walk around the house and look at the entire roofline before focusing on individual materials. Binoculars can help with areas that are difficult to see clearly.
Check for:
- Missing roofing material
- Uneven or sagging rooflines
- Fallen branches or storm debris
- Heavy moss or algae growth
- Large areas that look different from surrounding roofing
- Tree limbs touching or hanging directly over the roof
Photograph anything unusual and note where it appears. You can check these locations again from the attic or during a closer exterior inspection.
2. Check Shingles or Roofing Material
The roofing surface takes most of the direct exposure from sunlight, wind, rain, hail, and temperature changes. Signs of deterioration vary by material, but asphalt shingles commonly show visible wear first.
For asphalt shingles, check for:
- Missing shingles
- Cracks or splits
- Curling edges
- Blistered areas
- Lifted shingles
- Exposed fasteners
- Bald areas
- Concentrated granule loss
A few granules in gutters do not automatically mean the roof is failing. I find it more useful to compare gutter deposits with the roof surface. Bald patches or widespread granule loss provide stronger evidence that the shingles are wearing down.
Metal, tile, slate, and flat roofing have different failure patterns, so their surface checks require slightly different signs.
3. Inspect Flashing and Roof Penetrations
Flashing protects areas where the roof changes direction or meets another structure. Small gaps around these locations can allow water beneath otherwise serviceable roofing.
Inspect flashing around:
- Chimneys
- Skylights
- Plumbing vents
- Roof vents
- Valleys
- Wall-to-roof intersections
Look for loose metal, corrosion, open joints, cracked sealant, lifted edges, or visible gaps.
Pipe boots also deserve attention. Rubber components can crack or deteriorate with age, leaving an opening around plumbing penetrations even when nearby shingles remain intact.
4. Check Gutters and Roof Drainage
Gutters control where roof runoff goes after it reaches the edge. Problems here may not damage the roofing surface immediately, but poor drainage can contribute to overflowing water, fascia deterioration, foundation moisture, and ice buildup in colder climates.
Check for:
- Leaves and debris
- Standing water
- Loose gutter sections
- Sagging runs
- Leaking joints
- Damaged downspouts
- Heavy shingle granule buildup
- Water discharging too close to the building
Water should move freely through the gutter system and away from the structure rather than collecting near the roof edge or foundation.
5. Inspect Fascia, Soffits, and Roof Edges
The lower roof edge can reveal moisture problems that are easy to overlook when attention stays focused on shingles.
Look closely for:
- Soft or rotting fascia
- Peeling paint
- Water staining
- Damaged soffit panels
- Blocked soffit vents
- Loose drip-edge flashing
- Signs of insects or animals
Damage along these areas can sometimes point to overflowing gutters, poor ventilation, roof-edge leaks, or long-term moisture exposure.
6. Check Chimneys, Skylights, and Roof Vents
Roof-mounted components need their own condition check because the component itself can deteriorate even when surrounding flashing remains secure.
Look for:
- Cracked chimney masonry
- Loose chimney caps
- Damaged skylight frames
- Failed skylight seals
- Cracked vent boots
- Rusted metal vents
- Loose vent covers
- Blocked ventilation openings
A damaged component can create a leak path that resembles a roofing-material problem, so keeping these checks separate makes later diagnosis easier.
7. Inspect the Attic
After the exterior check, move inside and compare attic conditions with the locations documented outside.
Use a flashlight to check for:
- Water staining on roof decking
- Damp insulation
- Mold or mildew
- Musty odors
- Soft or deteriorated wood
- Condensation
- Rusted fasteners
- Unusual daylight entering through the roof
- Blocked ventilation pathways
Location is important. Damage outside becomes more significant when moisture or staining appears in the same area beneath the roof.
Attic ventilation also matters. Clear soffit, ridge, or other ventilation openings help manage heat and moisture that can otherwise collect beneath the roof deck.
8. Check Ceilings and Interior Walls
Finish the inspection in rooms below the roof. Interior signs may appear after moisture has traveled through insulation, framing, or wall cavities, so a stain is not always directly below the leak source.
Check ceilings and upper walls for:
- Brown or yellow stains
- Bubbling paint
- Peeling finishes
- Damp drywall
- Mold near ceiling corners
- Newly formed water marks
A clean ceiling is reassuring, but it does not prove every part of the roof assembly is dry. The attic usually provides a better view of hidden moisture conditions.
Roof Inspection Checklist by Roofing Material
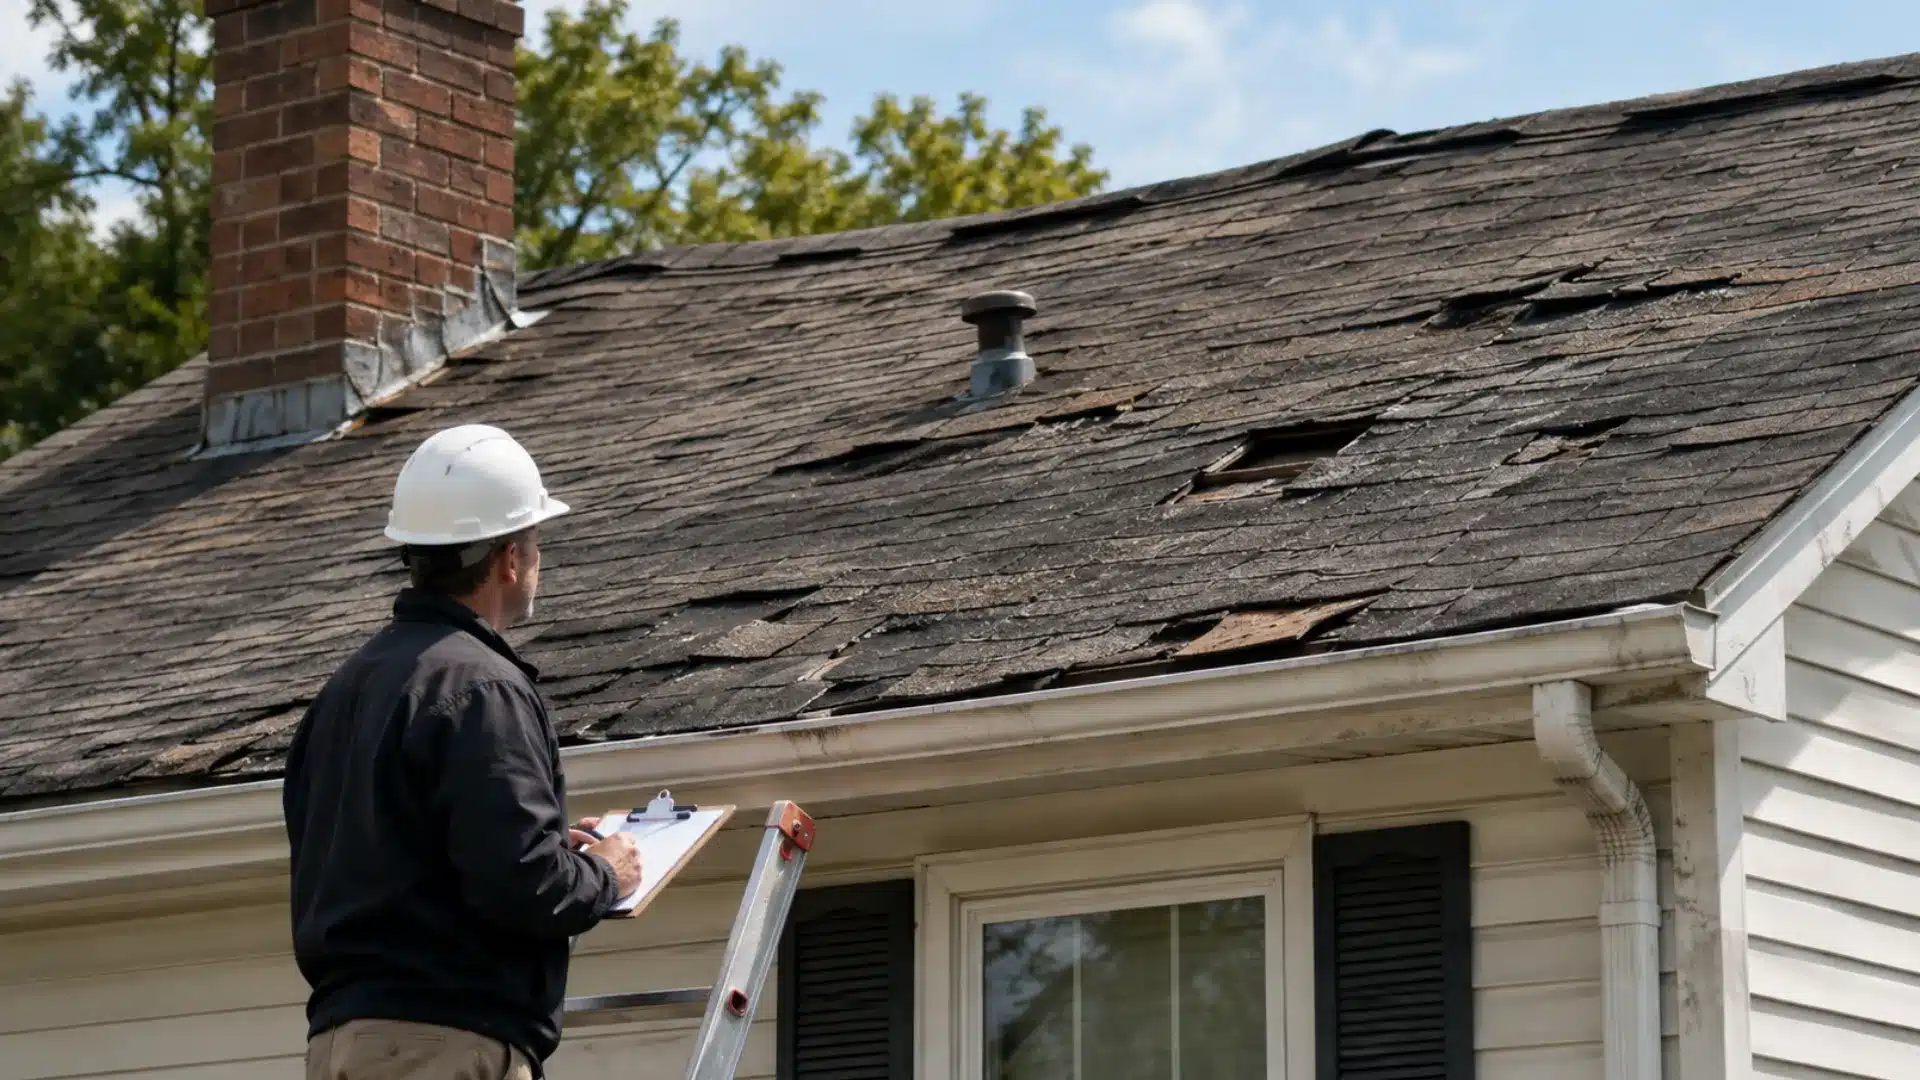
Different roofing materials age differently. Use the main inspection process for every roof, then focus on the warning signs associated with the installed material.
| Roofing Material | Main Signs to Check |
|---|---|
| Asphalt shingles | Curling, cracking, missing shingles, bald areas, granule loss |
| Metal roofing | Corrosion, loose fasteners, open seams, dents, damaged coatings |
| Tile roofing | Cracked, broken, loose, or displaced tiles |
| Slate roofing | Missing, fractured, or slipping slate pieces |
| Flat roofing | Ponding water, bubbles, punctures, cracks, or open seams |
Material-specific damage should be judged in context. One isolated defect may require a local repair, while widespread deterioration can indicate a larger roofing problem.
Warning Signs That Need Faster Attention
Some findings can be monitored or repaired during routine maintenance. Others deserve faster professional assessment because they may affect water protection or structural performance.
- Active Leaks: Water entering during rain can affect decking, insulation, ceilings, framing, and interior finishes if the source remains open.
- Roof Sagging: Visible dips or uneven roof sections may indicate deterioration in decking or supporting components.
- Exposed Decking: Missing roofing that leaves the underlying deck uncovered creates a direct path for weather exposure.
- Soft Roof Areas: Spongy or deteriorated decking can indicate prolonged moisture exposure beneath the roofing material.
- Severe Storm Damage: Fallen limbs, widespread wind damage, large hail impacts, or displaced roofing can require professional assessment before routine maintenance continues.
Avoid walking on any section that appears unstable, soft, wet, steep, or heavily damaged.
When Should You Inspect Your Roof?

A practical schedule is to check the roof about twice a year, often during spring and fall, with additional inspections after severe weather.
Spring is a good time to check how weather affects roofs after winter moisture, wind, snow, or temperature changes. Fall gives you a chance to address drainage, loose materials, and ventilation concerns before colder conditions arrive.
Extra checks make sense after hail, unusually strong winds, fallen branches, or heavy rainfall.
Roof age also affects inspection frequency. Older materials or roofs with recurring leaks, curling shingles, previous repairs, or ongoing granule loss may benefit from closer monitoring.
The important part is consistency. Comparing the same areas over time can show changes that would be difficult to notice during a single inspection.
DIY Roof Inspection vs. Professional Roof Inspection
A basic DIY check is useful for monitoring visible conditions, but it has limits. Professional inspection makes more sense when access is unsafe, damage is widespread, or the source of a leak is unclear.
| DIY Inspection | Professional Inspection |
|---|---|
| Useful for visible warning signs | Allows a closer condition assessment |
| Can begin safely from ground level | Can inspect harder-to-reach components |
| Helps track changes with photos | Can assess suspected leak paths |
| Suitable for routine monitoring | Better after major damage or recurring leaks |
| Limited by access and safety | May include written findings and repair recommendations |
Routine observation can tell you that something has changed. A roofer can determine what caused that change and what type of repair is appropriate.
How to Document Your Roof Inspection
Good documentation turns a one-time inspection into a useful maintenance record.
Record:
- Inspection date
- Recent weather
- Roof age, if known
- Location of each concern
- Photos of affected areas
- Approximate size of damage
- Changes since the last check
- Repairs completed
- Areas that need monitoring
- Professional recommendations
Try to photograph questionable areas from a similar position during future inspections. Side-by-side images make gradual changes easier to spot.
I also suggest naming photos by location, such as “rear roof near chimney” or “attic below skylight.” Clear labels become useful if a roofer later needs to review the problem.
What Should You Do After a Roof Inspection?
Once the inspection is finished, sort the findings by the type of response they need, rather than treating every defect as equally serious.
No Immediate Action: Minor cosmetic aging with no signs of moisture or functional damage may simply need to be recorded for future comparison.
Monitor: Small changes such as early surface wear can be photographed and checked again during the next scheduled inspection.
Maintenance Needed: Blocked gutters, debris, minor sealant deterioration, or other routine upkeep can often be addressed before they contribute to larger problems.
Repair Needed: Localized roofing damage, failed flashing, damaged vent boots, or similar defects may require targeted repair.
Professional Assessment Needed: Active water entry, substantial interior staining, exposed decking, major storm damage, or structural concerns should end the DIY portion of the inspection.
Significant moisture damage may also require professional water damage restoration when water has already affected interior materials.
Final Choice
A roof check works best when you follow a clear order and compare what you see outside with signs inside the attic or rooms below. Your roof inspection checklist should help you check roofing materials, flashing, drainage, edges, vents, and moisture without treating every small defect as an emergency.
I recommend keeping dated photos and short notes so you can spot changes between inspections. Minor wear may only need monitoring, while leaks, exposed decking, sagging, or major storm damage need professional attention.
The goal is simple: catch problems early, understand what they mean, and respond safely. Use the checklist during your next roof check, and share it with someone who may find it useful.
Frequently Asked Questions
What will fail a roof inspection?
There is no single universal pass-or-fail standard for every roof inspection. Serious concerns generally involve conditions that reduce water protection, affect structural performance, or make the roof unsafe.
How much does a roof inspection cost?
Roof inspection pricing varies by location, roof size, slope, accessibility, inspection type, and whether additional services such as drone imaging or detailed reporting are included.
How long does a roof inspection take?
A basic residential inspection may take around 30–60 minutes, although larger, steeper, more complex, or damaged roofs can require additional time for a proper assessment.
Do roof inspectors go into the attic?
Many inspections include accessible attic areas because the underside of the roof can show moisture, damaged decking, poor ventilation, condensation, and past leaks that may not appear outside.
Can you inspect a roof without walking on it?
Yes. Binoculars, ground-level viewing, attic inspection, ladders used from secure positions, and professional drone inspections can provide useful information without walking across the roofing surface.