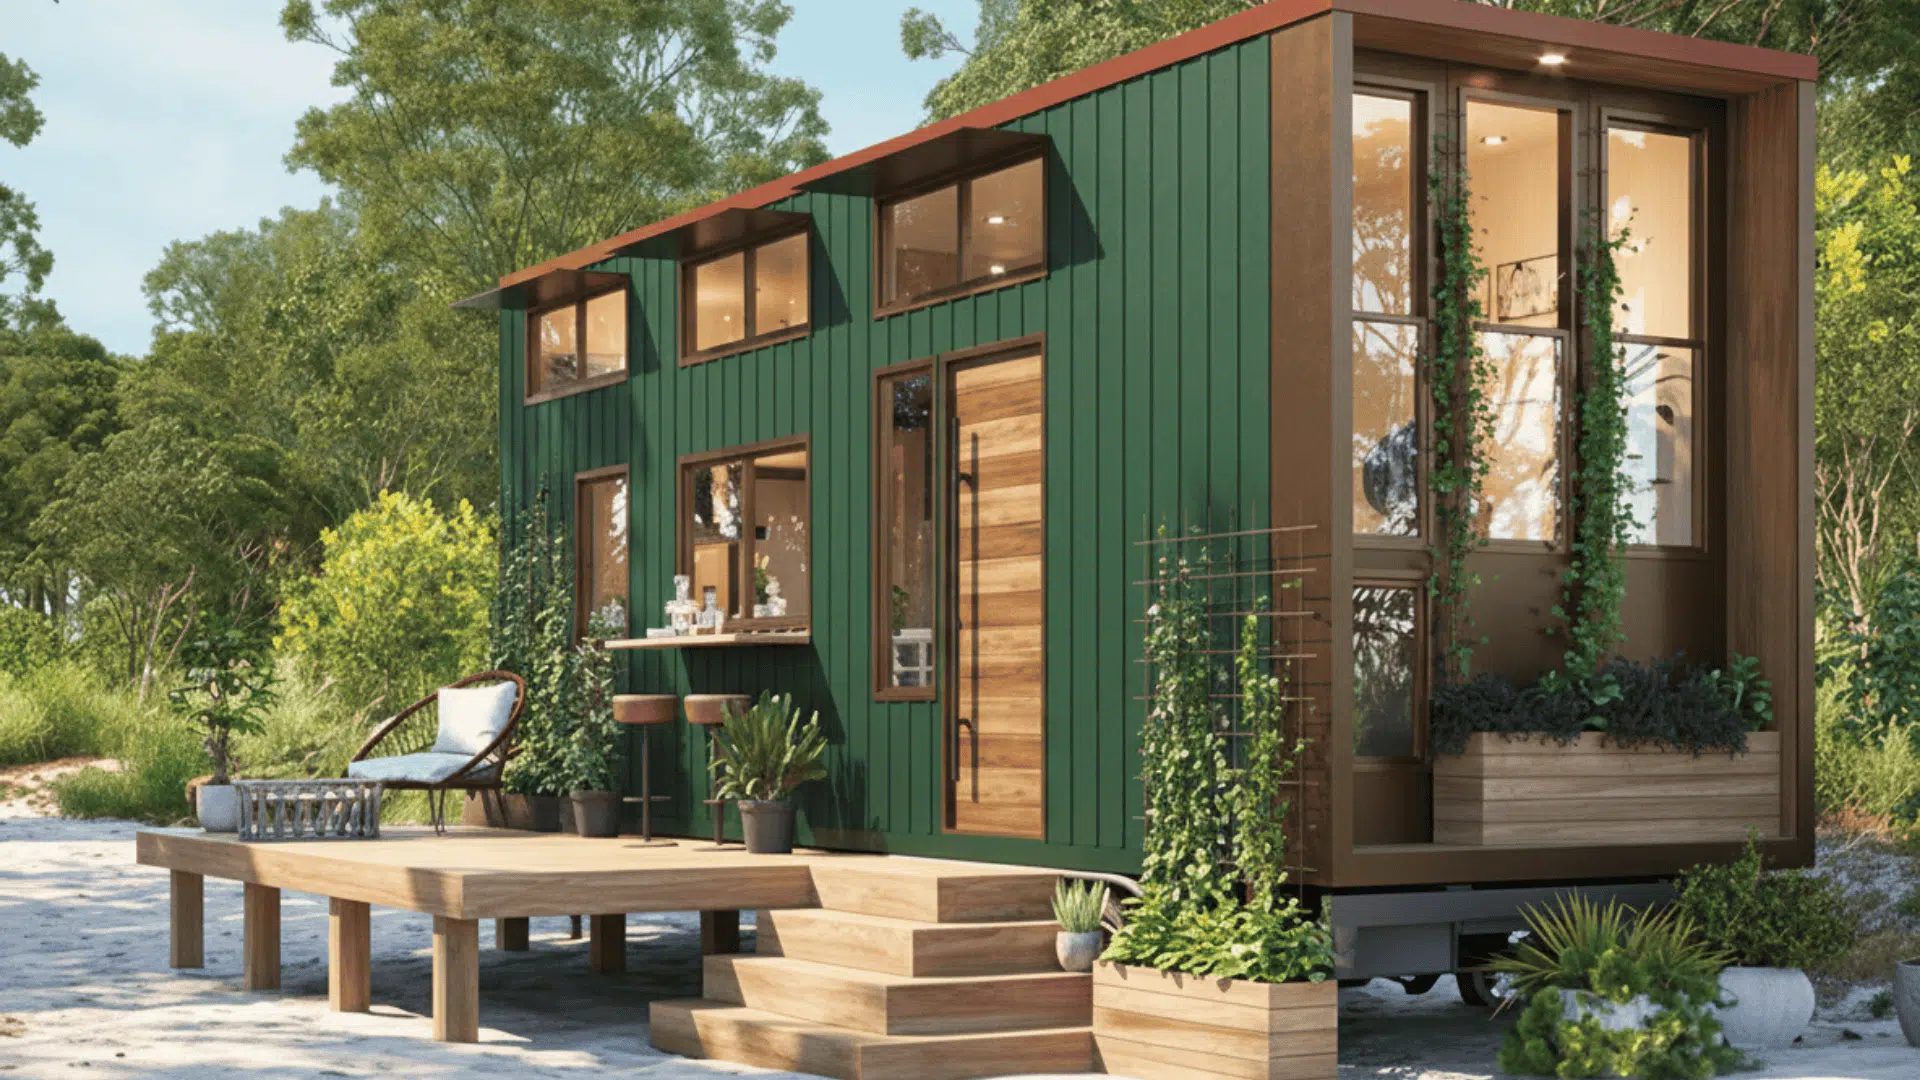
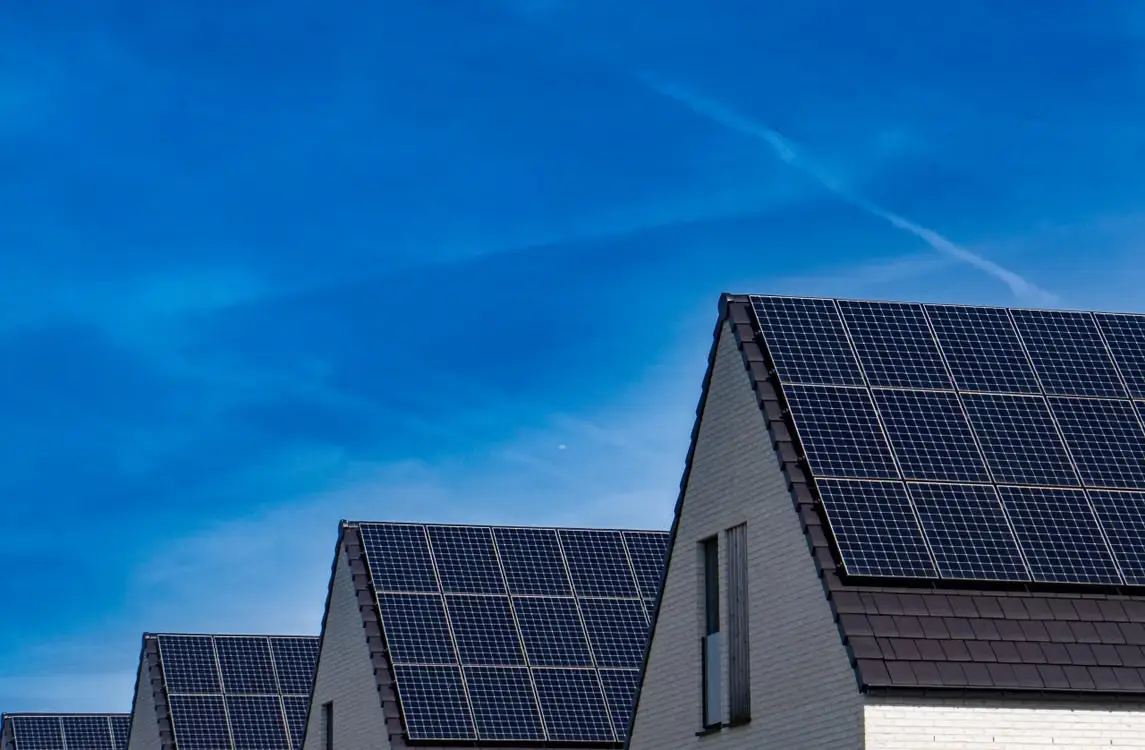
A tiny home can run on solar, but you cannot treat its roof like a miniature version of a full-size house. Every square foot, pound, cable run, and mounting point matters when your available roof space is limited.
Most experts recommend that a smart approach starts with your actual energy needs, then works backward into panel size, your roof’s capacity, racking, wiring, safety, and local approvals. Here is how you can build a compact solar setup without wasting valuable roof space or creating structural problems.
Start With Your Roof Not Your Panels
Before buying and spending so much on a single solar panel, grab a tape measure and look closely at your roof. Note every skylight, vent, chimney, edge, shaded spot, and space you need for safe access.
The U. S. Department of Energy has a 400-watt benchmark for residential solar panels, which is quite common. With a size of approximately 1. 9 square meters, each solar panel represents the energy-producing part of your installation. You will need three solar panels to cover 5. 7 square meters of a rooftop and obtain a rated power capacity of about 1. 2 kilowatts. Of course, the amount of power each solar panel will actually produce mainly depends on how much sunlight the panel gets, including the orientation, shading, temperature, and system losses.
Make Roof Access Part of the Solar Plan
Installation might be a little harder when your tiny home has a steep roof or limited access for installation. You need enough room to move panels safely, stage tools, protect the roofing material, and maintain stable footing during installation.
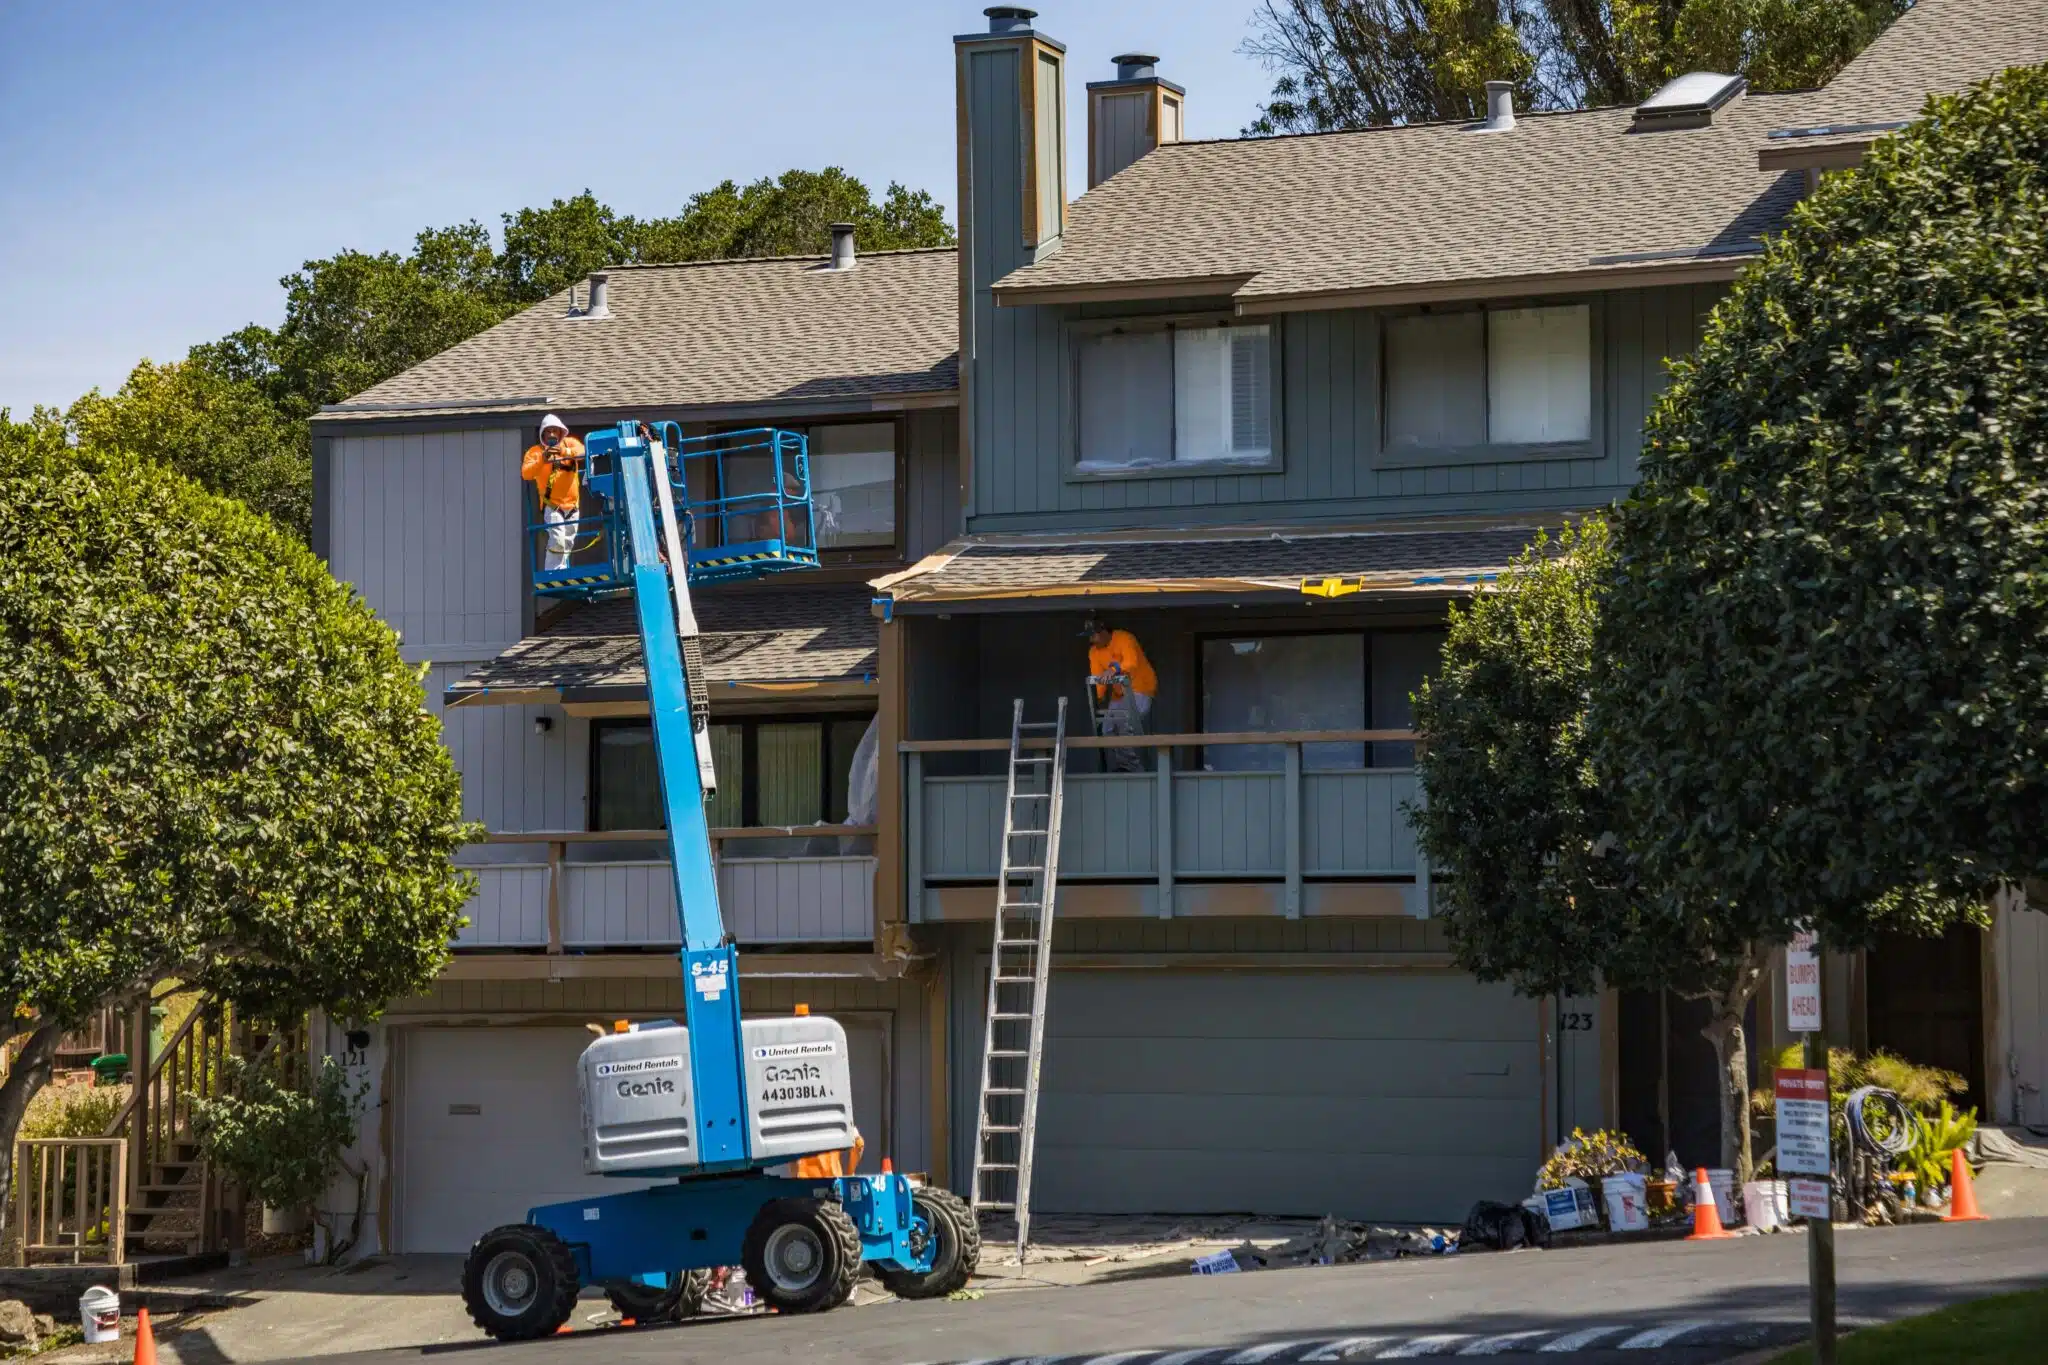
If you need to resolve some hassles, like temporary elevated access, you can trust resources like Brady’s Scaffolding safety checklist. It can walk you through some of today’s professional insights about scaffold selection, load limits, inspections, guardrails, toe boards, fall protection, and misuse issues.
Match Panel Capacity to Your Real Energy Use
Think about how you really want to live in your tiny home before deciding how much solar power you need. Make a list of your biggest energy users, from the refrigerator and lights to your water heater, cooking appliances, and HVAC system.
You can estimate their daily watt-hour use, then size your system according to these demands. Considering energy-efficient appliances is your best bet so you’ll need fewer panels, less battery storage, and less roof space.
Treat Roof Strength as a Design Limit
Being able to walk across your tiny home’s roof while binding everything to position does not mean it can safely shoulder a solar system. The U.S. Department of Energy recommends having the roof assessed by a qualified solar installer, roofing professional, or structural engineer.
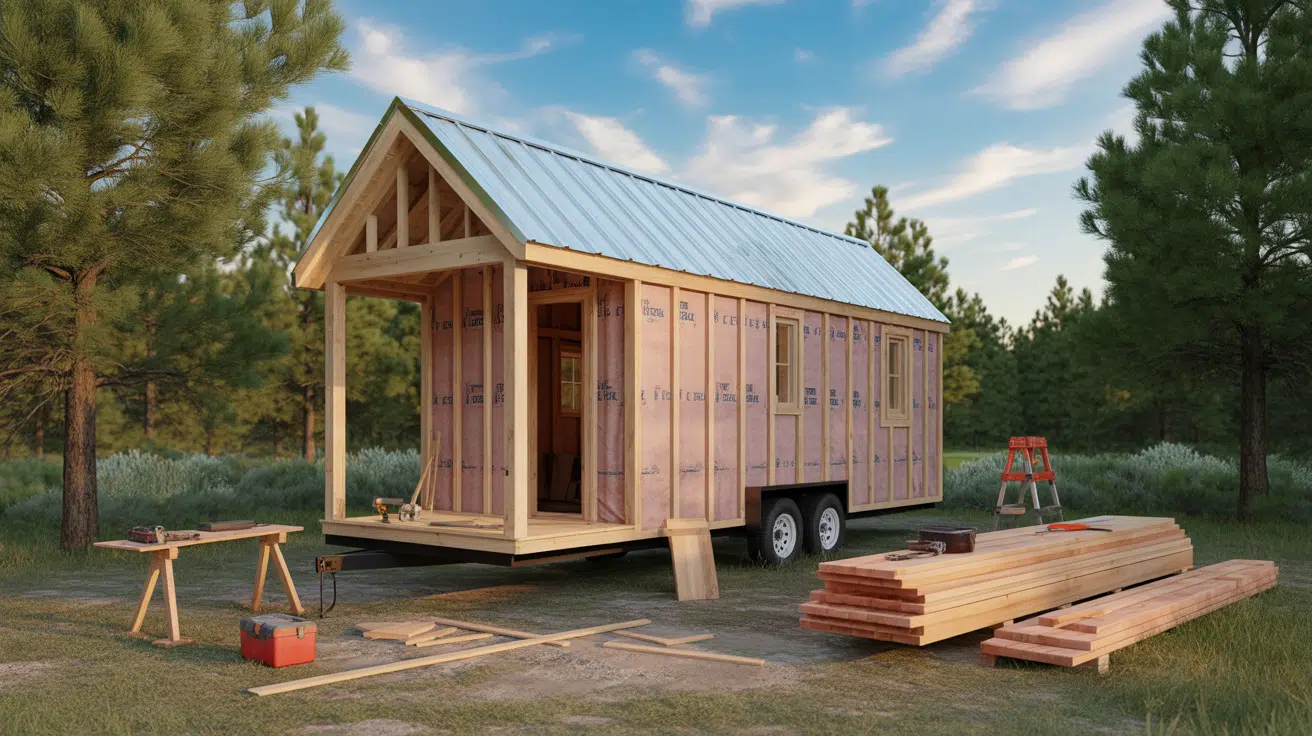
They need to account for panels, racking, fasteners, wiring, wind, snow, and mounting loads over time. If your home sits on a mobile foundation, you may have to review your tiny home on wheels design before adding a solar system. You need to make sure the entire structure can handle added weight, wind pressure, and movement safely.
Choose Racking That Saves More Than Space
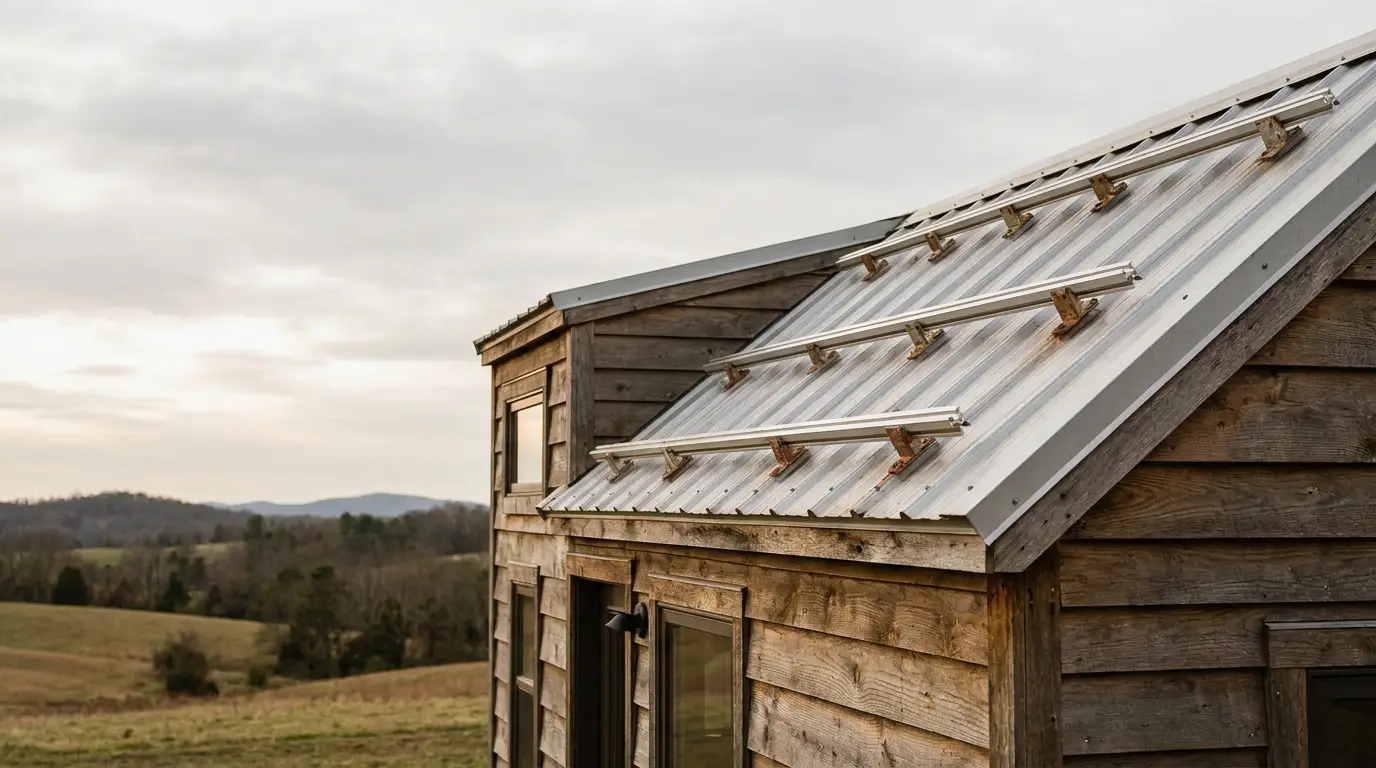
On a tiny roof, the right racking can make your solar layout much easier to manage. Low profile mounts can save space, while smart rail placement helps you work around vents and other obstacles.
Your installer should also match the hardware to your roof and framing, rather than force a standard setup. Leave some breathing room, too. Easier access to panels, wiring, and drainage will make future maintenance much less stressful.
Keep Wiring Short and Deliberate
If you’re working with a compact home design, you have one useful advantage: shorter electrical runs all throughout. You can easily place the inverter, disconnects, battery equipment, and main electrical connections where the design allows safe access while keeping all your cable routes organized and hazard-free.
The U.S. Department of Energy even notes that solar installations can involve specific requirements for electrical panel sizing, breaker placement, labeling, inspection, and utility interconnection, depending on local rules and utility requirements. Local rules vary, so you should confirm the requirements with your authority having jurisdiction and utility before installation.
Plan for Wind Before the First Panel Goes Up
Wind can matter as much as weight on a tiny home. A panel catches wind, while its mounting points transfer those forces into the roof structure.
This becomes especially important for homes in hurricane or high wind regions. FEMA’s building guidance repeatedly emphasizes strong connections between the structure and its foundation because reliable load paths help structures resist severe wind forces. For a transportable tiny home, you also need to distinguish between its normal parked configuration and its transport configuration. Ask your engineer or installer whether the panels should remain installed during relocation or require a specific transport procedure.
Get Permits Before You Commit to the Layout
You need not finalize the array based solely on what you see as physically fit. Your local authority, in some cases, may require you to produce structural, electrical, fire access, zoning, or setback allowances that could be a costly surprise.
Checking these regulations earlier can save you from buying panels and racking that later need to be rearranged. It also gives you a chance to coordinate the solar design with any future tiny home relocation plans.
Make Every Square Foot Count
You can have your little house outfitted with smart solar technology without your rooftop becoming a confusing grid of equipment. The best way to proceed is to figure out the amount of electricity you need and then look at the roof framing access, wind exposure, and local requirements.
If each choice you make is according to its function, you’ll have less clutter and wind up with a system that’s perfect for your tiny home.