Moving a shed can turn into a serious problem once you realize how heavy and awkward it is. How do you move it without damaging the floor, twisting the frame, or getting it stuck halfway across the yard?
I’ll show you how to move a shed safely without taking it apart. You’ll learn how to prepare the structure, check its base, lift it correctly, use rollers or a winch, and guide it toward the new location.
I’ll also explain which mistakes to avoid and when professional help makes more sense. By the end, you’ll have a clear plan for moving your shed with better control and fewer risks.
Can Your Shed Be Moved Without Dismantling It?
Yes, many sheds can be moved without being completely dismantled, especially when the structure is solid and the new location is nearby.
For a short move across a yard, one of the most practical methods is to raise the shed with a jack and place PVC pipes underneath the skids. The pipes act as rollers, allowing the building to move gradually over wooden tracks.
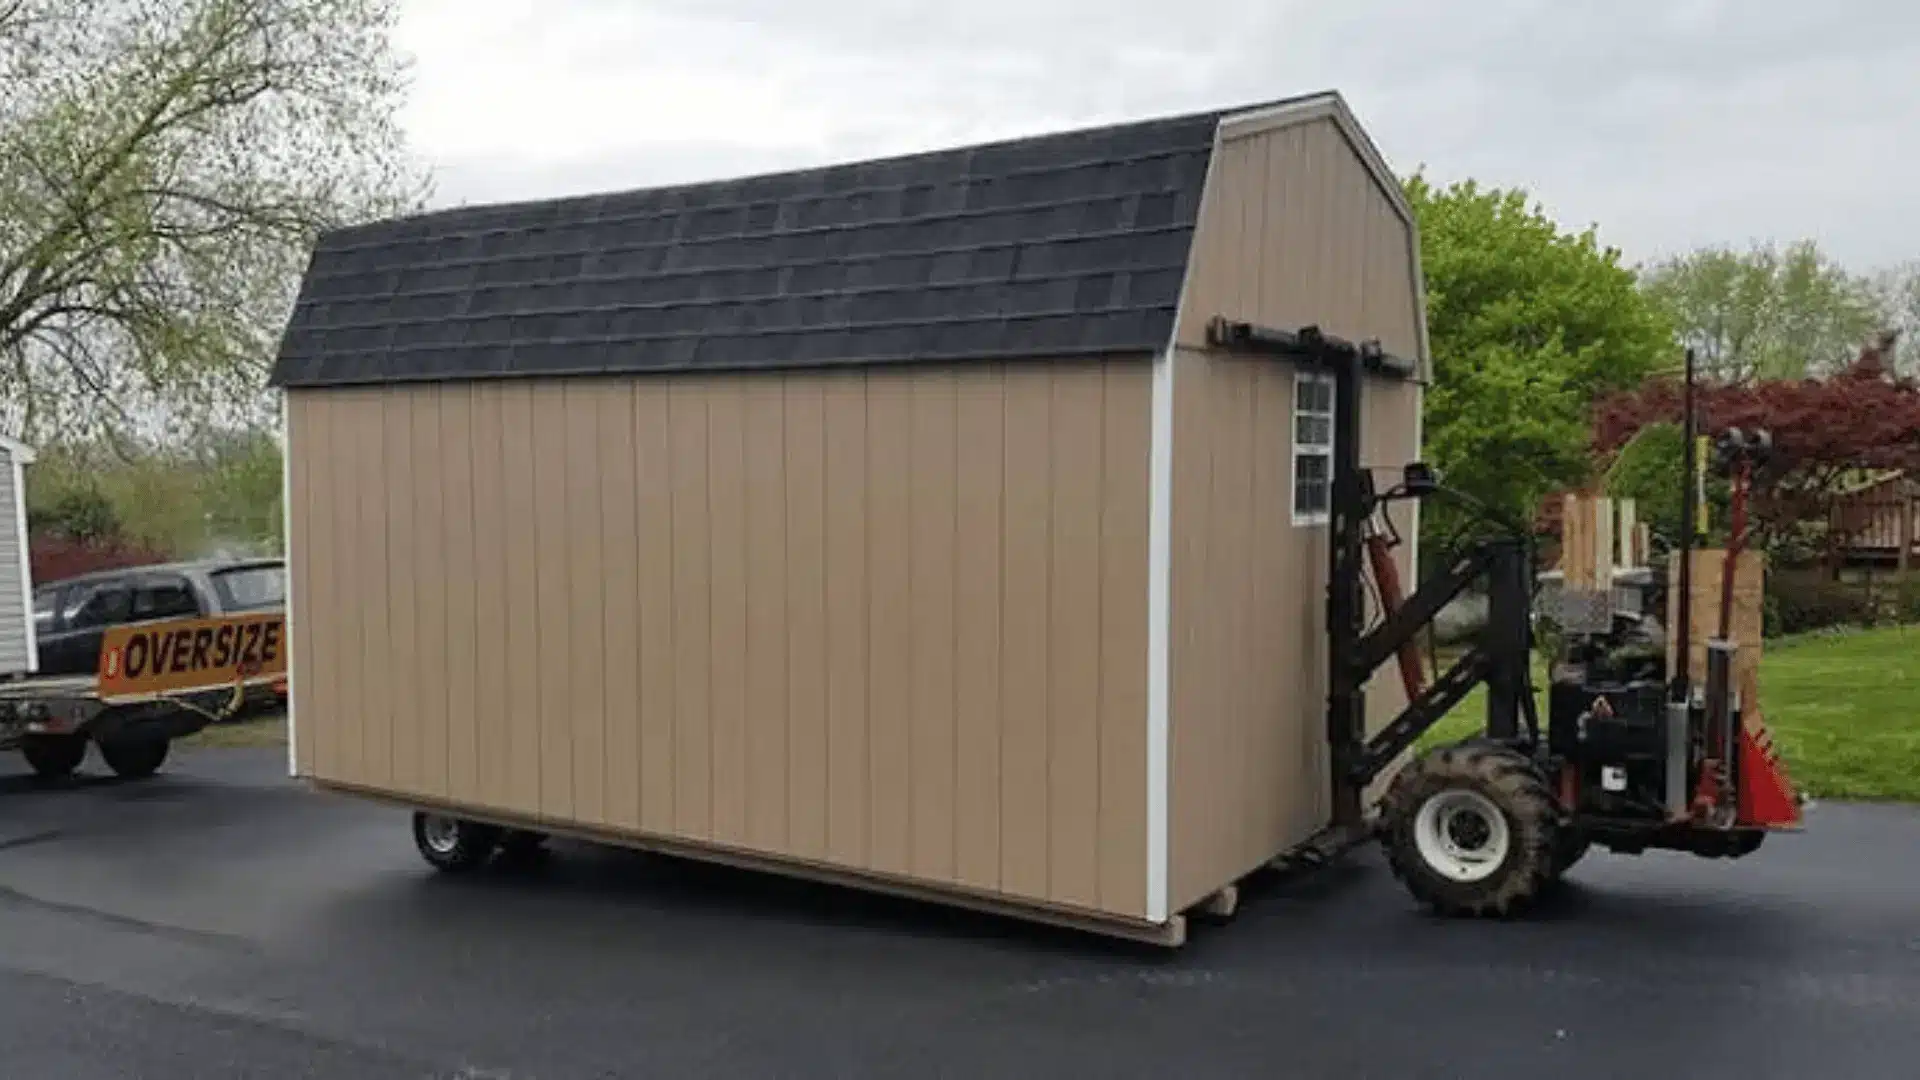
A winch or come-along can provide more controlled movement when pushing the shed manually is difficult. Larger sheds or moves to another property may require a trailer or professional equipment.
Before choosing a method, consider the shed’s approximate weight, dimensions, condition, foundation, route, and distance, the same practical questions that come up when planning any backyard structure project. A small wooden shed on skids is usually much easier to relocate than a large structure attached to permanent footings.
How To Prepare A Shed Before Moving It
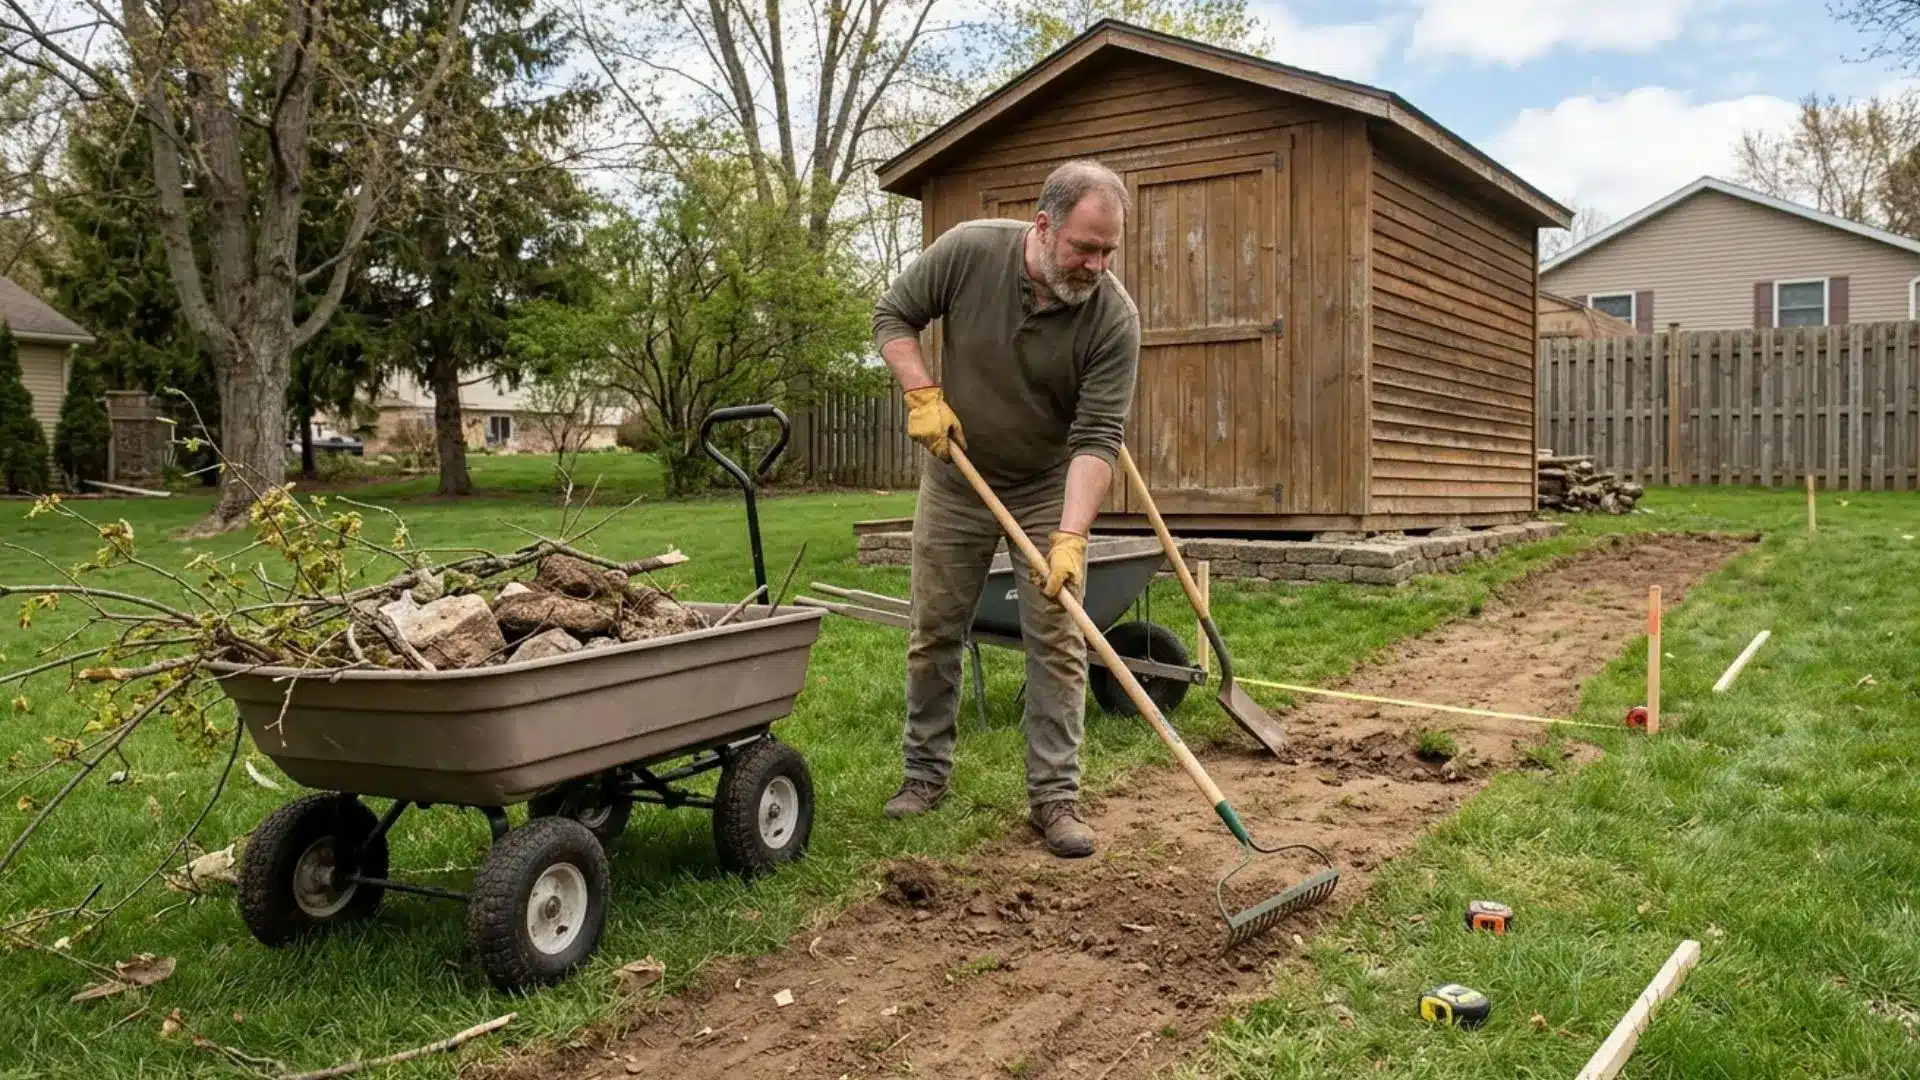
Before starting the move, prepare the shed and the surrounding area to reduce risks and make the relocation process smoother. Focus on checking the structure, planning the route, and removing anything that could create problems.
- Inspect the Shed Structure: Check the shed while it is empty to find weak or damaged areas before moving it. Look for loose boards, cracked panels, rusted sections, or framing issues that may worsen during relocation.
- Measure the Shed and Moving Route: Measure the shed’s height, width, and depth before planning the move. Include roof overhangs, trim, or any parts that extend beyond the main frame to understand the space required.
- Check Clearance Around the Path: Look for obstacles such as gates, fences, branches, doorways, and power lines along the planned route. Fix any tight areas before moving to prevent delays or damage.
- Prepare a Clear and Stable Path: Clear the route before moving the shed to create a safer and easier path. Remove obstacles and improve uneven areas- the kind of groundwork covered in low-maintenance yard upgrades– that could make the shed harder to move or control.
How to Move a Shed Step by Step
Moving a shed starts with separating it safely from the old base. The right bracing setup makes lifting easier and reduces the chance of damage.
The process depends on the shed size, weight, and condition. A damaged shed needs extra care because weak framing can twist during lifting.
What You Need to Move a Shed
The exact equipment depends on the moving method, but a basic yard move commonly requires:
- Heavy-duty hydraulic or farm jack
- Strong wooden planks
- Several sturdy PVC pipes
- Lumber for structural bracing
- Chains or heavy-duty straps
- Come-along or winch when needed
- Helpers for guiding the structure
Three-inch PVC pipe is commonly used as a roller beneath sheds that already have solid skids or runners.
Before bringing out the equipment, inspect the entire route. Remove obstacles and make sure there is enough space for the shed to travel without hitting fences, trees, buildings, or other structures.
Step 1: Empty the Shed
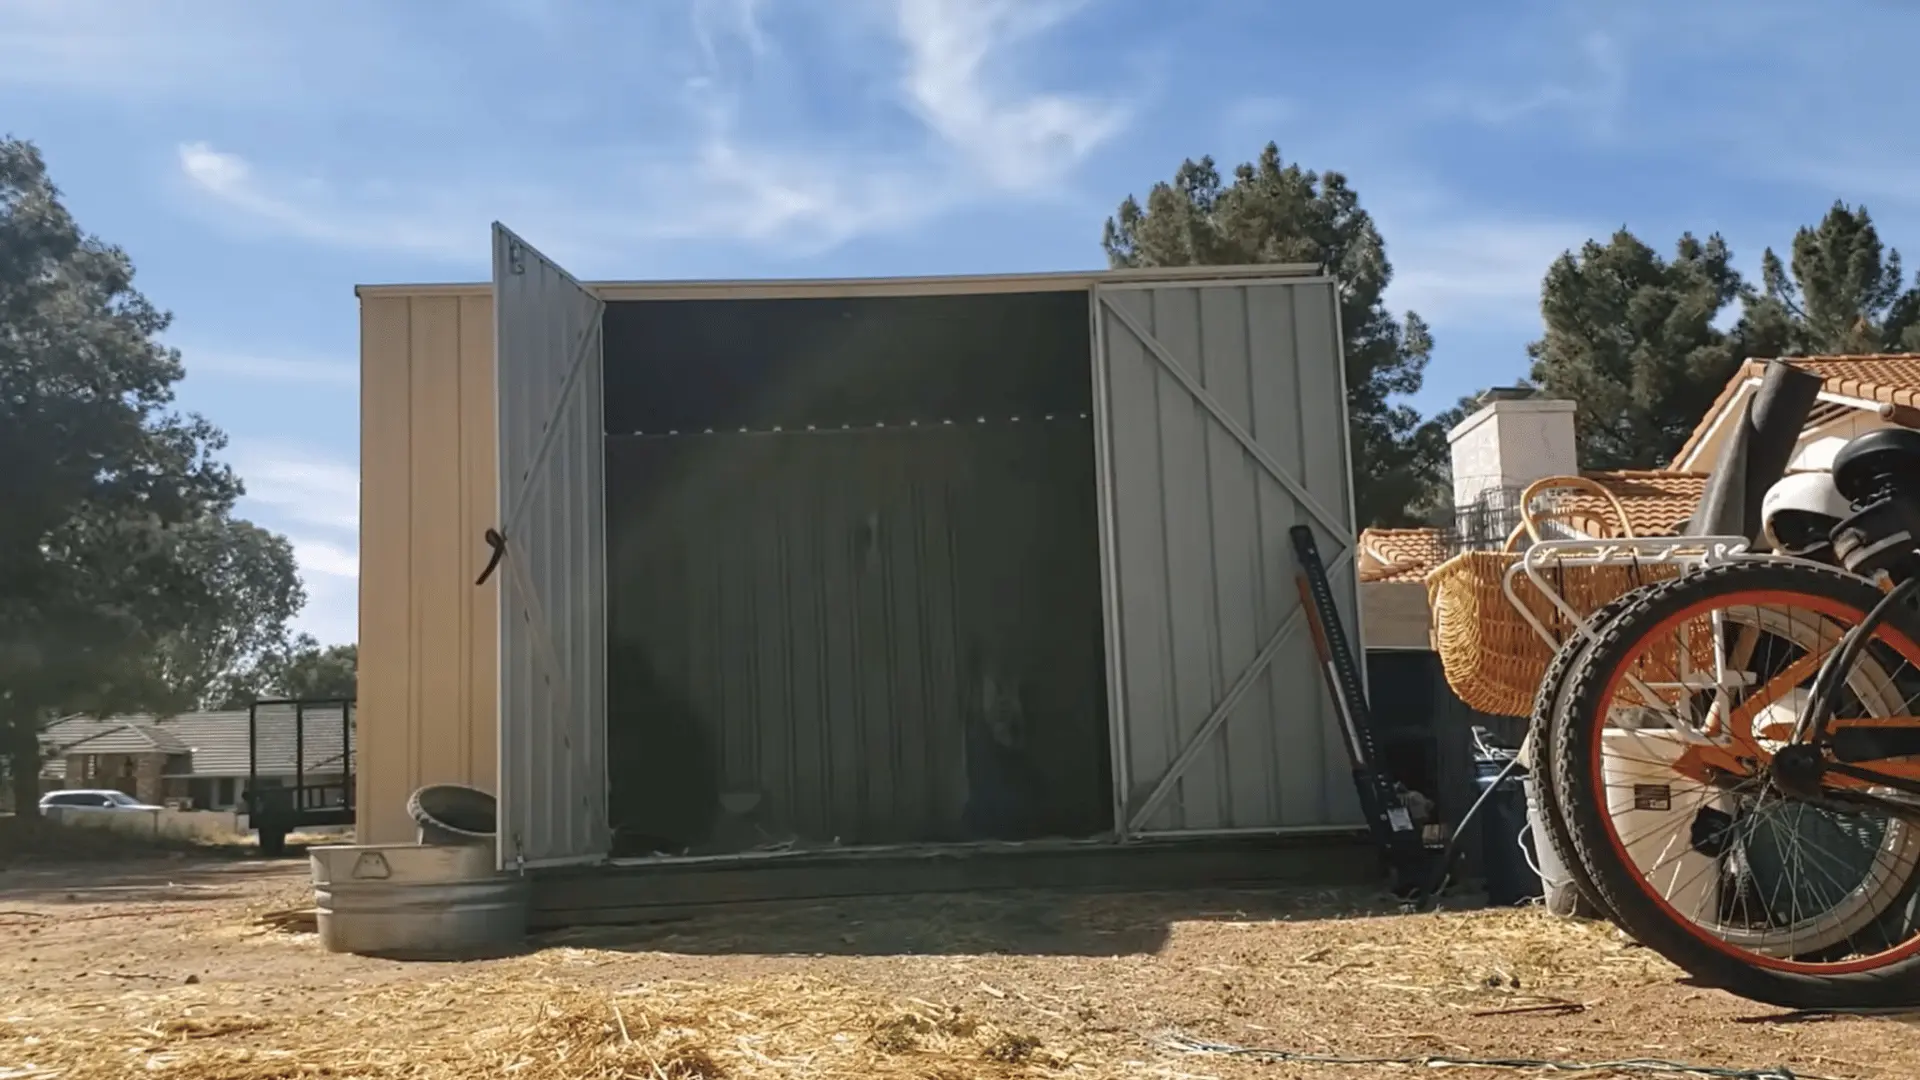
Remove heavy items from inside the shed before you try to move it. Reducing the weight makes the shed easier to lift, push, and control once it is sitting on the rollers.
You can leave lightweight items inside if they will not shift around or make the shed harder to handle. Focus on removing anything heavy enough to add noticeable resistance while pushing.
Step 2: Jack Up the Shed
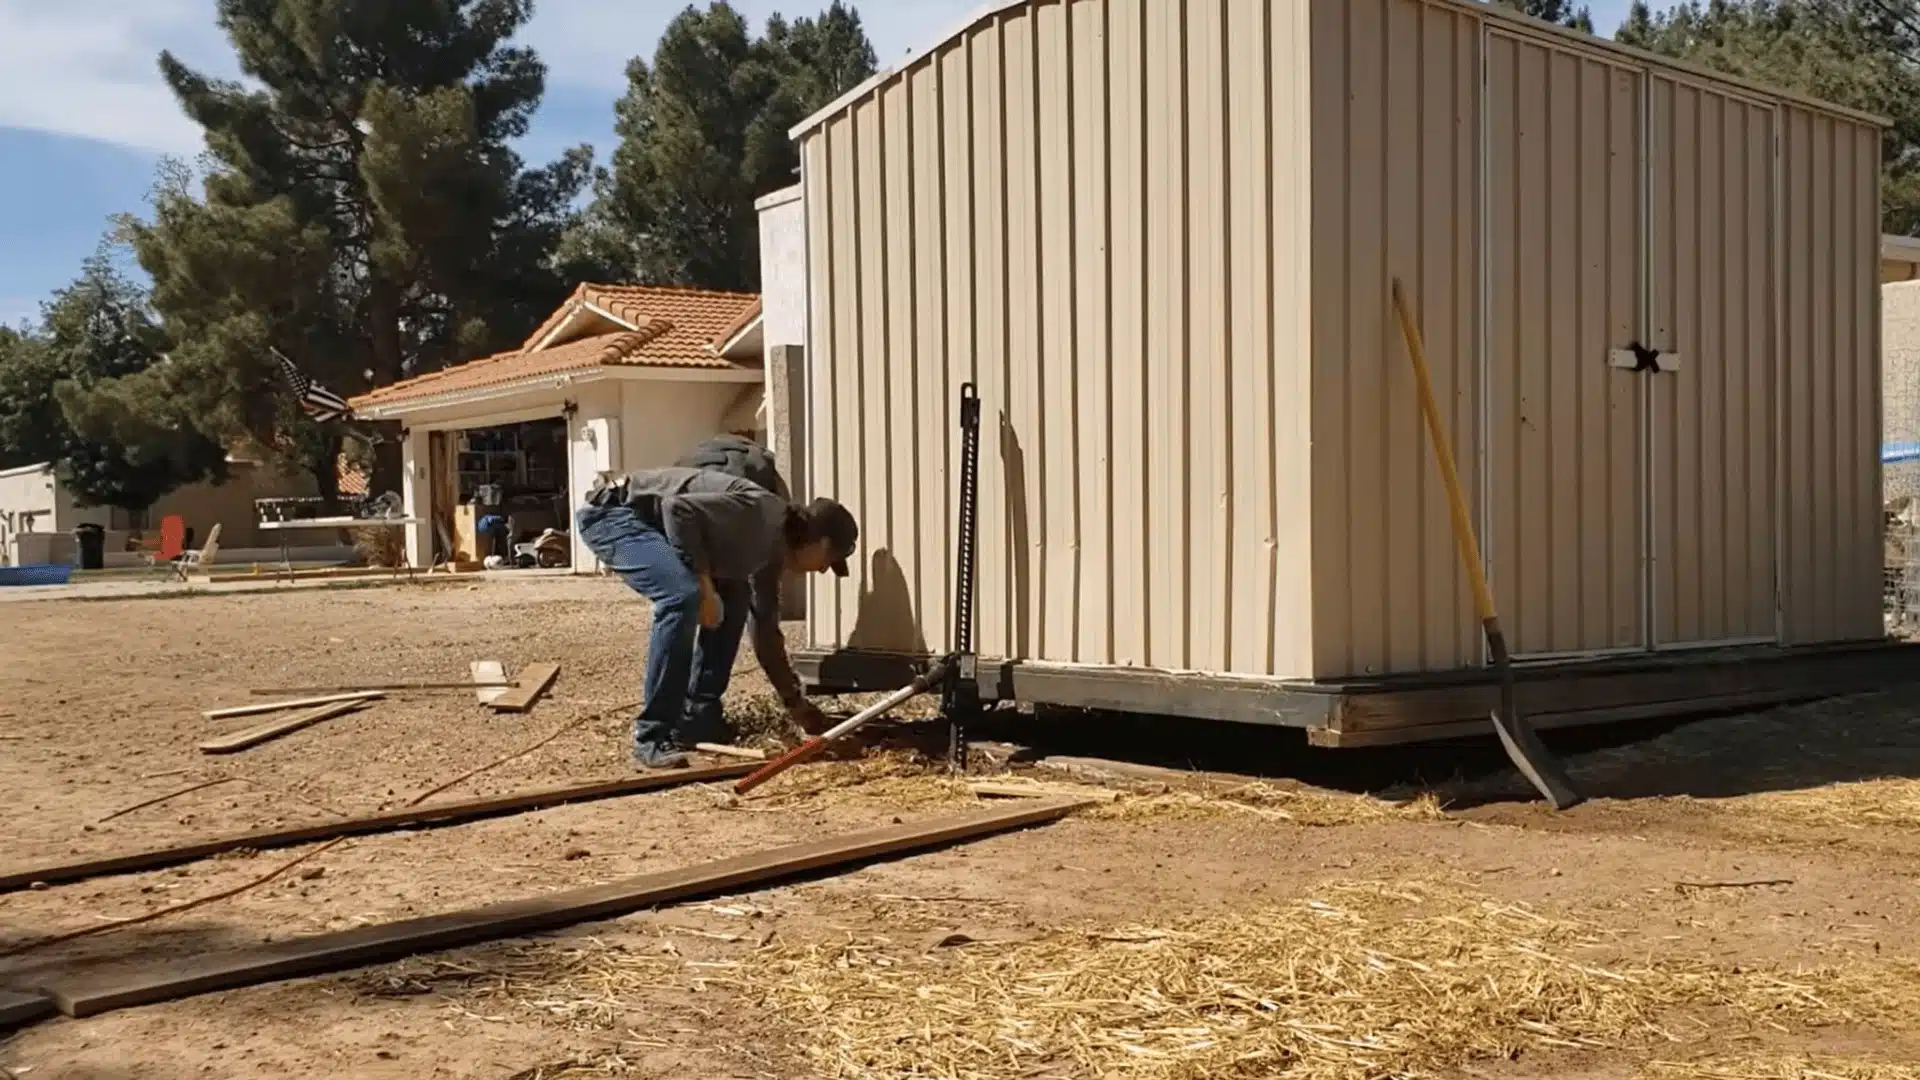
Position a high-lift jack under the edge of the shed and slowly raise it off the ground. You only need enough clearance to slide the first roller and supporting planks underneath.
If the jack cannot fit under the shed, dig down slightly near the edge to create room for its foot. Make sure the jack is properly positioned before lifting further.
Step 3: Set the Shed on Rollers
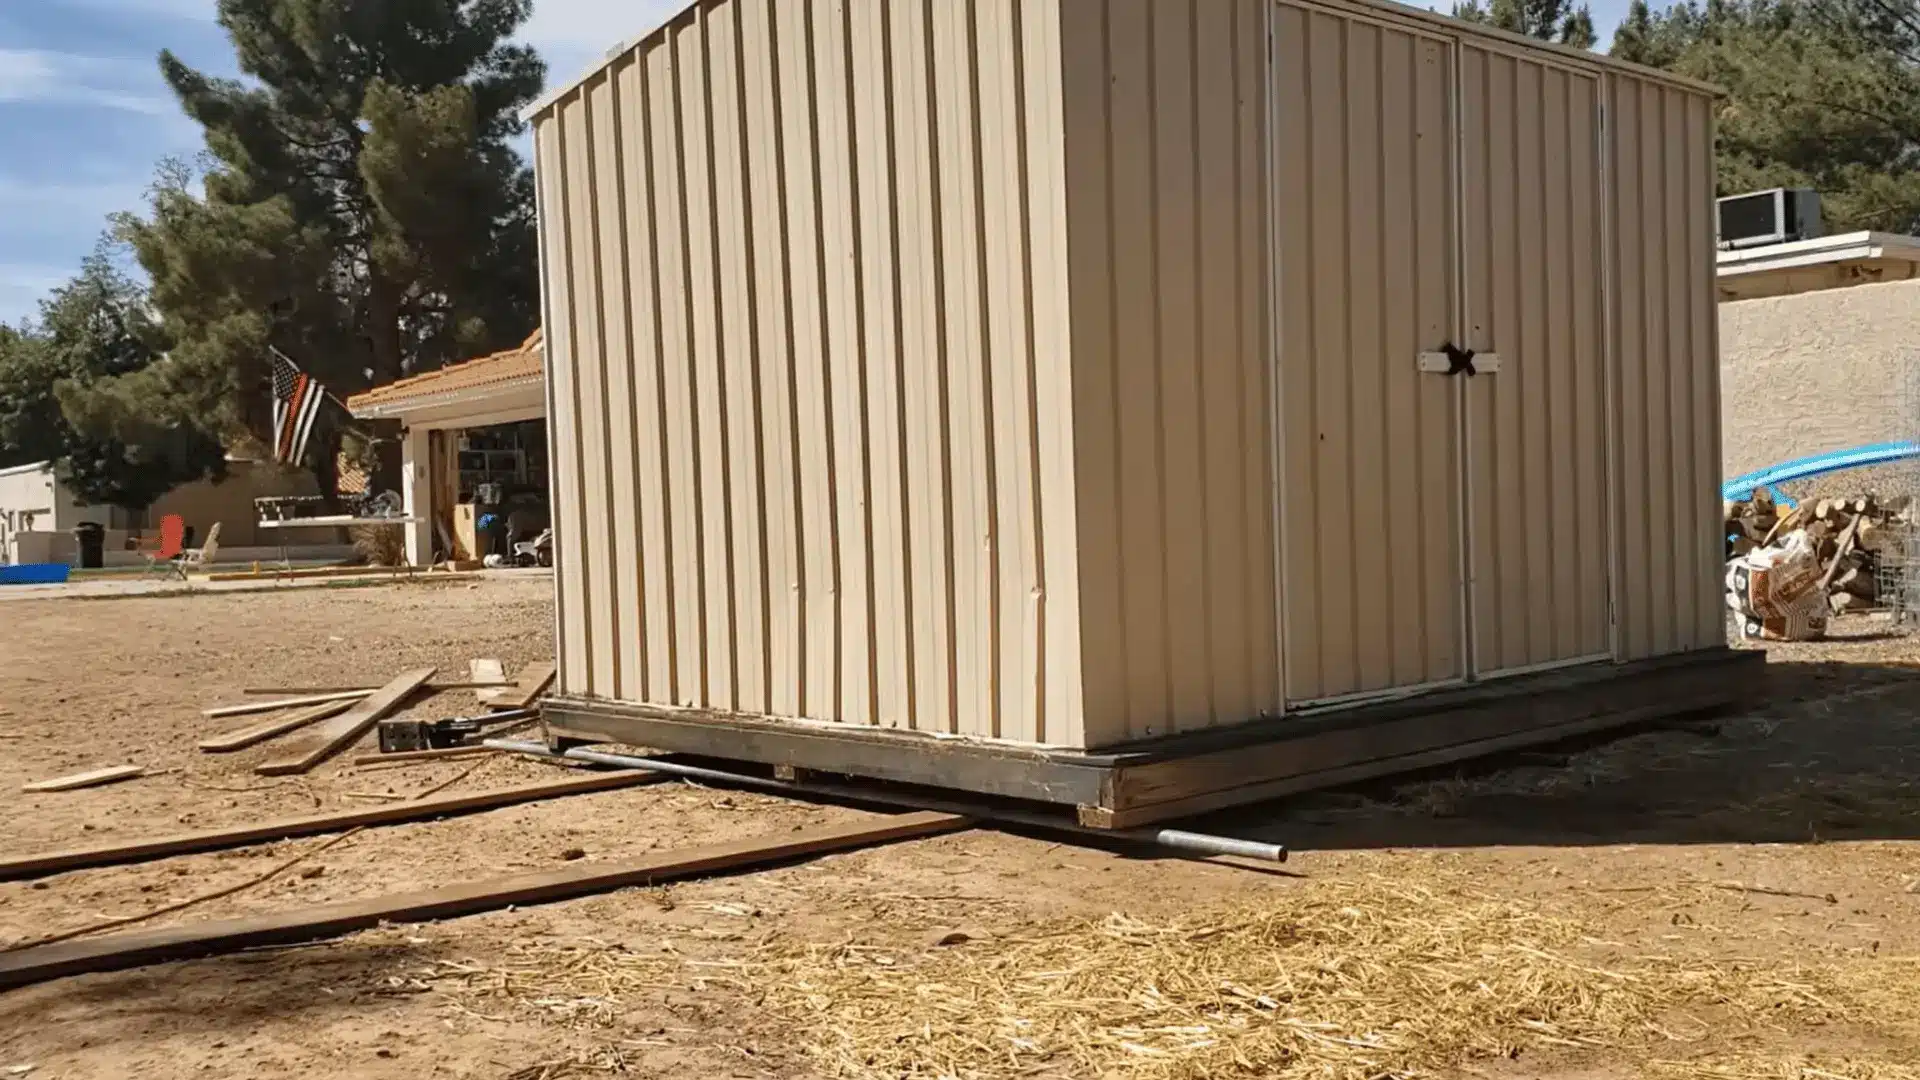
Place wood planks under the shed to act as tracks, then position the rollers across them. Try to place at least one roller close to the middle so the shed has support as you lower it.
Slowly lower the shed onto the rollers and check that it rests securely. Add more rollers as needed until the shed can move forward without dropping off the track.
Step 4: Push the Shed Along the Track
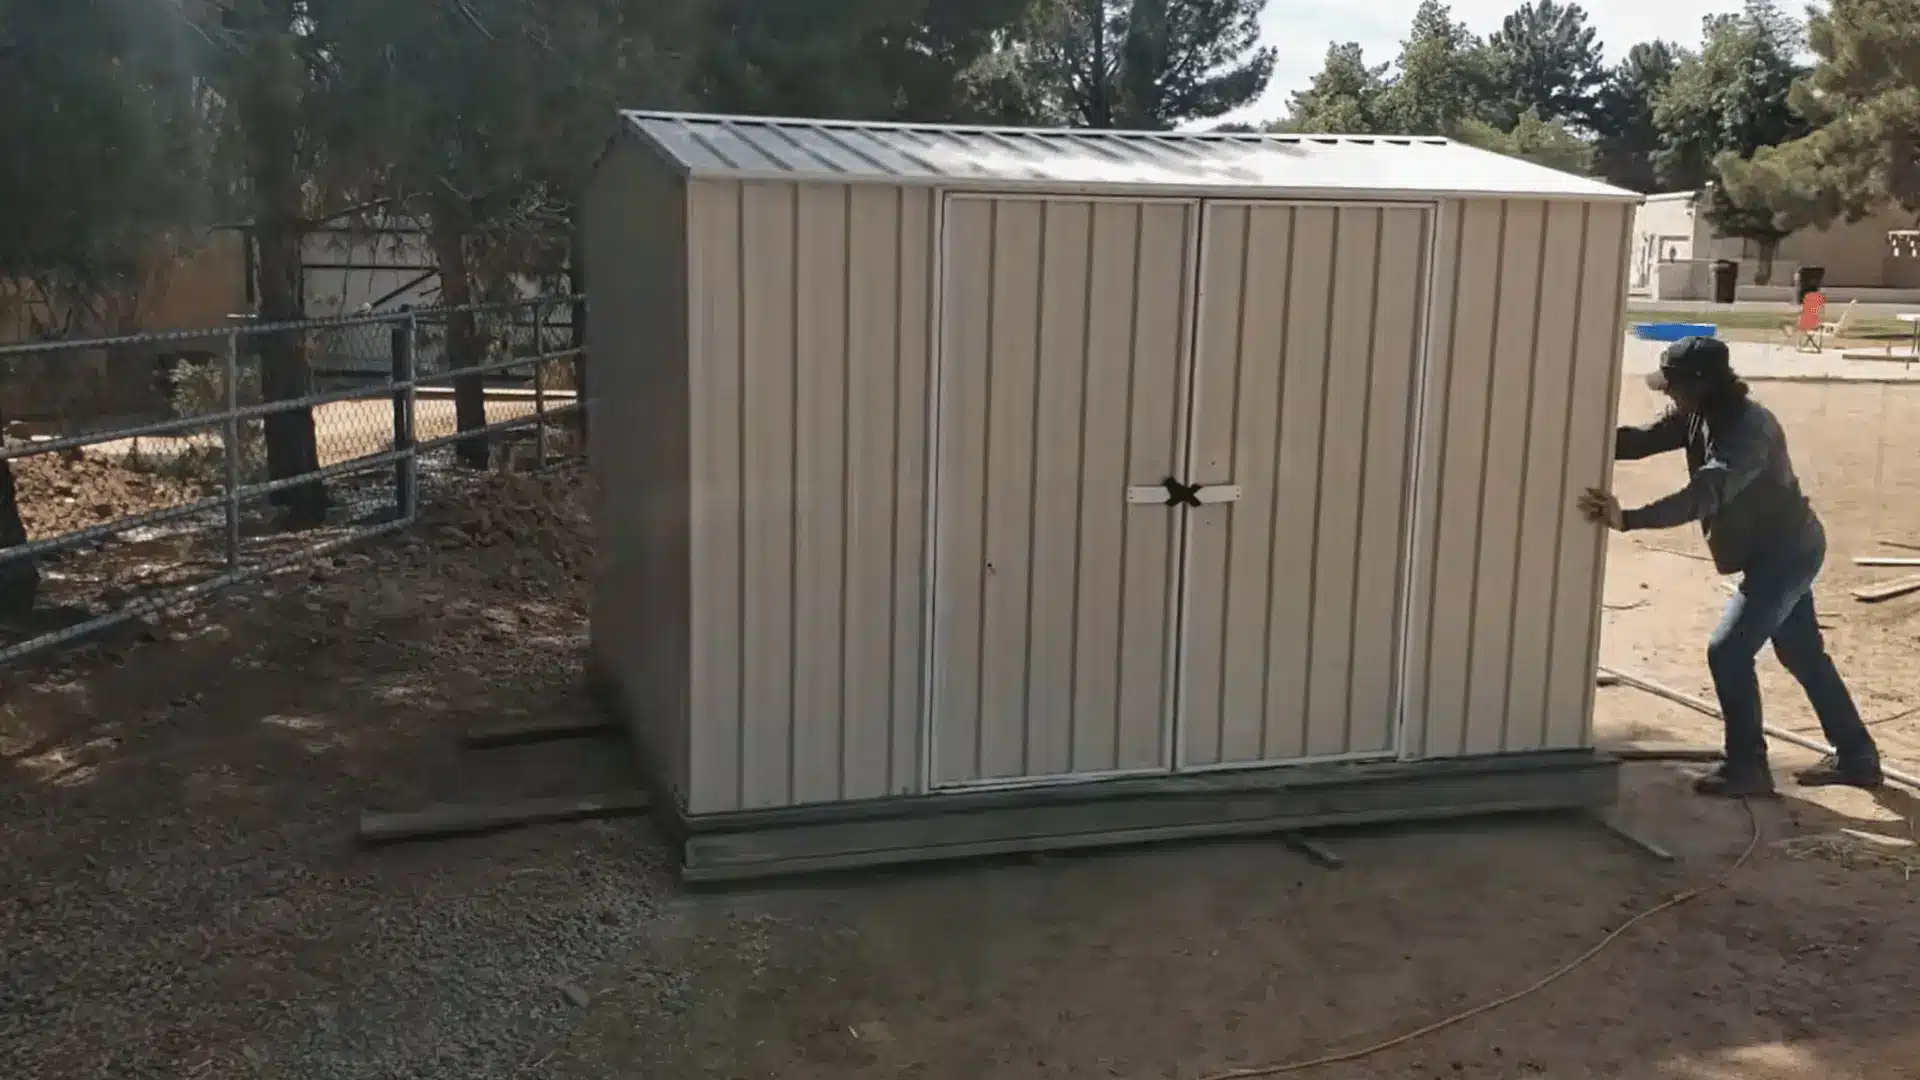
Push the shed forward slowly while keeping an eye on the rollers underneath it. As the shed moves off a rear roller, take that roller and place it back in front.
Do the same with the wood planks. Pull track sections from behind the shed and reposition them ahead so you can continue moving without needing a full-length track across the yard.
Step 5: Turn and Position the Shed
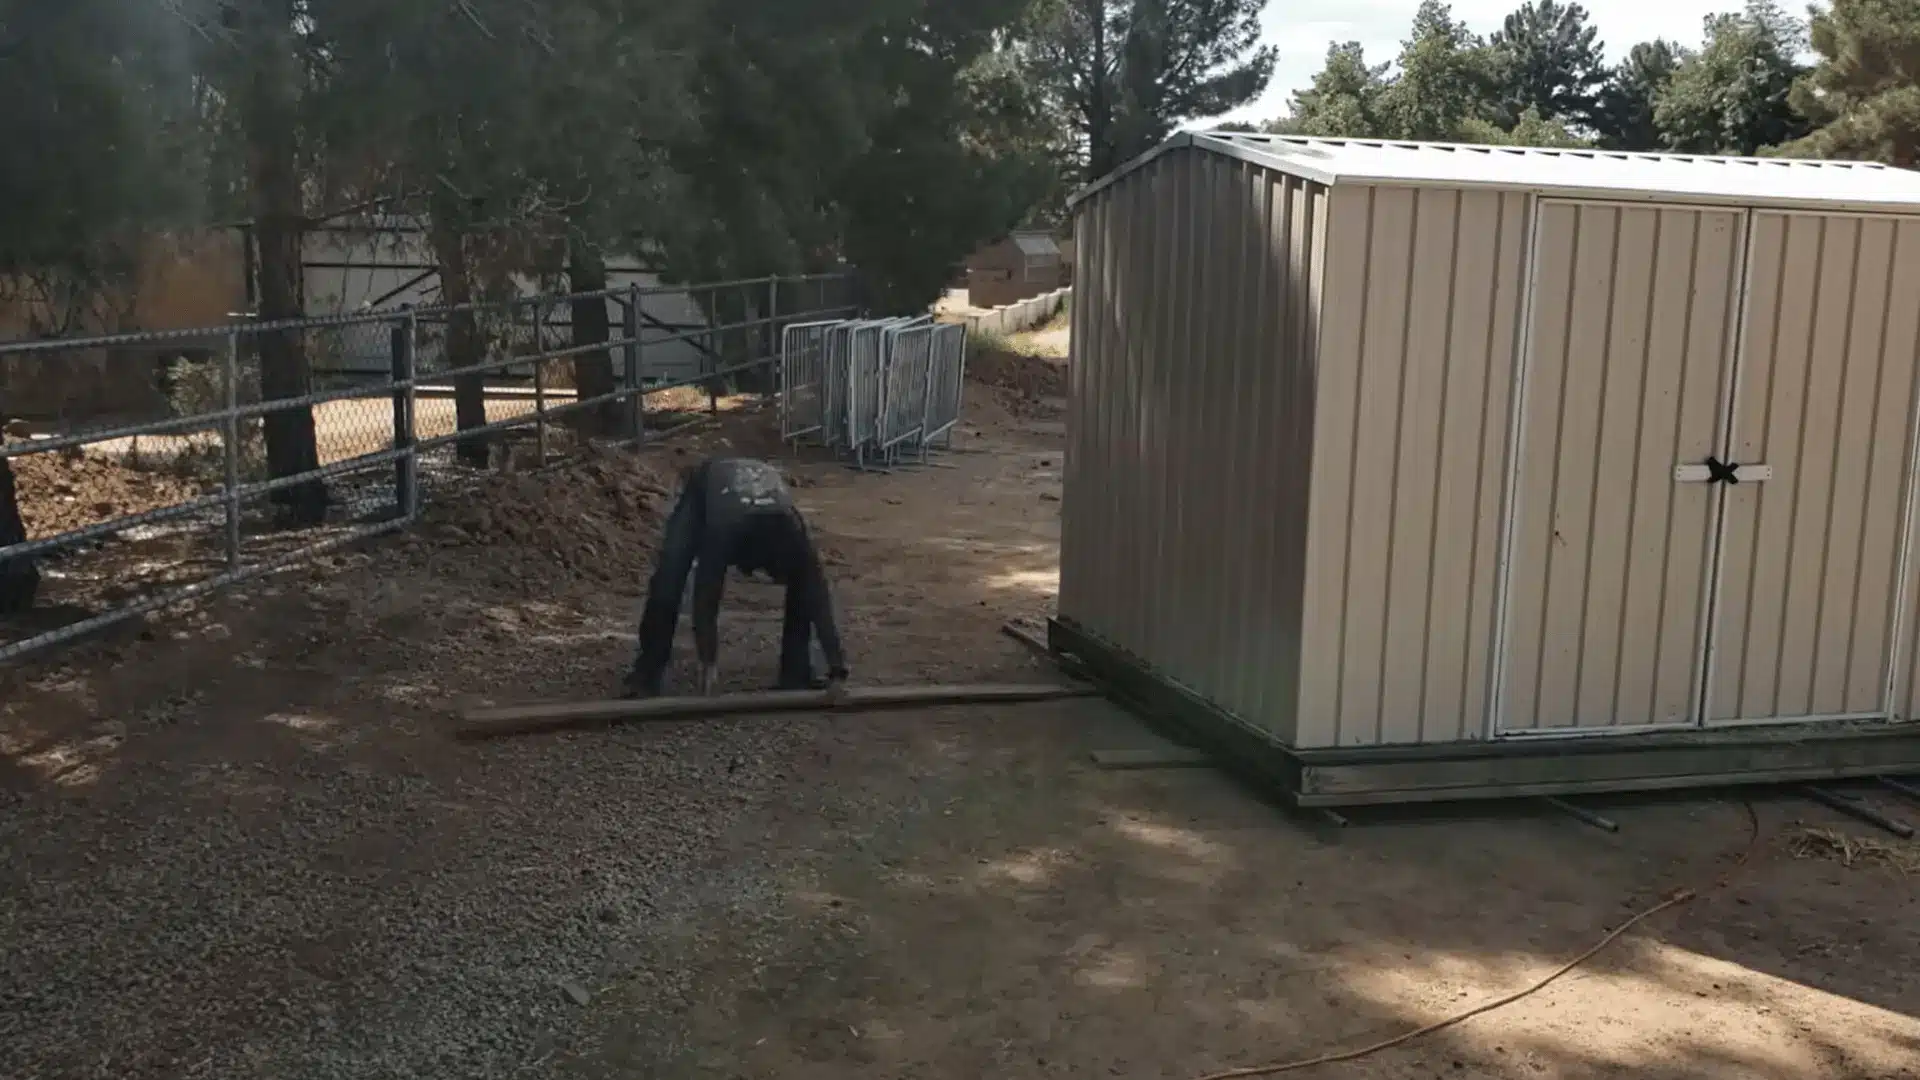
When you need to change direction, angle the planks ahead of the shed toward its final position. Continue pushing slowly while repositioning the rollers so the shed follows the new track.
If space becomes tight, use shorter pieces of wood or push the existing planks farther underneath the shed. Small adjustments make it easier to create a tighter turn without forcing the shed sideways.
Step 6: Remove the Rollers and Level the Shed
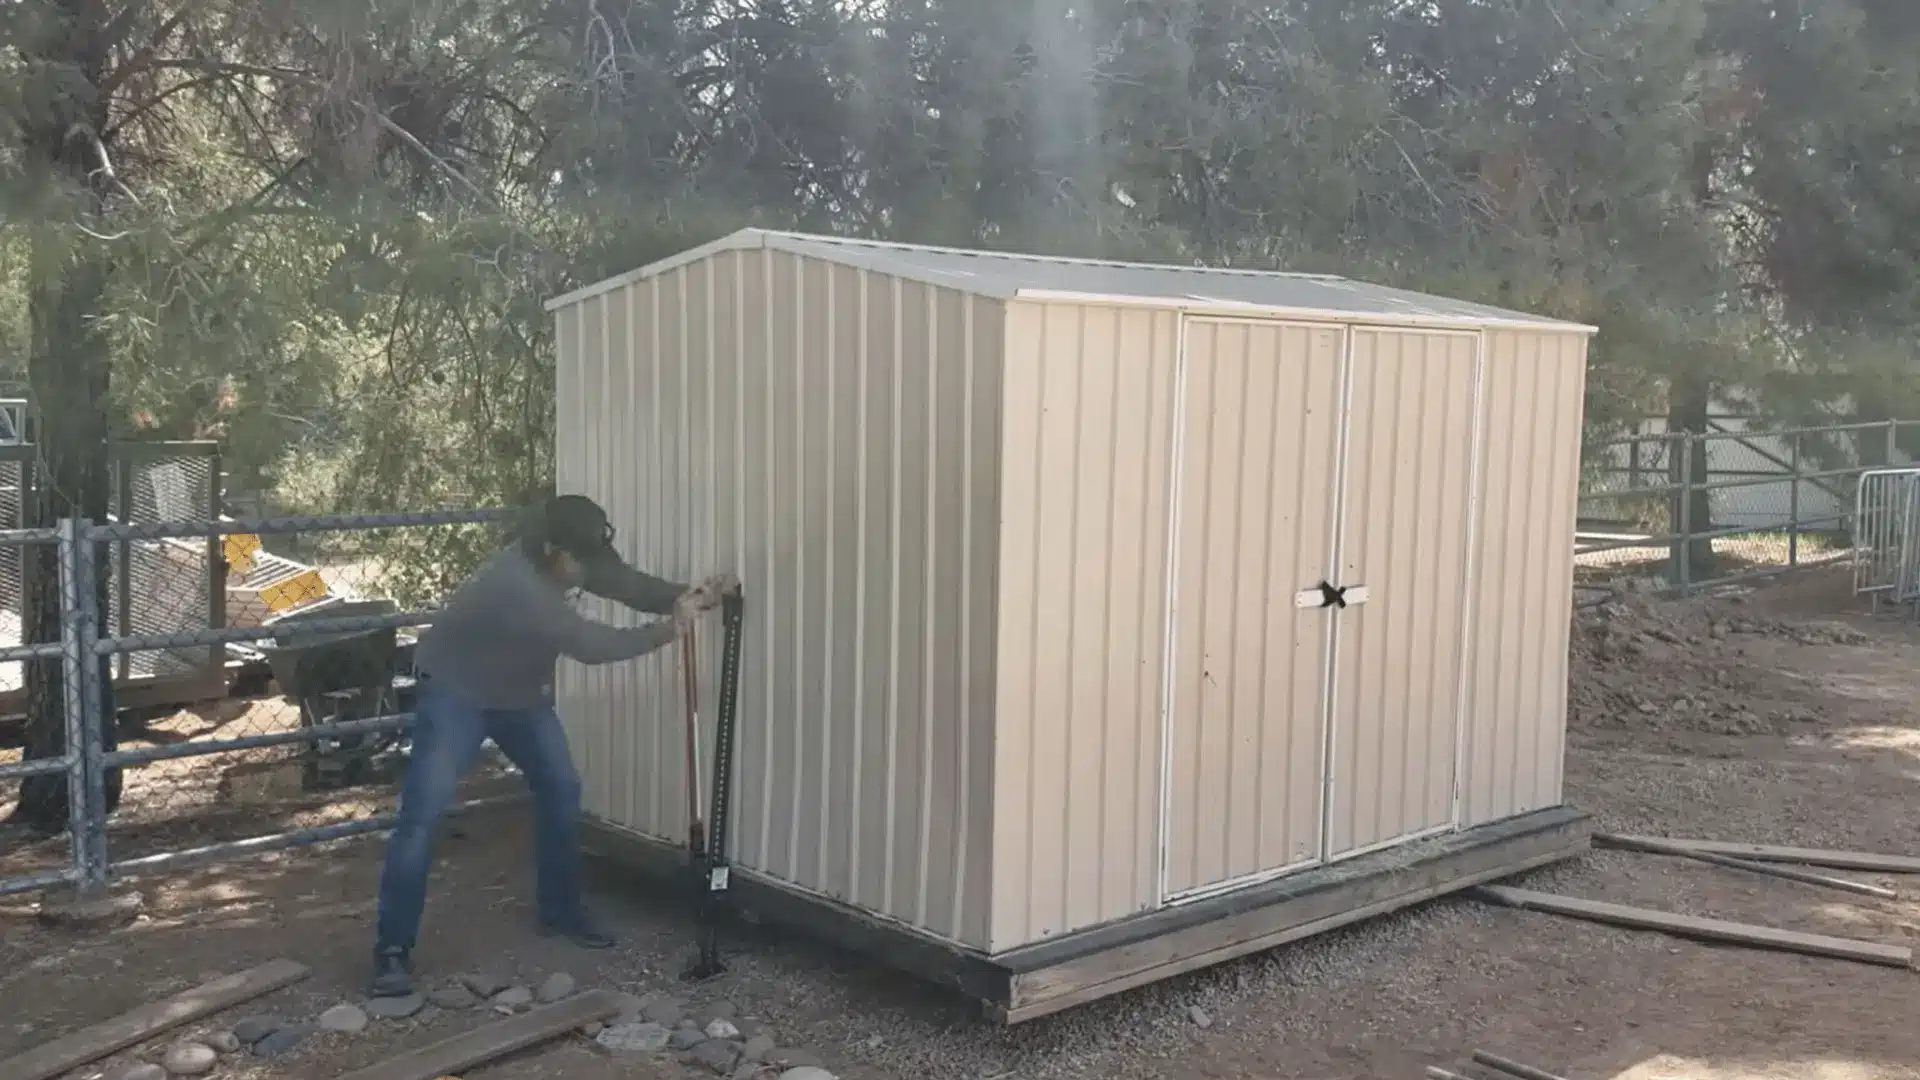
Once the shed reaches its new position, jack up one end enough to loosen the rollers and planks underneath. Pull them out while they are free rather than trying to drag them from beneath the shed while it is resting on them.
Repeat from the other end until everything has been removed. Lower the shed into place, then check it with a level around all sides and make any needed adjustments before considering the move finished.
For a complete walkthrough of the process, check out the video tutorial below:
What To Do After Moving A Shed
Once the shed reaches its new spot, avoid filling it immediately. Take time to inspect the structure, foundation, and placement carefully before storing anything inside again.
Check that the shed sits evenly on the new foundation without rocking or gaps. Even a small tilt can affect doors, windows, and floor stability over time.
Walk around the outside and look for cracks, shifted boards, or loose sections caused during lifting. Catching these issues early makes repairs much easier.
Open and close the doors and windows several times. If they stick or no longer line up, the frame may have moved during transport.
After everything checks out, reconnect utilities and move your belongings back inside. A careful inspection now helps prevent bigger problems later.
DIY vs. Hiring Professional Shed Movers
Doing it yourself saves money, but it isn’t always the smarter call. Here’s how the two options actually compare.
| Factor | DIY Move | Professional Movers |
|---|---|---|
| Typical cost | $100 to $500 in rented gear | $250 to $2,530 or more |
| Time needed | A full day, sometimes two | A few hours, handled by a crew |
| Best for | Small to mid-size sheds on skids | Custom builds, sheds without skids, anything past 12×20 feet |
| Risk level | Higher if the shed is heavy or fragile | Lower, backed by experience and equipment |
If your shed falls into that last DIY row, hiring saves you from a lift that goes wrong halfway through the yard.
How to Move a Shed Long Distances or Heavy Structures
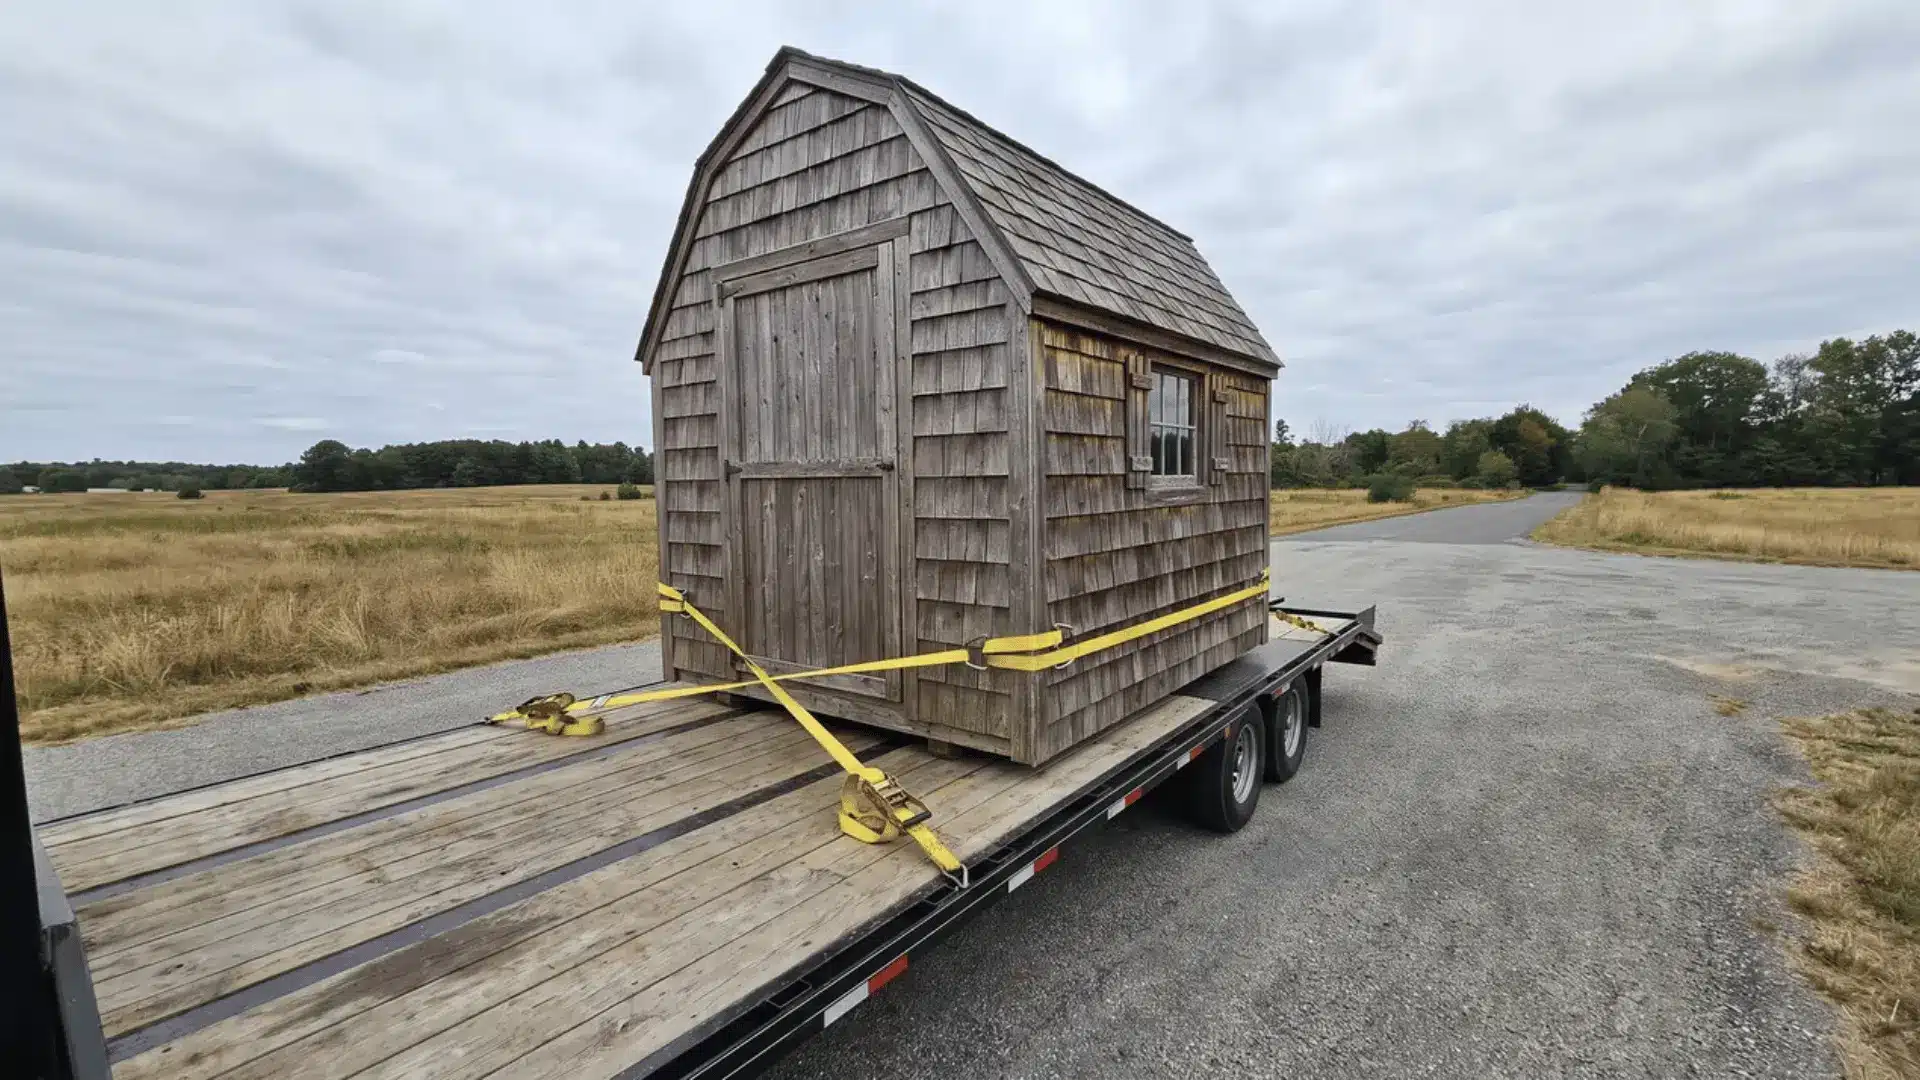
Long-distance moves need more planning than a short lift across the yard. The right equipment, secure loading, and proper preparation help prevent damage during transport.
1. Choose Between a Flatbed Trailer and a Rollback Tow Truck
A flatbed trailer or shed moving wheels can work well for certain moves if you’re comfortable handling the setup yourself. It takes extra preparation time, but keeps your overall moving costs much lower.
A rollback tow truck tilts its bed instead, letting the shed slide on without any winching. That’s worth the cost once a shed gets too heavy for a farm jack, so hand it to a crew.
2. Winch the Shed Onto the Trailer
Wrap heavy-duty tow chains or straps around the base skids, never the shed walls. That spreads the pulling force evenly instead of yanking on one weak spot.
Take it slow once the winch starts pulling the shed forward. A shed that jerks sideways while climbing onto the bed can easily shift or tip over.
3. Secure the Shed for Transport
Ratchet straps need to go over the top of the structure, not just underneath it. That’s what actually stops the shed from bouncing once you’re driving.
Check those straps again after the first few minutes on the road. Everything settles once moving starts, and straps loosen more than most people expect them to.
4. Permits and Utility Disconnection for Road Moves
Crossing public roads or moving long distances sometimes means pulling a permit first. Costs usually land between $10 and $80, depending on where you live.
If the shed has power or plumbing running to it, disconnect both before moving day arrives. Reconnecting afterward often calls for an electrician or plumber, so plan accordingly.
How To Confirm The Shed Is Secure After The Move
After moving the shed into its new location, check the structure and placement before putting everything back inside. These final inspections help catch any issues caused during lifting, transport, or positioning.
Check the Ground Support: Make sure the shed sits flat and level on the new base without rocking or uneven gaps. Proper support helps prevent shifting and keeps the structure stable over time.
Inspect the Shed Frame: Look for new cracks, gaps, loose boards, or shifted sections that may have appeared during the move. Addressing small issues early can prevent larger repairs later.
Test Doors and Windows: Open and close all doors and windows to check for sticking, rubbing, or alignment problems. Movement during relocation can slightly shift the frame and affect how they operate.
Check the Interior Floor: Walk through the shed and inspect the floor for soft spots, uneven areas, or movement under your feet. These signs may indicate support issues beneath the shed.
Inspect the Roof and Exterior: Check the roof panels, seams, and exterior walls for loose sections or gaps. Make sure there are no openings that could allow water to enter and cause damage.
Reconnect Utilities and Final Supports: Reconnect any power, plumbing, or other services only after confirming the shed is stable. Check that the weight is evenly supported across the new base without pressure points or unstable areas.
Common Mistakes That Damage a Shed During a Move
Most shed damage comes from a few repeated mistakes. Checking these points before moving helps prevent avoidable repairs later.
- Skipping the path check lets uneven or soft ground make supports sink or roll, tilting the shed mid-move.
- Using the wrong trailer or straps lets the shed shift and bounce, damaging the structure during transport.
- Moving a damaged shed risks the frame failing the moment it’s lifted, since rot and weak framing give out under stress.
- Lifting one side higher than the others twists the frame diagonally, cracking siding and jamming doors days later.
- Rushing the lift with too few people concentrates weight on fewer hands, straining joints that were never built for that load.
- Ignoring overhead obstructions like power lines or low branches can catch the shed’s roofline and cause real damage mid-move.
- Not measuring the shed against gates or doorways leads to forcing it through a gap too tight, scraping or cracking the walls.
- Leaving contents inside adds unnecessary weight and lets loose items shift and bang against the walls during transport.
- Using undersized straps or chains for the shed’s weight risks snapping mid-lift or mid-transport, dropping the shed unexpectedly.
Checking these issues before the move helps protect the shed and reduces the chance of costly repairs.
Final Take
Moving a shed safely is less about force and more about planning each step. I recommend emptying and bracing the structure first, then disconnecting it from the foundation before lifting it carefully.
PVC rollers and wooden tracks can make a short backyard move smoother, while a come-along or winch gives you better control when pushing is not practical.
If you are moving a larger shed or traveling farther, check its weight, clearance, transport needs, and structural condition before starting. These steps help protect the shed, your property, and everyone involved.
Use this guidance to plan your move, and share your experience or check out related shed-moving tips.
Frequently Asked Questions
How Much Does It Cost to Move a Shed?
DIY shed moves typically cost $100 to $500 in rented equipment. Hiring professionals runs from around $250 for a short move, up to $2,530 or more for larger sheds. Size, distance, and condition all affect the final price.
Can You Move a Shed without Dismantling It?
Most sheds can be moved whole if they’re structurally sound and not oversized for the method. Bracing and lifting, or loading onto a trailer, both keep the shed intact. Badly deteriorated or concrete-anchored sheds sometimes need partial dismantling first.
How Many People Do You Need to Move a Shed?
Most sheds need at least four to six people once braced, since the framing spreads weight across several lifting points. Larger sheds or longer carries need more hands to keep the lift steady.
Do I Need a Permit to Move a Shed?
Permits are sometimes required for moves across public roads, long distances, or state lines. These typically cost $10 to $80 depending on your area. Short, on-property moves usually don’t need one, but check local rules first.