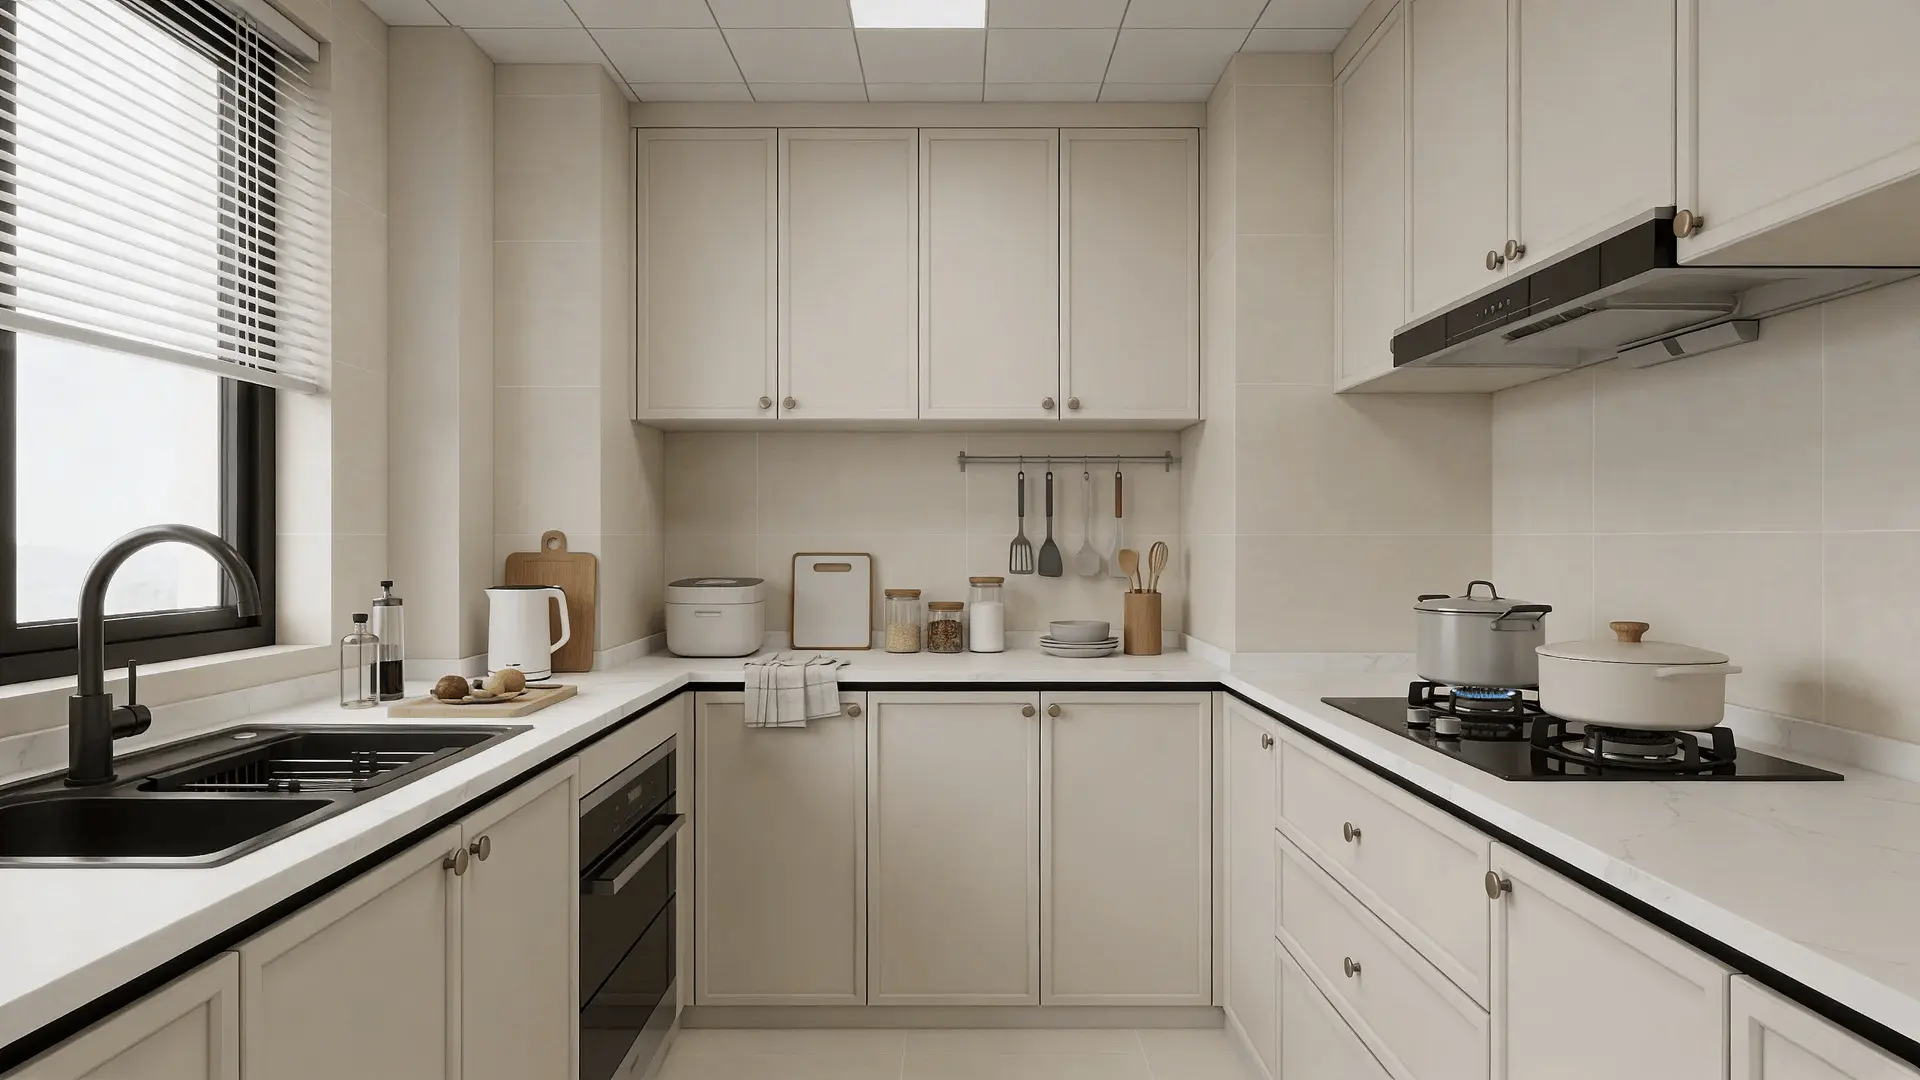
Most small kitchens don’t fail because they lack space. They fail because the space isn’t working the way you think it should. You move more than necessary, dig for simple tools. Counters fill up faster than you can clear them.
If you’ve been wondering how to organize a small kitchen, the answer isn’t another bin or shelf. It’s understanding how access, habits, and layout interact.
In this guide, I’ll walk you through a clear system that fixes the structure first, then layers in smart adjustments that actually hold.
Before we touch a single drawer, though, we need to understand why small kitchens break down in the first place.
Before You Start: Why Small Kitchens Become Inefficient
A small kitchen doesn’t fail because of its size. It fails when access breaks down.
Two forces shape the experience: volume and accessibility. Volume is how much lives in the space. Accessibility is how easily you can reach and return those items. When volume grows faster than access, friction builds.
That friction shows up as clutter.
Even if cabinets aren’t packed tight, poor placement slows you down. You move three things to reach one. You bend too low or stretch too high. Those small delays add up, and over time you stop resetting the space. Surfaces fill. The room feels chaotic.
Many people assume clutter means “too many items.” Sometimes it does. But often it’s poor spatial logic. Daily tools are buried. Rarely used gadgets sit in prime spots.
When access improves, clutter drops on its own. That’s why we address structure before buying anything.
Step 1: Reduce What Lives in the Kitchen

Decluttering works best when it’s tied to function, not emotion.
Start by sorting items by frequency: Daily, Weekly, Rarely, or Never.
Daily items deserve the easiest access. Rare items can move out of the main flow. If you use a waffle maker twice a year, it doesn’t need to live beside the stove.
Functional redundancy matters more than people think. Two spatulas are useful. Six usually aren’t. Extra mugs, duplicate peelers, backup gadgets; they quietly overload cabinets.
Emotional attachment adds hidden friction. A gifted appliance or souvenir dish may feel important. But if it blocks what you use every day, you’ll feel that cost each time you cook.
Decluttering isn’t about owning less for the sake of it. It’s about reducing friction so the space works.
Some kitchens feel overwhelming because everything has equal priority. When everything stays, nothing fits well. Once volume drops, access improves quickly.
Stop when daily items fit comfortably within reach. If doors strain to close, the volume is still too high.
Step 2: Assign Task-Based Zones
This is where most advice stays shallow. They organize by category. You need to organize by task.
Think in zones: Prep zone, Cooking zone, Cleaning zone, Food storage zone.
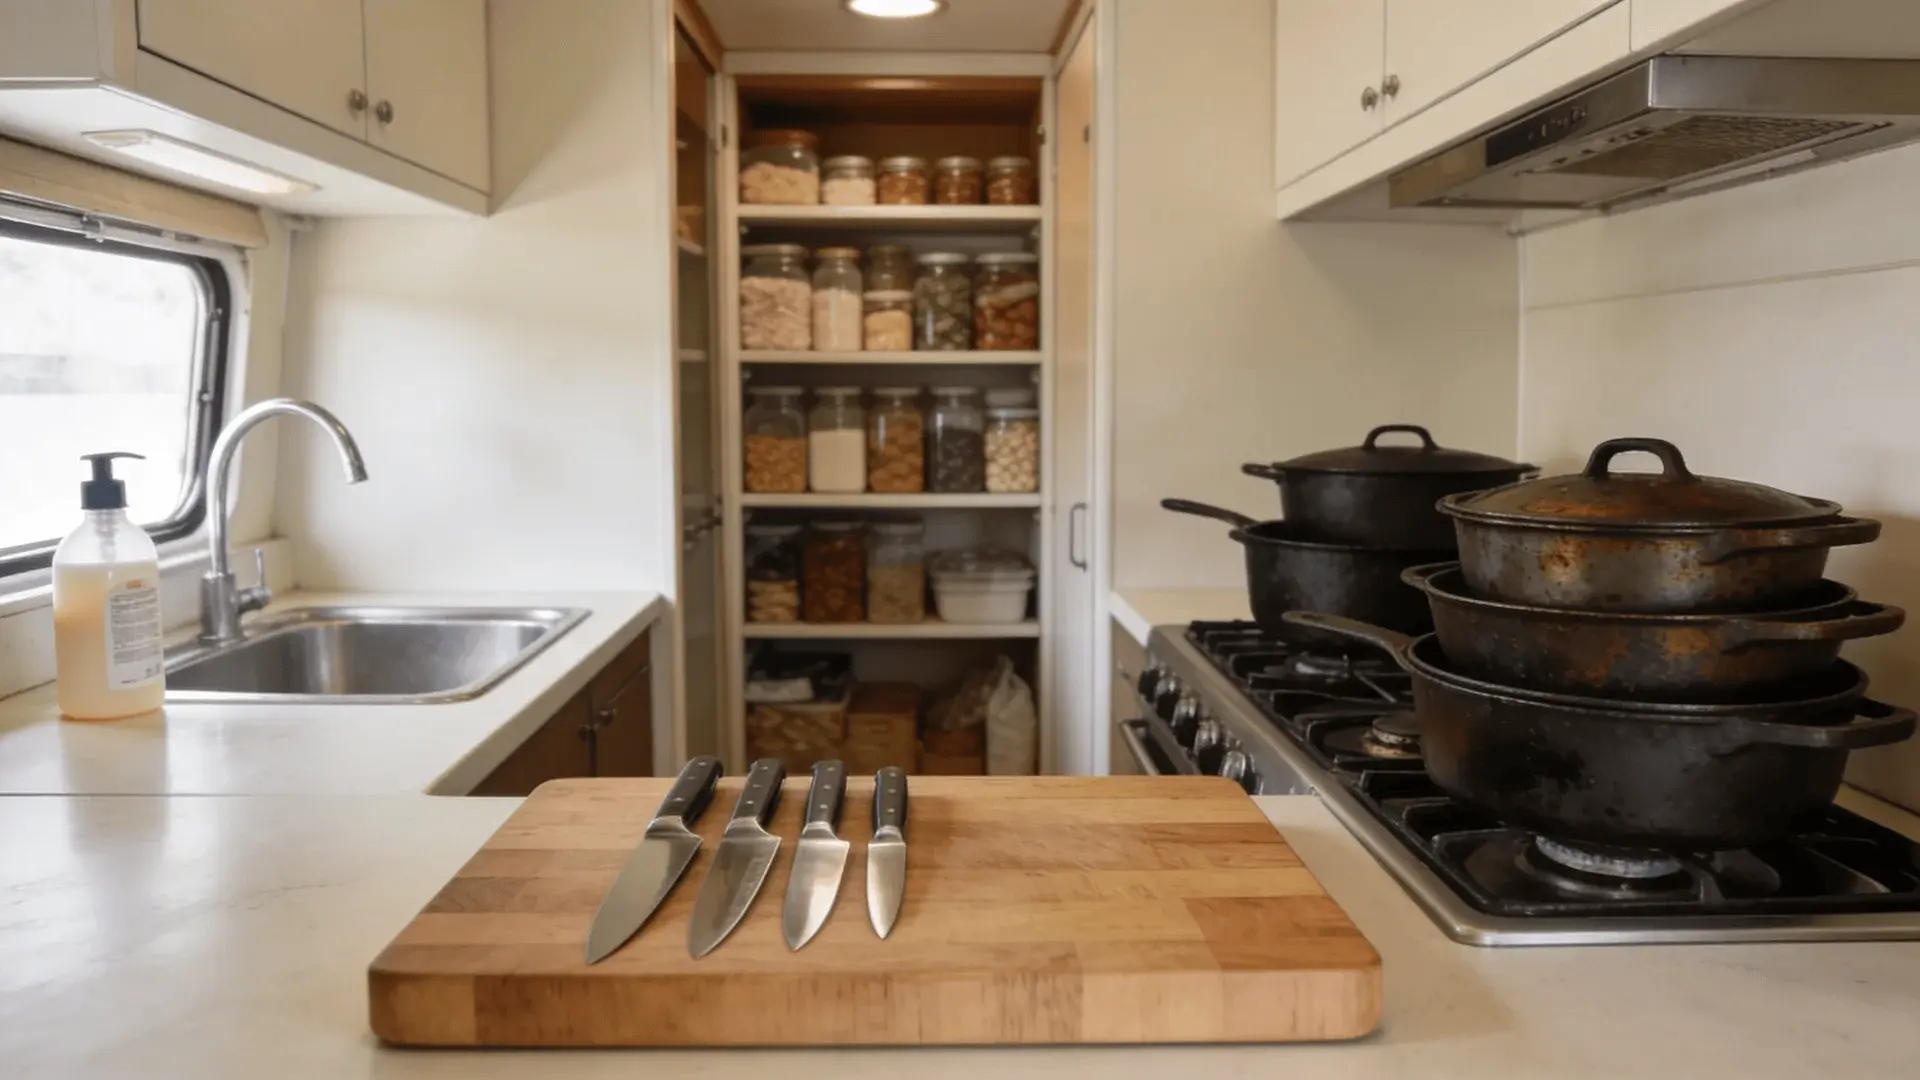
Your prep zone might hold knives, cutting boards, mixing bowls, and core spices. These belong near your main counter workspace.
Your cooking zone includes pots, pans, utensils, and oils. Keep these near the stove.
Your cleaning zone stores dish soap, sponges, trash bags, and dishwasher tabs. These stay near the sink.
When tools are grouped by type instead of task, movement increases. You walk more. You open more doors. That added motion creates fatigue and small decision stress.
Adjacency reduces that cost. When items sit close to where they’re used, workflow feels smooth. Cognitive load drops because you don’t have to think about placement.
Every kitchen layout is different. A galley kitchen handles zones differently than an L-shape. That variation is normal. The key is matching storage to how you actually move, not to a photo online.
Once zones are clear, storage decisions become obvious. You stop guessing.
Step 3: Rebuild Cabinets Using Access and Depth Rules
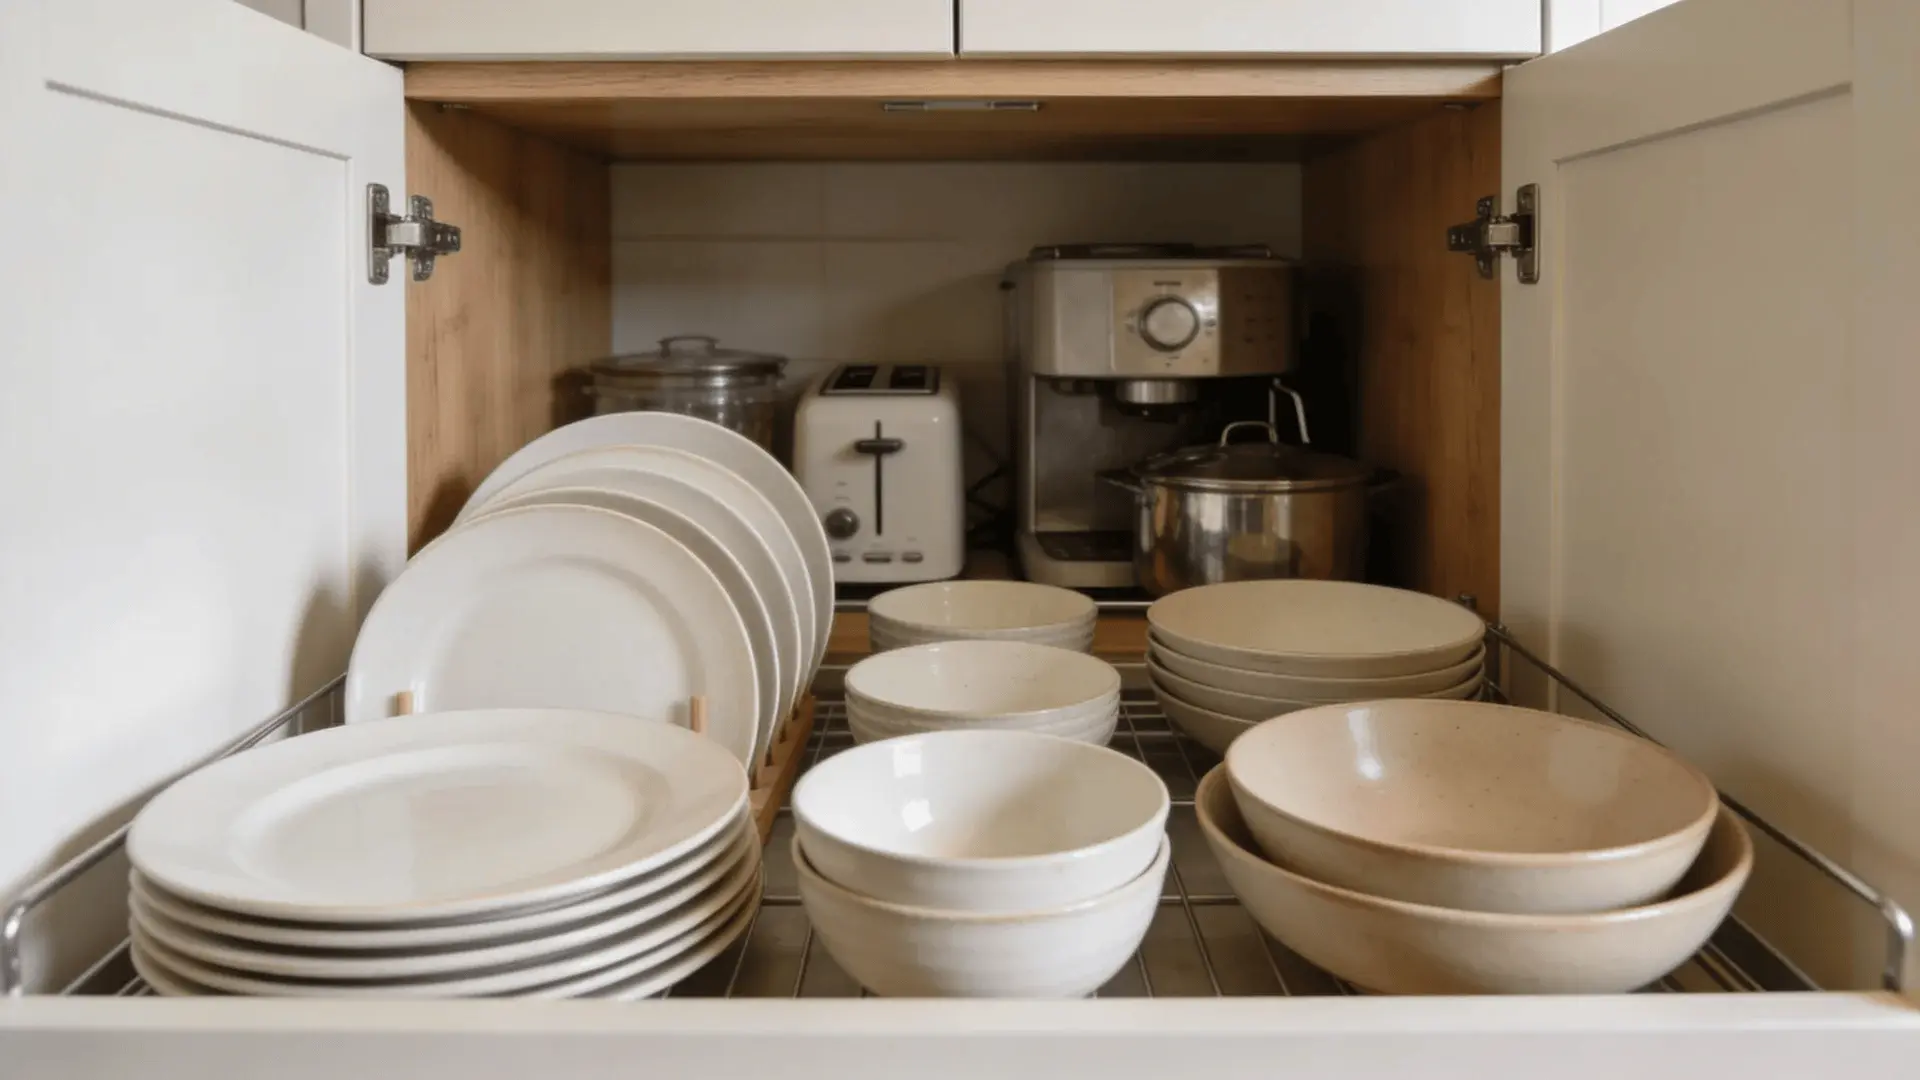
Most cabinets have two working zones: the front-access area and the deeper back space. The front should hold daily-use items. The back can store backups or rarely used tools.
Stacking creates height problems. If you stack too high, retrieval slows. You avoid the bottom items because accessing them requires extra steps. That’s the stacking failure threshold. When you must unstack multiple layers to reach something, the system breaks.
Shelf risers help when vertical space is unused, and items are stable. But if containers wobble or block one another, risers add frustration instead of order.
Lazy Susans can be useful in deep corner cabinets. In shallow cabinets, though, they waste perimeter space. A circle inside a square leaves dead zones, which matters in small kitchens.
Keep heavy items low and lighter ones higher. Front-load frequency. Back-load rarity. When cabinets follow access logic instead of habit, you gain usable space without adding anything new.
Step 4: Organize Drawers for Speed, Not Just Neatness
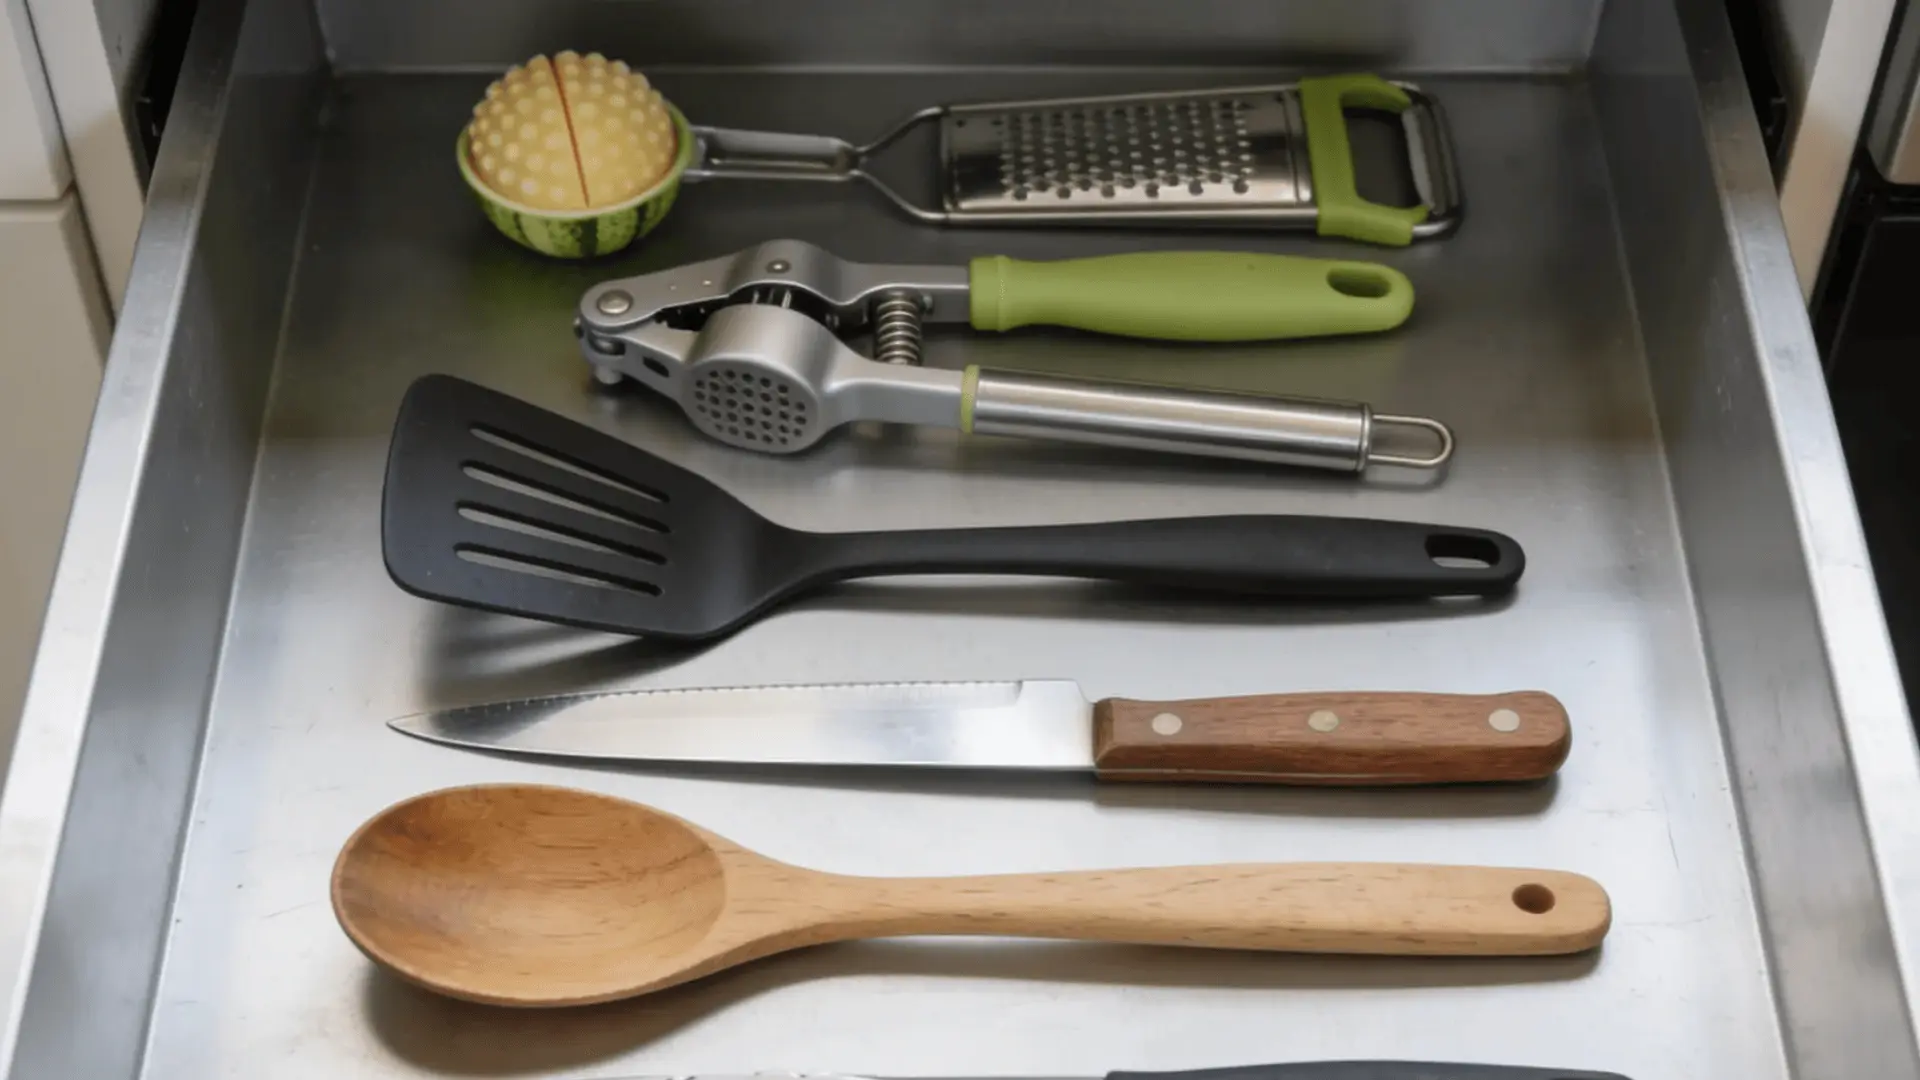
Drawers can look organized and still feel slow.
Over-segmentation is common. Too many tiny compartments force you to pause and think before putting something back. That hesitation slows you down.
Place high-frequency items in the easiest-to-reach section of the drawer. Cooking utensils you use daily should sit closest to your dominant hand. Less-used gadgets can be moved to the back or into deeper drawers.
Access-time logic matters. The faster you can grab and return something, the more likely the system holds.
Here’s the contrast: a perfectly neat drawer with complex dividers may look impressive, but a simpler layout that matches your movement often works better. Aim for clarity over perfection.
Step 5: Use Vertical Space without Creating New Clutter
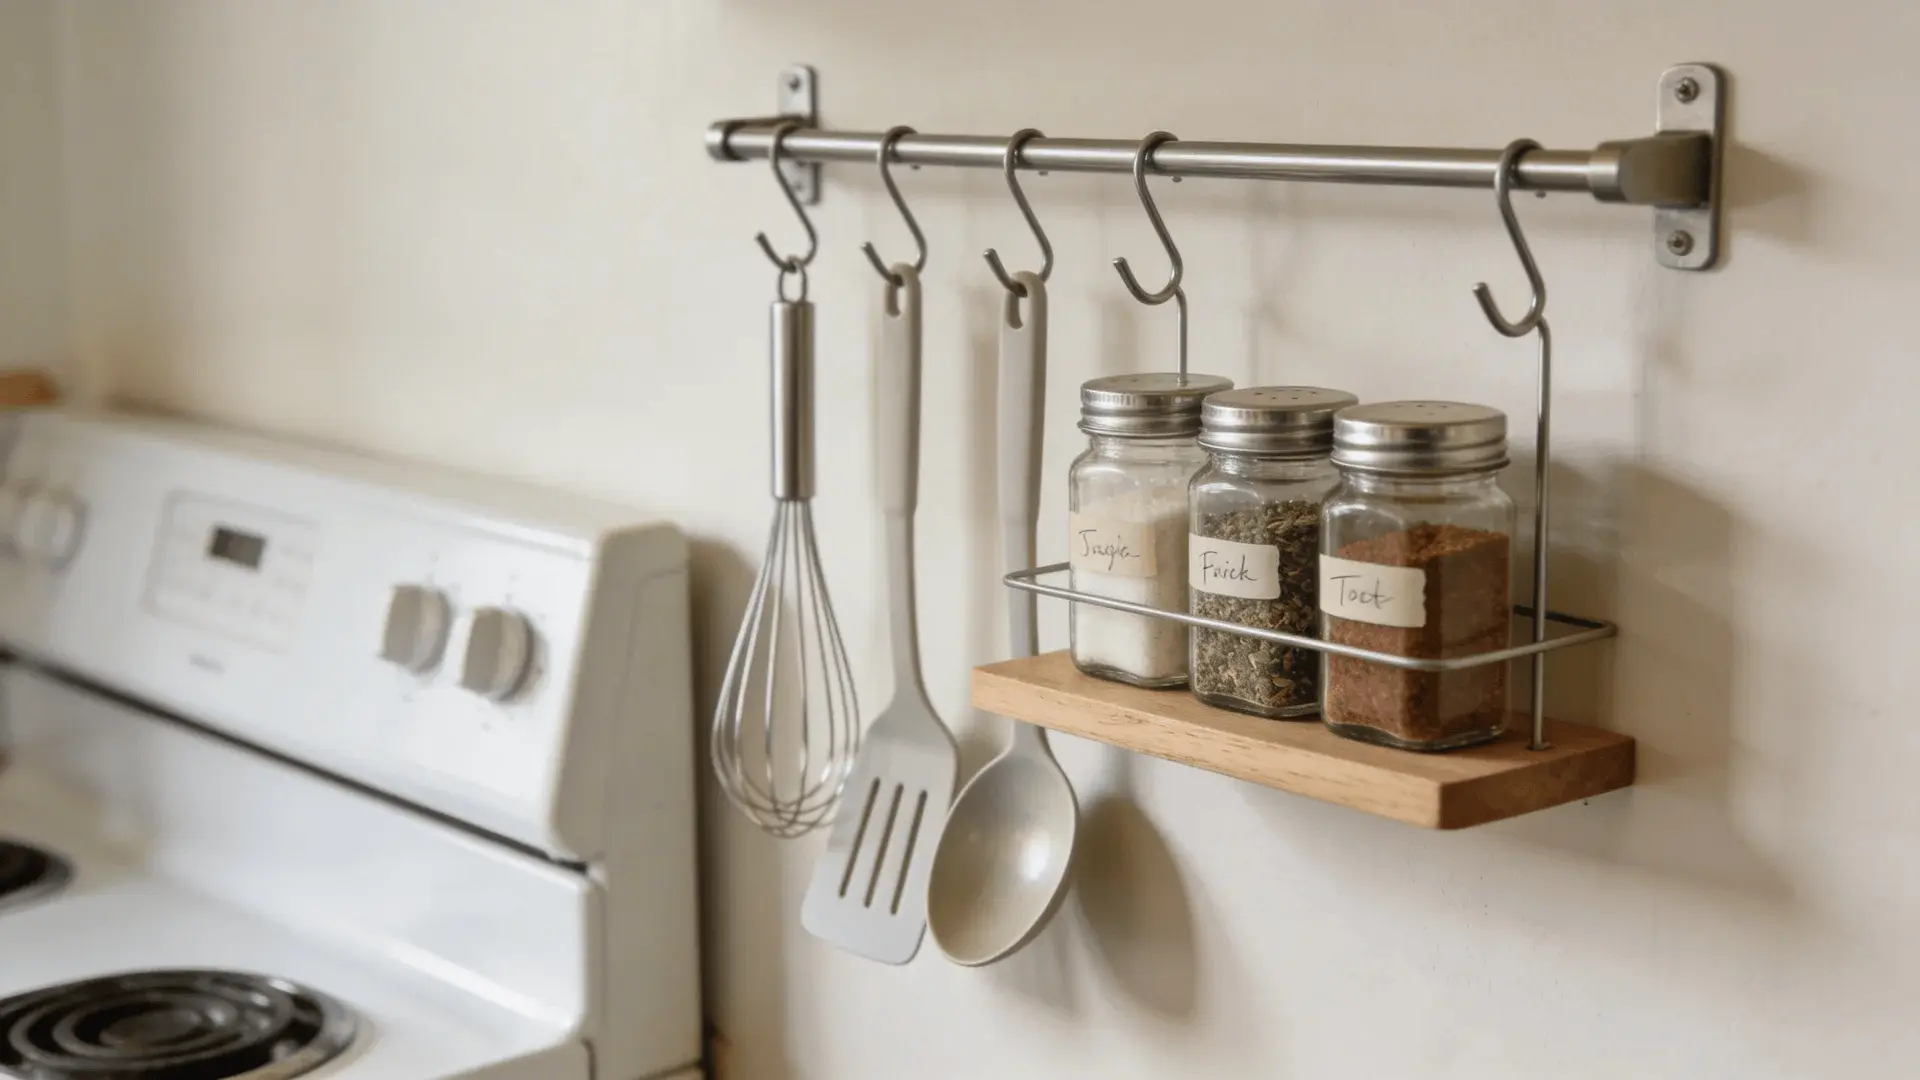
Vertical storage is powerful, but it can overwhelm a small kitchen if used carelessly.
Eye-level density shapes how a room feels. Too many items on walls create visual pressure. Even when technically organized, the space can feel busy.
Hooks work well for lightweight, high-use tools like measuring cups or oven mitts. Shelves are better for stable items such as spice jars. Mixing heavy pots with small jars on open shelves increases visual noise.
Wall load matters. Over-the-door racks and mounted shelves must handle weight safely. If doors sag or hinges strain, the solution becomes a new problem.
Vertical storage works best when it supports a defined zone. Hanging cooking tools near the stove makes sense. Random hooks scattered around do not. Use walls to support workflow, not to squeeze in more volume.
Step 6: Clear Counters without Hiding What You Use Daily
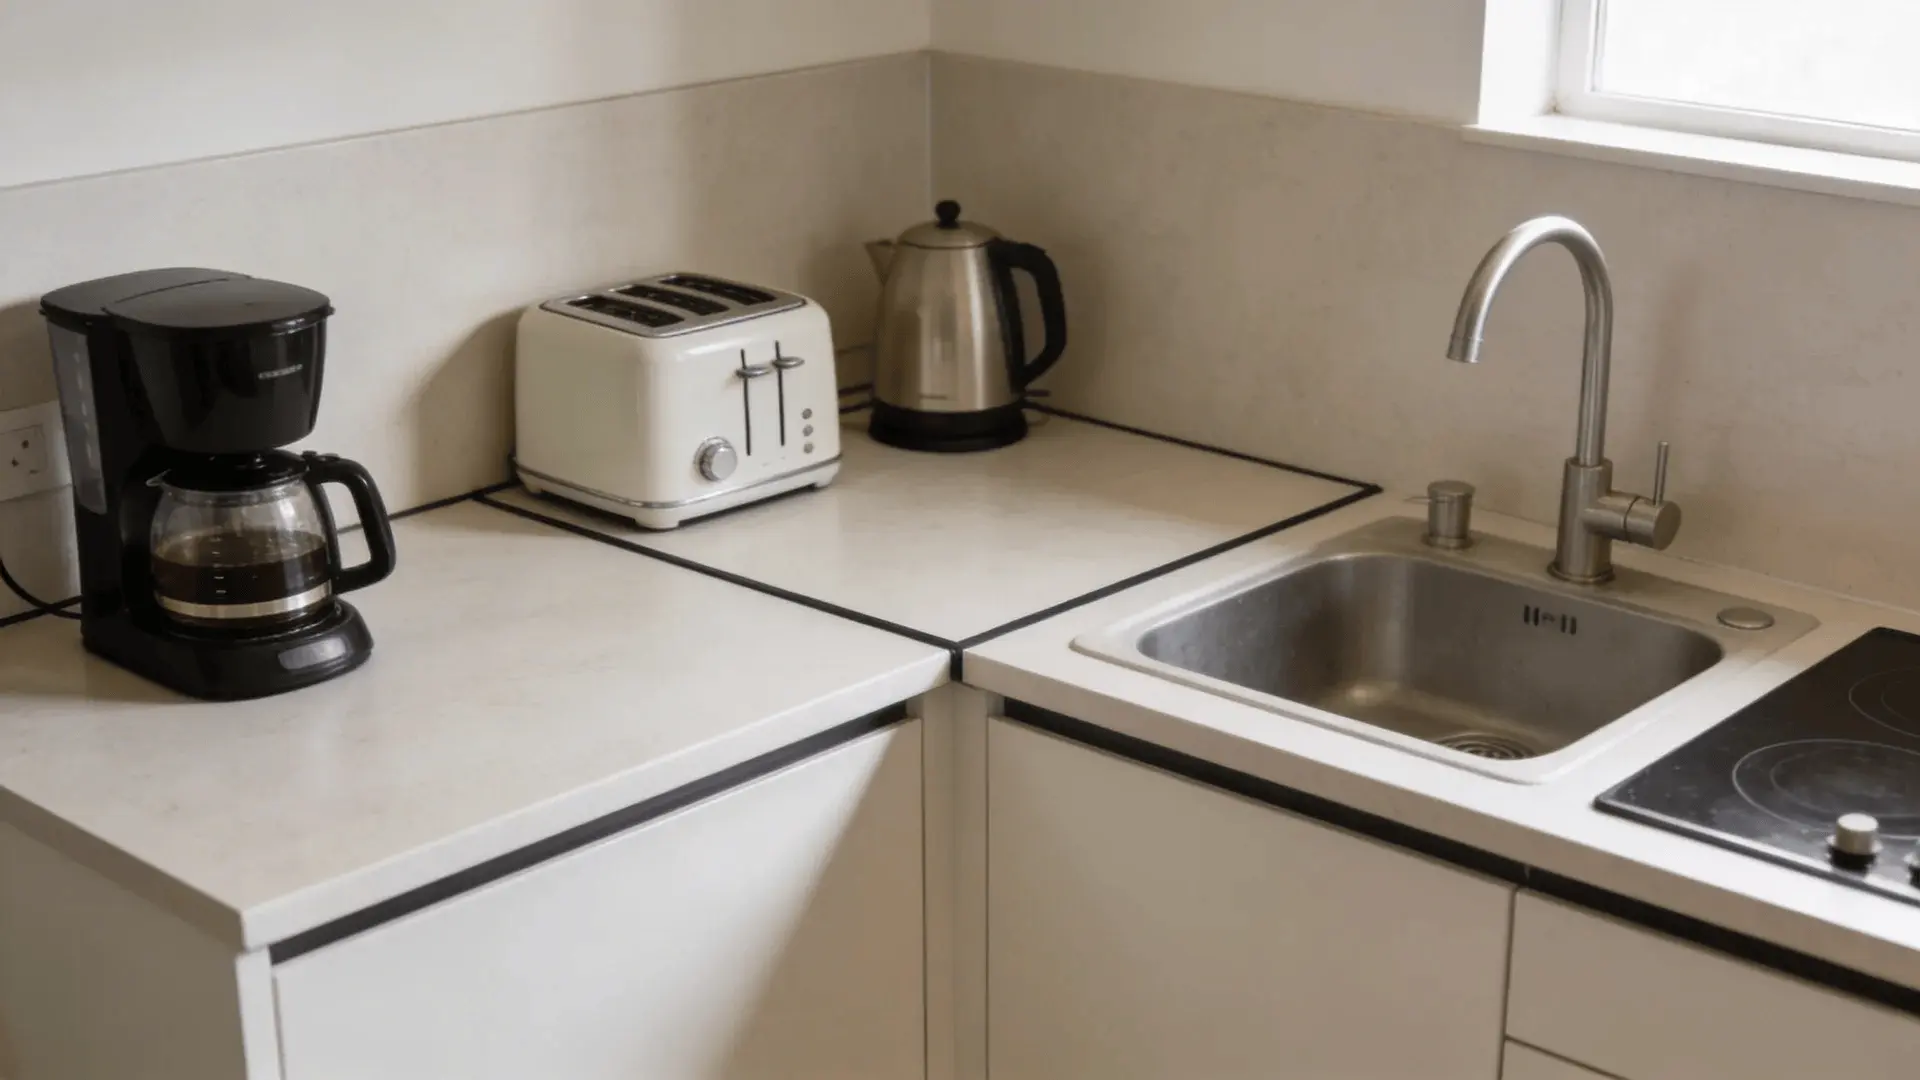
Clear counters feel calm. But hiding daily tools can make cooking harder.
Use a daily-use threshold rule. If you use an appliance several times a week, it may deserve counter space. If you use it once a month, it can move.
Time-to-retrieve cost is real. If pulling out your blender requires shifting three items and digging through a cabinet, you’ll start avoiding it.
Create small micro-zones on your counters. A compact cooking area near the stove. A coffee area if you brew daily. Keep each zone tight and defined.
Appliance rotation works for seasonal habits. A slow cooker may live in a cabinet most of the year and move out during colder months.
The goal isn’t empty counters. It’s efficient counters that support how you live.
Step 7: Add Flexible Storage Only If Structural Limits Remain
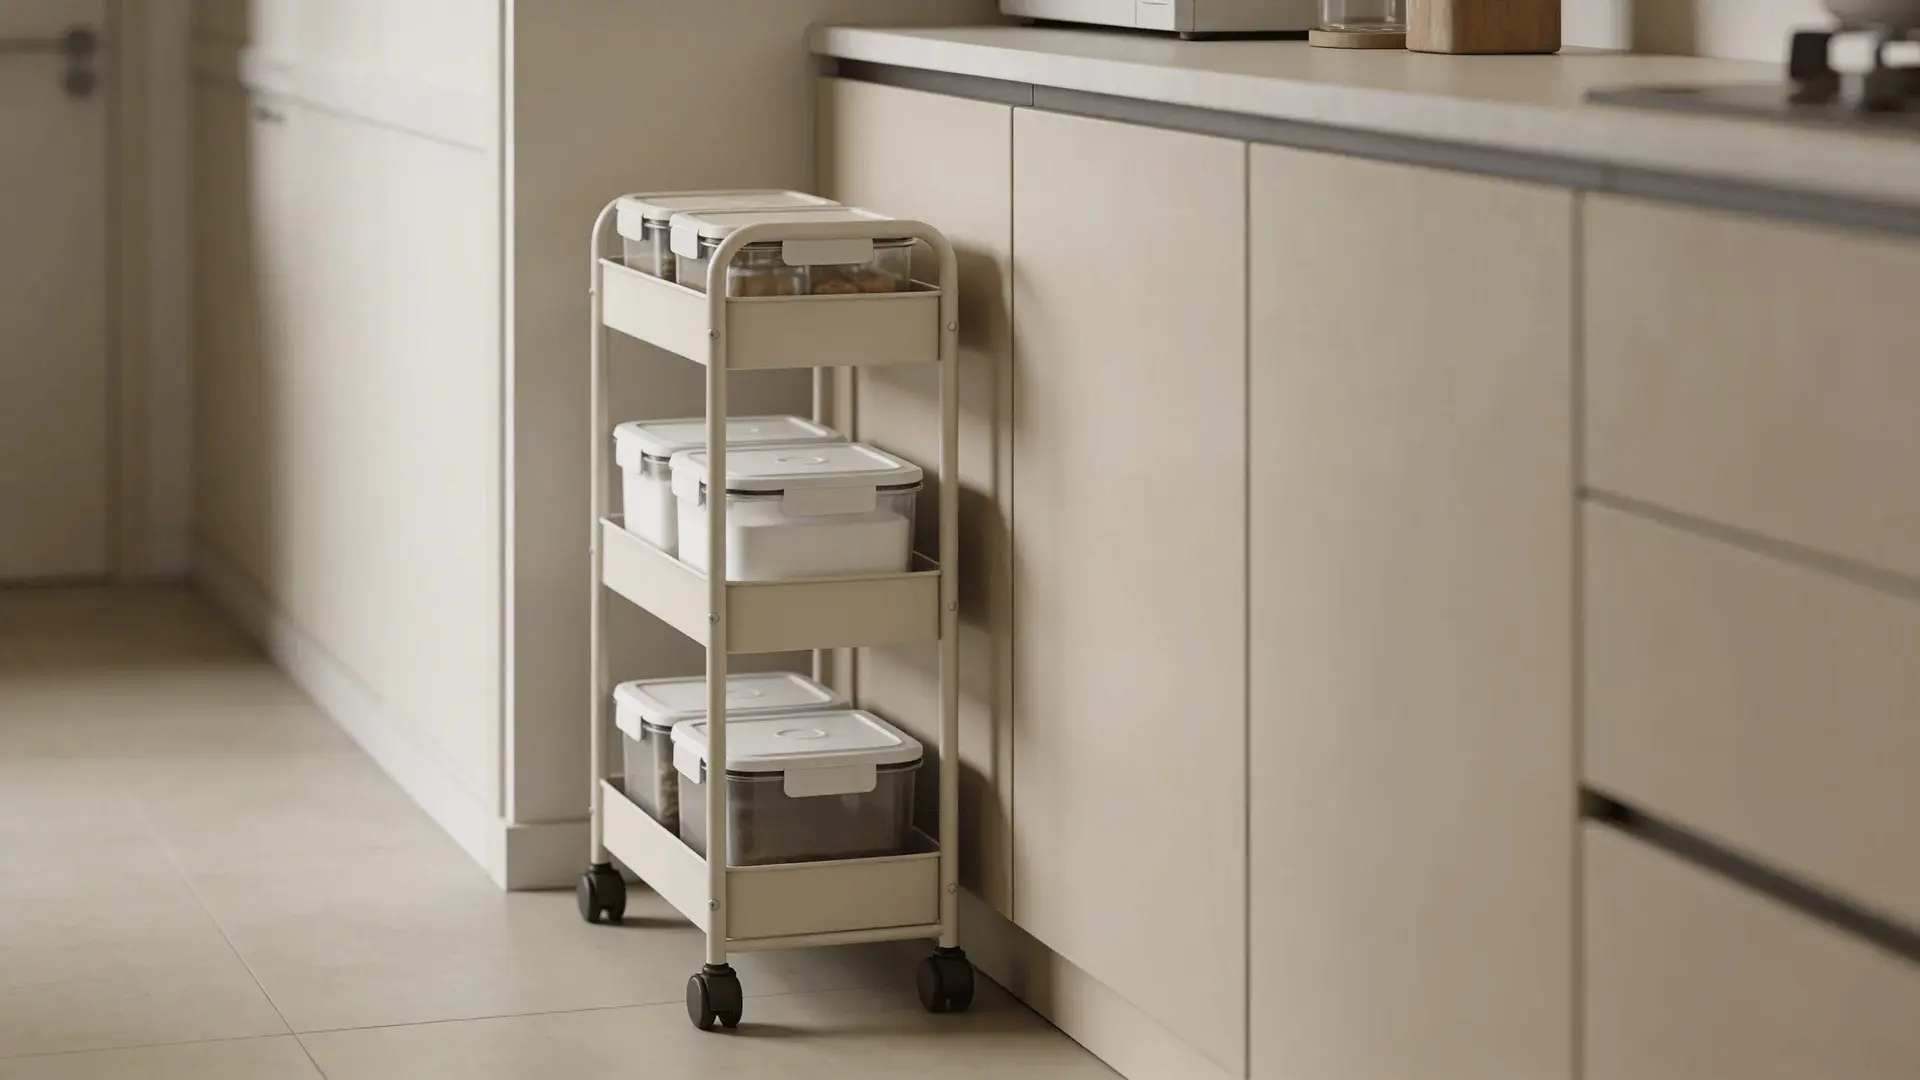
If you’ve reduced volume and built zones but still feel cramped, flexible storage can help.
Rolling carts solve layout gaps when there’s room to move them. In narrow pathways, though, they create congestion.
Over-the-door racks add storage without drilling. But doors have weight limits. Too much strain on hinges creates long-term issues.
Bins group loose items well. Adding bins before fixing zones, however, only hides inefficiency.
Flexible storage should solve a clear structural limit, not mask a deeper problem. If new storage makes your kitchen feel tighter instead of smoother, reassess zones first.
How to Keep a Small Kitchen Organized Long-Term
Once your kitchen is set up well, the real work is keeping it that way. Small spaces don’t forgive drift. A few extra items, a few lazy resets, and things start feeling tight again. Here’s how to keep that from happening:
- Follow the one-in-one-out rule. When a new gadget enters your kitchen, remove one item that serves a similar role. This keeps volume steady instead of slowly expanding.
- Do a short weekly reset. Take five minutes to return items to their zones, clear surfaces, and straighten drawers. Small resets prevent large messes.
- Run simple zone audits. If you keep reaching across the kitchen for the same tool, its zone may be wrong. Adjust placement to match how you actually move.
- Watch for early friction. When cooking starts to feel harder than it should, that’s a signal. Review placement before clutter spreads.
Organization isn’t a one-time event. It’s light maintenance tied to how you really live. Keep the system simple, notice small shifts early, and your kitchen will stay functional without constant effort
Wrapping Up
Learning how to organize a small kitchen isn’t about buying more organizers. It’s about reducing friction so access matches use.
When tasks, placement, and frequency line up, the space starts to feel bigger even though nothing about its size has changed.
I’ve watched small kitchens shift once zones were clear and volume made sense. Cooking flows more easily. Cleanup takes less effort. Counters stay clearer because the system supports daily habits instead of fighting them.
Start with structure, then adjust gradually as you notice friction. Your kitchen doesn’t need to be perfect. It just needs to work for the way you actually live.
If this helped, explore other kitchen organization guides on the website for deeper breakdowns on cabinets, counters, and small-space storage
Frequently Asked Questions
What is the best way to organize a small kitchen?
Start by reducing volume, then create task-based zones. Place daily items in easy-access areas and add storage tools only after the structure is fixed.
How do I decide where to put things in my kitchen?
Store items near where they’re used. Cooking tools near the stove, prep tools near counter space, and cleaning supplies near the sink.
What is the ideal layout for a small kitchen?
The ideal layout supports short movement between prep, cooking, and cleaning. Organization should match your workflow rather than a design trend.
How do you organize a small kitchen without cabinets?
Use defined zones, wall-mounted supports, and limited open shelving. Keep daily tools accessible and reduce overall item volume first.
How do you organize a small kitchen on a budget?
Begin with decluttering and zoning. Repurpose containers you already own and add low-cost supports only after structural fixes are complete.