Installing CCTV cameras is one of the easiest ways to protect your home or business. Many people look into CCTV camera installation after a break-in, package theft, or just to feel safer every day.
The good news is that you have two clear options. You can hire a local CCTV camera installation service, or you can install the cameras yourself. Both choices work well when done the right way.
This guide will walk you through everything you need to know, step by step.
You’ll learn how CCTV systems work, how much installation usually costs, where to place cameras, and how to avoid common mistakes.
CCTV Camera: Basics to Know
CCTV cameras are often used as a general term for security cameras, but they are not always the same.
CCTV usually refers to cameras that record footage to a local system, while modern security cameras may also use the internet and cloud storage.
When choosing a system, you’ll also see DVR and NVR options. DVR systems work with coax cables, while NVR systems use network cables and offer better image quality.
Another big choice is wired versus wireless cameras. Wired cameras are more stable and great for long-term use. Wireless cameras are easier to install but depend on a strong Wi-Fi connection.
CCTV Camera Installation Cost

Installing CCTV cameras usually costs $300 to $1,500+ for a basic system, depending on several factors including:
- Number of Cameras: More cameras means more parts and more labor. Small homes (2–4 cameras) are usually cheaper than large properties.
- Wired vs Wireless: Wired systems can cost more because of cable labor, while wireless setups are easier and often cheaper.
- Professional vs DIY: Hiring a pro adds labor cost, but they handle the hard work and setup for you.
Overall, plan for both equipment and installation, so you’re not surprised by extra costs.
How to Find a CCTV Camera Installer Near You
Hiring a pro to install your CCTV cameras can save you time and ensure the job is done right. There are many local installers across the USA who can help with planning, mounting, wiring, and system setup.
Local Installer Options with Good Reviews
Sites like Angi and Thumbtack list installers near you with real customer reviews and quotes. You can compare multiple pros before you decide.
Well-Rated CCTV Installation Services:
- HM Security – ADT Authorized Dealer: Trusted installer with high reviews and strong customer service.
- Alert 360 Home & Business Security Los Angeles: Large service provider with many satisfied customers.
- LANCELOT Security AV Automation: Great reviews for home CCTV installation.
- Optimum Surveillance: Specialist in camera system installs.
What to Look for Before You Hire
- Check Reviews: Look for honest feedback and real project photos.
- Ask for a Quote: Get a clear price for equipment and labor.
- Warranty & Support: Make sure they offer follow-up help if something goes wrong.
- License/Insurance: This protects you if there’s accidental damage during install.
Finding a local pro who knows CCTV systems can make installation faster and give you peace of mind. Start with comparison sites, read reviews, and reach out to installers for quotes before choosing one.
DIY CCTV Camera Installation: Step by Step
Installing CCTV cameras can be simple when the steps are planned well. Below is a clean and practical guide that follows a professional-style setup while keeping things easy to understand.
Step 1: Plan Camera Locations
Start by confirming where each camera will go. Walk around the property and mark spots that cover doors, corners, and open areas.
Make sure the locations give clear views and avoid blind spots. Planning early prevents changes later and keeps the setup neat. This step sets the base for the entire installation.
Step 2: Drill and Access the Wall Cavity
Measure the wall carefully so drilling lines up with the loft or attic space. Drill straight into the wall, then angle slightly to reach the cavity.
This hidden gap allows cables to run cleanly inside the walls. Use rods to check for blockages before feeding any cables through.
Step 3: Feed and Run Camera Cables
Push rods up through the cavity and into the loft. Attach the CCTV cable and pull it through carefully. Guide the cable through the insulation and run it back to the recorder location.
Use external-grade Cat5e cable for durability and long-term use. Keep cables organized as they run back.
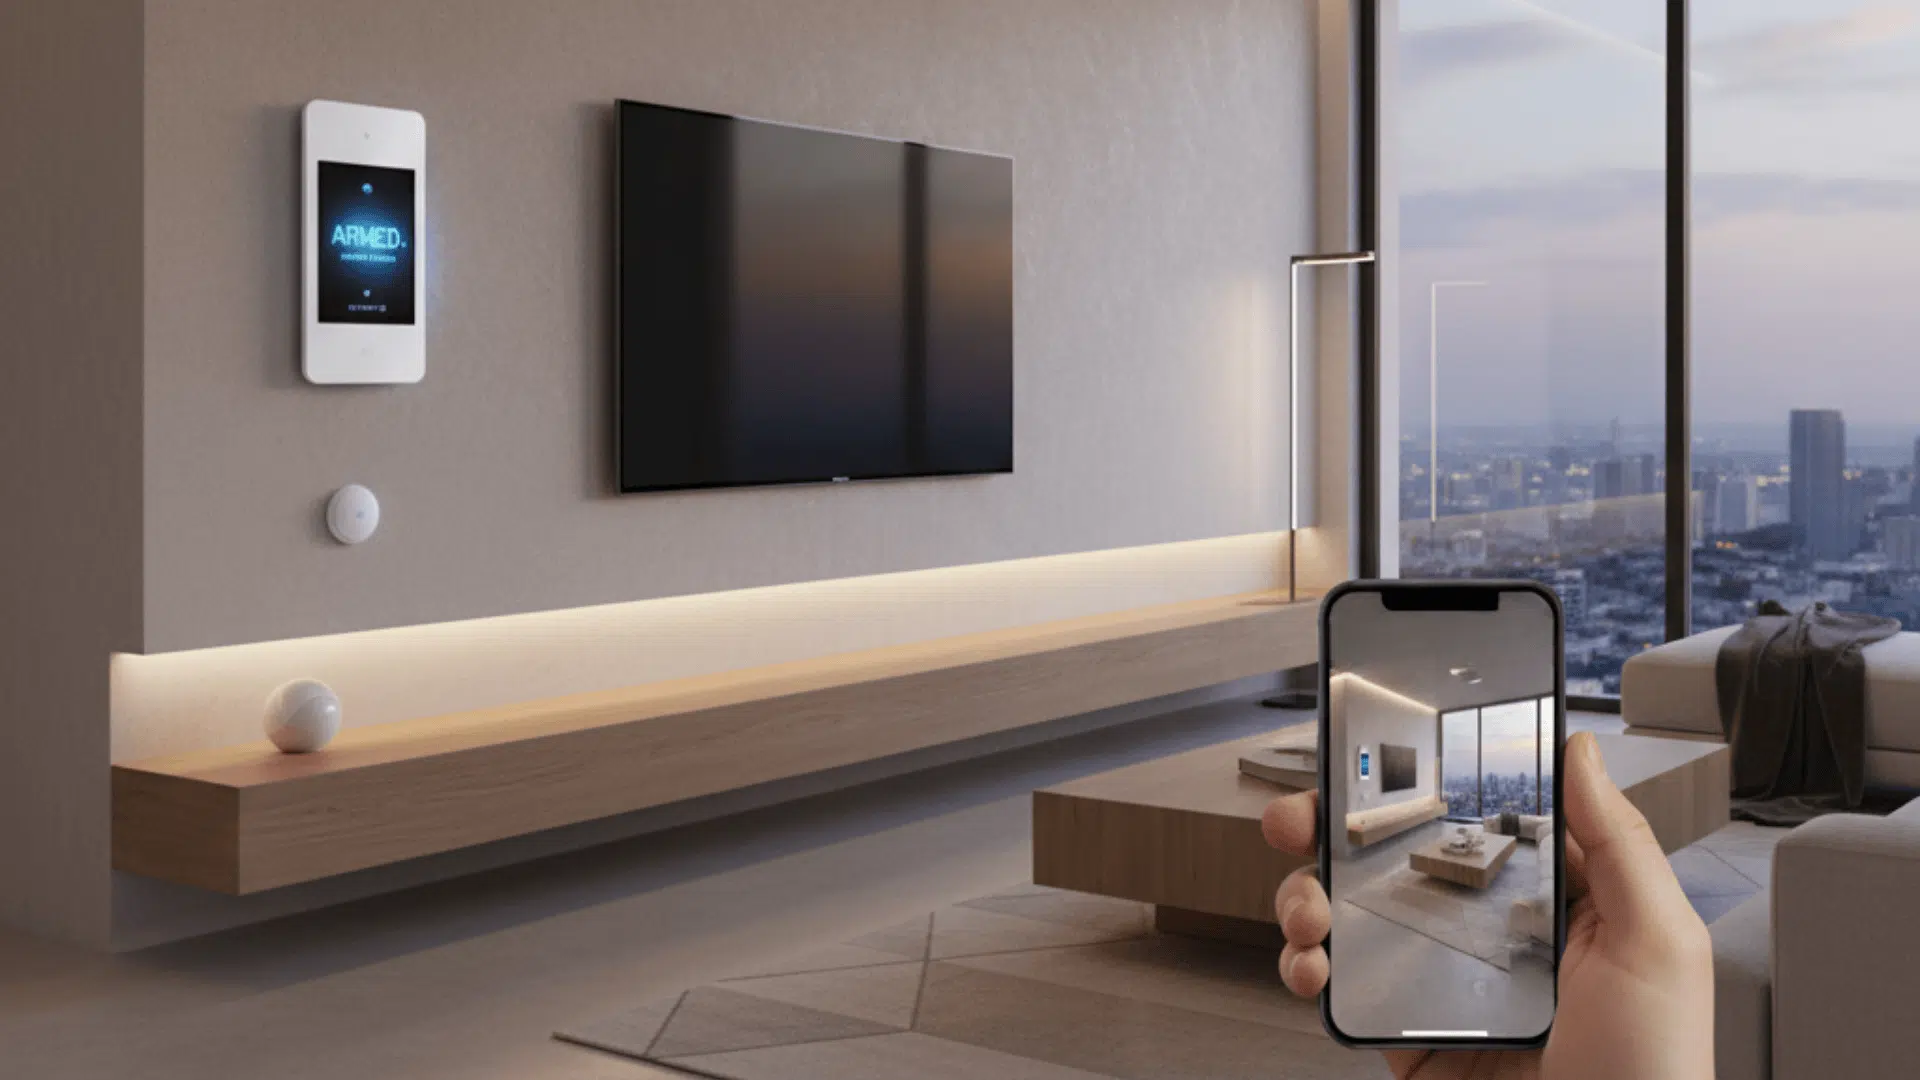
Step 4: Mount and Seal the Cameras
Terminate the cable ends and secure the camera base to the wall. Add waterproof seals and glands to protect the connections.
Feed extra cable back into the base for a clean look. Aim the camera in the right direction before tightening it fully in place.
Step 5: Connect the Recorder and Internet
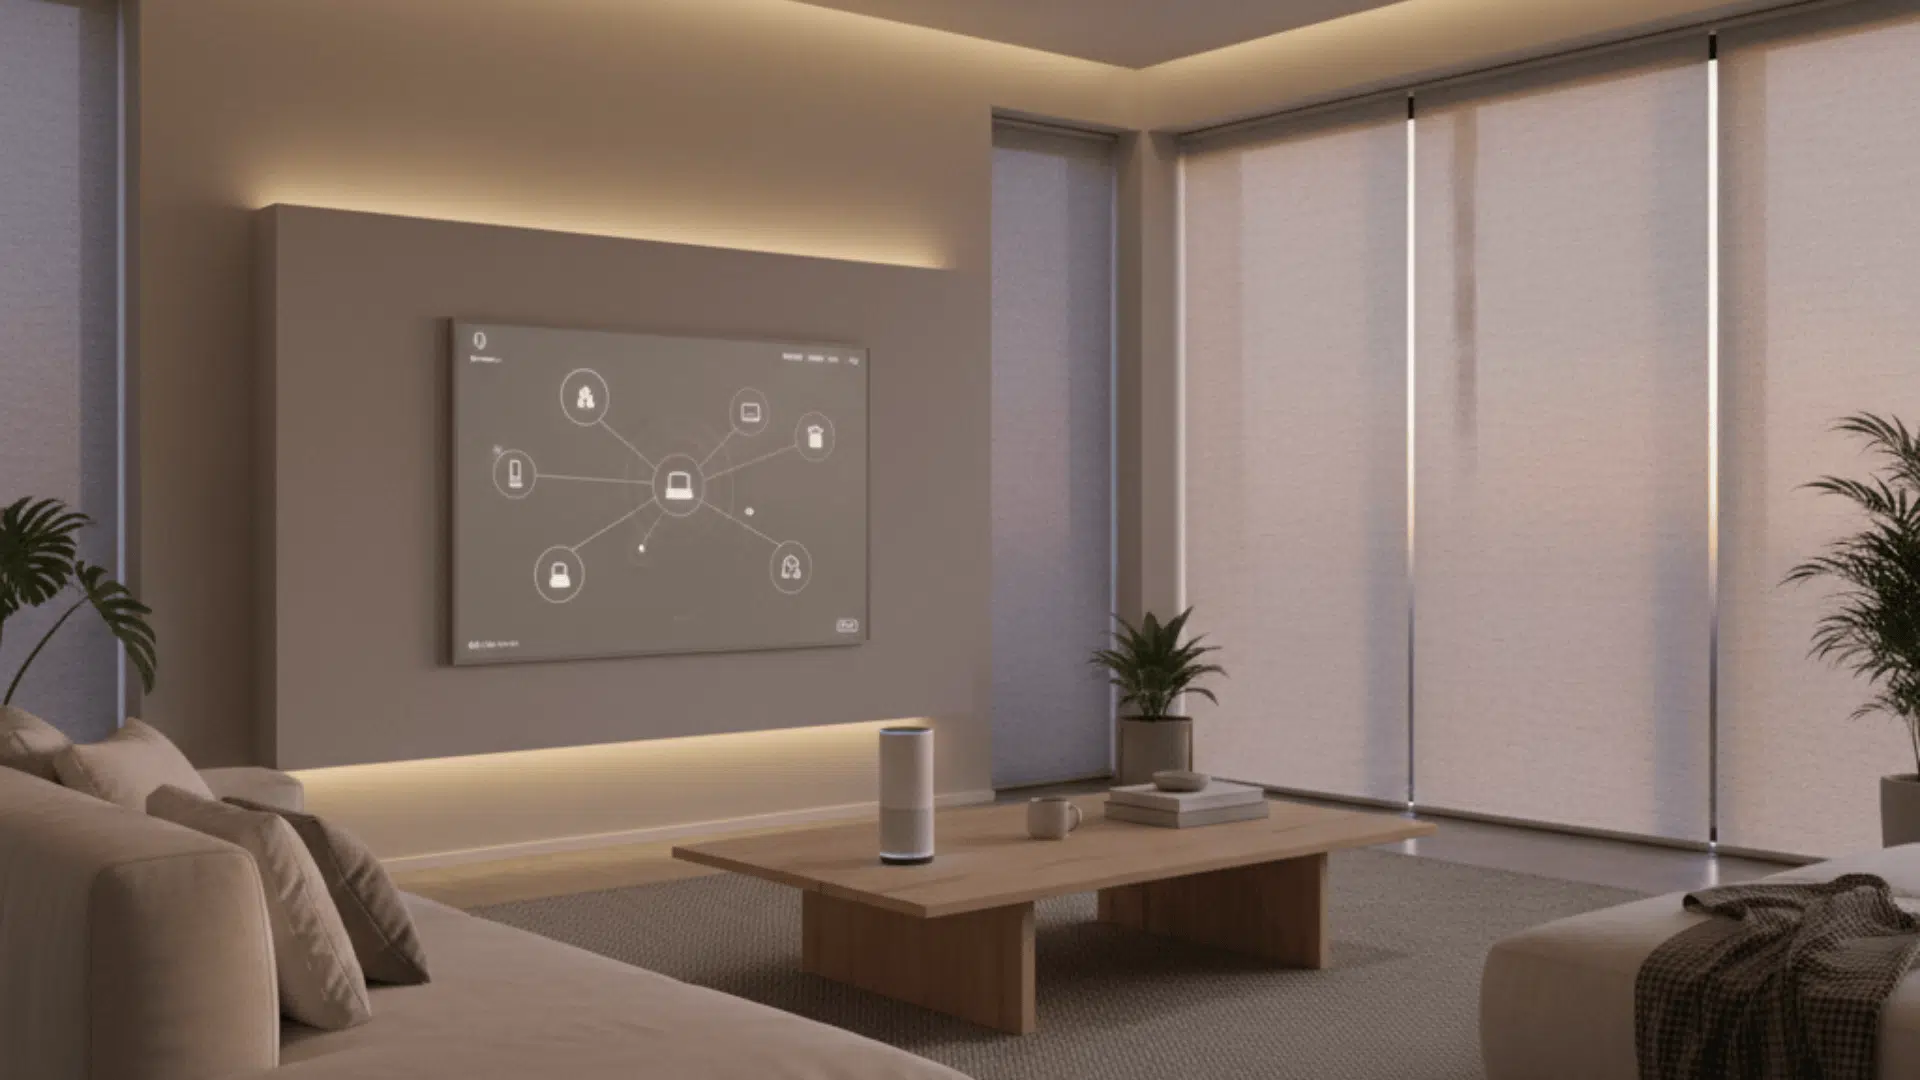
Mount the recorder and plug in all camera cables. Connect the recorder directly to the router using a wired connection for better reliability.
Label the internet cable to avoid plugging it into the wrong port. Power on the system and check that each camera comes online.
Step 6: Test, Configure, and Finish
Use a monitor to check live footage and adjust camera angles if needed. Set up recording and basic system settings.
Connect the mobile app by scanning the on-screen QR code. Once everything works, close access points, tidy cables, and complete the installation.
You can check out the full video tutorial below:
CCTV Camera Placement Tips
Placing CCTV cameras the right way helps you get clear footage and better coverage. Good placement often matters more than buying expensive cameras.
- Focus on Entry Points: Place cameras near front doors, back doors, and garage entrances. These areas see the most activity and are the most important to monitor.
- Mount at the Right Height: Install cameras about 8 to 10 feet high. This height captures faces clearly while keeping cameras out of easy reach.
- Avoid Direct Sunlight: Point cameras away from direct sunlight and bright reflections. Glare can wash out footage and reduce image quality.
- Cover Open Areas: Use cameras to watch driveways, yards, and side paths. Wide coverage helps track movement across the property.
- Check Night Vision: Make sure cameras are not blocked by walls or gutters at night. Clear space improves infrared performance.
Smart camera placement gives better footage, fewer blind spots, and more reliable security without adding extra cameras.
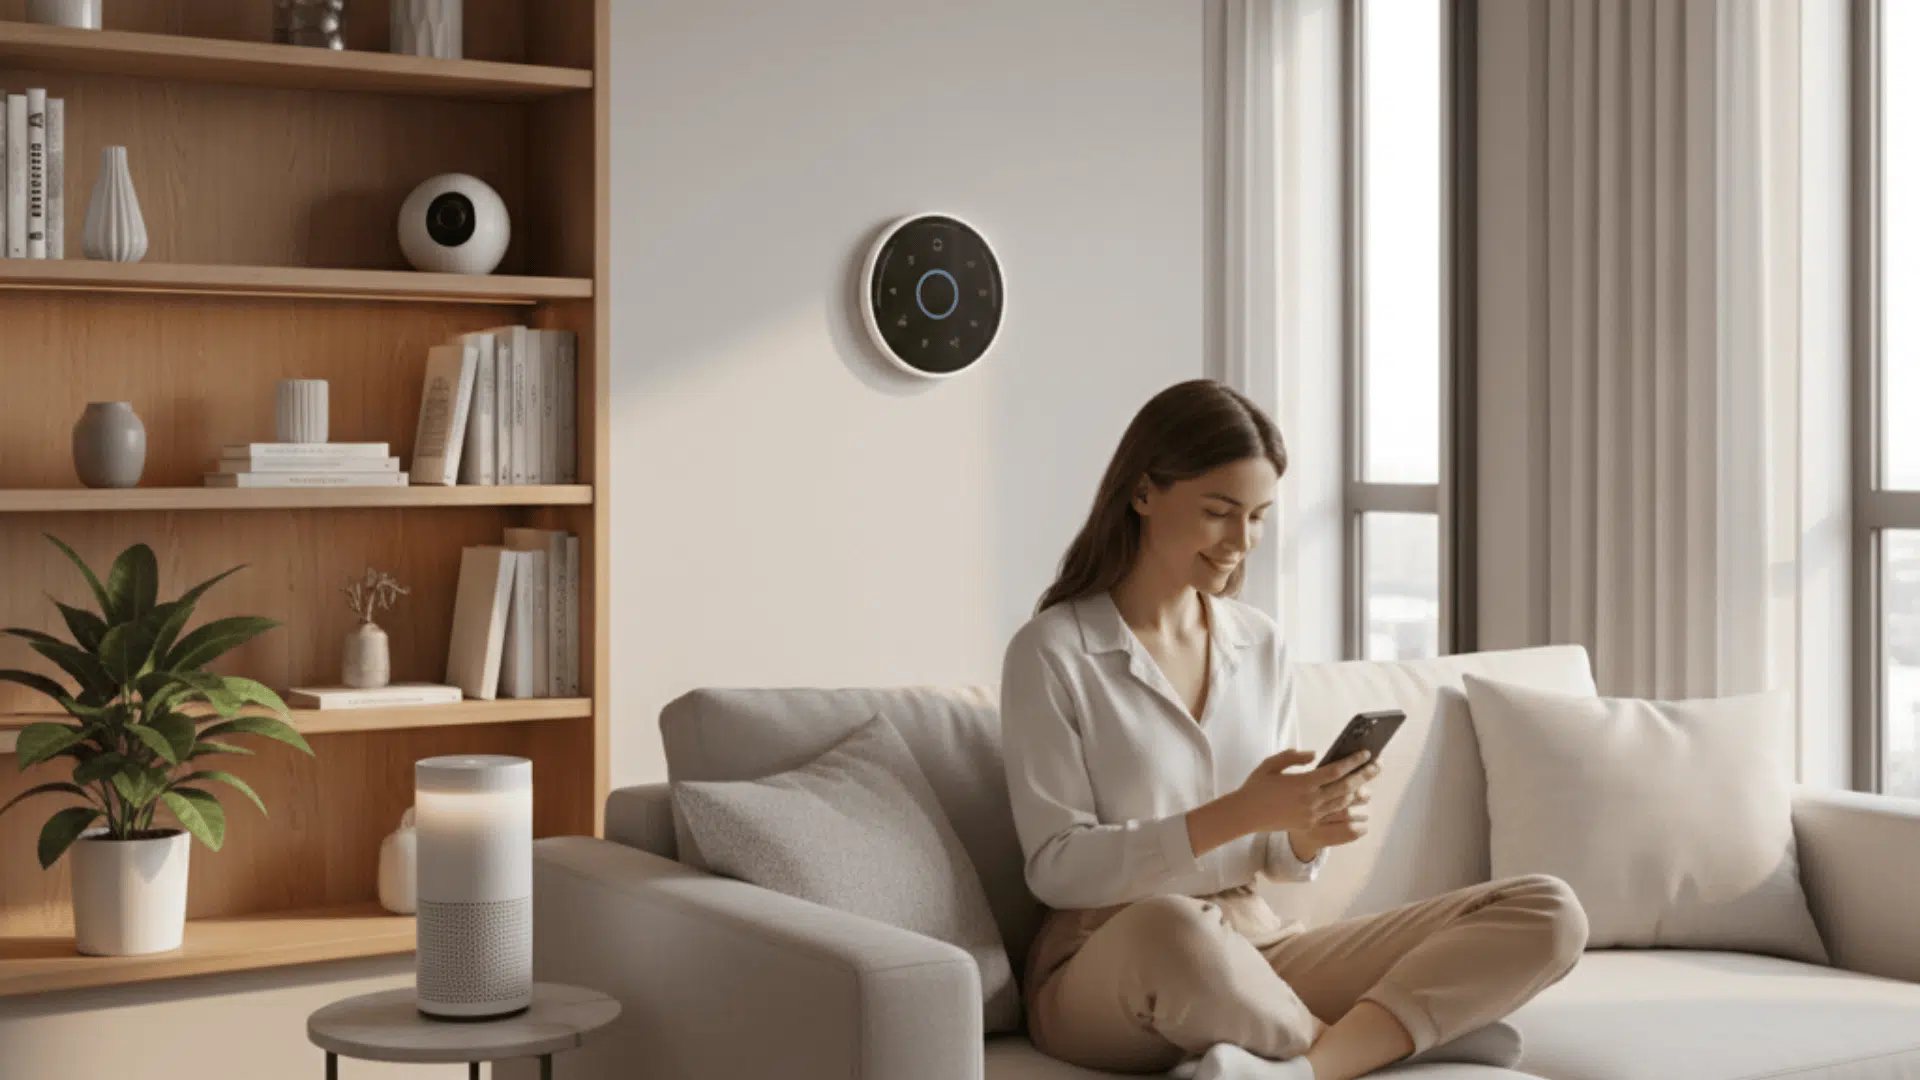
Setting Up Remote Viewing on Your Phone

Setting up remote viewing on your phone lets you check your CCTV cameras anytime, from anywhere.
First, make sure the recorder is connected directly to your internet router using a network cable. This gives a more stable connection than Wi-Fi.
Next, download the official mobile app for your CCTV system on your phone. Open the app and scan the QR code shown on the recorder screen to link the system.
Create a strong password and keep it private. Once connected, test live view, playback, and alerts. Remote access helps you monitor activity, even when you are away.
Common CCTV Installation Problems and Fixes
Installing CCTV cameras can sometimes come with small issues, especially during the first setup. Most problems are common and can be fixed quickly with a few simple checks.
| Problem | Common Cause | Simple Fix |
|---|---|---|
| No Video Signal | Loose cable or wrong port | Check all cable connections and make sure cables are plugged into the correct recorder ports |
| Blurry or Poor Image | Dirty lens or bad angle | Clean the camera lens and adjust the camera angle for a clearer view |
| Night Vision Not Working | Obstructions or glare | Remove nearby objects and avoid pointing cameras at reflective surfaces |
| Motion Alerts Too Frequent | High sensitivity settings | Lower motion sensitivity and set specific motion zones |
| Remote Viewing Not Working | Weak internet or setup issue | Ensure the recorder is wired to the router and recheck app settings |
Most CCTV issues are easy to solve without calling a professional. Taking a few minutes to test and adjust your system can improve performance and save time later.
Conclusion
CCTV camera installation is a smart step toward protecting your home or business.
Whether you choose a DIY setup or hire a local installer, the key is planning everything the right way. From camera placement to wiring and remote viewing, each step plays a role in how well your system works.
A properly installed CCTV system gives clear footage, fewer blind spots, and peace of mind every day.
If you enjoy hands-on projects, DIY installation can save money. If you want a clean, professional finish, a local installer may be the better choice.
Take time to review your options, set a budget, and move forward with confidence. Start your CCTV installation today and secure your property the right way.