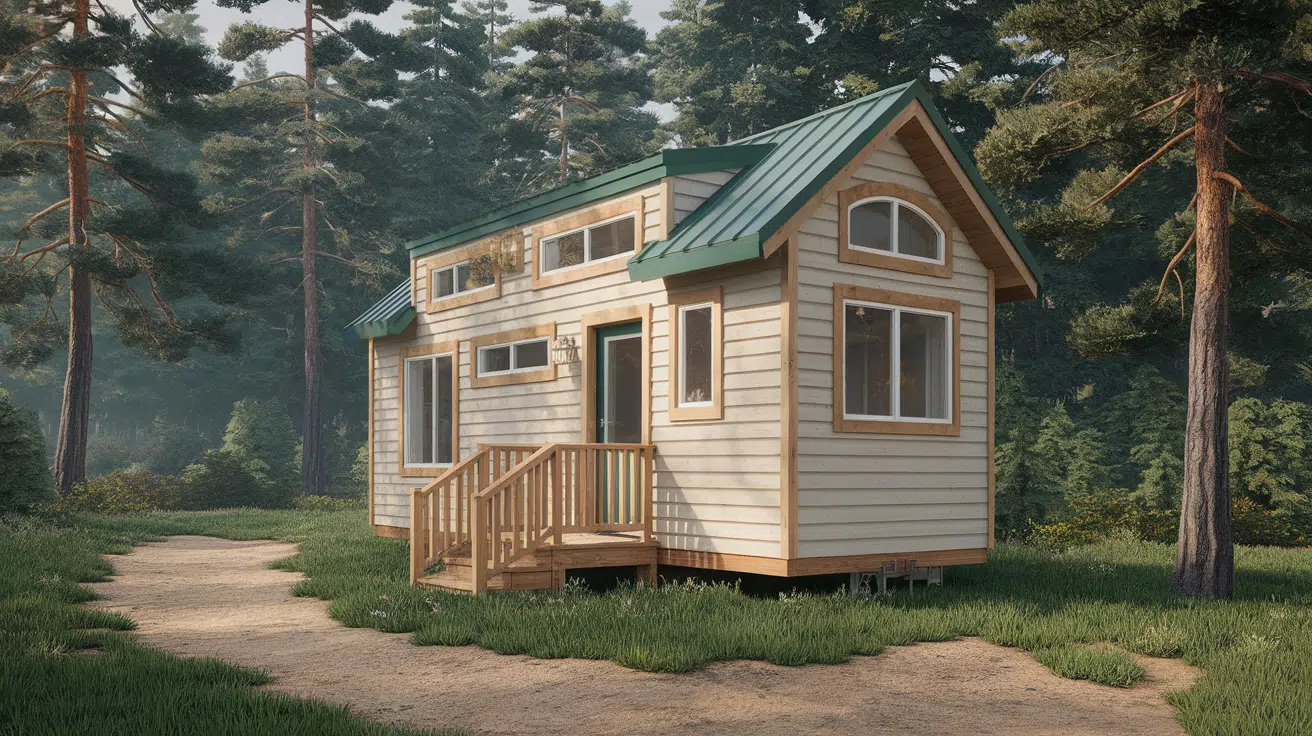
Building a DIY tiny house isn’t just about saving space; it’s about creating something that’s truly yours.
I’ve always believed that a small home can feel big when it’s built with purpose and care. If you’ve ever dreamed of designing a place that fits your lifestyle, this guide is for you.
Here, you’ll learn every step of the process, from planning and budgeting to building and living comfortably in your space.
I’ll also share real builder insights and mistakes to avoid so you can move forward with confidence. By the end, you’ll have everything you need to start building your own DIY tiny house with clarity and pride.
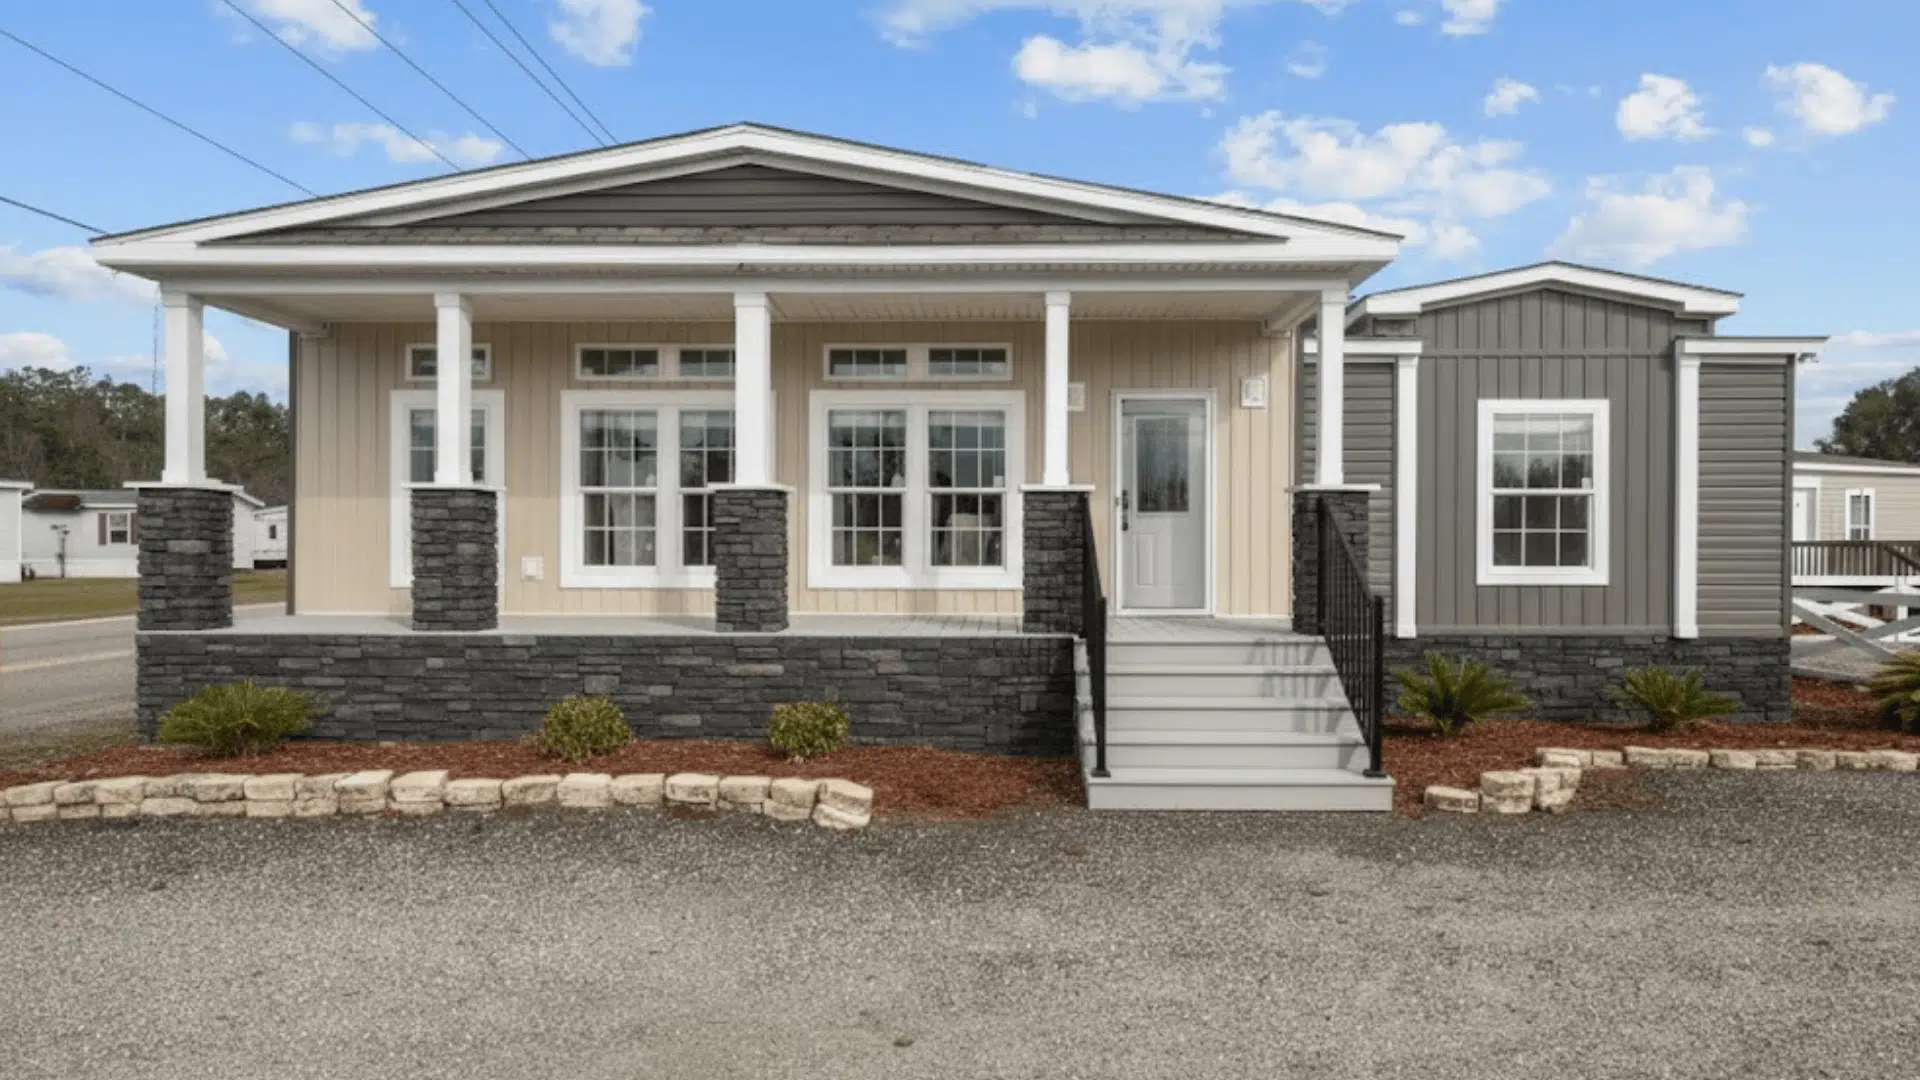
Choosing Between A Tiny House On Wheels vs. On Foundation
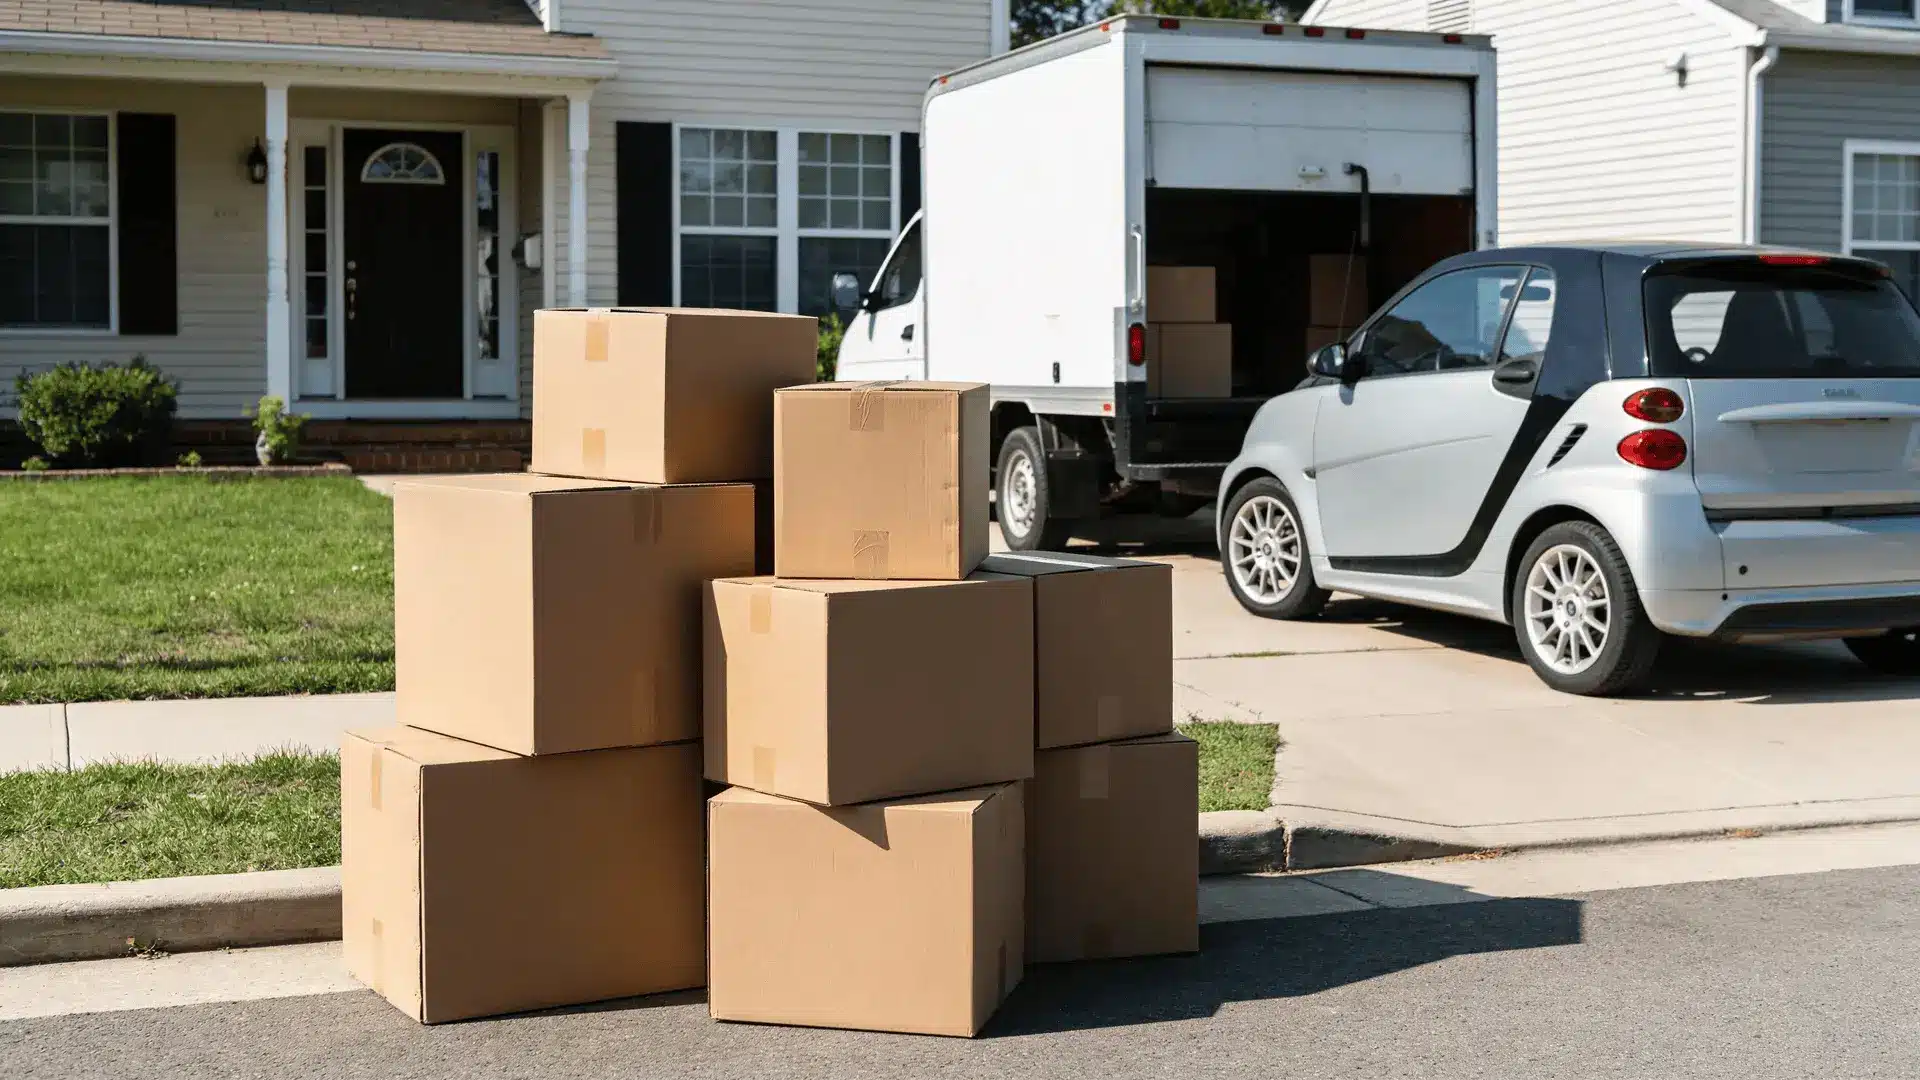
Setting Your Budget and Timeline
Once you’ve decided if your DIY tiny house will be on wheels or on a foundation, the next step is planning your budget. Setting realistic costs and a clear timeline helps you stay organized and avoid surprises later.
| Category | Typical Costs | Tips |
|---|---|---|
| Land or Parking Space | Varies widely by location | Research zoning laws early before buying or renting. |
| Tools & Equipment | $500 – $2,000 | Rent or borrow larger tools to save money. |
| Building Materials | $10,000 – $25,000+ | Buy in bulk and compare local suppliers. |
| Permits & Inspections | $500 – $2,000 | Check local requirements for tiny homes. |
| Labor (If Any Help Hired) | Optional | Plan for friends’ help or pay skilled labor only when needed. |
| Extra Buffer (10–15%) | $2,000 – $5,000 | Always keep a cushion for unexpected expenses. |
| Timeline | 3 – 12 months (typical) | Divide into phases: design, framing, finishing, and move-in. |
A solid budget keeps your project on track and your stress level low. Once you’ve mapped out your costs and time frame, you’ll be ready to gather materials and start building with confidence.
DIY Tiny House: Location and Permits
Good preparation saves time and money. Before you start building, make sure your site, permits, and design all align with your goals.
1. Site and Land Considerations
If your house will stay put, choose land with stable ground, good drainage, and easy utility access.
For mobile builds, look into parking rules, road access, and nearby water or dump stations. Rural areas tend to be more flexible, but always confirm zoning first.
Tip: Visit the site at different times of day to check sunlight, noise, and accessibility.
2. Zoning, Building Codes & Legal Matters
Every area defines “tiny homes” differently. Check local zoning rules, building codes, and size limits. Some places treat tiny homes as RVs, while others require permanent foundations.
Confirm setback rules, utility hookups, and inspection needs early. If your build is on wheels, you may also need to register it.
Tip: Bring your plans when meeting local officials; it helps you get clear, accurate advice.
3. Design & Floor Plan Development
Design your home around how you’ll live, not just how it looks.
- Use furniture that folds or doubles in function.
- Add hidden storage in stairs, lofts, and benches.
- Include large windows to make small spaces feel open.
Try online layout tools or tape out your floor plan to test the flow before you build.
Tip: Think vertical, wall shelves, and lofts expand space without adding square footage.
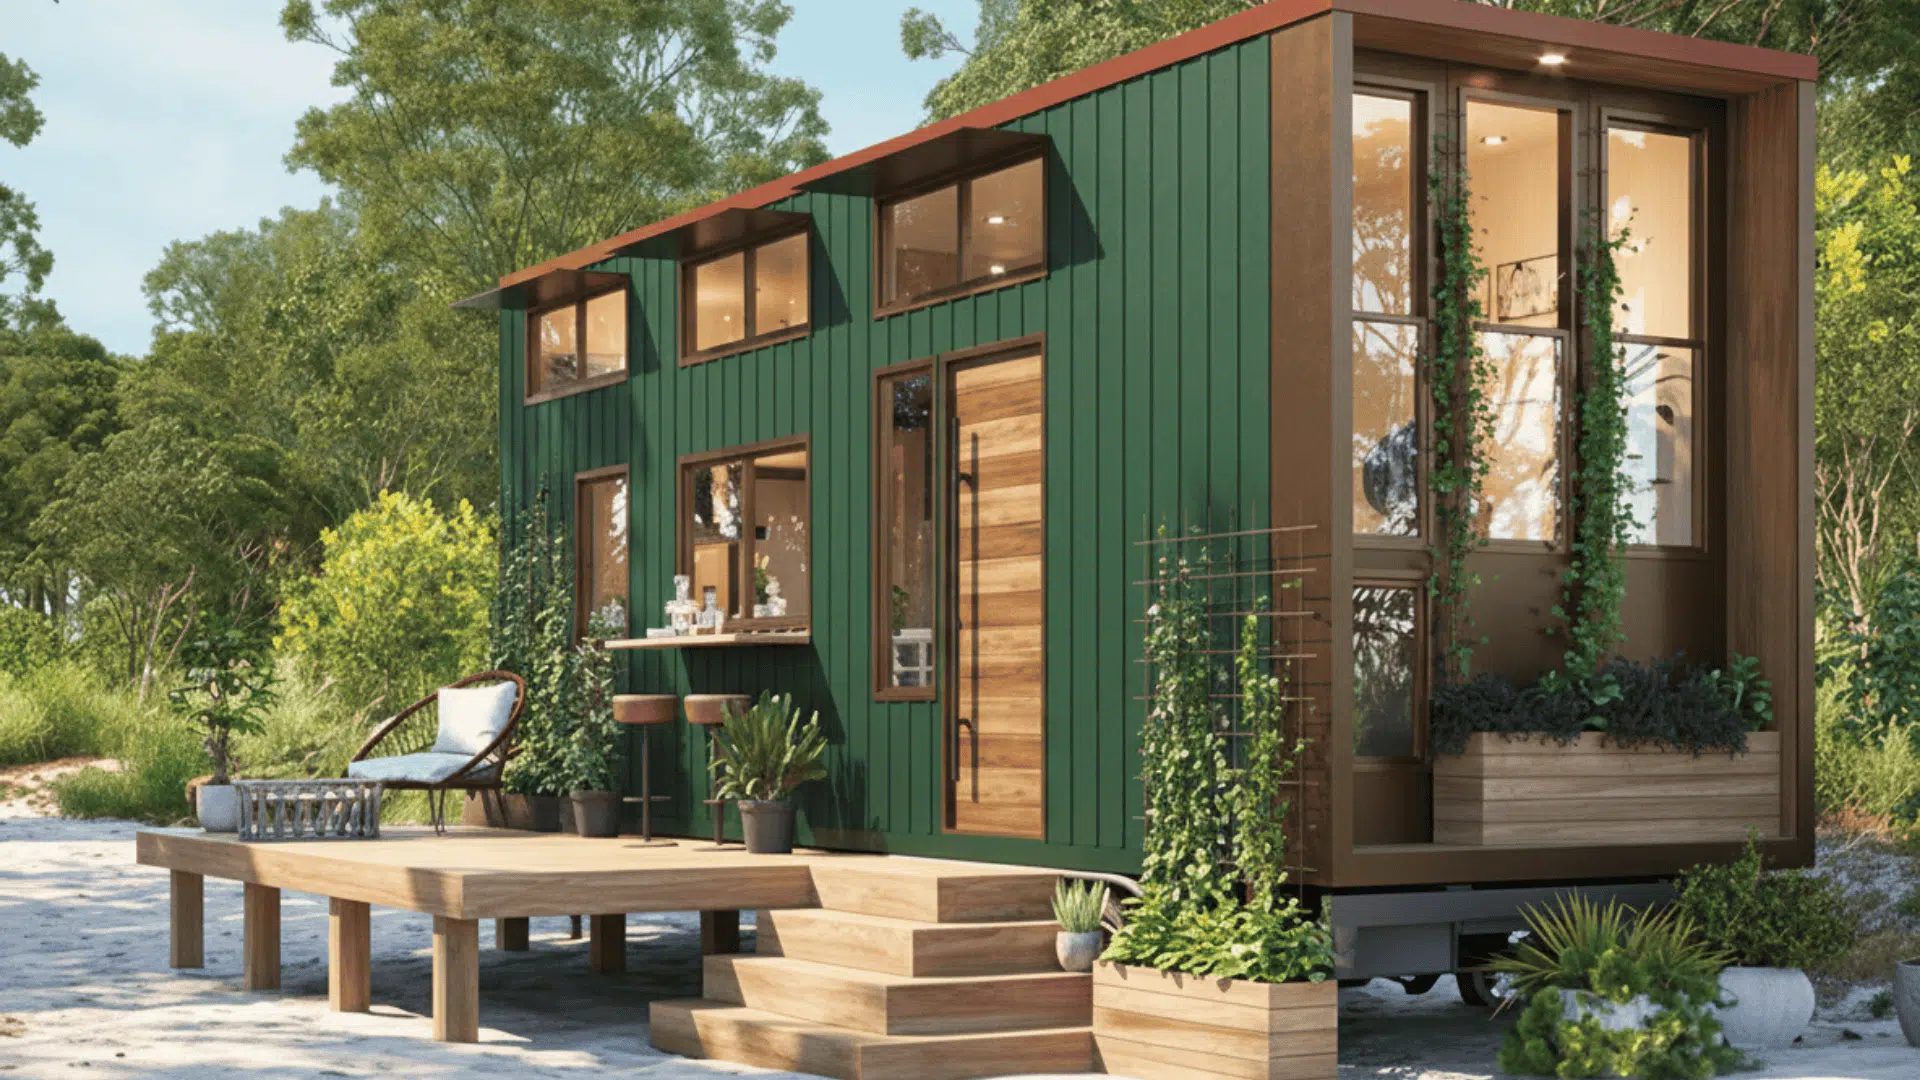
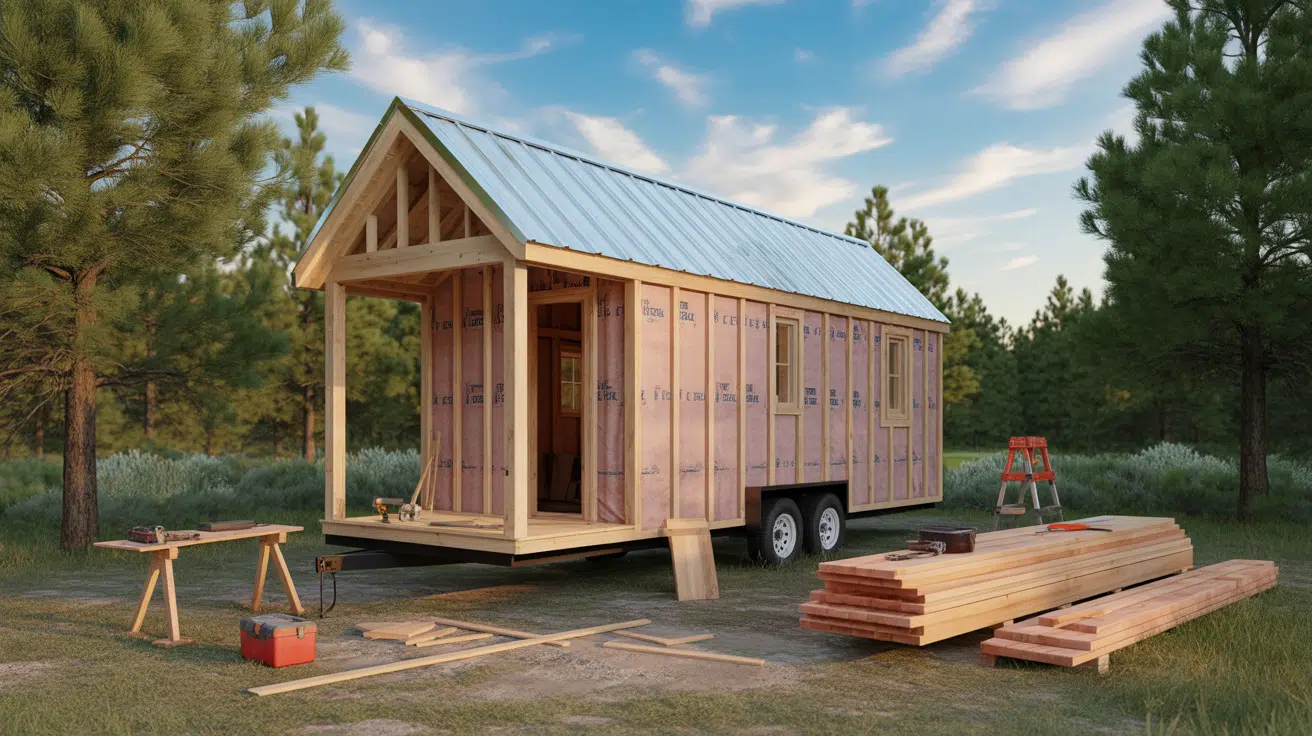
Step-by-Step Guide to Building a Tiny House
Now it’s time to start building your DIY tiny house, or DIY tiny home if you prefer a more personal touch. Follow these steps carefully to stay organized, save time, and build safely from start to finish.
Materials and Tools You’ll Need
- Framing: 2×4 lumber, nails/screws, drill, level, saw
- Electrical: 14/2 and 10/2 wire, breaker panel, outlet boxes, clamps, laser level
- Plumbing: PEX tubing, fittings, foam sleeves, drill, wrenches
- Insulation: R-13 fiberglass rolls, utility knife, safety gear
- Finishes: Shiplap, pine slats, tile, grout, cement board, trim nails, paint/stain
- Interior: Cabinets, butcher-block countertop, flooring, lighting, hardware
Step 1: Frame the Interior Walls
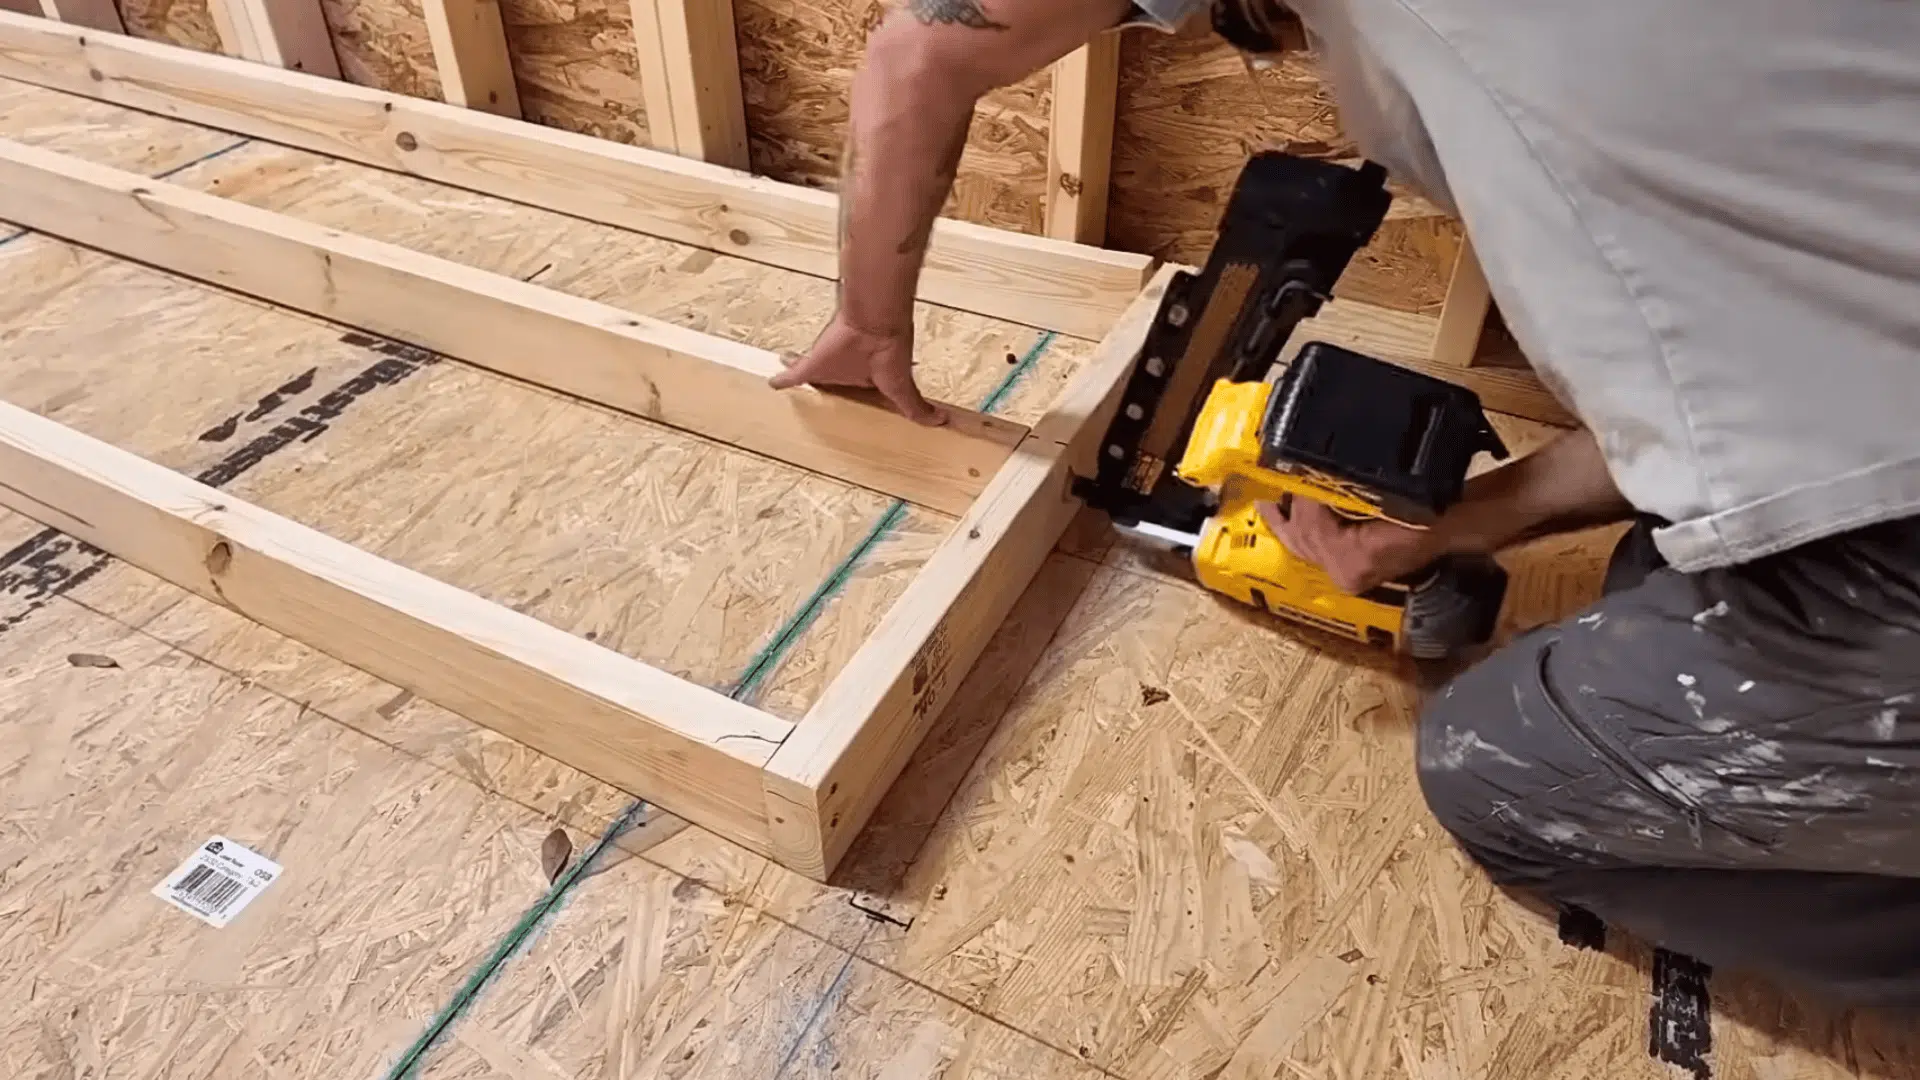
Begin by framing the walls that separate the bathroom and living area. Use 2×4 lumber, checking each piece for straightness before securing it.
Leave a 28-inch opening for the door and make sure everything stays level. A solid frame sets the structure for wiring, plumbing, and finishes later, so take your time with this stage.
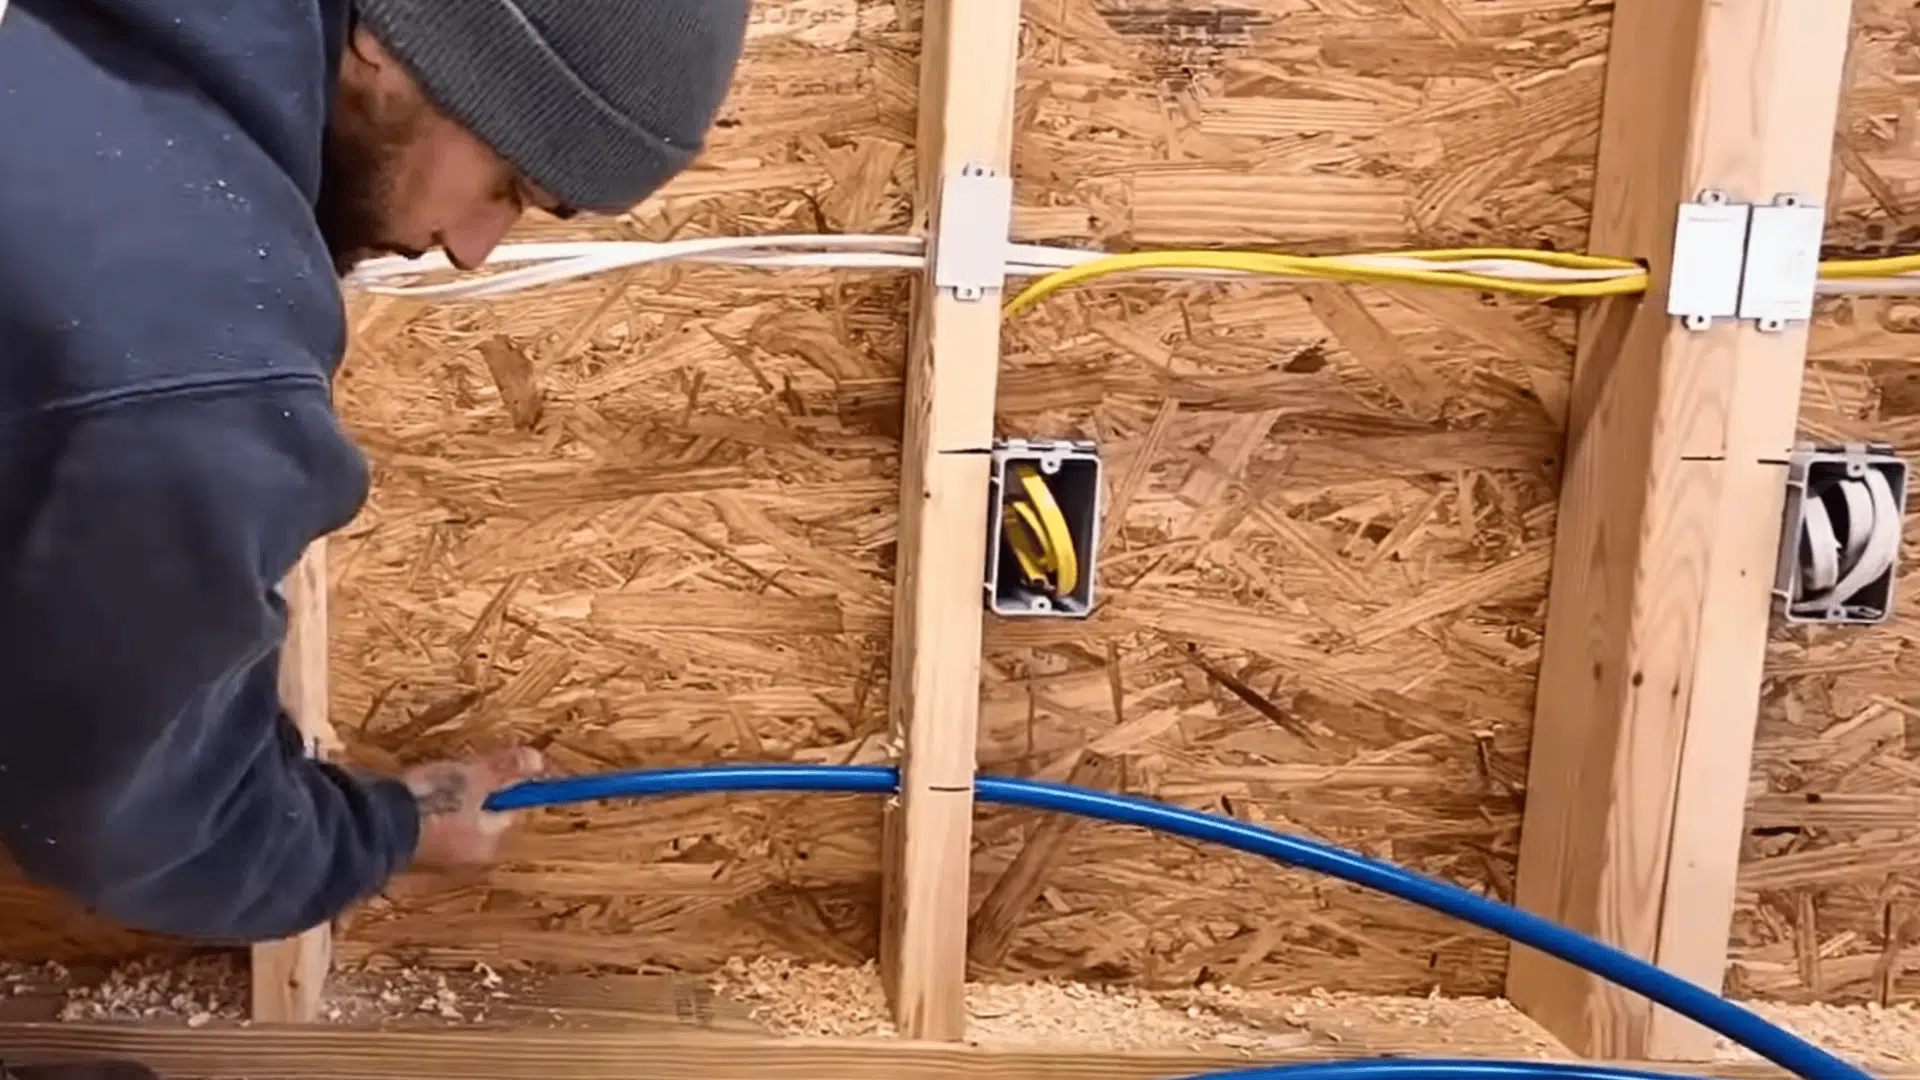
Step 2: Wire the Electrical System
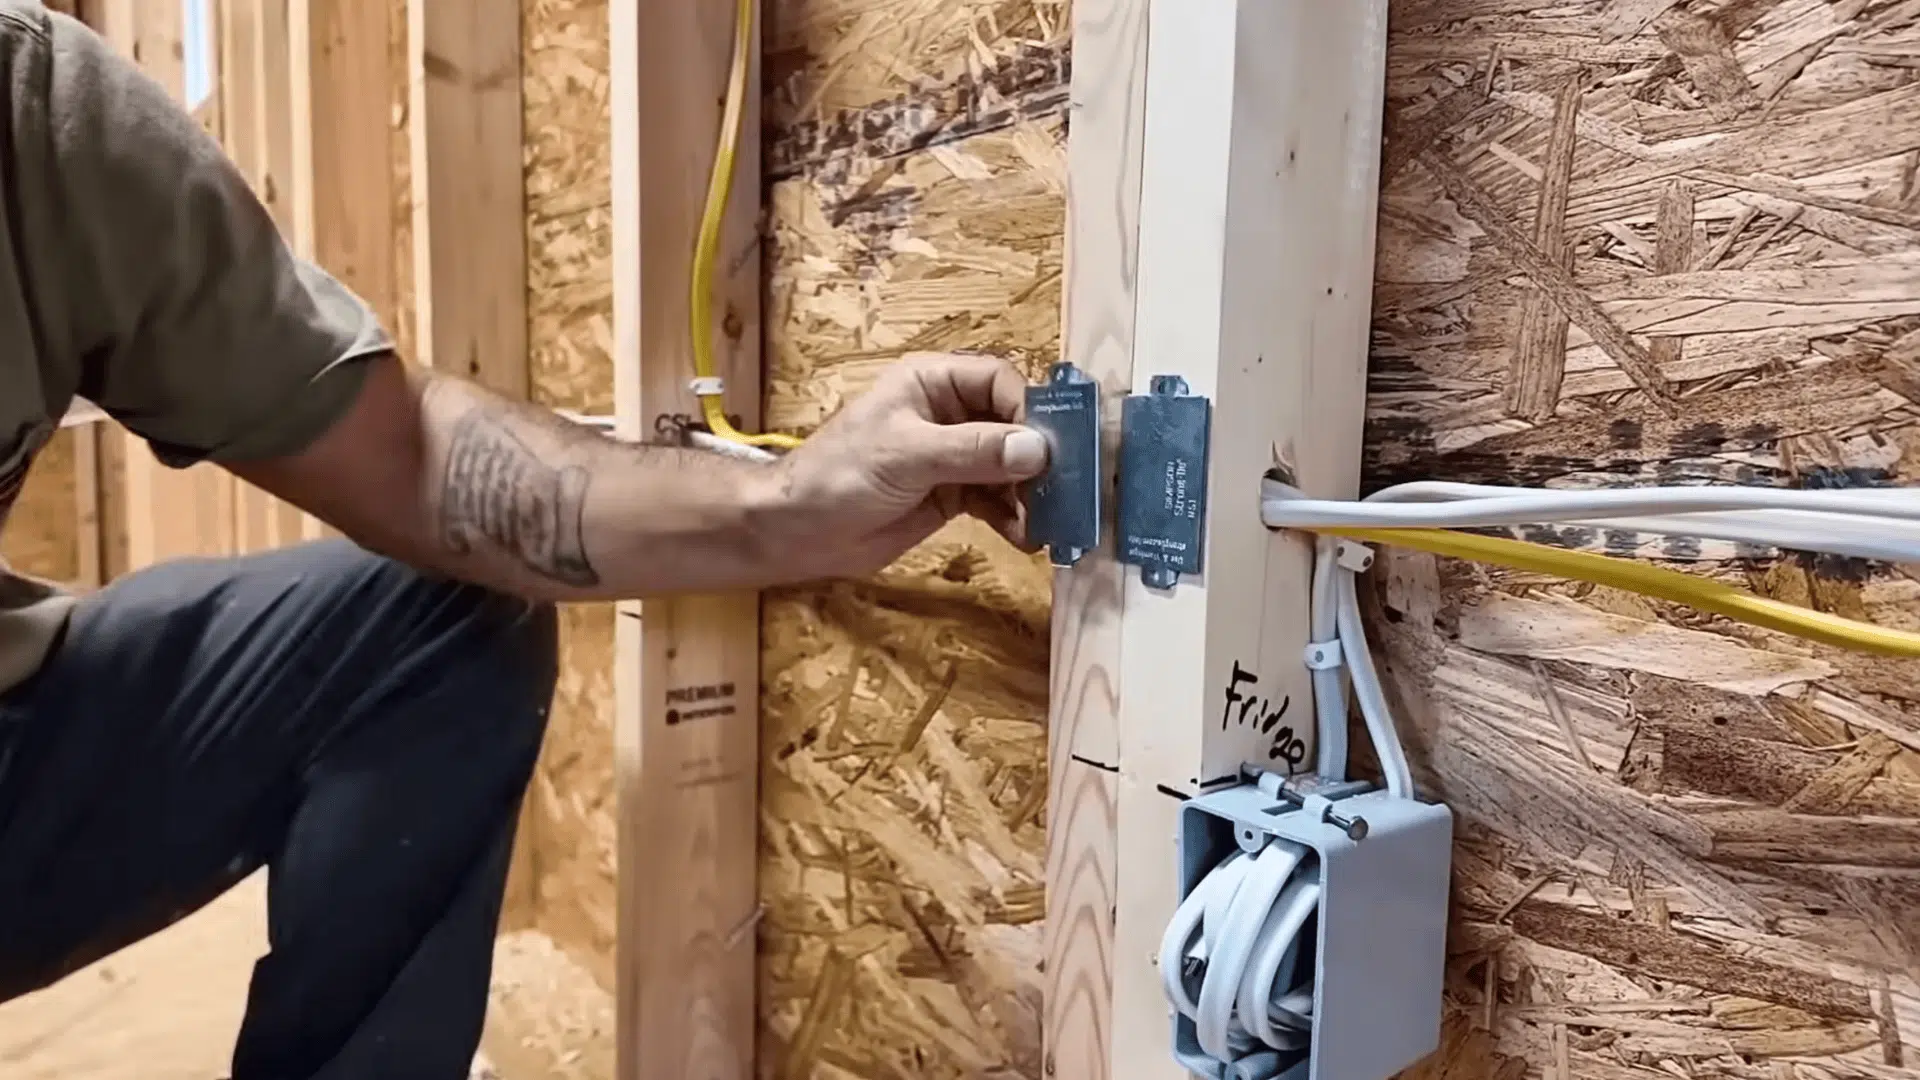
Plan your electrical layout early. Mark outlets and switches, then drill straight holes for wiring. Use 14/2 wire for outlets and 10/2 for high-draw appliances like cooktops.
Mount a 100-amp breaker panel and secure cables with clamps and metal plates for safety. Even if you’re confident in your work, have a licensed electrician inspect before connecting power.
Step 3: Install Plumbing and Insulation
Run flexible PEX tubing for hot and cold water through drilled studs and secure it tightly. Insulate pipes with foam sleeves to prevent freezing or condensation.
Next, install R-13 fiberglass insulation between studs and rafters. It helps maintain comfortable temperatures and reduces noise, a key detail in small spaces.
Step 4: Close Walls and Add Finishes
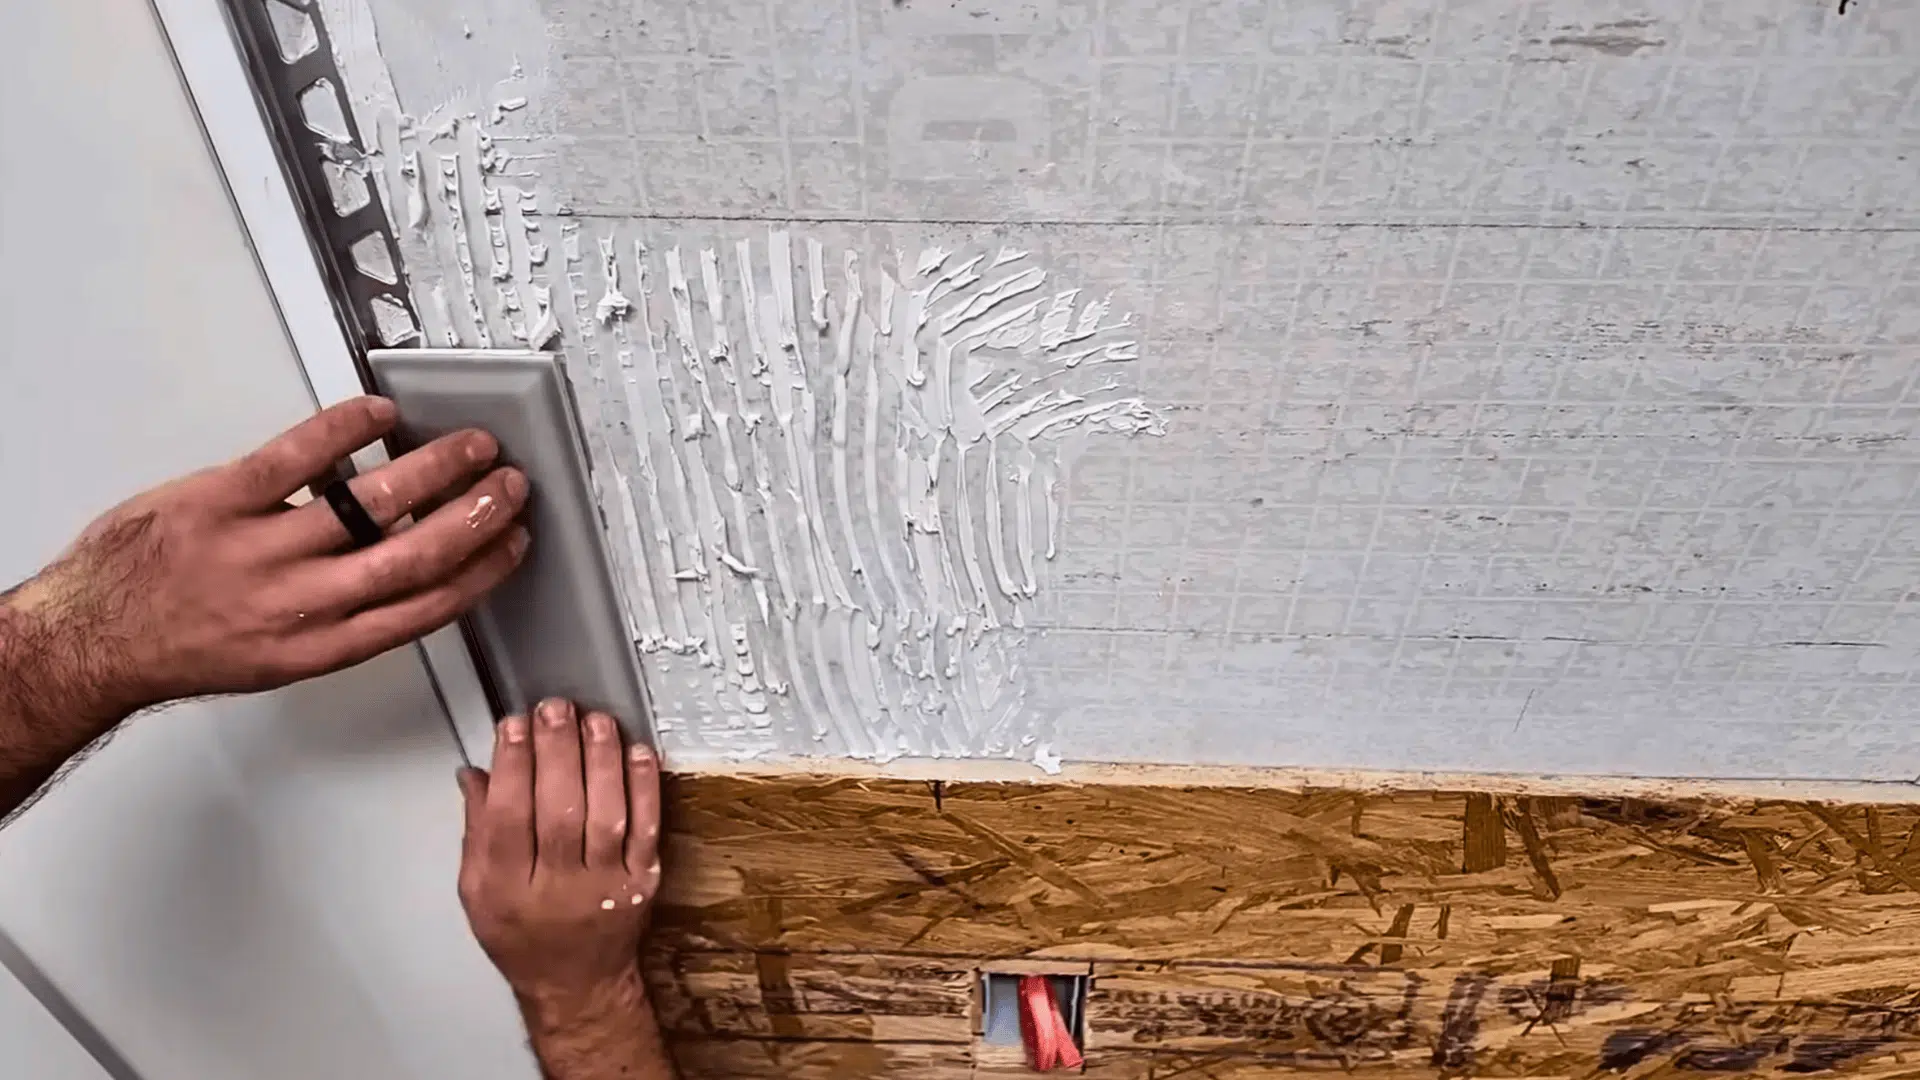
Once utilities are in place, cover walls with shiplap or tongue-and-groove boards for a clean look. Use cement board around kitchen or bathroom areas before tiling to prevent moisture damage.
Grout carefully and seal tiles for easy upkeep. A pine slat accent wall adds warmth without taking up space.
Step 5: Build and Finish the Interior
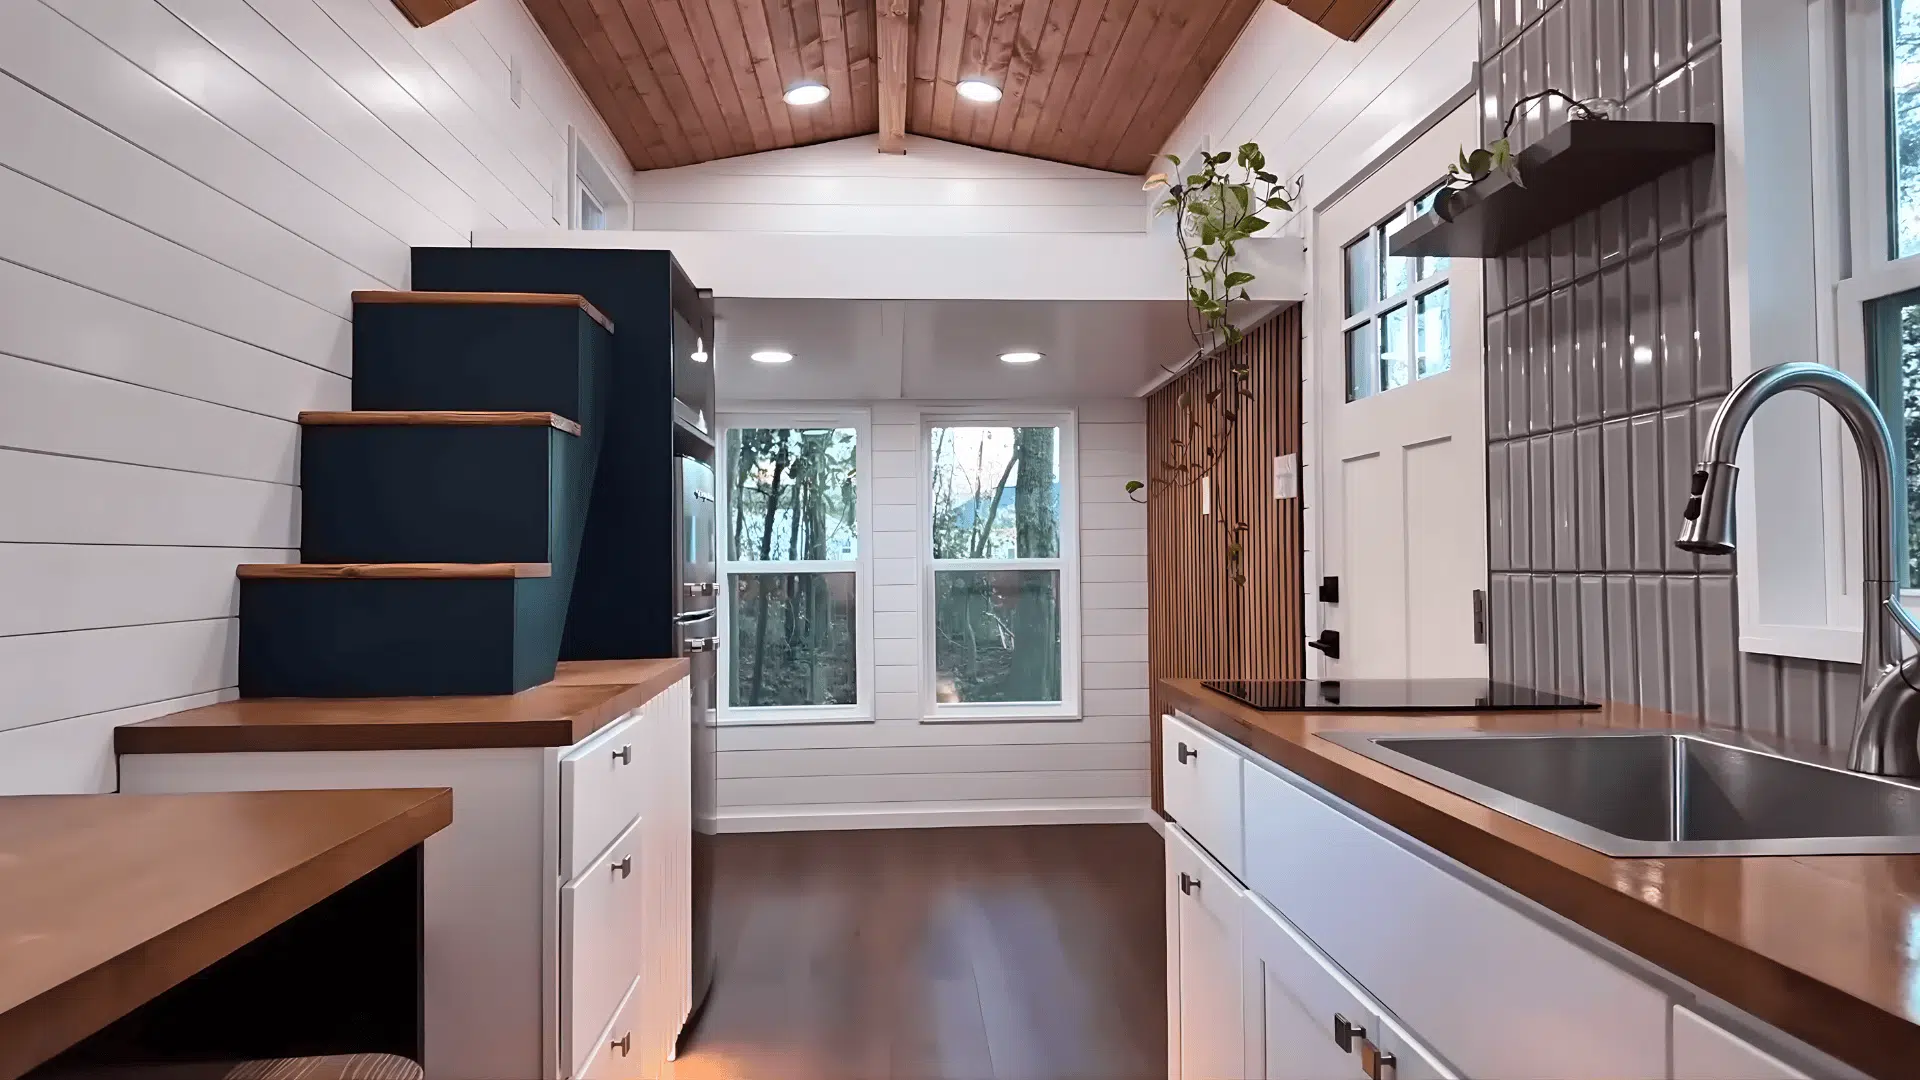
Install stairs that double as storage, secure your cabinets, and cut out spaces in butcher-block counters for the sink and cooktop.
Add your compact water heater, then finish with ceiling panels, LVP flooring, and lights. Each step transforms the build from a bare shell into a livable tiny home.
Here is the complete video for an overview:
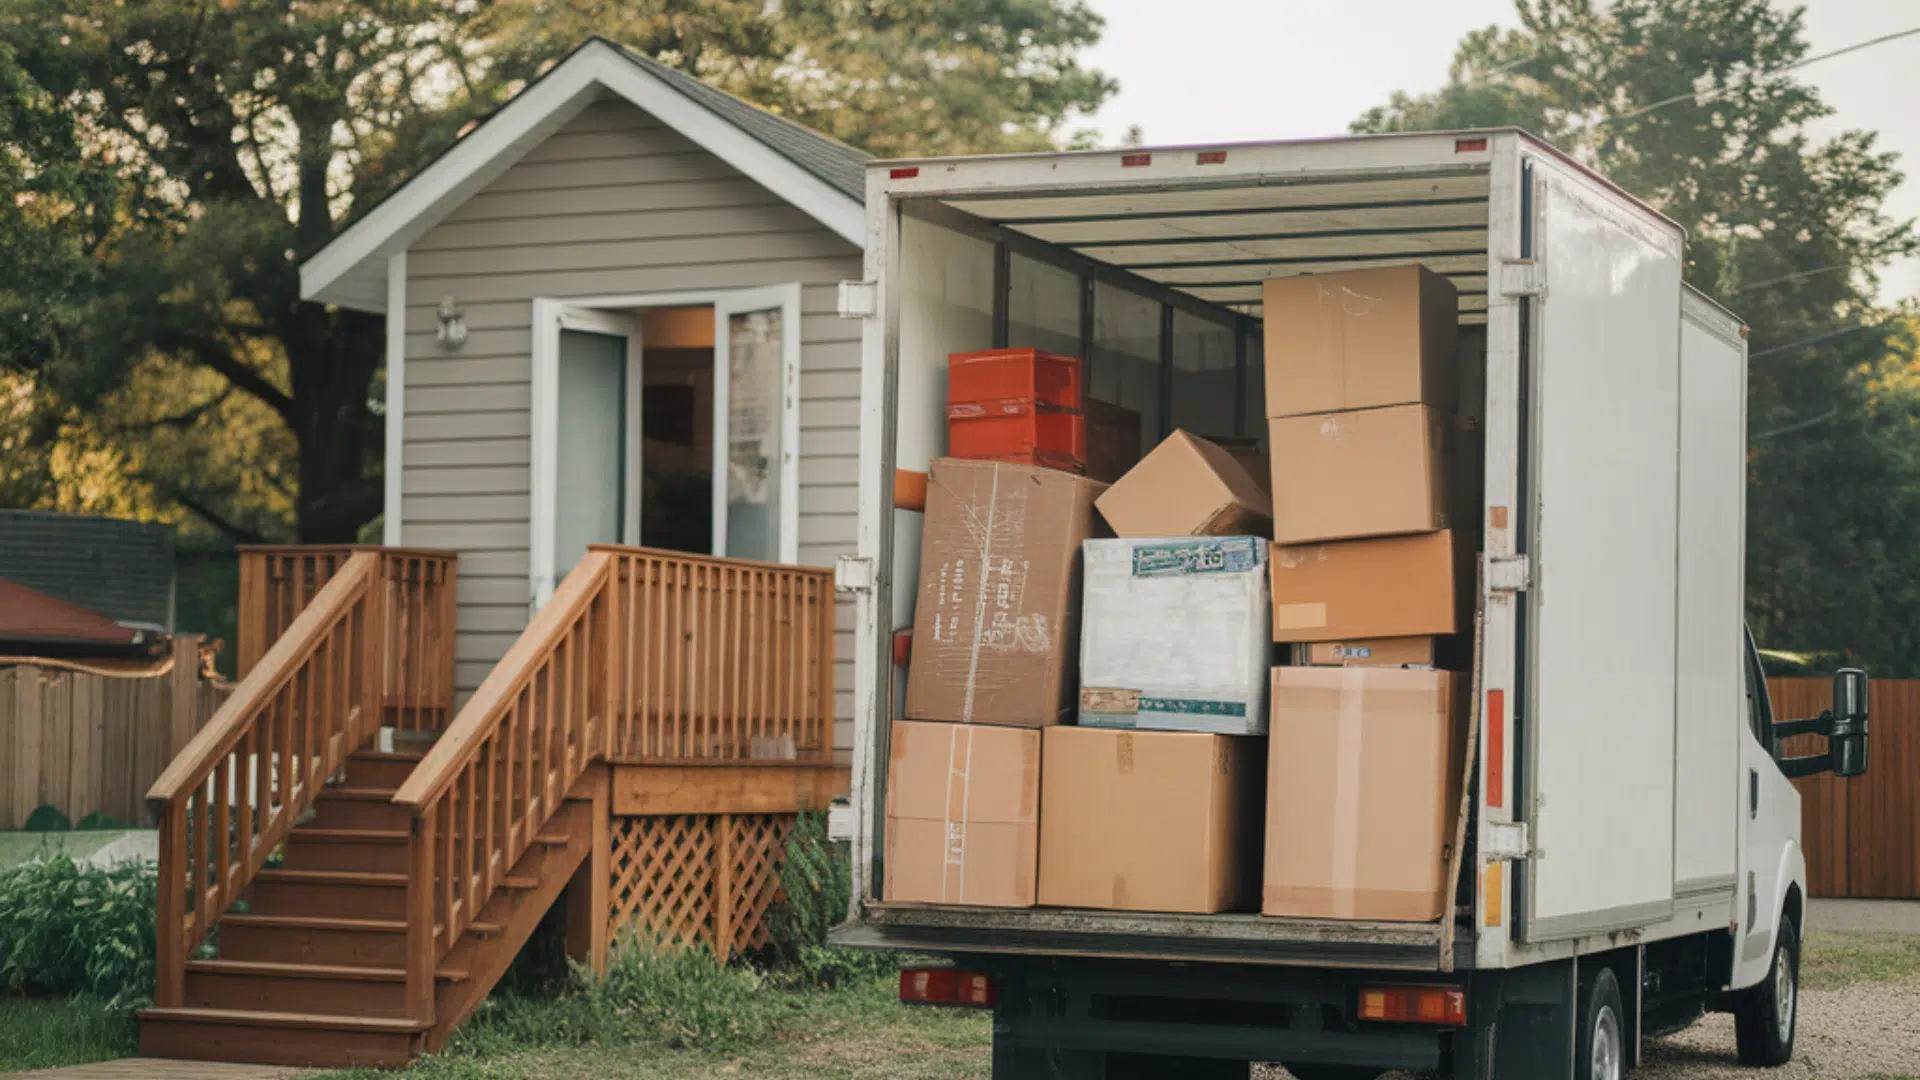
Living In and Maintaining Your Tiny Home
Once the build is done, the real work begins: learning how to live comfortably in your new space. The table below covers key points for daily living, maintenance, and budgeting.
| Topic | Key Points |
|---|---|
| Daily Living in a Small Space | – Adjust gradually to limited space. – Keep your home tidy and clutter-free. – Use multi-functional furniture like foldable tables and built-in storage. – Create a daily cleaning habit to maintain openness. |
| Maintenance & Upkeep | – Inspect roof, windows, and walls every few months. – Check seals, insulation, and plumbing each season. – Make small repairs early to avoid major issues. – Prioritize preventive maintenance for long-term comfort. |
| Cost & Budget Recap | – Most DIY tiny homes cost $15,000–$40,000, depending on materials and labor. – Building it yourself saves money but takes time and effort. – Keep a small maintenance fund for paint, sealing, or appliance repairs. |
A little organization and consistent upkeep go a long way. With care and routine checks, your tiny home will stay strong, efficient, and ready for everyday living.
DIY Tiny House: Real Experiences & Lessons Learned
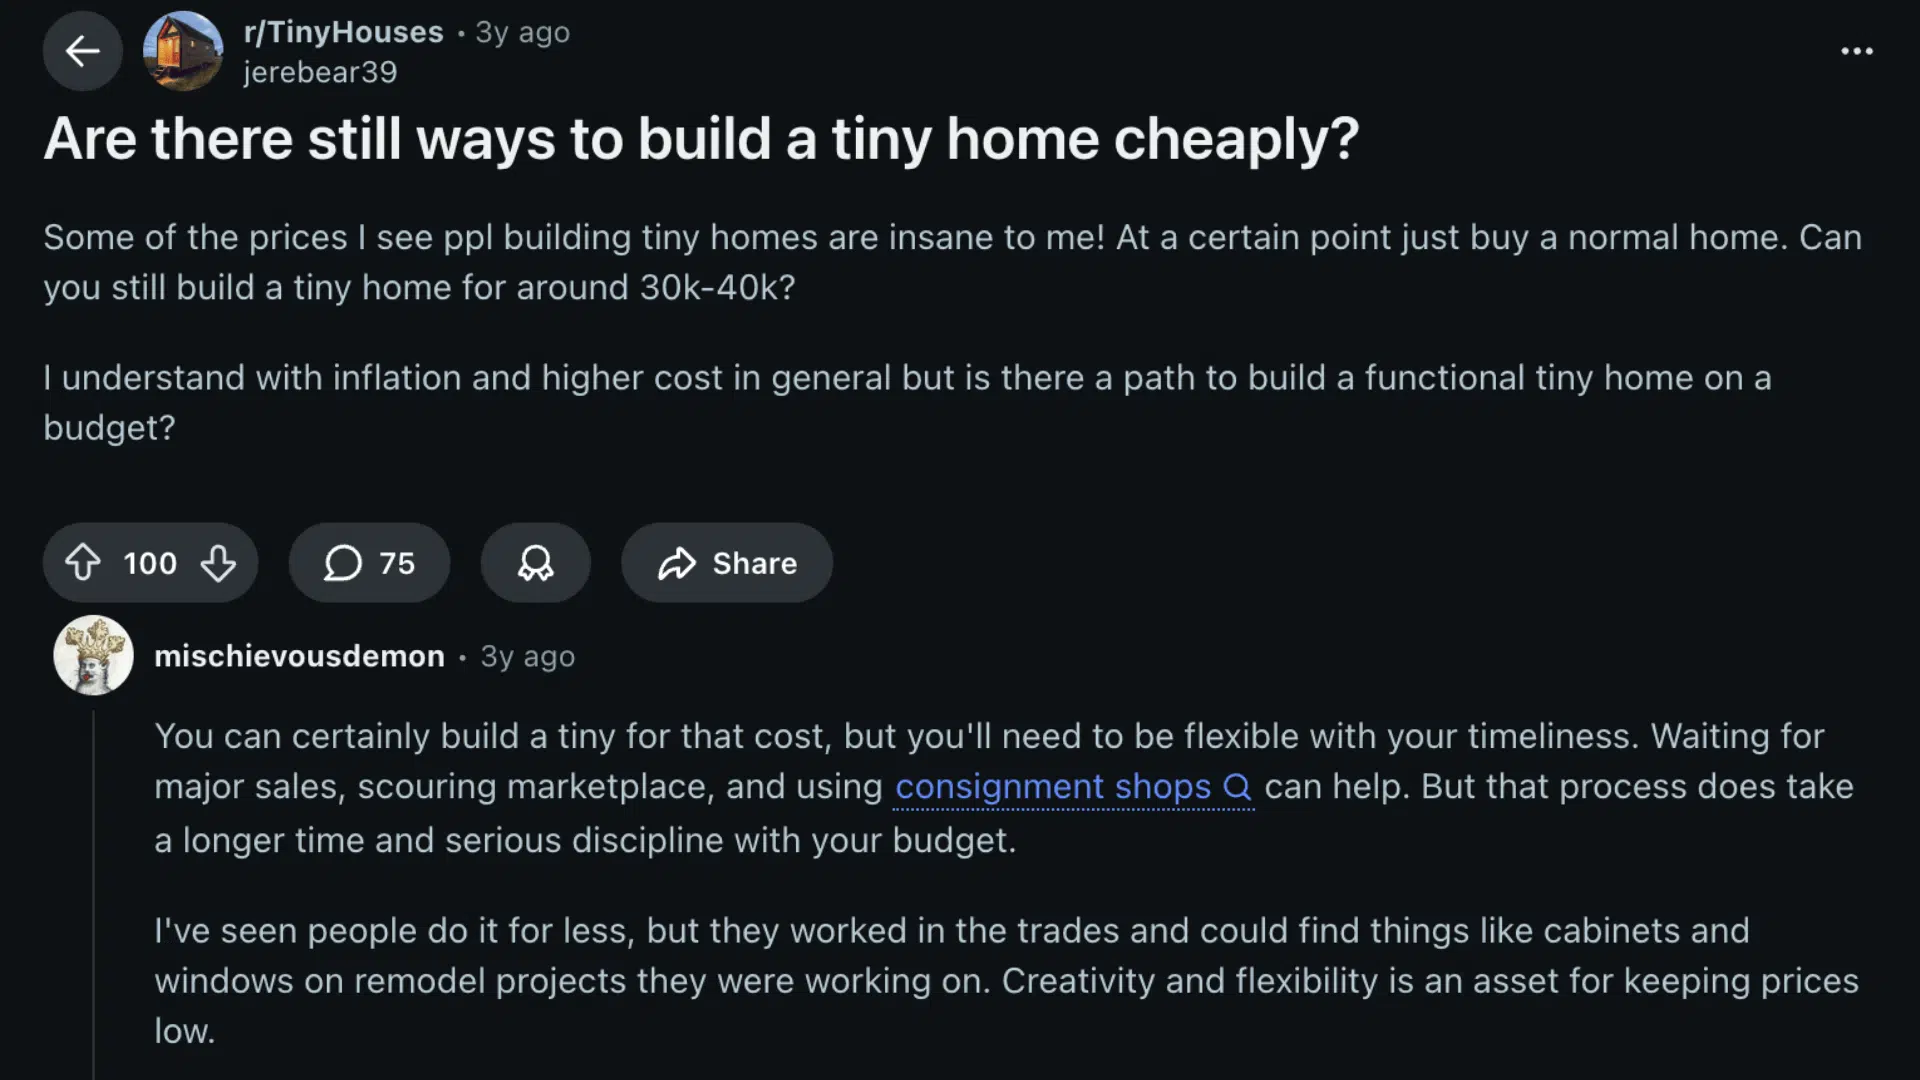
In the Reddit discussion “Are there still ways to build a tiny home cheaply?”, many builders shared that the real savings in a DIY tiny house come from smart planning, sourcing used materials, and doing most of the labor yourself.
One user explained how repurposing windows and leftover lumber helped cut costs, but also mentioned the trade-off: extra time, mistakes, and constant learning.
Most agreed that building cheaply doesn’t mean building easily; you save money but spend more effort.
From my own experience, that lesson holds true. A DIY tiny home demands patience, flexibility, and a realistic timeline.
The process can be slow, but every hour you invest builds not just a house; it builds real skill and pride in what you’ve created.
Common Mistakes to Avoid
When building a tiny home, small errors can cause big problems later.
- Skipping proper planning: Don’t start before checking local zoning laws, trailer size rules, and layout flow.
- Underestimating cost and time: Hidden expenses and delays are common. Always keep a backup fund and a flexible schedule.
- Poor insulation and airflow: Cheap insulation or no ventilation leads to condensation, mold, and discomfort.
- Uneven weight balance: For homes on wheels, balance heavy items evenly to prevent towing issues.
- Hard-to-reach systems: Always design access panels for plumbing, wiring, and storage. Repairs will be easier later.
A little extra planning and care upfront makes your DIY tiny home safer, stronger, and more enjoyable to live in.
Wrapping Up
Building your own small home takes patience, planning, and a steady mindset, but it’s one of the most satisfying projects you can take on.
You’ve learned how to budget, design, build, and maintain a space that truly fits your way of living.
I hope this guide makes your next steps clearer and helps you avoid the common mistakes many first-time builders face. Take it slow, stay flexible, and enjoy the process as it unfolds.
If you’d like more helpful guides and real advice, take a look through my other posts; they’ll keep you inspired as you create your very own DIY tiny house.