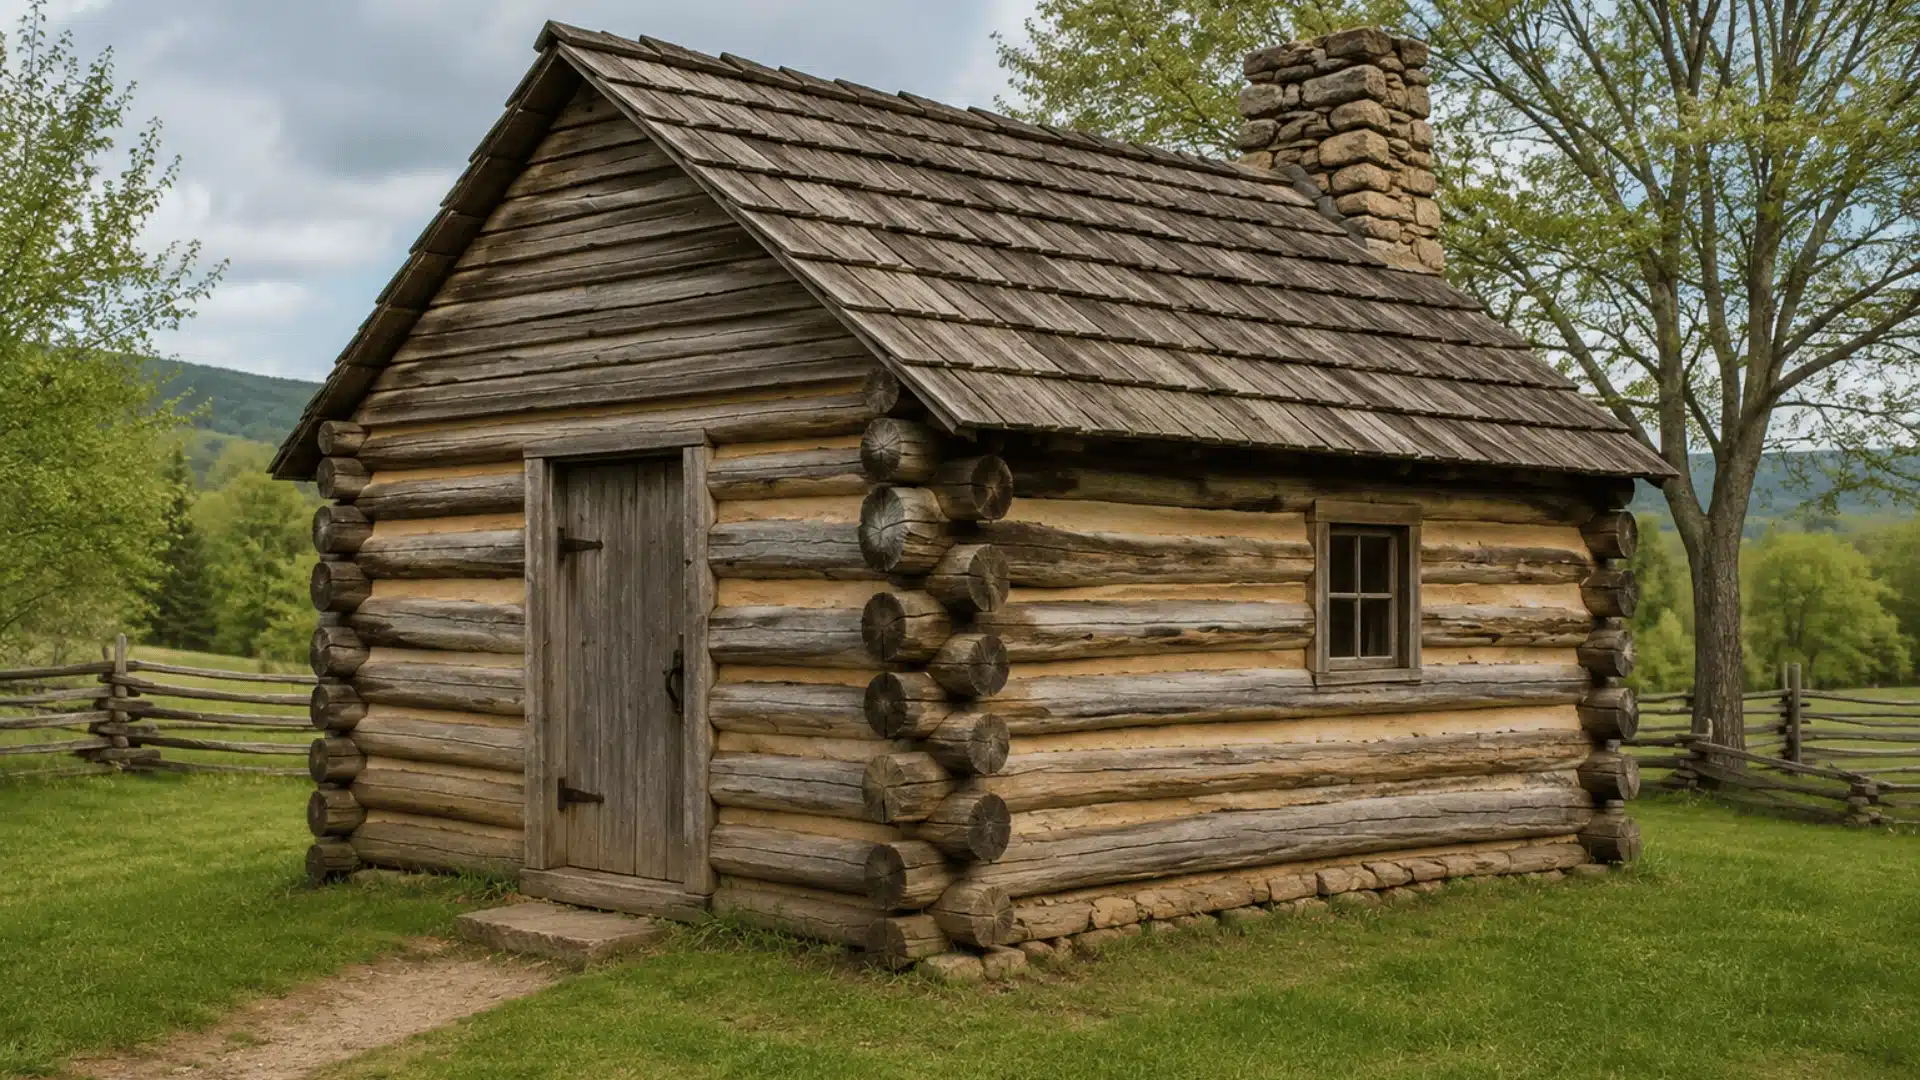
A log cabin can look simple once the walls are stacked, but small early mistakes can turn into costly problems later. If you want to learn how to build a log cabin, the real challenge is getting each stage right before moving to the next.
I know it is tempting to focus on the logs first, but the site, foundation, drying time, and first wall course matter just as much.
The steps show you how to prepare the logs, pour the base, fit and scribe each course, add floors and openings, support the porch, and check for settling issues.
You can also see the common mistakes I would avoid during a hand-built cabin project.
| Difficulty | 5 out of 5; this is an advanced build, not a beginner project |
| Time | 4 to 12 months, depending on cabin size and crew |
| Cost | $100 to $300 per square foot for a full hand-built cabin |
| Tools Needed | Drawknife, broad axe, adze, log scriber, hand auger, wooden mallet, axe, concrete tools |
| Skill Required | Experienced, ideally with prior carpentry or timber work |
That cost range and timeline are the two numbers that surprise people most, so let’s get the disclaimer out of the way before we go any further.
| Cost Note: Figures in this article are estimates based on national averages. Actual costs vary significantly by region, log species, site conditions, and whether you hire help for any part of the build. Always get at least three quotes before committing to any project above $1,000, and confirm permit requirements with your local building office before you dig the first foundation hole. |
The Biggest Mistake I See Before the First Log Is Ever Cut
Most log cabin failures do not start in the walls. They start at the site. I have seen a foundation fail years into a cabin’s life because nobody checked where water actually went during a heavy rain, not because the concrete itself was bad.
Before you touch a permit or a chainsaw, lock in four things: a permitted, well-drained site, the logs you’re going to use, your core tools, and a budget range you can actually live with.
Permits are the part people skip and regret. Requirements shift by county, and sometimes by township, so call your local building office before you assume anything about setbacks, foundation type, or inspection stages.
If your lot still has stumps, brush, or standing trees on it, budgeting for clearing a wooded site before you ever pour concrete keeps that cost from ambushing you mid-project instead of showing up in your original budget.
This is also where researching foundation types pays off, since a log cabin’s foundation choice affects both your permit conversation and how the sill logs get set later.
How to Build a Log Cabin Step by Step
Learning how to build a log cabin comes down to six stages that build directly on each other: peeling and drying the logs, pouring the foundation, fitting the foundation logs, stacking and scribing the walls, cutting in the floor and openings, and finishing the porch and upper courses.
Before any of that starts, sketch the footprint on paper the same way you would when planning a compact footprint for any small structure, since moving a wall four feet after the sill course is down is not a small fix. Skip a stage or rush it, and a problem from an early one shows up two stages later, much harder to fix.
Tools and Materials
- Drawknife
- Broad axe
- Adze
- Log scriber
- Hand auger
- Wooden mallet
- Pencil
- Axe
- Fir logs
- Concrete
- Wooden dowels
- Moss
- Sheep wool
- Timber boards
- Porch support logs
- Tarp
Step 1: Peel and Dry the Logs
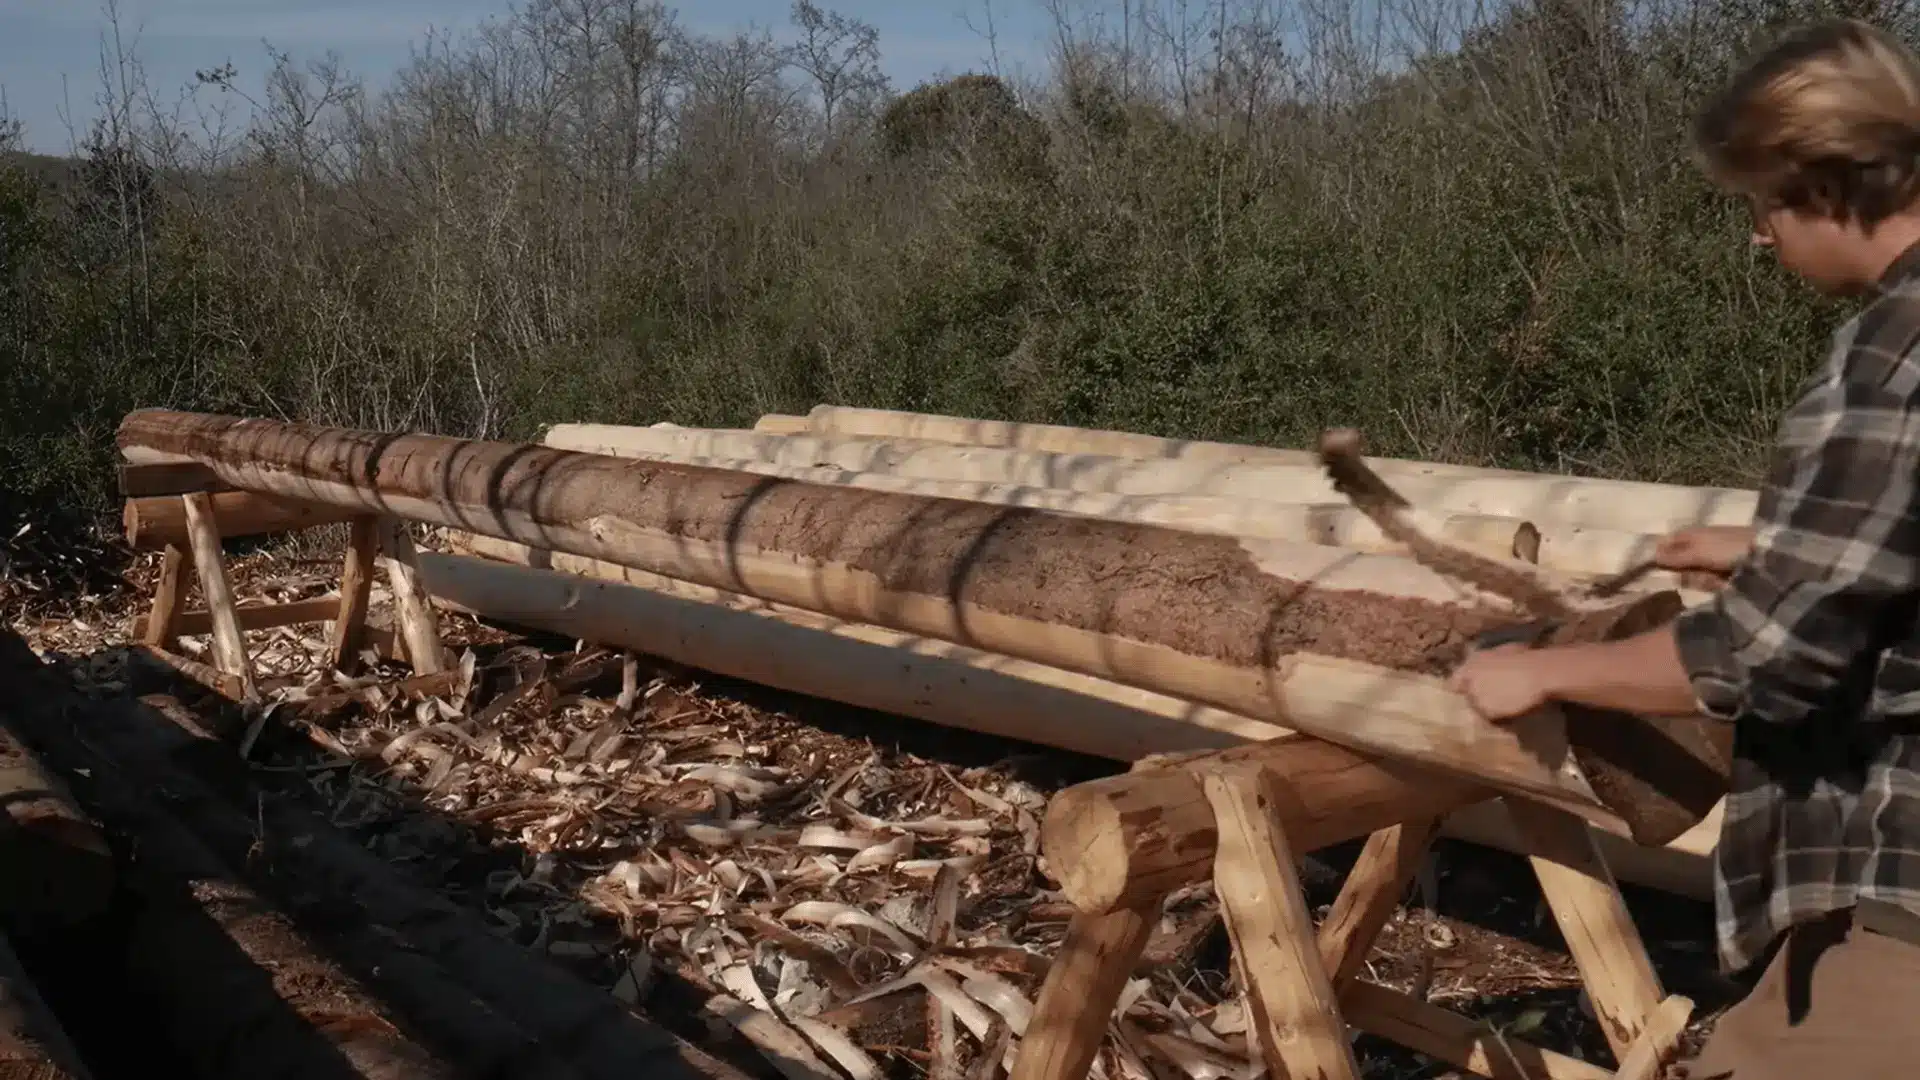
Peel the bark off every fresh fir log with a drawknife, working around knots slowly so you don’t gouge the surface. A gouge here becomes a gap you’re fighting later during scribing, so take your time on this step even though it feels like the slowest part of the whole project.
Stack the peeled logs off the ground with spacers between courses so air moves through the pile, then leave them to dry before you cut a single notch. Drying does two things: it drops the moisture content so the logs are lighter to lift, and it starts the shrinkage process now instead of after your walls are already stacked.
Step 2: Prepare and Pour the Foundation
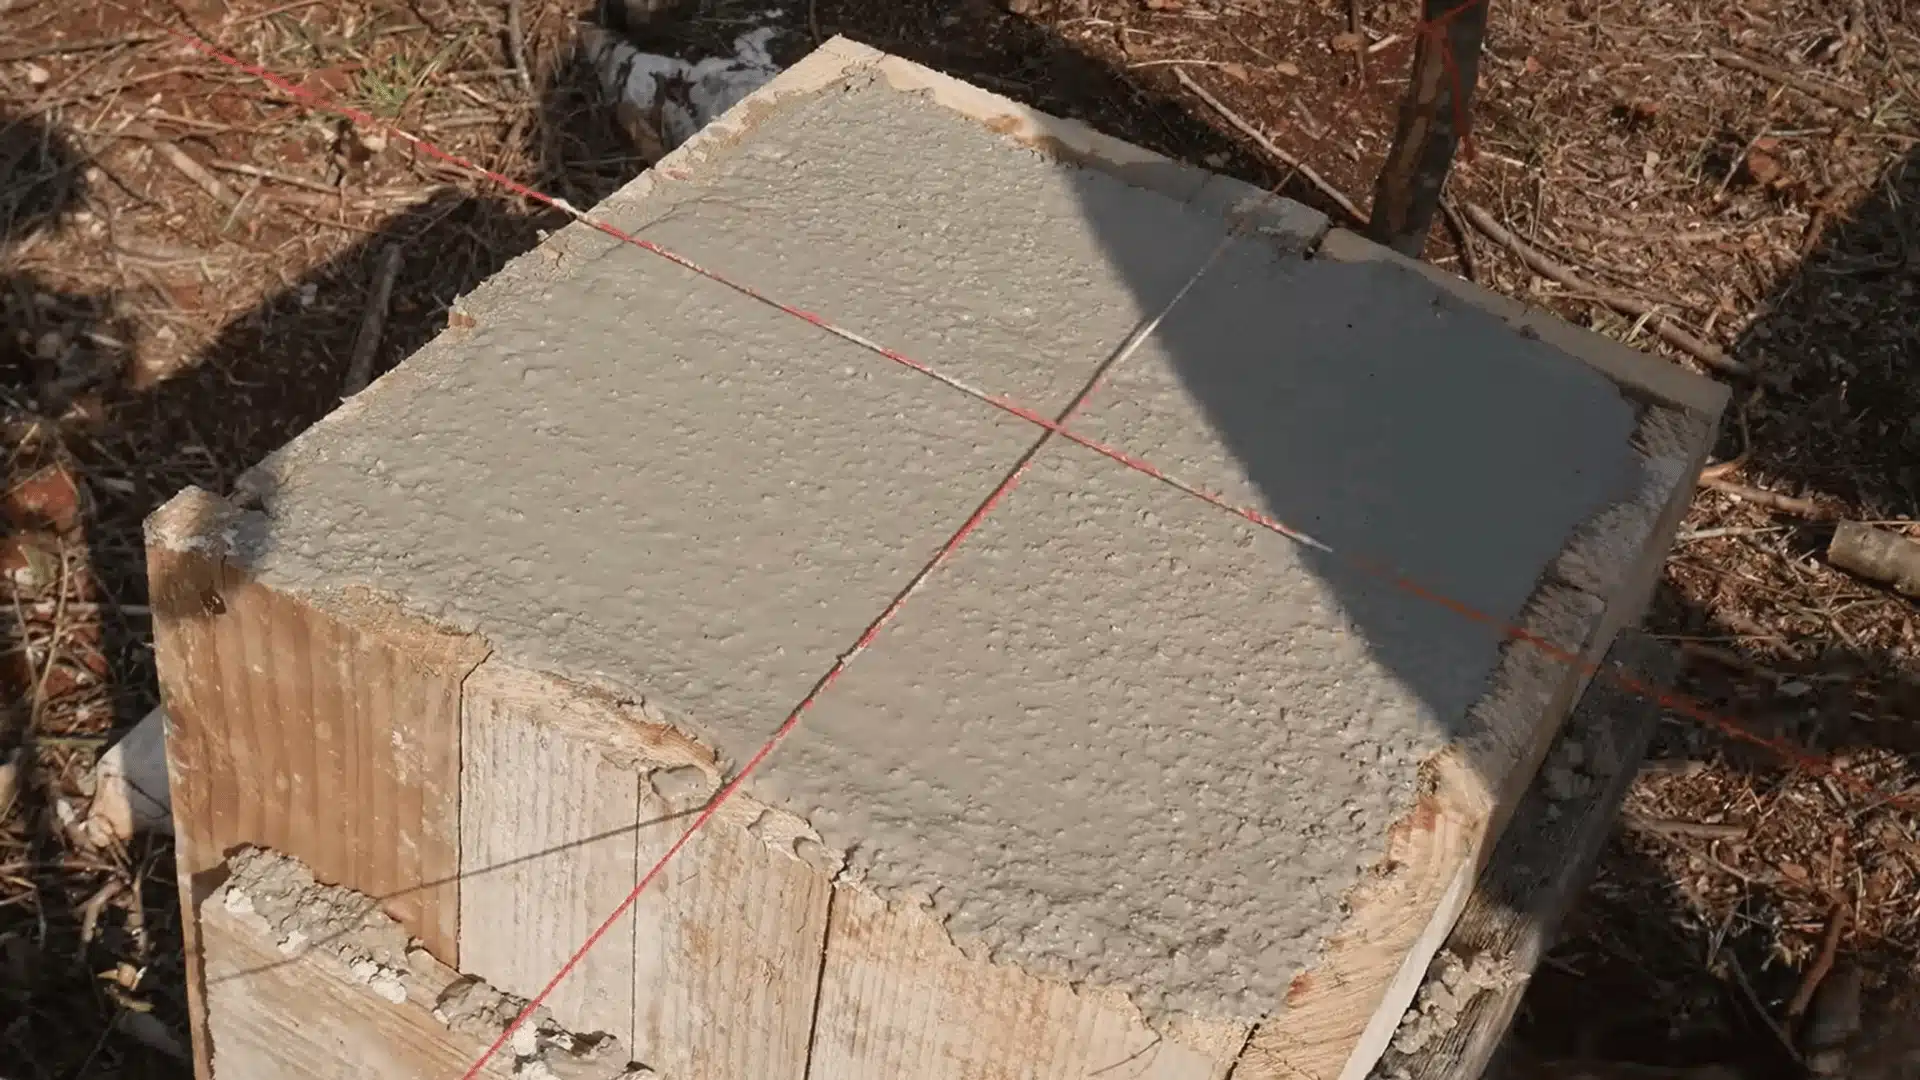
Measure the cabin footprint and mark exactly where each foundation support will sit before any digging starts. Small errors here get magnified once four walls of logs are sitting on top of them.
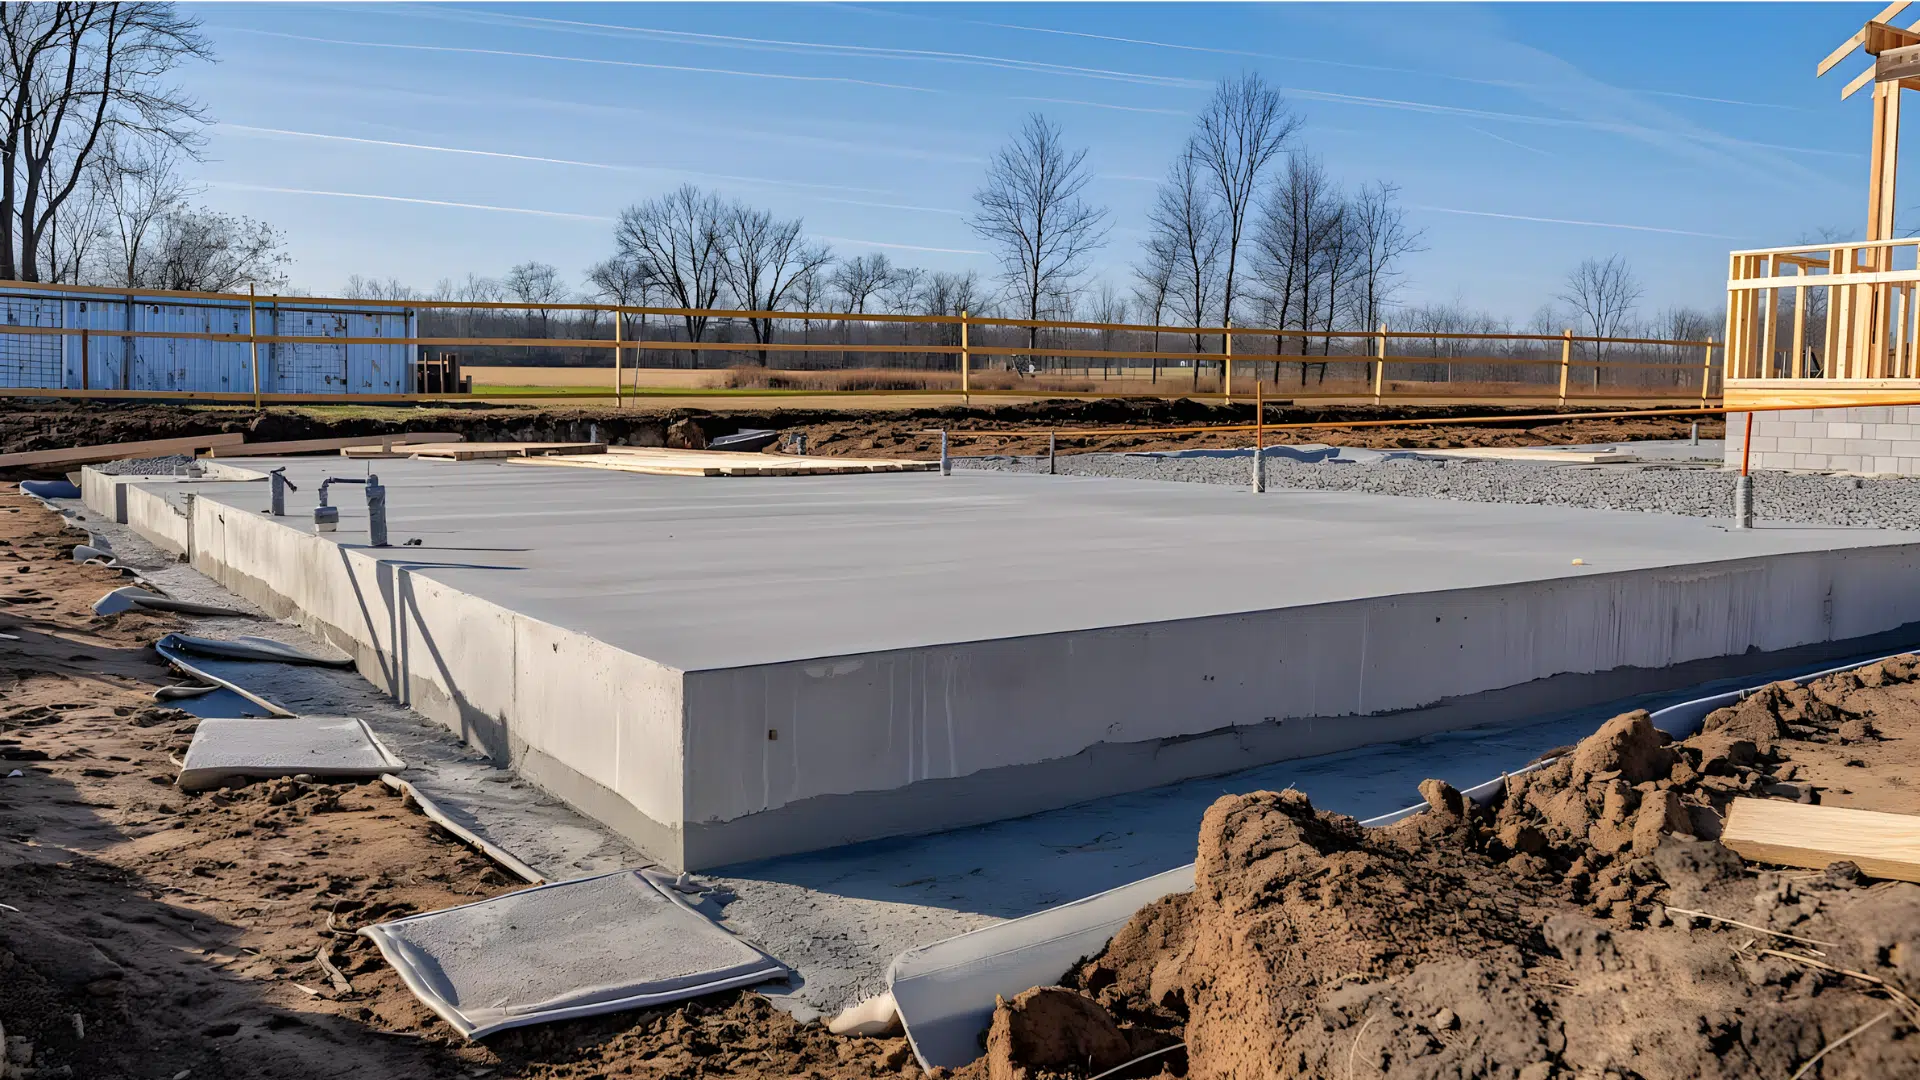
Dig each foundation point deep enough for a stable base, and expect rocky soil to slow you down. If you’re weighing piers against a full pad, the basic math on pouring a concrete pad is worth running before you commit either way.
Pour the concrete, check placement while it’s still wet enough to correct, and let it cure fully before you bring the first foundation logs anywhere near it.
Step 3: Fit the Foundation Logs
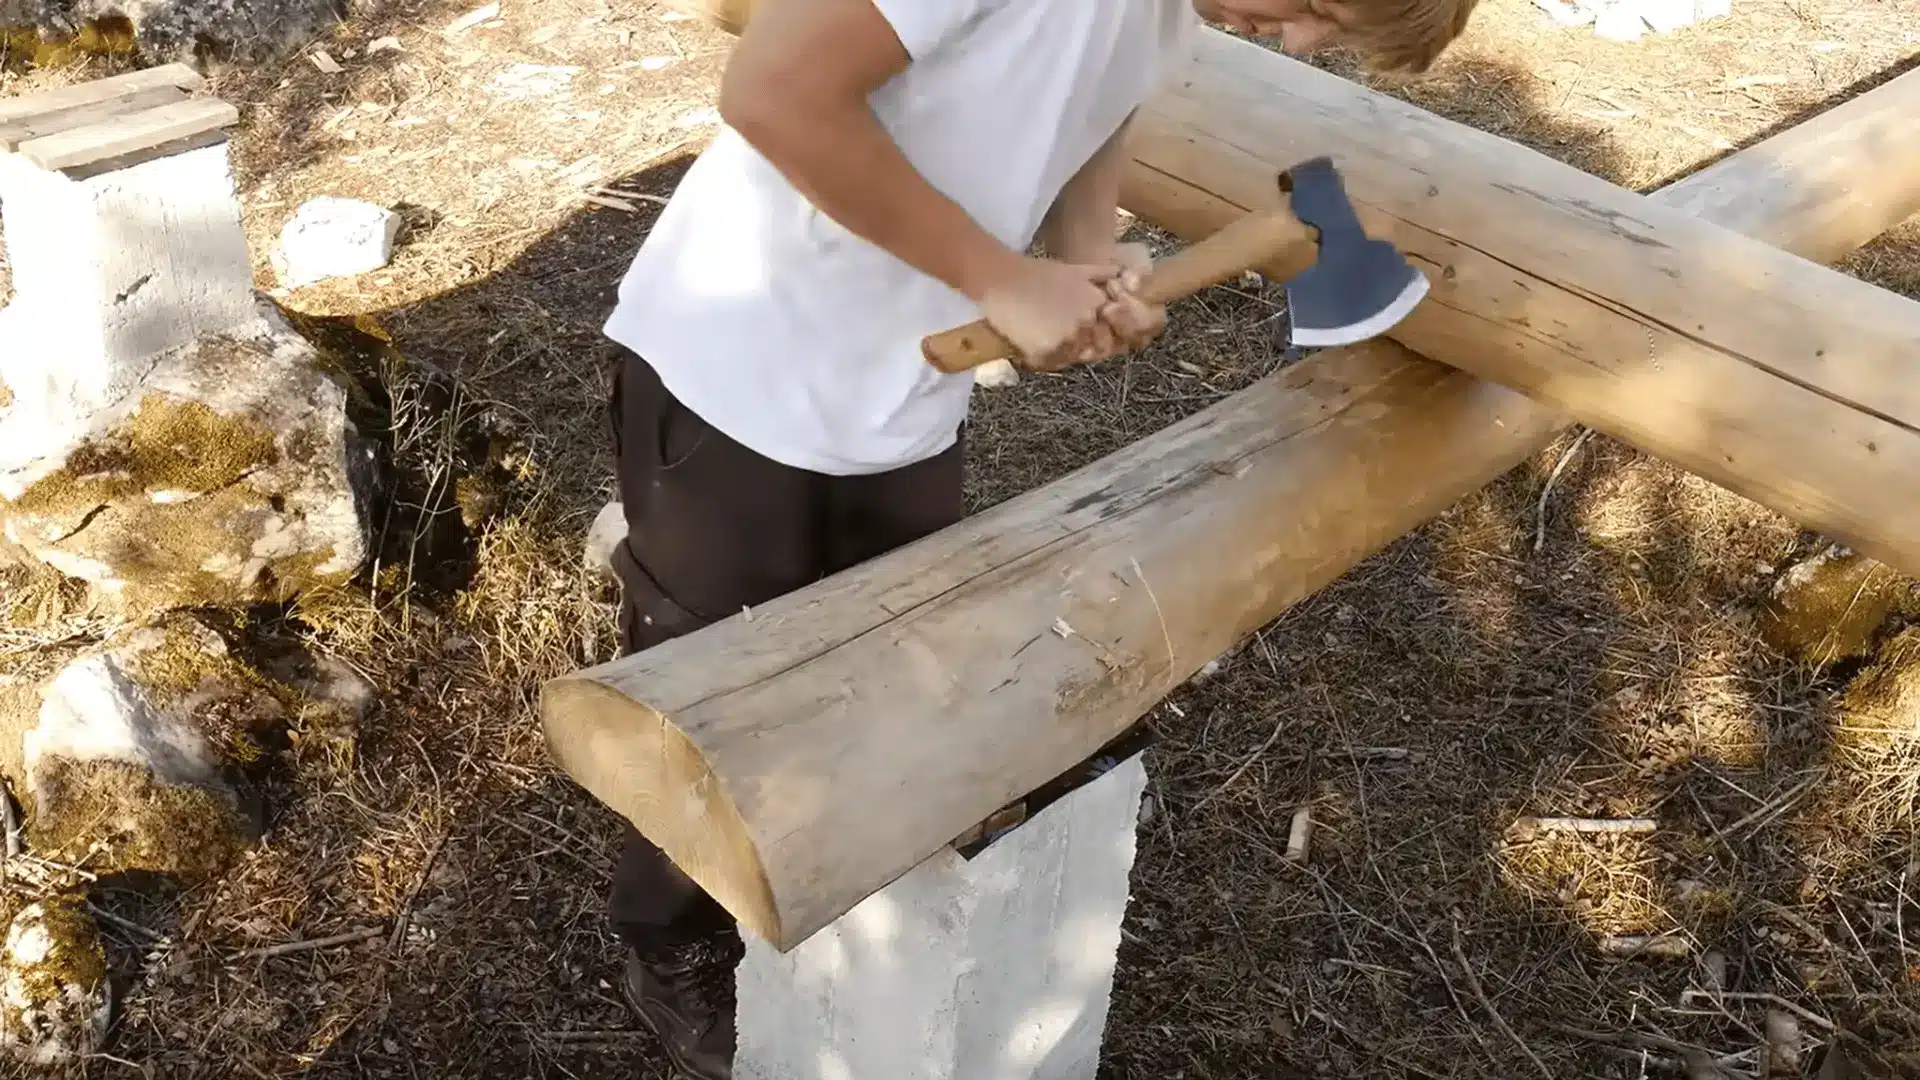
Split the first foundation log lengthwise where needed, then shape its base so it sits flat and secure on the cured concrete supports. This is the sill course, and it sets the height and level for every log that comes after it.
Carve saddle notches where the logs meet, test-fit repeatedly, and don’t move forward until each joint sits tight with no daylight showing. Use the scriber to transfer the shape of the lower log onto the one you’re fitting, trim, and test again before calling it done.
Step 4: Build and Scribe the Walls
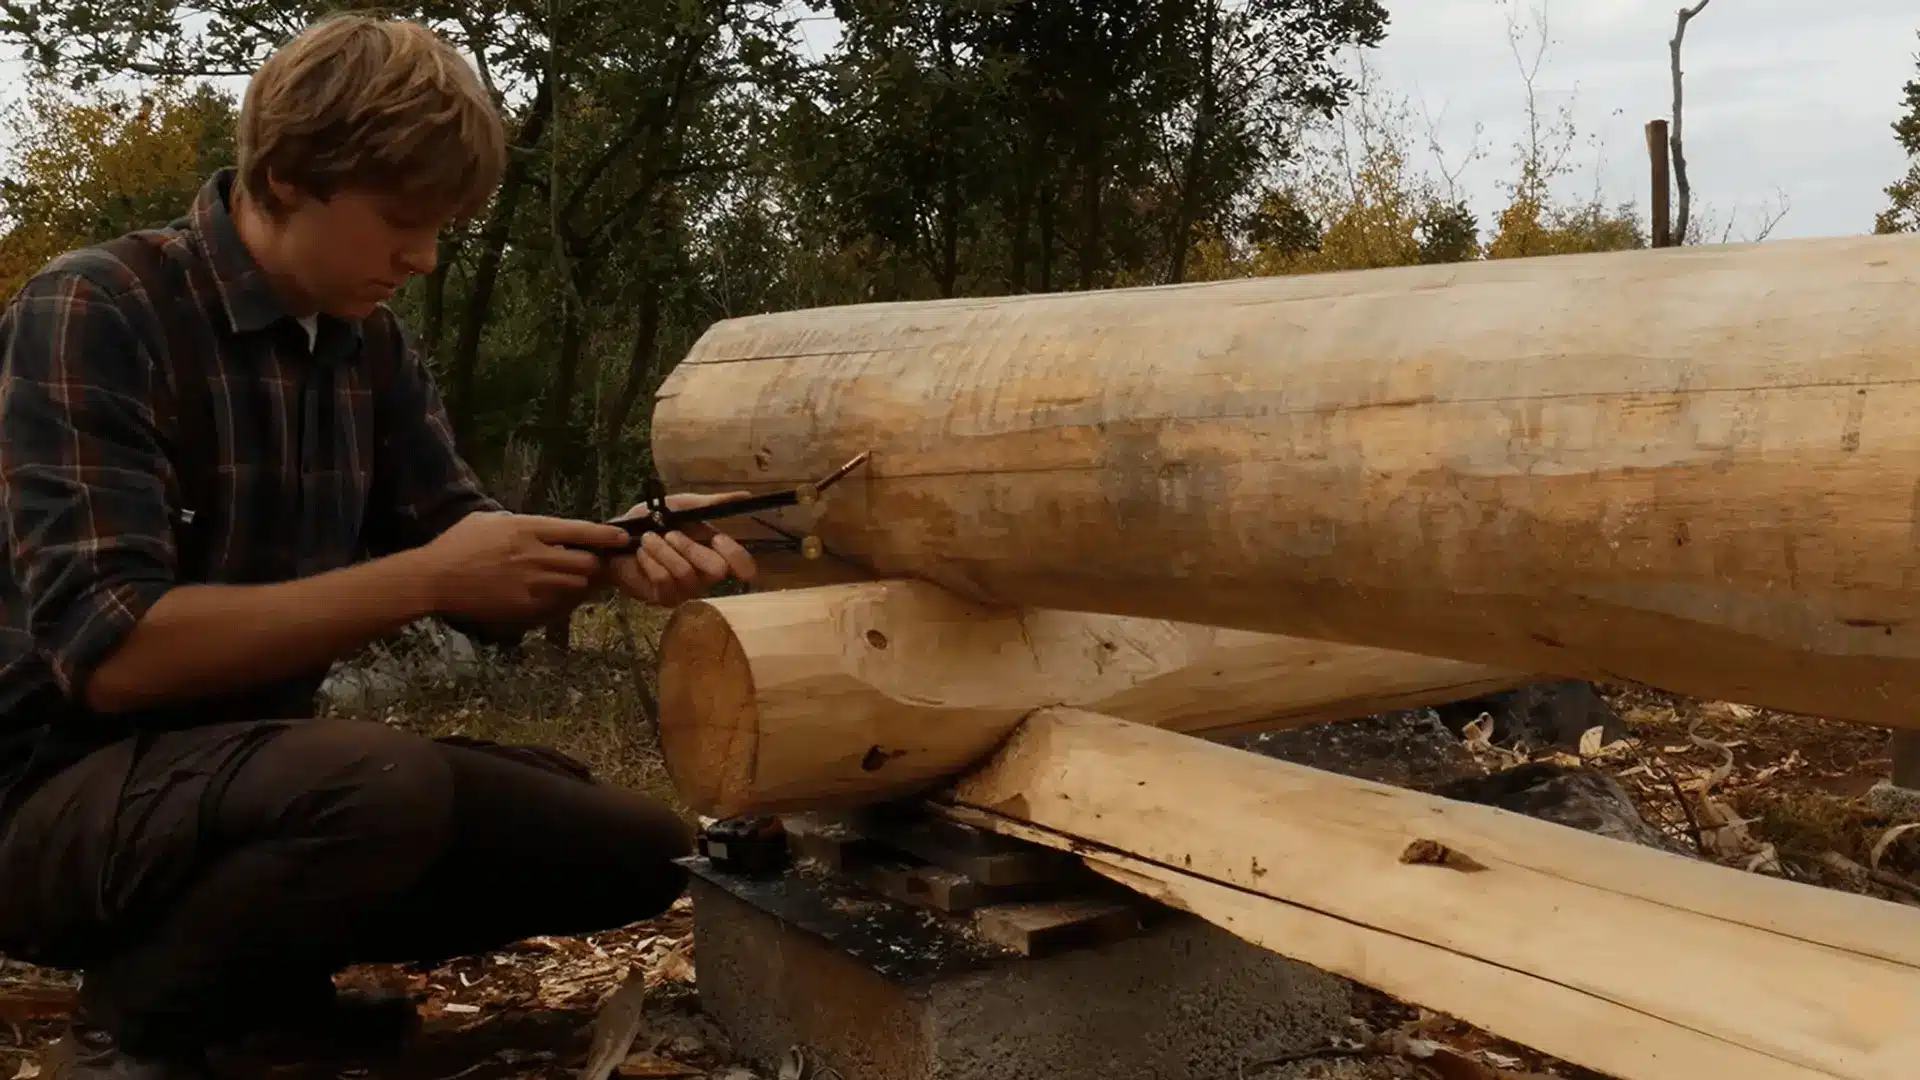
Place each new log above the course below it, then run the scriber along the lower log to copy its irregular shape onto the new one. This is what makes hand-scribed log walls fit so tightly compared to milled kits, and it’s also the slowest, most repetitive part of the entire build.
Cut the notches and the belly groove with the axes and the adze, and keep test-fitting until the upper log settles down close against the lower one with no rocking. Pack moss into the seam for insulation, then drill through both courses and pin them with wooden dowels so the wall doesn’t shift as it settles.
| Pro Tip: The first wall course always takes longer than every one after it. Once you’ve scribed and notched three or four logs, your hands and eyes calibrate to how much material to remove per pass, and the same joint that took forty minutes on log one takes closer to fifteen by log ten. |
Step 5: Add the Floor and Cut the Openings
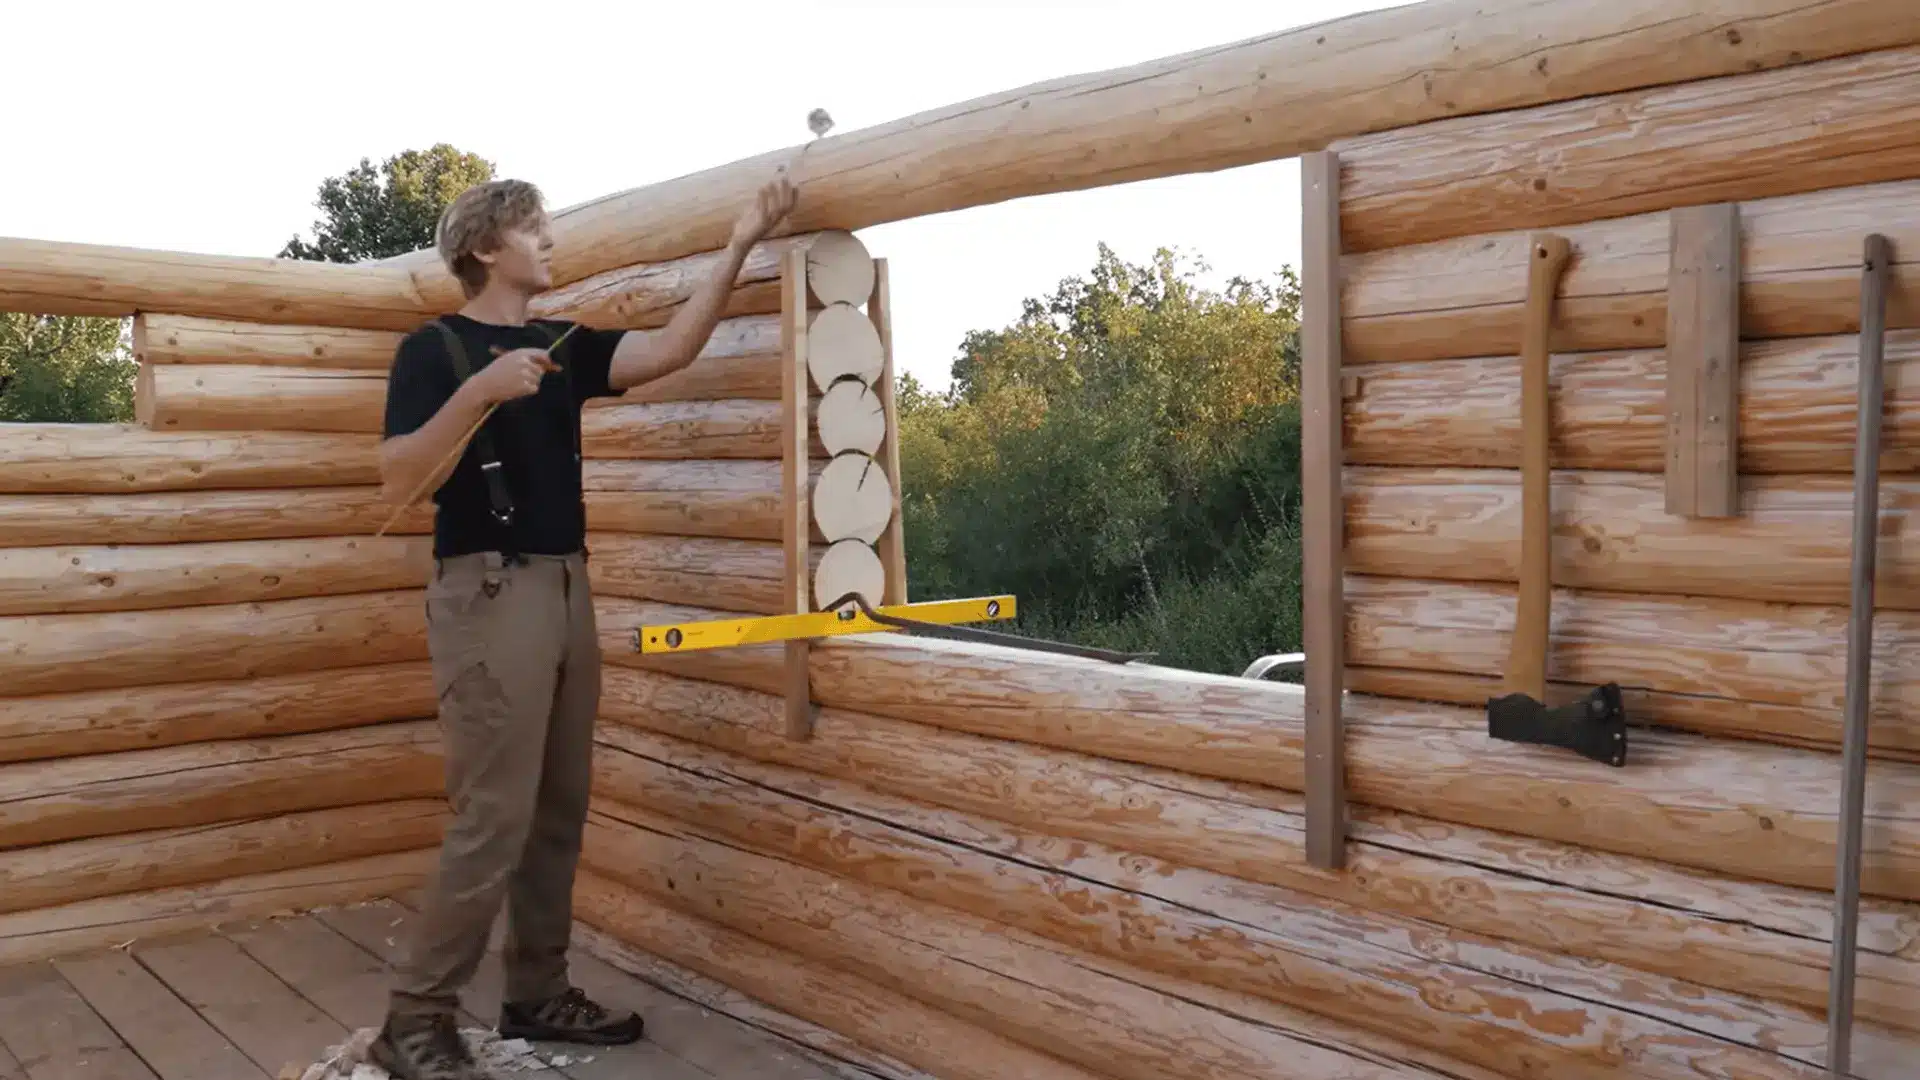
Once several courses are up, install a temporary floor so you have solid footing to work from as the walls climb higher. Working off a ladder against a half-built wall is how people get hurt on this project.
Keep stacking and scribing, but leave gaps where your windows and door will eventually go. Wait until the wall height is set before you mark and cut the openings to their final size.
Building code and manufacturer instructions for door and window units both call for a settling gap above the header, so cut the opening slightly taller than the unit itself and plan to trim it down later, not the other way around.
Step 6: Support the Porch and Finish the Walls
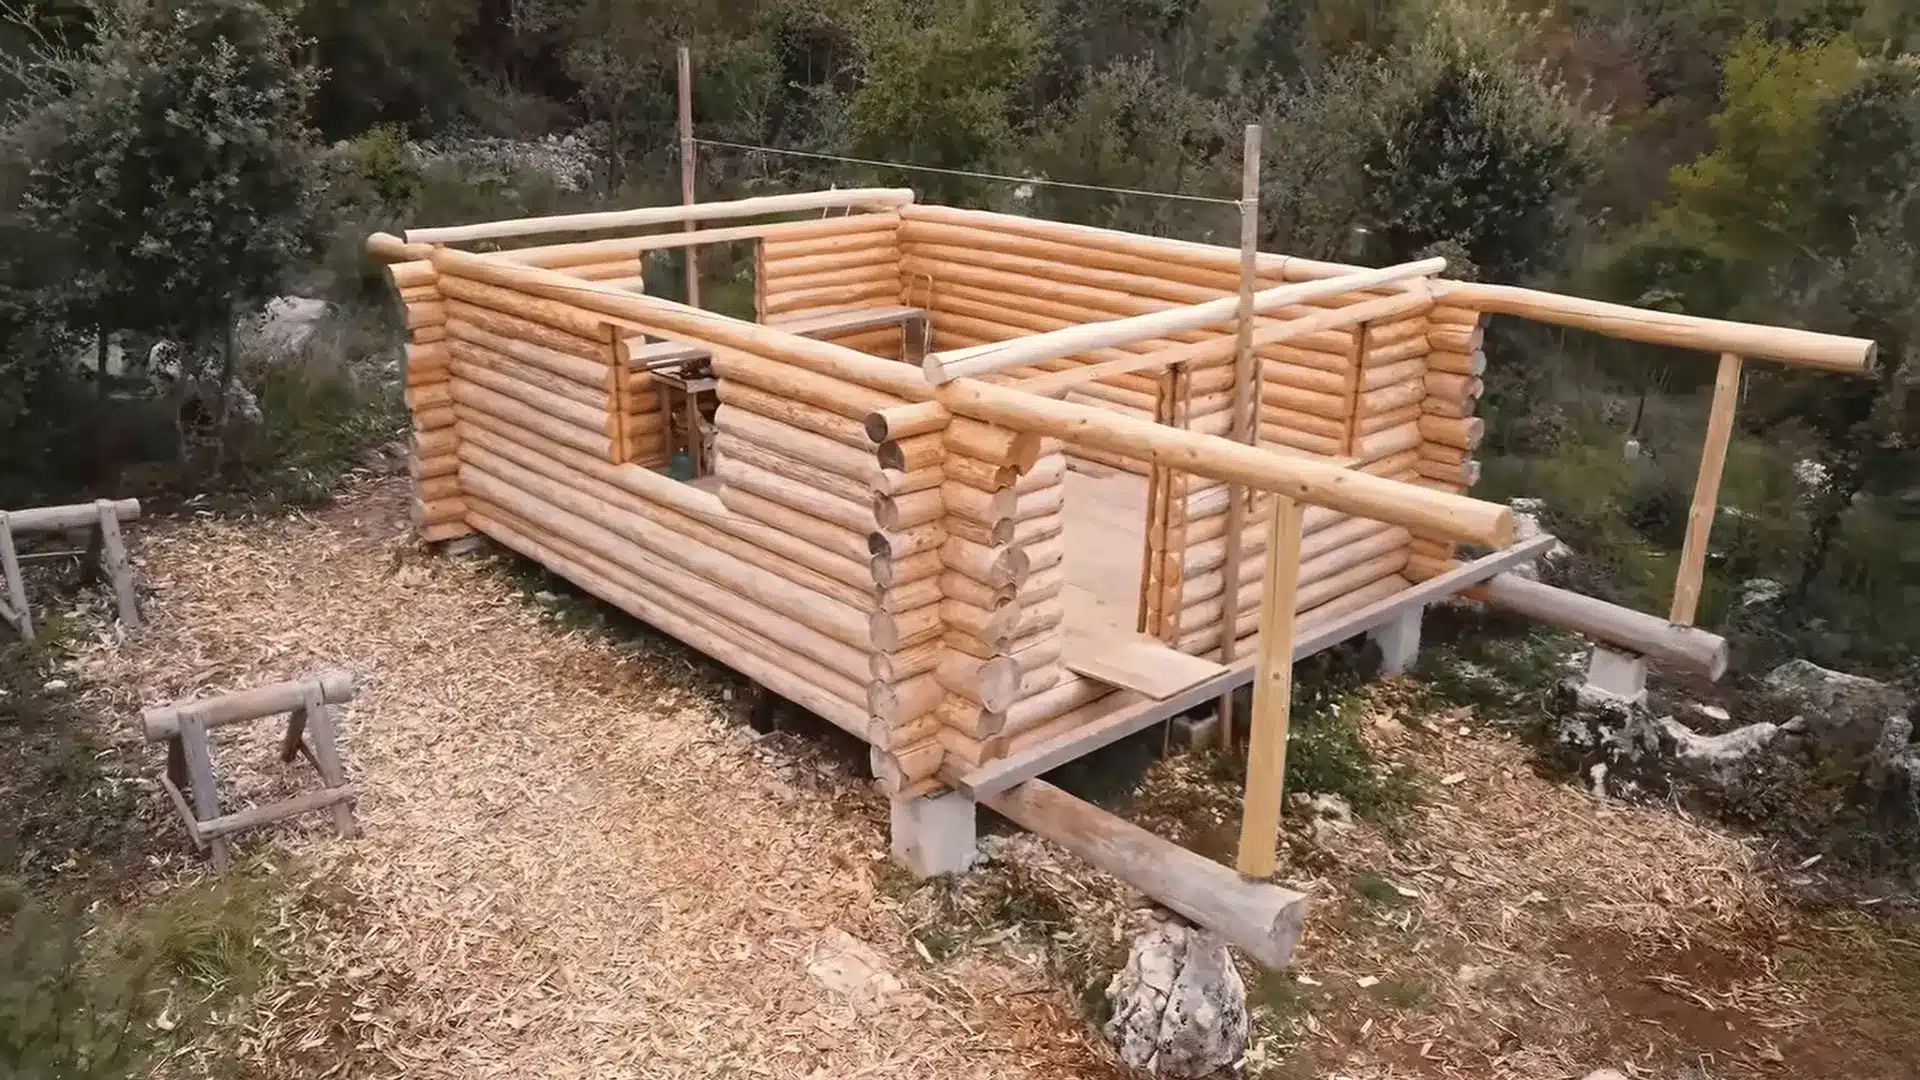
Install the longer upper logs so they extend past the front wall and form the structural overhang for the porch. Add temporary bracing while you position these heavier logs, since a shift here can crack a joint you already spent hours fitting.
Set porch support posts underneath the overhang to carry the extended sections permanently, then finish the last wall courses with the same scribing and notching process, ending in secure lock notches at the top course.
Watch the video below for a quick visual explanation of the topic.
What Goes Wrong on Log Cabin Builds, and How to Avoid It
Almost every log cabin problem I’ve seen traces back to one of three spots. Catch these early, and you skip most of the rework other builders run into.
| Problem | How to Fix It |
|---|---|
| Poor site drainage, water pooling near or under the foundation | Grade the site so water flows away from the foundation, and confirm drainage before you build |
| Skipped settling allowances, sticking doors, cracked windows, or roof gaps | Build in a settling gap above doors and windows from the start, and recheck clearance months in |
| Wrong chinking timing or gap size, sealing too early or misjudging your logs’ moisture content | Wait until most settling has happened, and size the gap based on how dry your logs were when stacked |
The International Log Builders’ Association puts total settling for a full-scribe hand-built wall at roughly 3 to 6 percent of wall height once shrinkage and compression are both accounted for, which is why that settling gap above your openings isn’t optional.
Check Your Work at Three Points, Not Just at the End
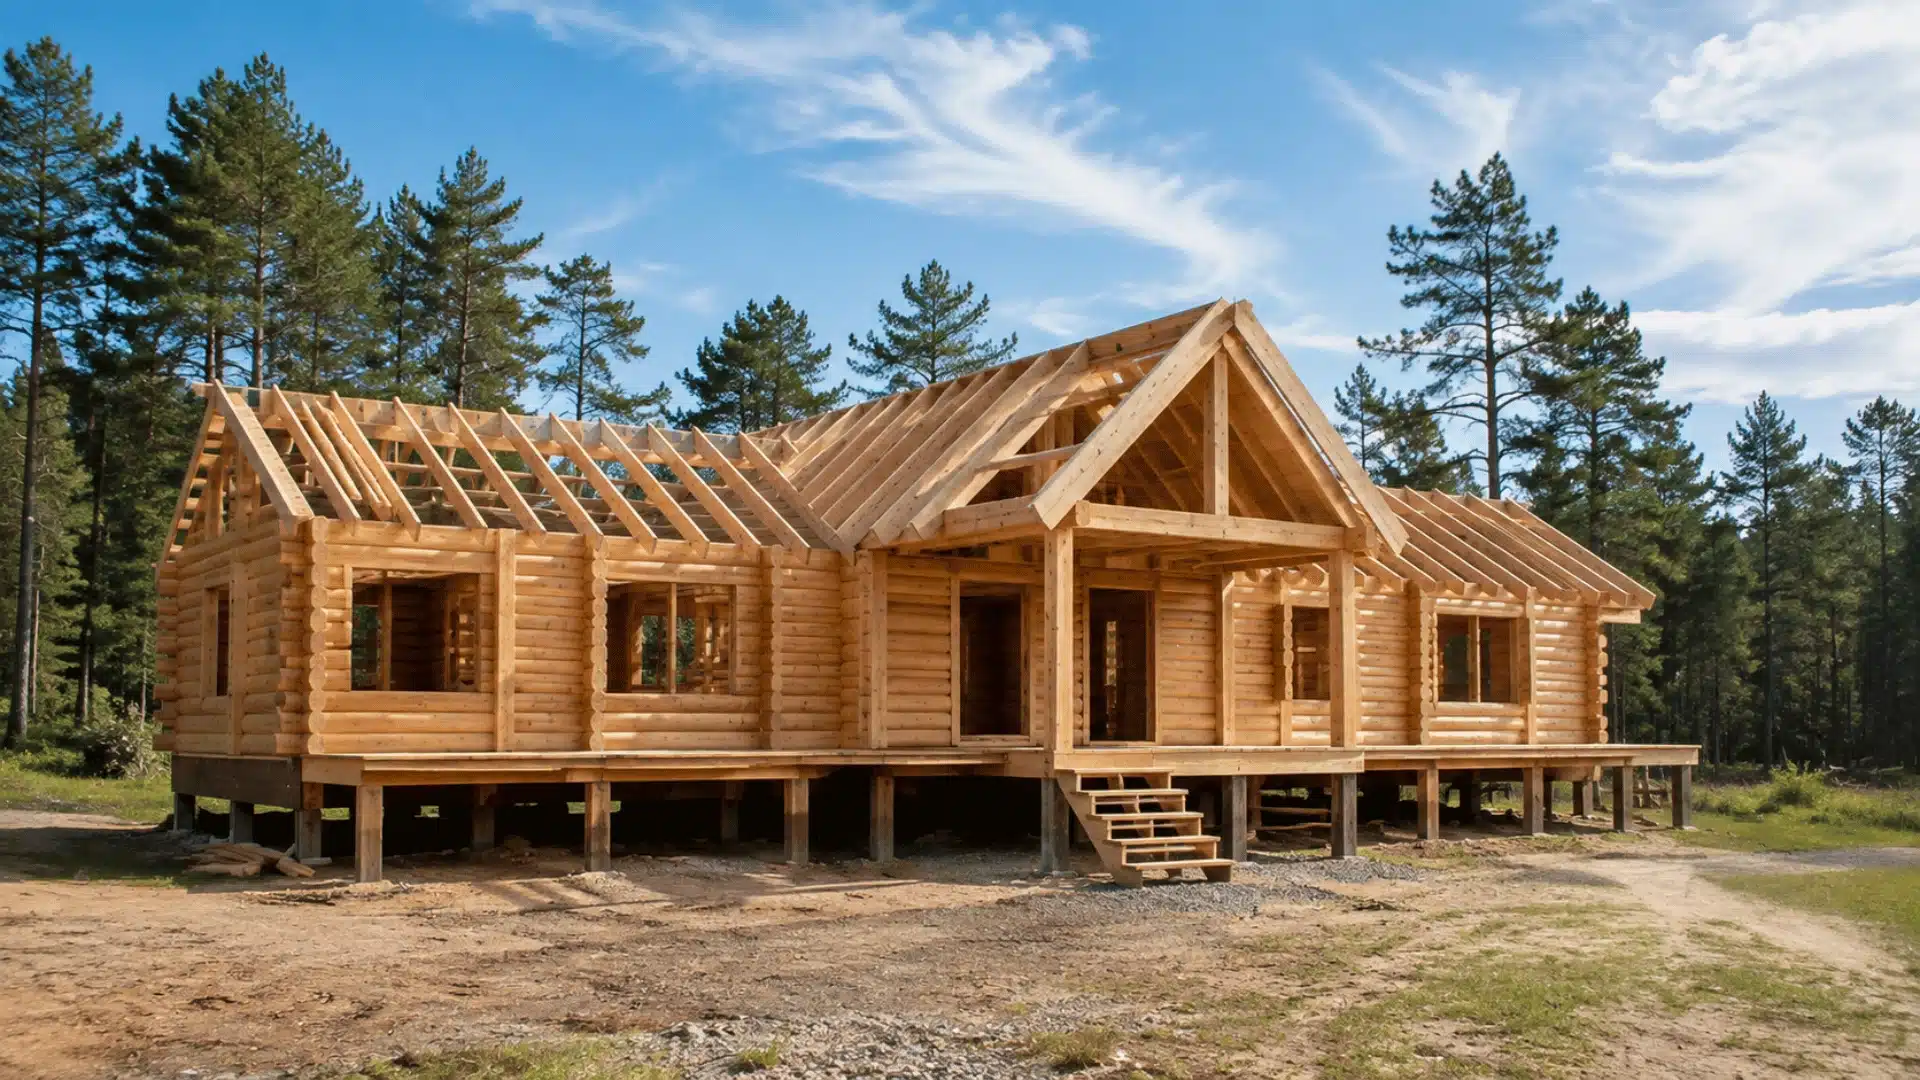
Checking the cabin during construction helps catch small errors before they affect later work. Focus on these three stages instead of relying on one final inspection.
- Foundation Check: Before stacking the first wall log, confirm the foundation is level and each sill log sits firmly on its support. Check measurements across the cabin footprint and make sure the corners align correctly. Even a small foundation error can affect wall height, log fit, door openings, and roof alignment as construction continues.
- Wall-Stacking Check: Inspect every course as the walls rise. Each notch should fit tightly against the log below without visible gaps or rocking. Check wall alignment regularly and confirm that dowels, grooves, and insulation materials remain properly positioned. Fixing a poor notch immediately is far easier than removing several finished courses later.
- Post-Settling Check: Recheck the cabin a few months after the main wall structure is complete. Pay close attention to the clearance above doors and windows because the logs can shrink and compress as they settle. Confirm that openings still move freely and that the planned settling gaps have enough space remaining.
Regular checks at these three points can prevent foundation errors, loose wall joints, and settling problems from becoming larger repairs. Keep notes during each inspection so changes are easier to track as the wood log cabin settles.
If I Were Starting This Build Again
If I were building another wood log cabin, I would spend more time checking the site after heavy rain before starting the foundation. Watching where water collects can help prevent drainage problems that become difficult to fix once construction begins.
I would also order about 10 to 15 percent more logs than the plan requires. Some logs may split, contain difficult knots, or become unusable during peeling and shaping. Having extra material nearby can prevent delays while the walls are being built.
For the main wall logs, fir is a practical choice because its straight grain makes it easier to shape with hand tools. I would still compare fir with pine, spruce, and other locally available species before ordering.
For sill logs, I would pay closer attention to durability and moisture resistance because these lower logs face greater exposure near the foundation.
Summing Up
Building a log cabin by hand takes patience, careful planning, and steady checks at every stage.
The main lesson is simple: good results start with the site and foundation, then depend on properly dried logs, tight notches, accurate scribing, secure wall courses, and enough room for settling around doors and windows.
I would also plan extra material, recheck the build as it rises, and avoid rushing work that affects later steps. Learning how to build a log cabin this way gives you a clearer idea of the time, skill, tools, and care the project demands.
Use these steps as a practical reference, and share your own cabin-building tips or questions in the comments.
Frequently Asked Questions
Is It Cheaper to Build a Log Cabin Yourself?
Yes, typically. Labor is the largest share of the $100 to $300 per square foot range, so doing the work yourself removes that cost. You still pay full price for logs, concrete, dowels, and roofing materials regardless of who swings the axe.
Can I Build a Log Cabin Myself With No Experience?
You can, but budget extra time. Most first-time solo builders take several months to a year, since notching, settling allowances, and roofing all carry a real learning curve that speeds up noticeably after the first wall course.
Do Log Cabins Need a Foundation?
Yes. A foundation, whether concrete piers or a full frost wall, keeps the structure from shifting with seasonal ground movement and keeps the bottom sill logs away from standing moisture and pests.
How Long Does a Log Cabin Take to Settle?
Most settling happens within the first year, with smaller shifts continuing for a few years after that. Green, undried logs settle more and longer than pre-dried ones, which is why the settling gap still matters even once the cabin looks finished.
What Type of Wood Is Best for Log Cabin Walls?
Fir is the standard choice for hand-scribed cabins because it’s straight-grained and easy to work with a drawknife and axe. Pine and spruce are common substitutes; both are softer and easier to work with, but they shrink and check more during drying.
How Long Does It Take to Peel and Dry Logs Before Building?
Peeling one log by hand takes 20 to 40 minutes, depending on diameter and knots. Drying time varies by species and climate, but most builders stack and dry logs for at least a few weeks before the first notch gets cut.