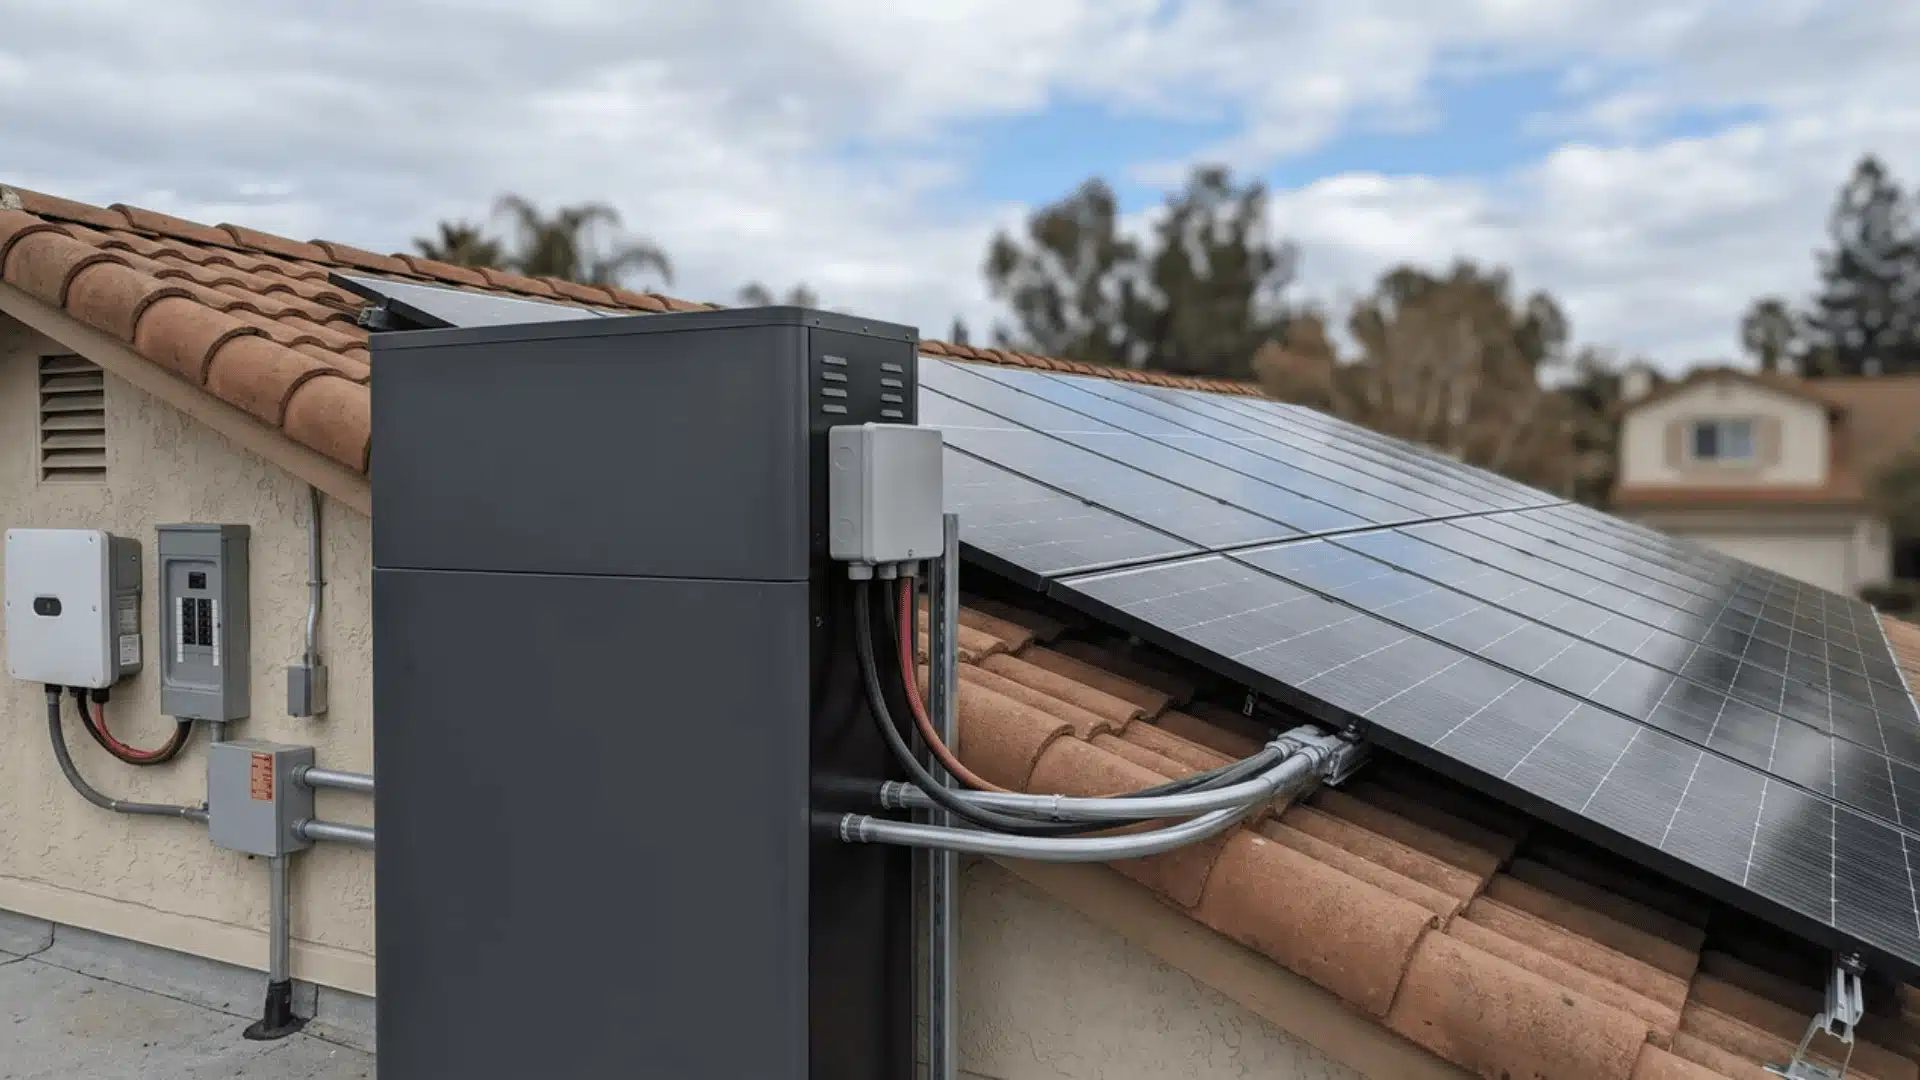
Solar panels alone don’t tell the whole story anymore. Your energy use shifts throughout the day, and production rarely matches it exactly.
That gap between production and use is where storage comes in. It gives you real control over your own power.
But not every system is ready for a battery right out of the box. What you already have changes the plan.
This guide walks through solar battery installation step by step, from compatibility to cost, so you avoid expensive mistakes.
Assessing Compatibility of Your Existing Solar System with Solar Battery Installation
Before you add a battery, check if your current setup can actually handle one. This step gets skipped more often than it should.
Older systems especially need a second look. Some parts may need swapping out before a battery fits in at all.
The inverter is the piece to check first. It controls how power moves through your whole system.
In many older setups, it needs an upgrade before a battery works. I’ve seen homeowners skip this and pay for it twice.
There are two ways a battery can connect to your system. Which one you have changes your cost, your efficiency, and what needs to be replaced.
- In an AC-coupled system, the battery connects on the AC side, after your solar inverter. It works with both your panels and the grid.
- In a DC-coupled system, the battery connects directly to the DC side, before conversion happens. It usually shares a hybrid inverter with your panels.
Here’s the real difference between them:
AC-coupled setups convert power twice: from DC to AC, then back to DC to charge the battery. Each conversion wastes a little energy as heat. That’s why AC-coupled systems run slightly less efficient overall.
DC-coupled setups skip two of those conversion steps, so they waste less energy. That’s the tradeoff: less waste, but usually a full inverter swap instead of a simple add-on.
That said, DC-coupled only saves you money if your existing inverter already supports it. If it doesn’t, the upgrade cost can wipe out the efficiency gain.
Getting this right matters. It saves you from extra rewiring costs and equipment changes down the line.
Skip this step, and you risk replacing parts after installation, which costs more and takes longer. A proper match keeps everything running smoothly.
Step-By-Step Guide to Solar Battery Installation in Your Existing Setup
Once compatibility is settled, installation itself follows a fairly predictable order. Here’s how it actually plays out, step by step.
Step 1. Size the System and Choose the Right Battery
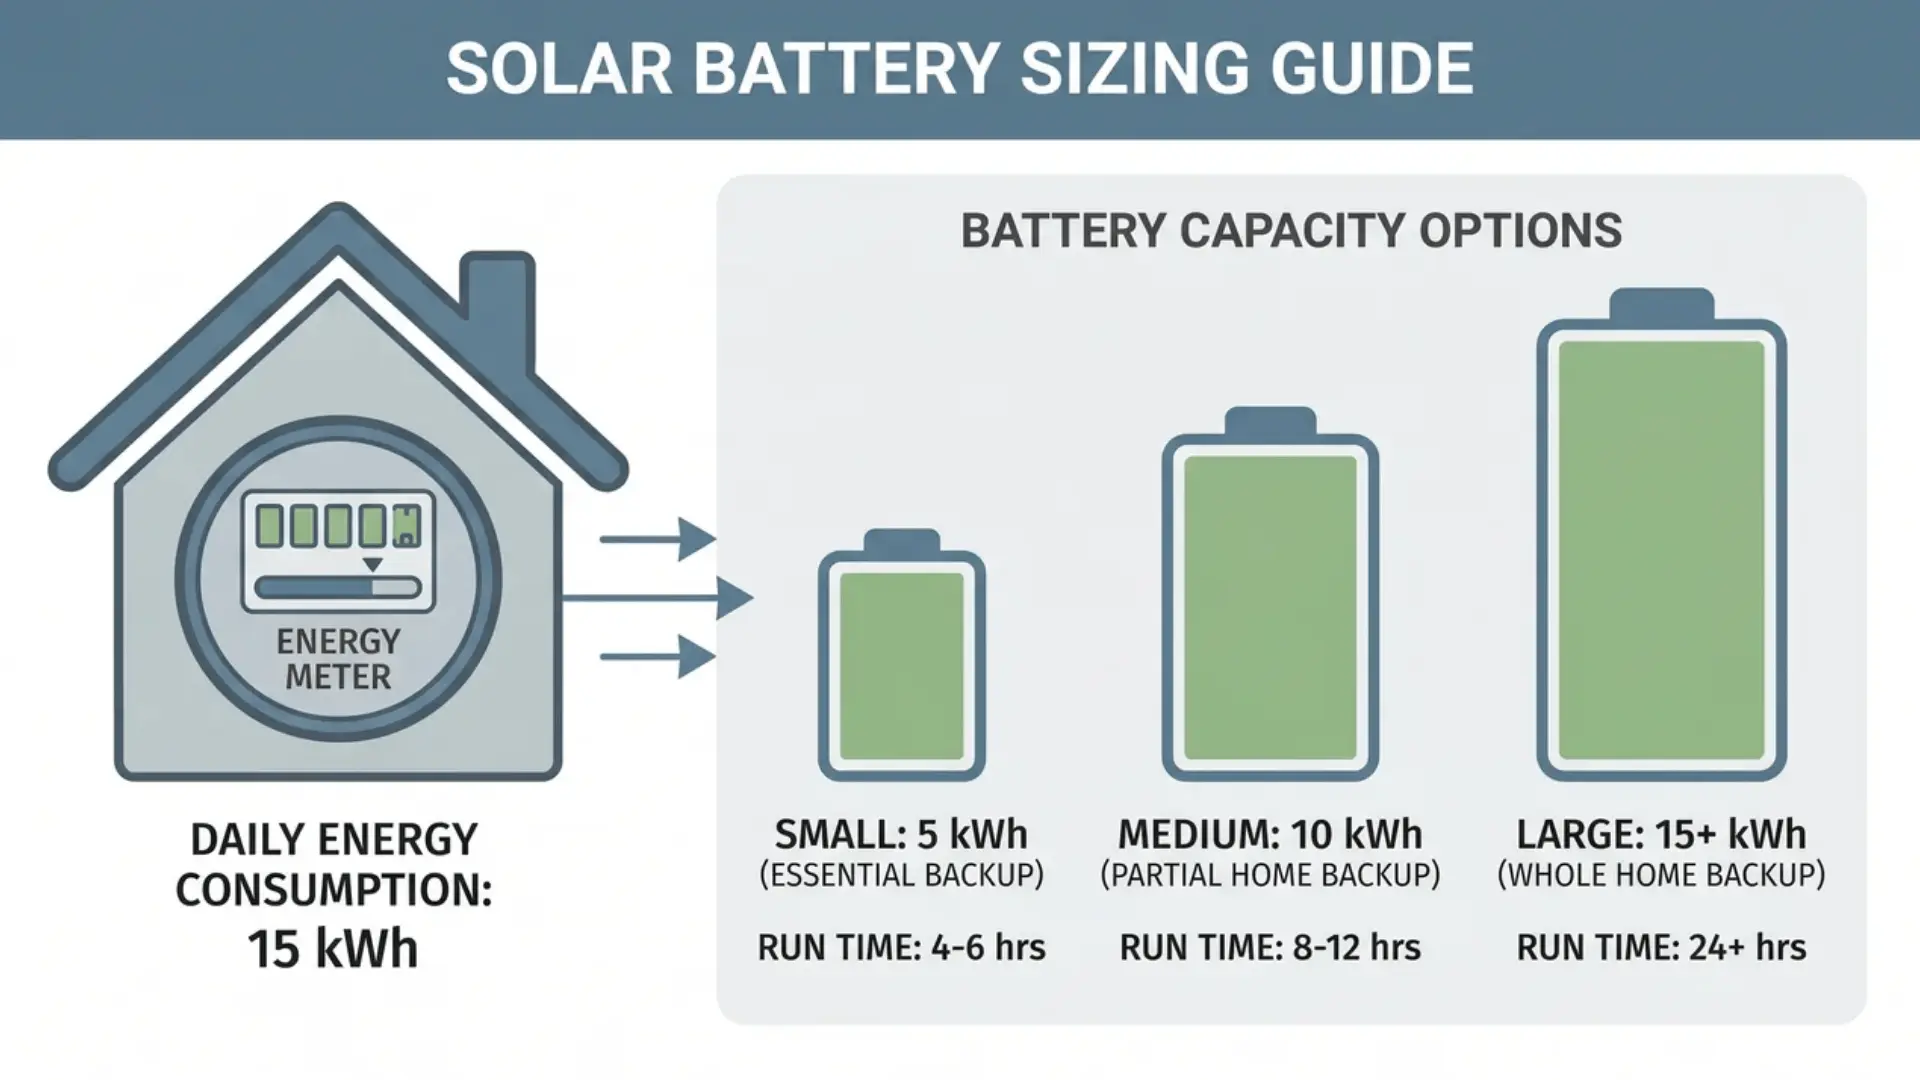
Start with your daily energy use and backup needs. Pull this from your utility bills or your solar monitoring app.
From there, pick a battery that matches your system’s capacity. Cycle life and warranty matter just as much as size.
A 10 kWh battery covers a few evening hours for most homes. Go bigger only if outages are common where you live.
Step 2. Check Inverter Compatibility or Replace if Necessary
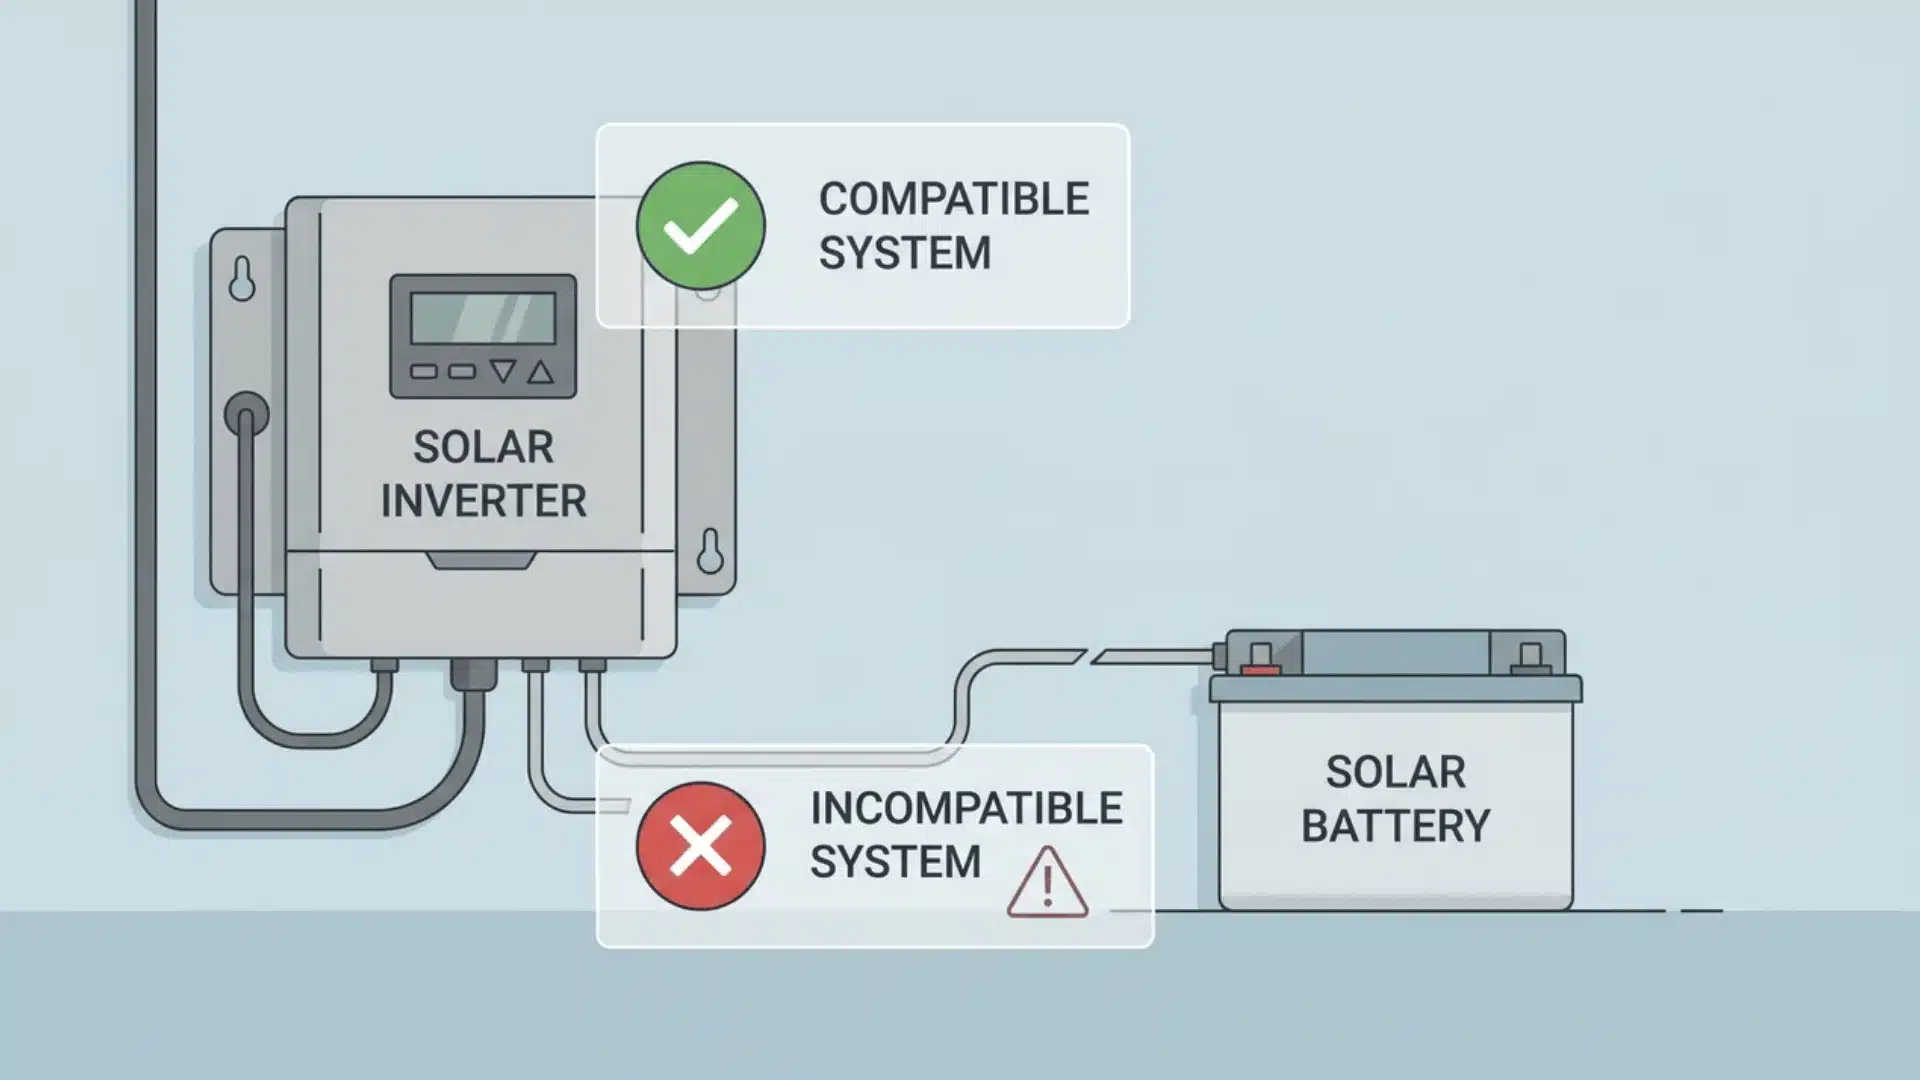
Check whether your current inverter works with the new battery. If it doesn’t, plan on an upgrade or full swap.
This one step decides a lot. A mismatched inverter is the most common reason installs run over budget.
Step 3. Prepare the Site and Conduct Safety Checks
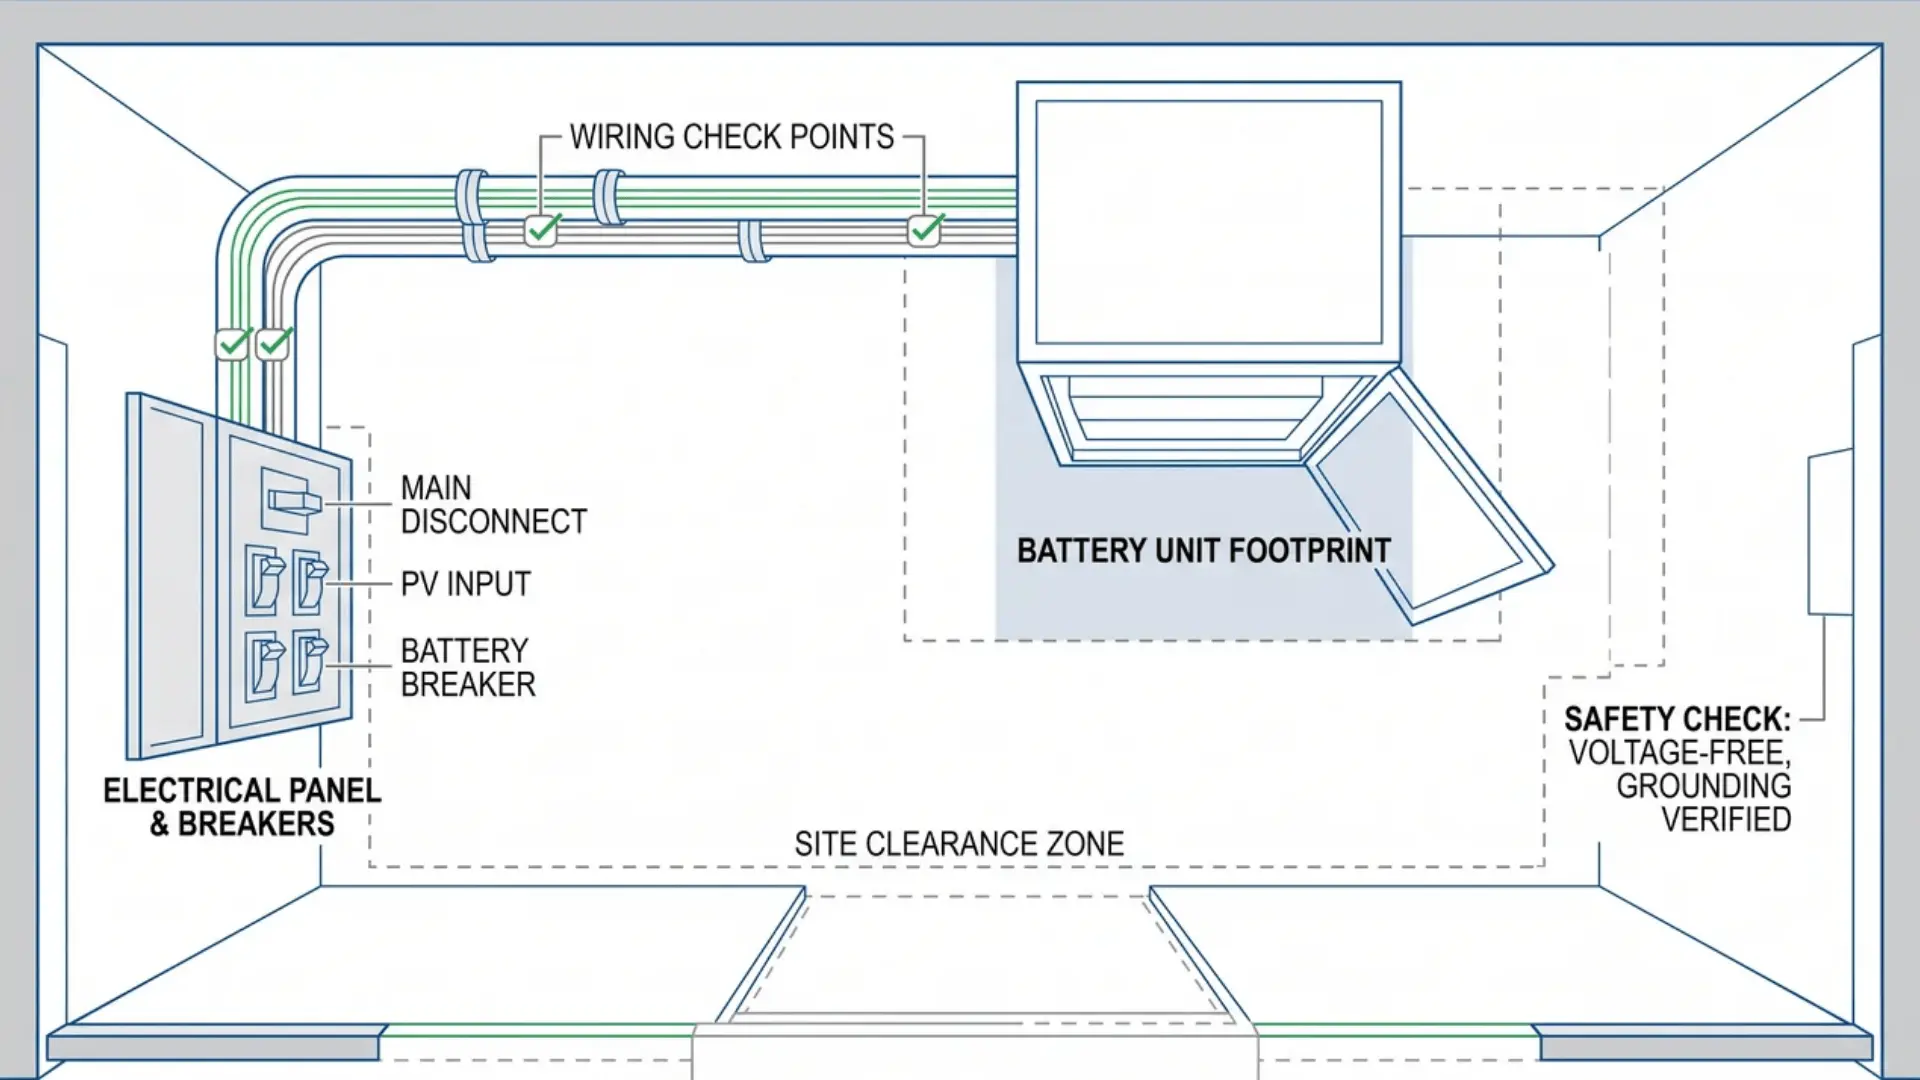
Make sure the installation site has enough space and ventilation for the battery. The wiring also needs to meet local electrical codes.
Skipping this step is where most delays start. A rushed site check often means redoing wiring later.
Step 4. Install and Configure the Battery System
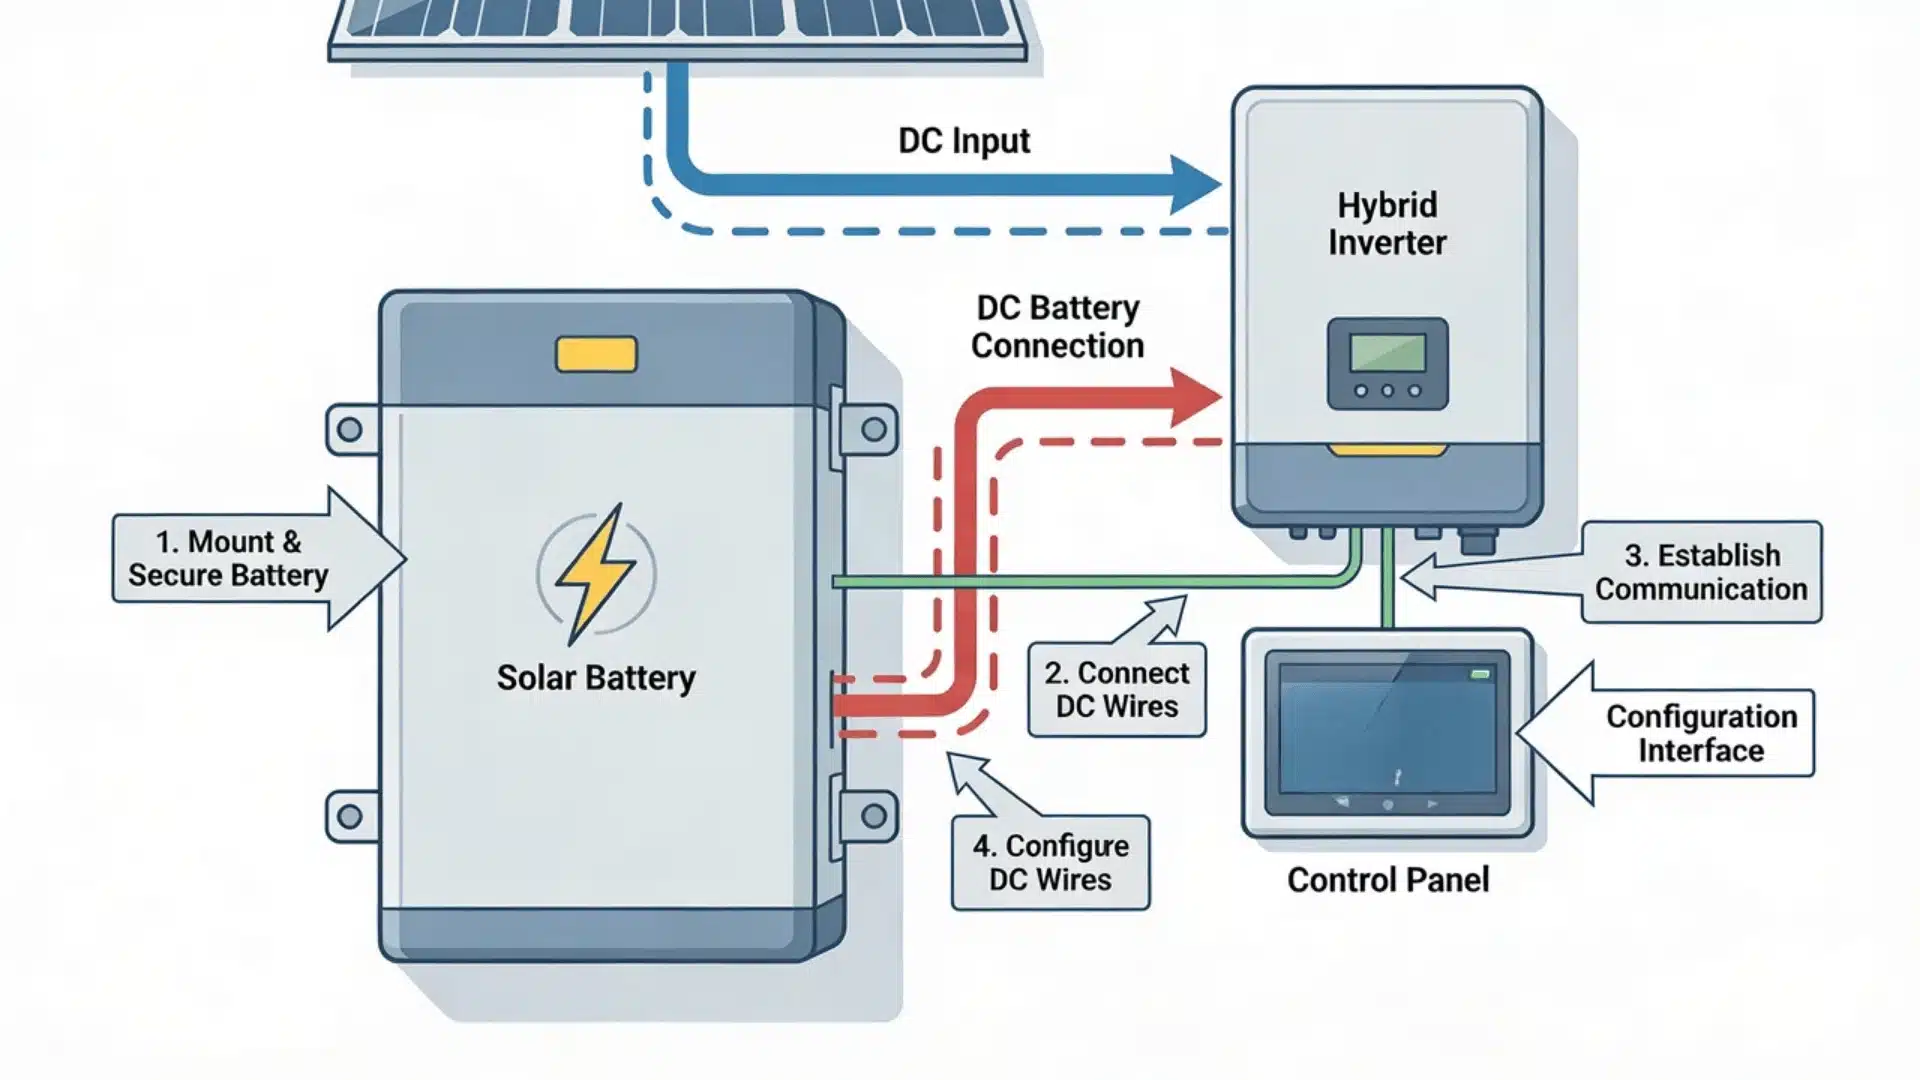
Connect the battery to your system, then have it tested before regular use. Testing at this stage confirms the wiring and settings are correct.
Set up the manufacturer’s monitoring app to track charge levels. Adjust your backup reserve, the charge kept aside for outages, to fit your needs.
These four steps sound simple, but batteries are not plug-and-play. Skipping any one of them is how systems underperform or fail early.
Costs of Solar Battery Installation in Your Existing Solar System
Adding a battery brings several new costs, so it helps to know what you’re budgeting for. Your total depends on battery type, system size, and any needed upgrades.
Here’s how those costs typically break down:
- Battery Price Ranges: Lithium-ion batteries typically cost $8,000 to $18,000 installed. Lead-acid options run $3,000 to $8,000 but wear out sooner.
- Inverter Upgrade Costs: A hybrid or replacement inverter usually costs between $1,500 and $6,000.
- Installation Labor and Permits: Professional labor, wiring, and permits typically add $1,000 to $5,000, depending on complexity.
Knowing these numbers upfront means no surprise costs once installation starts.
Choosing the Right Solar Battery for Your Home
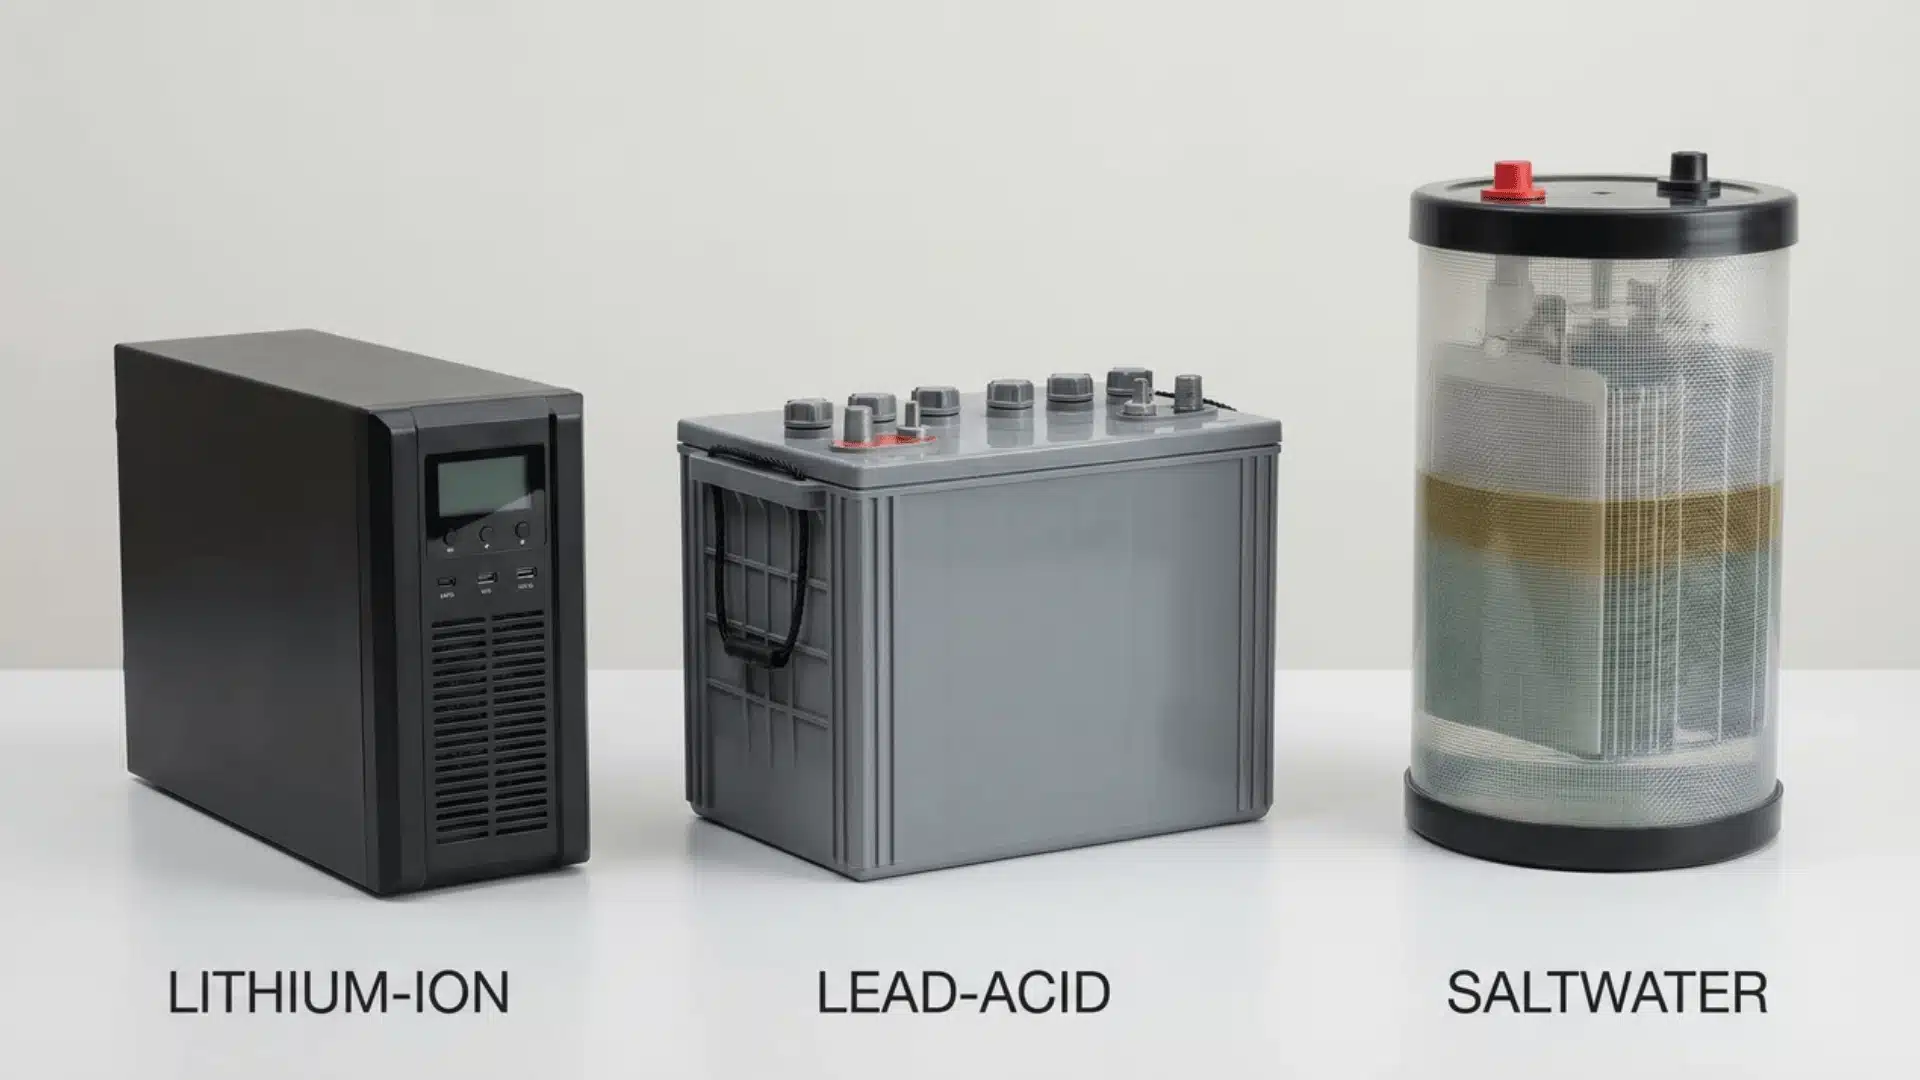
Once you know what you’ll likely spend, the real question is which battery earns that money. The table below compares the main types side by side.
| Battery Type | Capacity | Cycle Life | Efficiency | Advantages | Disadvantages | Typical Cost (USD) |
|---|---|---|---|---|---|---|
| Lithium-Ion | High (10-20 kWh) | 10-15 years | 90-95% | Long lifespan, compact, high efficiency, minimal maintenance | Higher upfront cost | $8,000 – $18,000 |
| Lead-Acid | Medium (5-15 kWh) | 5-7 years | 70-85% | Lower initial cost, readily available | Shorter lifespan, bulkier, lower efficiency | $3,000 – $8,000 |
| Saltwater | Medium to High (5-15 kWh) | 10-20 years | 70-85% | Environmentally friendly, long lifespan | Lower efficiency, less common | $6,000 – $12,000 |
Key Considerations
A few performance factors decide whether a battery is worth its price. Here’s what actually affects cost, lifespan, and long-term value.
- Capacity: Match capacity to your actual energy use. Larger homes or high usage need bigger batteries.
- Cycle Life: A longer cycle life means fewer replacements and lower costs over time.
- Efficiency: A battery rated at 95% efficiency returns about 9.5 kWh of usable power for every 10 kWh stored. One rated at 80% returns only 8 kWh from the same input.
- Warranty: Lithium-ion batteries usually carry 10-year warranties, which makes them a safer long-term bet.
Match your choice to your energy needs, budget, and available space. That balance is what maximizes your return without overspending.
Common Challenges in Solar Battery Installation
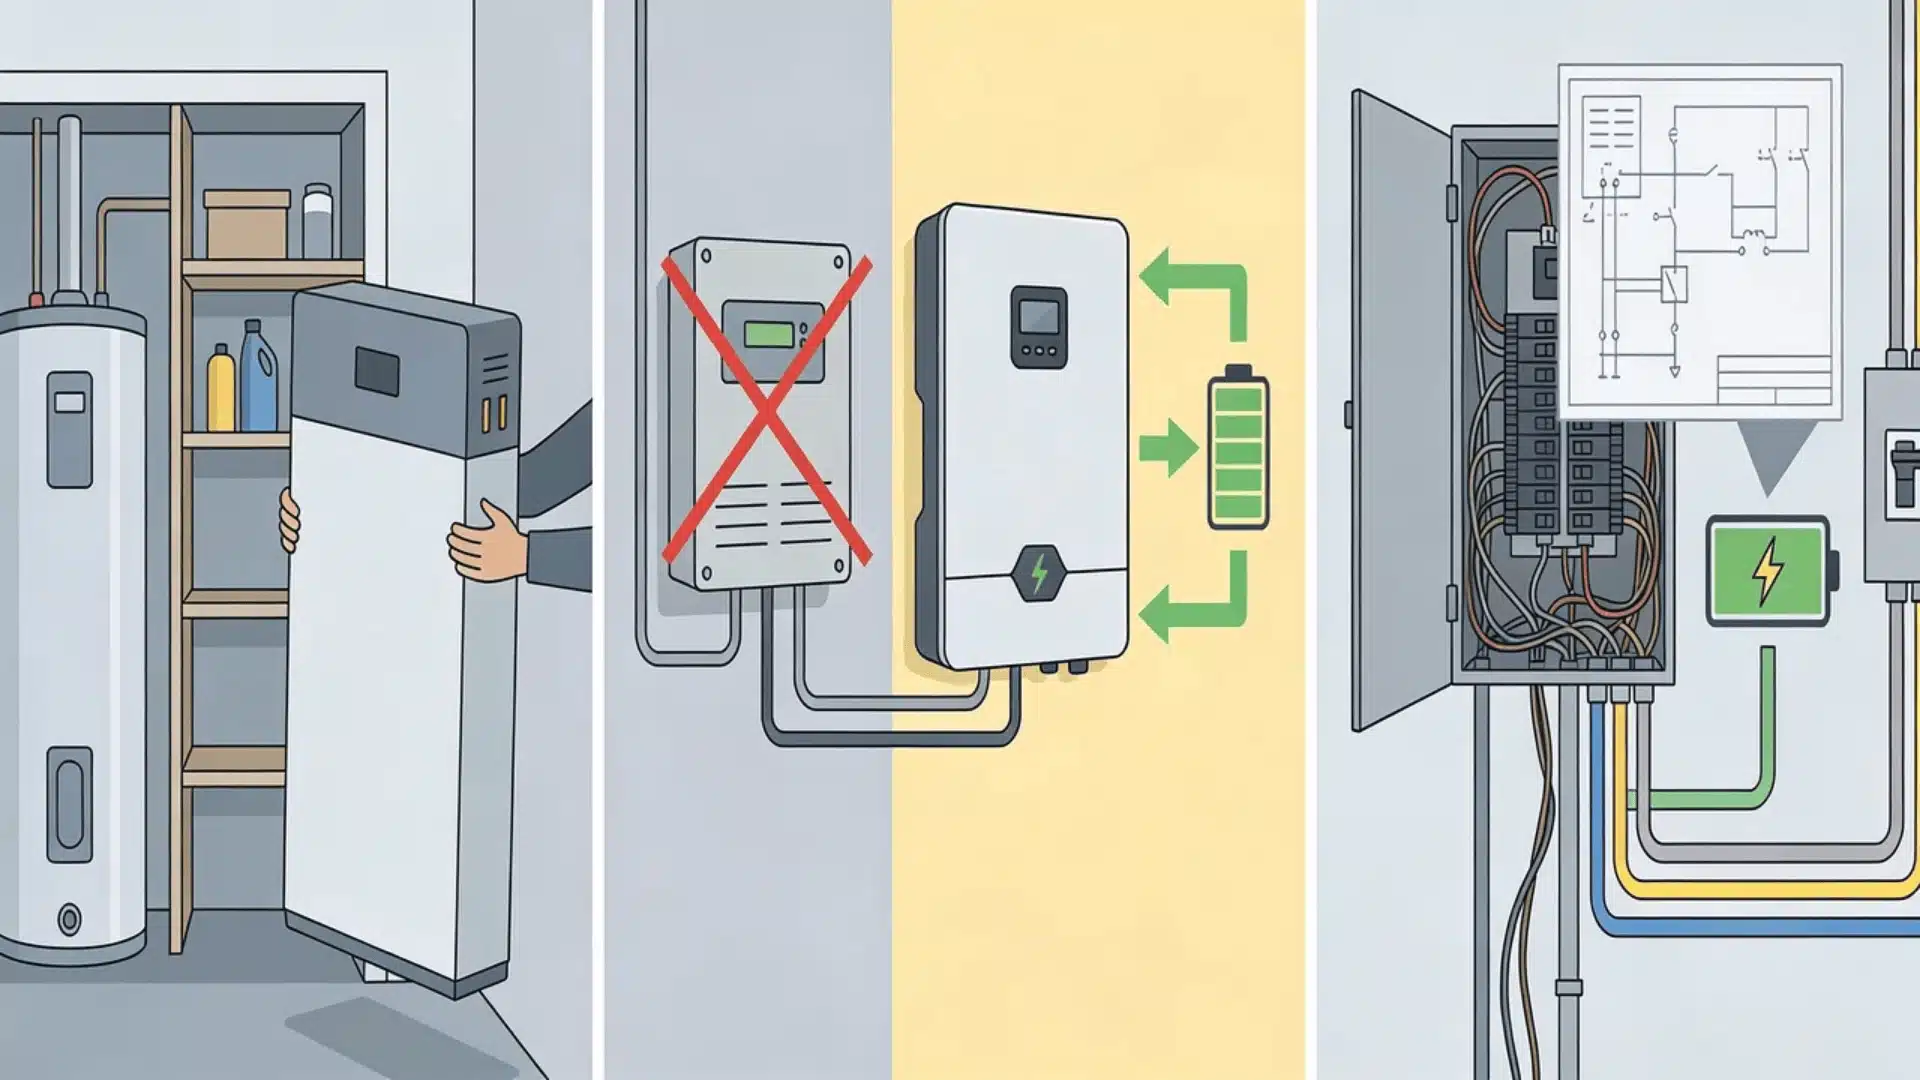
Even a well-planned installation runs into snags. These are the ones that come up most often in practice.
- Space Constraints: Batteries need a safe, accessible, well-ventilated spot. Tight utility rooms or small garages don’t always have room.
- Inverter Compatibility: If your current inverter doesn’t support a battery, budget for an upgrade or replacement.
- Rewiring Requirements: Some systems need rewiring so the battery and panels work together properly.
- Local Permitting and Inspections: Most areas require an electrical permit for the battery. Some also require a utility interconnection agreement if it can feed power back to the grid. Your installer usually handles the paperwork. The final inspection can still add days or weeks, depending on your local building department.
- Safety Standards: Overheating and improper wiring are real risks, which is why strict safety codes apply.
None of these challenges are dealbreakers, but skipping the prep work is where installs go wrong. A little planning upfront avoids most of the delays.
Understanding Solar Battery Benefits and Limitations
Solar batteries store energy for backup and better efficiency, but they come with real costs and limits. Weigh both sides before you commit.
- Energy independence: Store excess solar power for use at night or during outages. You rely less on the grid.
- Increased self-consumption: Instead of exporting surplus power, you use more of what your own panels produce.
- High upfront cost: Expect a significant investment. Batteries typically add several thousand dollars to your total system cost.
- Maintenance needs: Plan for occasional inspections or part replacements, which add to long-term ownership costs.
Compare your likely savings against installation and upkeep costs. That’s how you know if the battery pays for itself over time.
Wrapping Up
A solar battery makes your existing system more efficient, more reliable, and less dependent on the grid. Knowing your solar battery installation costs and compatibility upfront makes the decision easier.
Planning ahead means fewer delays and fewer surprise costs. The right battery for your needs pays off in performance and savings.
You now know what to check, what to expect, and what it costs. That’s enough to move forward with confidence.
Frequently Asked Questions
How long does it take to install a solar battery?
Solar battery installation typically takes one to three days. The exact time depends on system complexity, battery size, and whether you need an inverter upgrade or rewiring.
Can I add a solar battery to an off-grid system?
Yes, you can add a battery to an off-grid solar system. It helps store energy for use when solar generation is low or during outages.
Are there any tax incentives for installing solar batteries?
Yes, in many regions, tax incentives or rebates are available for solar battery installations. Check with local authorities or installers to see which programs are available.
Can I install a solar battery myself?
DIY installation is technically possible, but it’s not recommended. A certified installer keeps things safe and ensures the system meets local codes.