So you finally pulled the trigger on security shutters. Good call. Whether it was that sketchy incident in the neighborhood or just the realization that your garage door offers about as much resistance as a paper bag. You made the right move.
Now comes the part nobody really warns you about: figuring out whether to go motorized or stick with manual, and then actually getting the thing wired up and running. Rolling shutters are not complicated, but the choices you make upfront will affect how you live with them every single day. Let’s break this down without the jargon.
Manual Shutters: Simple, Honest, Reliable
Manual shutters are exactly what they sound like. You pull them down, lock them, and that’s it. No motor, no wiring, no app on your phone. Just a solid physical barrier between you and whatever’s outside.
Who they work best for:
- Smaller openings like single windows or narrow storefronts
- Areas with frequent power outages
- Anyone who wants zero dependence on electronics
- Budget-conscious installs where keeping costs down matters
The operation is typically a spring-assist mechanism or a crank handle. Spring-assist means the coiled tension in the drum helps balance the weight of the slats, so you’re not hauling dead weight every time. A crank system gives you a bit more control and works well for wider panels.
One thing people underestimate: lubrication matters more with manual shutters than motorized ones. With a motor, the mechanism pushes through minor friction. With a manual, you feel every bit of resistance.
A dry, stiff shutter gets annoying fast. Keep the side channels and the coil spring well-lubed with a silicone-based spray. Skip WD-40, which attracts dust and gums things up over time.
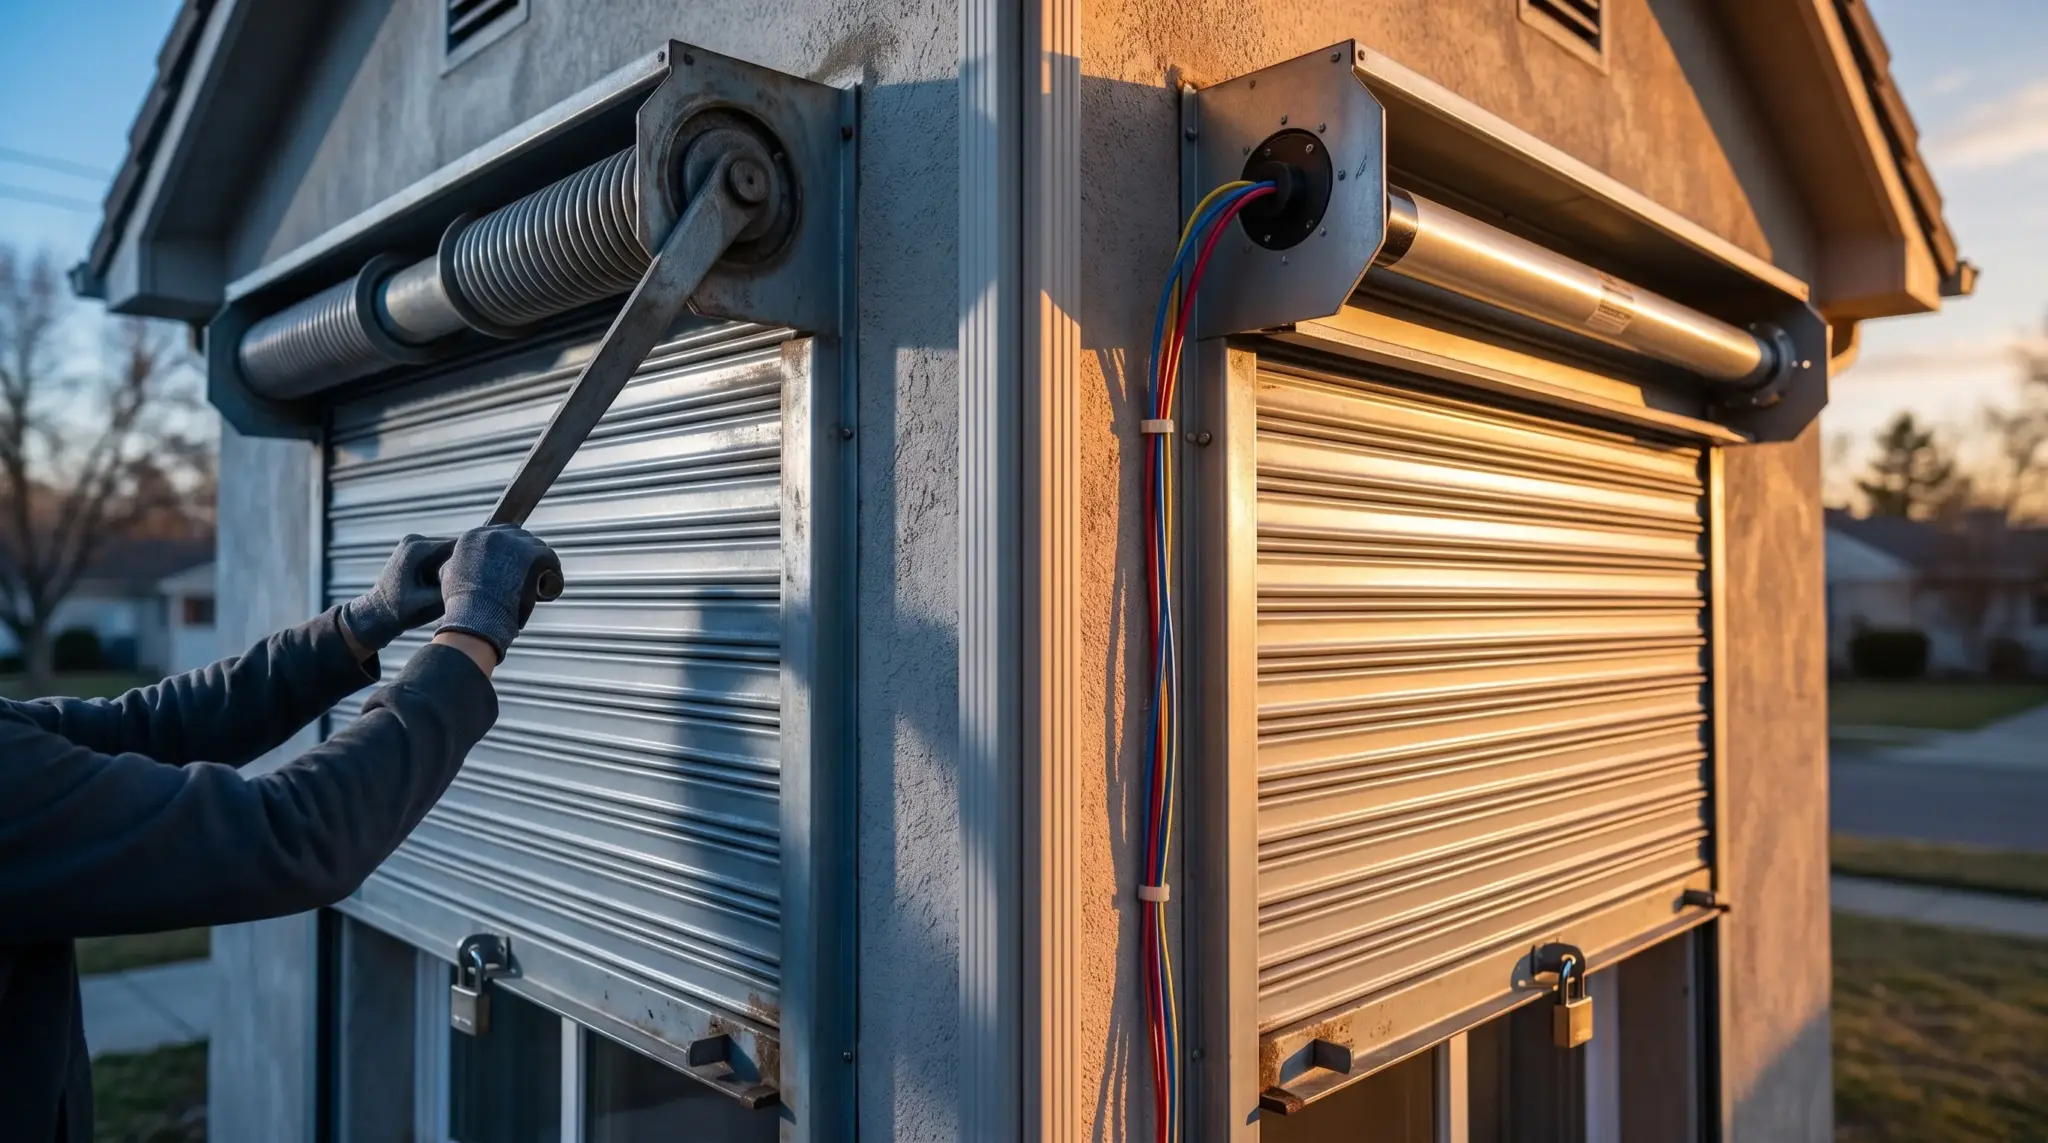
Motorized Shutters: The Upgrade That Actually Gets Used
Motorized shutters use a tubular motor housed inside the roll drum. The motor connects to your home’s electrical system and can be controlled by wall switches, remote controls, timers, or smart home systems, depending on what you set up.
The wiring basics (no electrician degree required):
Most residential tubular motors run on standard 120V AC power (in North America) or 240V in some regions. The motor itself has three wires coming out of it:
- Live (black or red): carries the current
- Neutral (white): completes the circuit
- Ground (green or bare copper): safety wire
Then there are two additional control wires that tell the motor which direction to run: up or down. These connect to your wall switch or control unit.
The switch itself has three positions: up, stop, and down. When you press up, current flows to one control wire. When you press down, it flows to the other. The motor’s internal limit switches automatically cut power once the shutter reaches the fully open or fully closed position, so it doesn’t keep winding until something breaks.
One wiring rule that saves headaches: always kill the circuit breaker before touching any connections. Even if the switch is off. Always.
Setting the Limit Switches
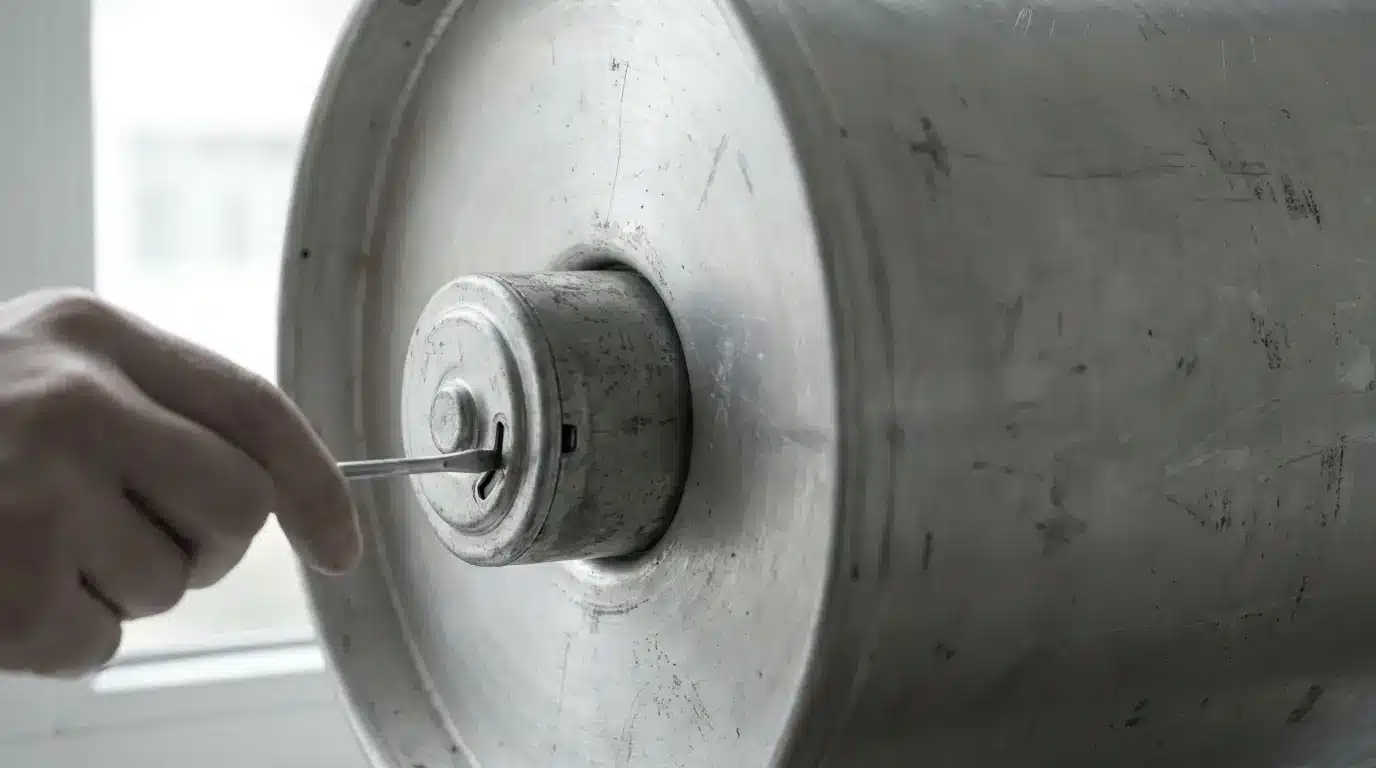
This is the step that trips most people up on their first install. Limit switches tell the motor when to stop. Set them wrong, and your shutter either stops six inches from the ground (leaving a gap) or keeps running until it jams.
On most tubular motors, the limits are set with a small flathead screwdriver through the access holes on the motor head. One hole adjusts the down limit, one adjusts the up limit. The exact method varies by brand. Brands like Sun and Security typically include a clear limit-setting guide in the box, which makes this step much less painful.
The general process:
- Run the shutter to where you want it to stop at the bottom
- Use the screwdriver to turn the down-limit adjuster until the motor cuts out at that position
- Run the shutter back up to the fully open position
- Adjust the upper limit the same way
Make small adjustments. A half-turn on the adjuster can move the stop point by several inches. Go slow, test, repeat.
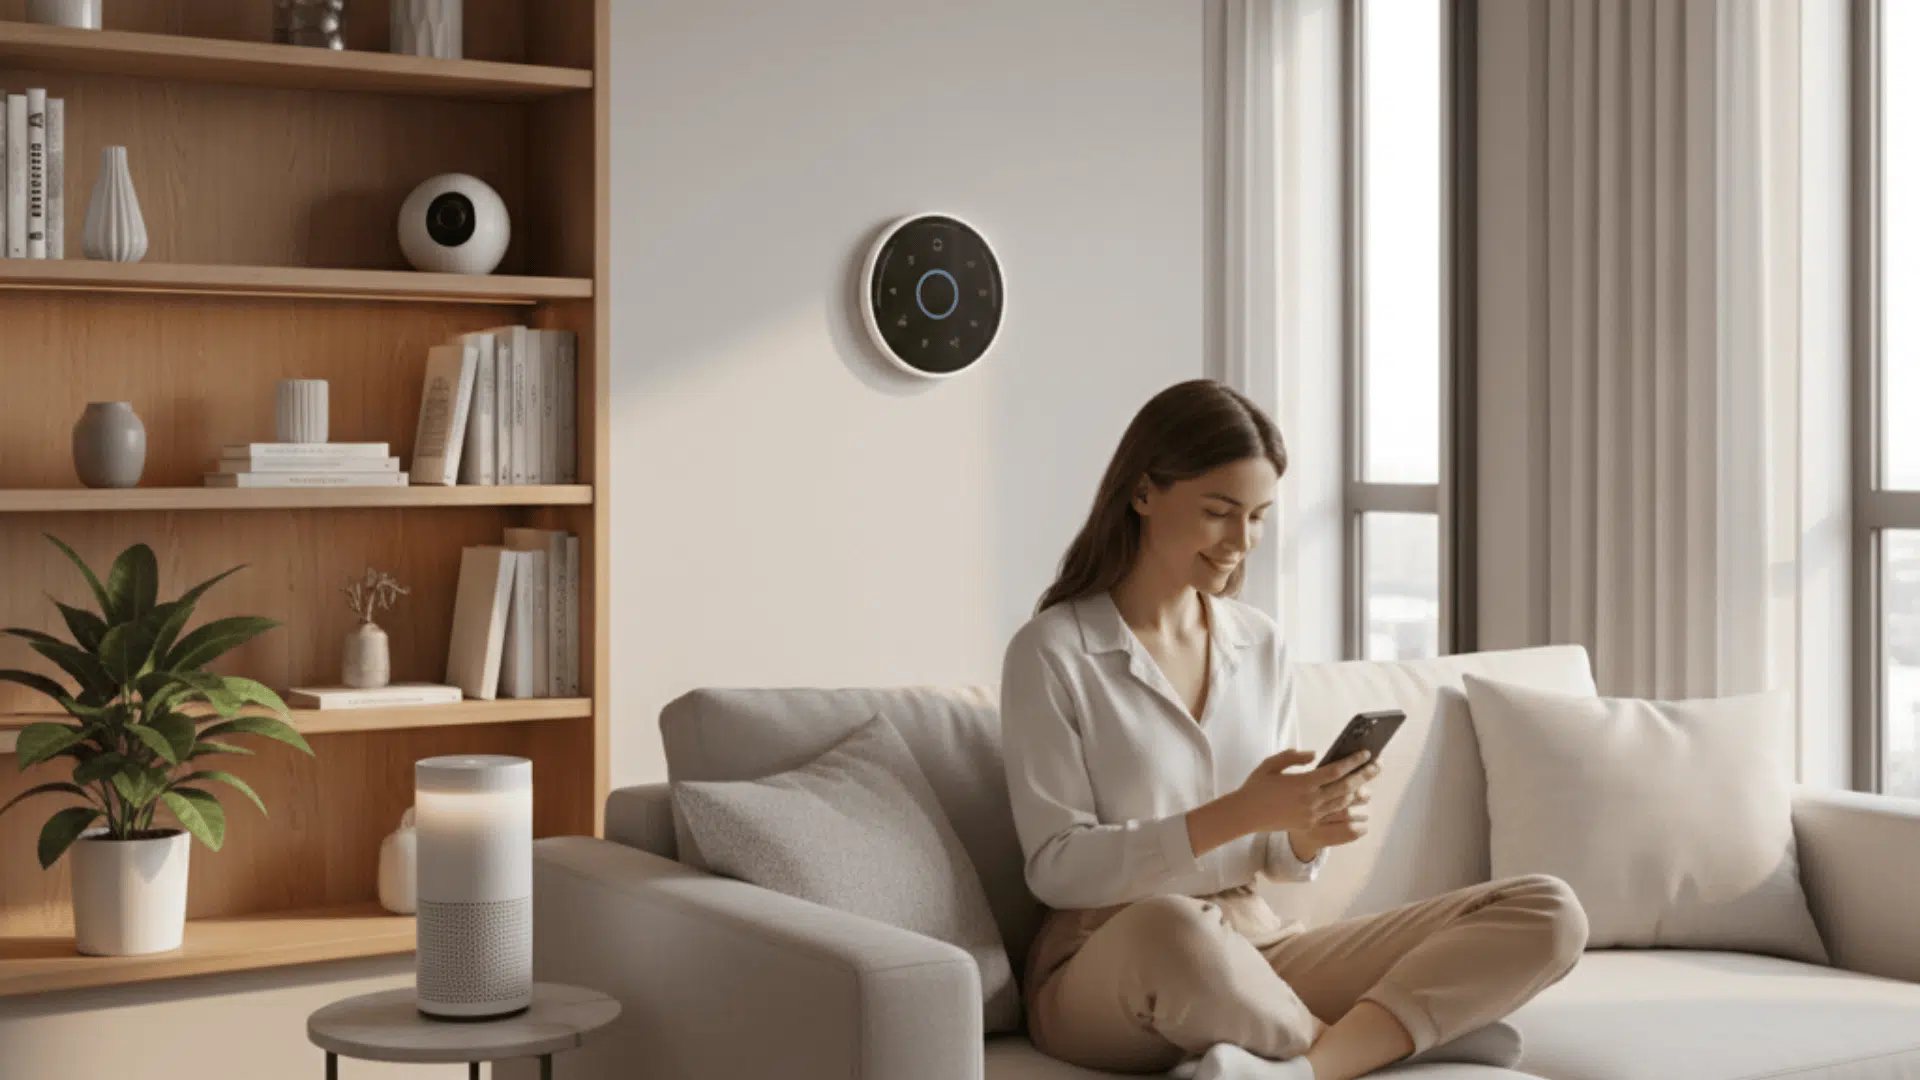
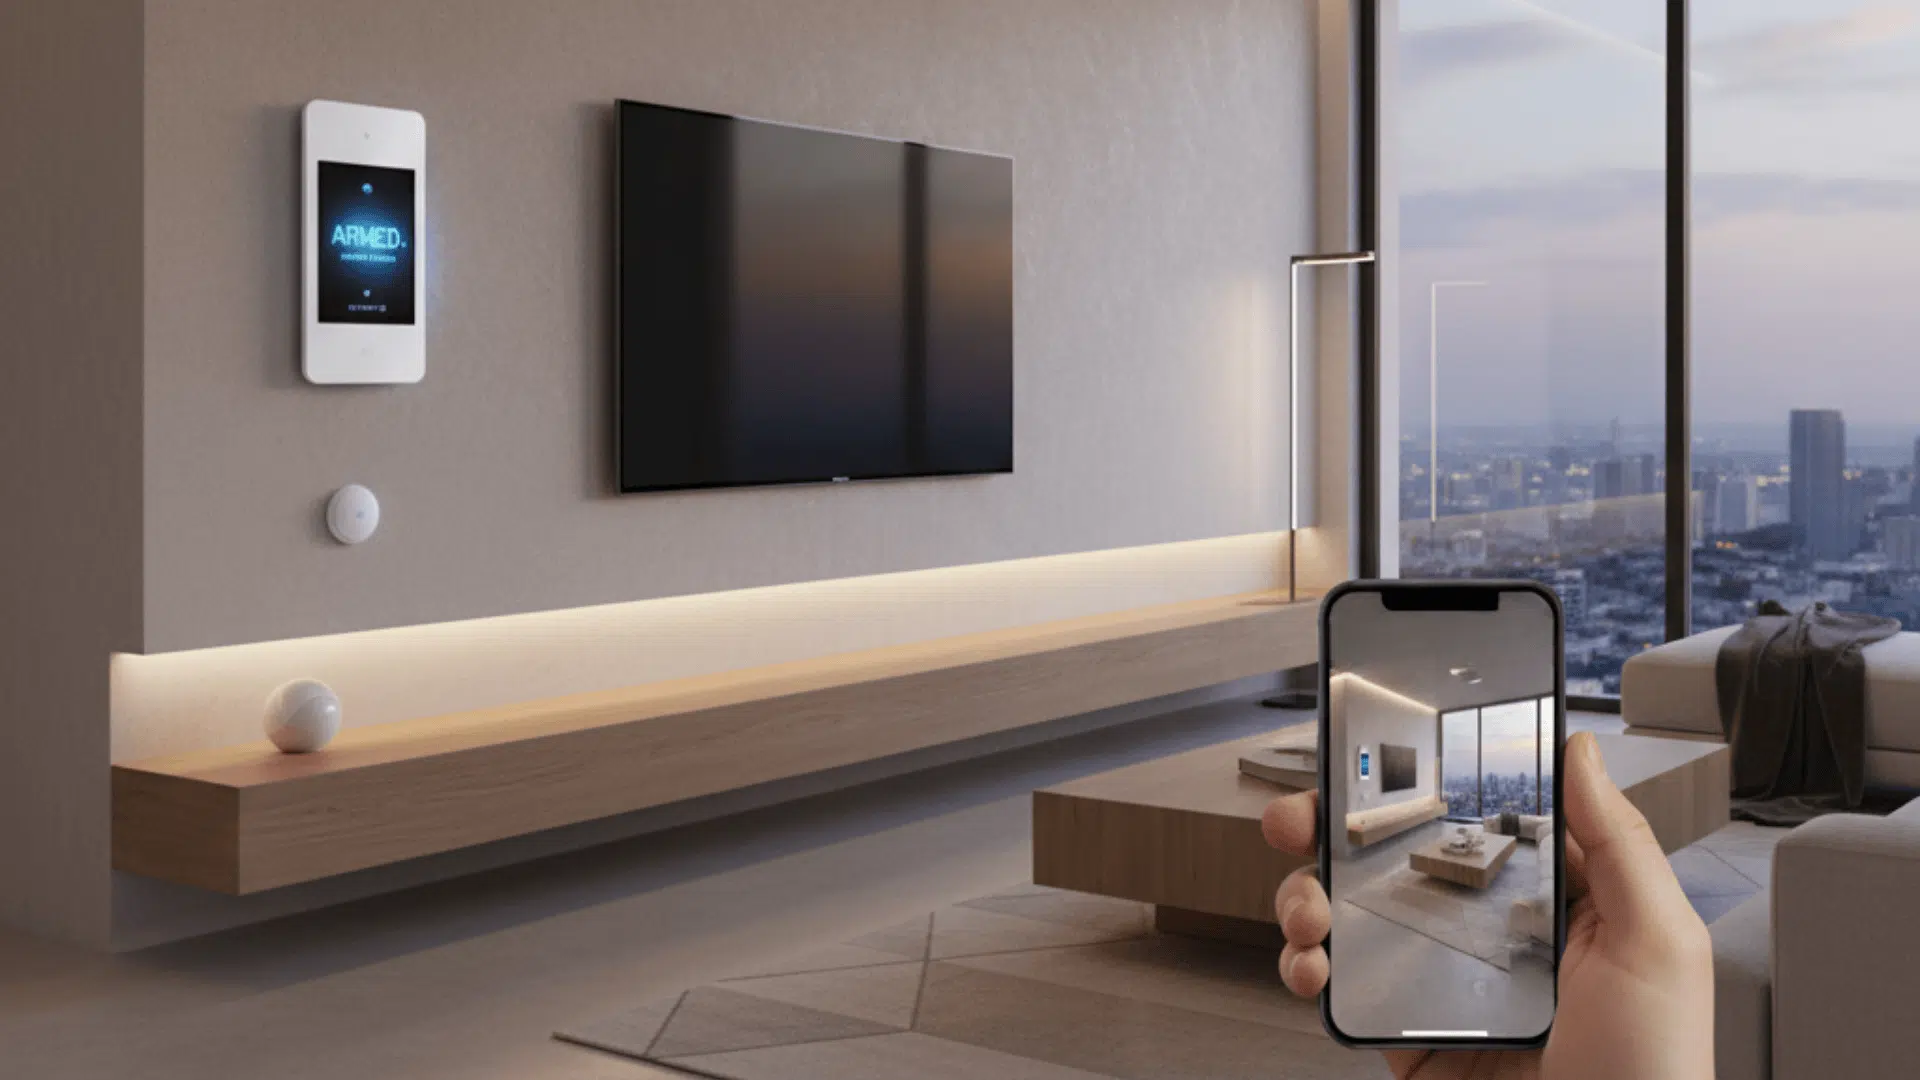
Smart Controls and Automation
If you’re already going motorized, integrating with a smart home system is worth considering before you close up the walls. Most tubular motors are compatible with smart relay switches: devices that sit between your wall switch wiring and the motor, and let you control everything through Wi-Fi.
Some people tie their shutters into their security systems so they auto-close when the alarm arms. Others set timer schedules: shutters down at sunset, up at sunrise. This sounds like a luxury feature, but it genuinely adds another layer of passive security.
Sun and Security offers motor-compatible accessories that make this integration cleaner if you’re building out a whole-home shutter setup rather than doing one window at a time.
So Which One Should You Choose?
Here’s the short version:
Go manual if you have a small opening, a tight budget, or you want something with no moving parts that could fail electronically.
Go motorized if the opening is wide, you’ll use it daily, or you want it tied into a broader security or automation setup.
The security level of the shutter itself (the slat thickness, the locking bar, the steel gauge) matters more than whether it’s motorized. A motorized flimsy shutter is still a flimsy shutter. But assuming you’ve got solid hardware, motorized just means you’ll actually use it consistently.