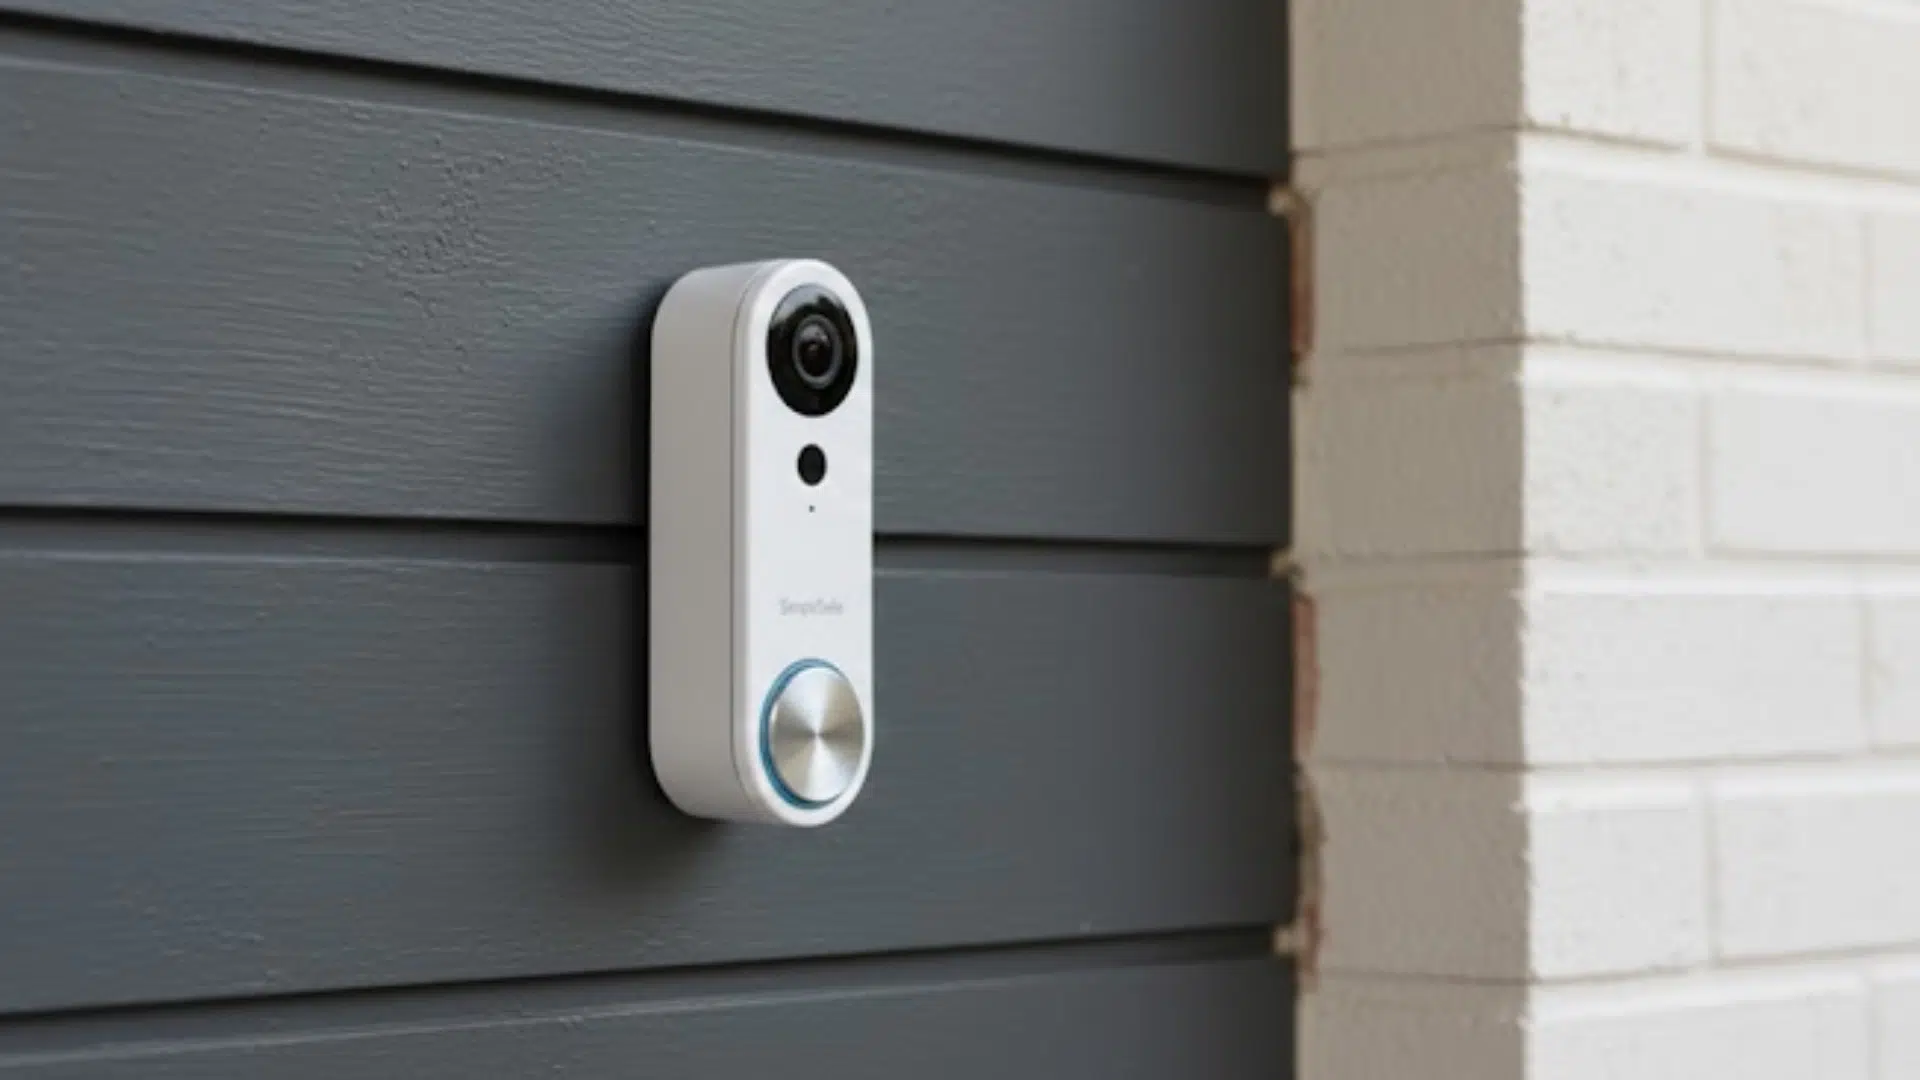
Installing a SimpliSafe doorbell may seem tricky at first, but it’s actually a simple process when you follow the right steps.
This guide is designed to walk you through the full SimpliSafe doorbell installation in a clear and easy way.
You’ll learn how to check compatibility, download the official manual, connect the wiring, and set up the doorbell in the app.
No matter if you’re replacing an old wired doorbell or installing one for the first time, this guide helps you avoid common mistakes and get your doorbell working correctly from day one.
Get the Official SimpliSafe Installation Manual
Before you start installing your SimpliSafe doorbell, it’s important to get the official installation manual. This guide comes directly from SimpliSafe and shows the correct steps, wiring diagrams, and safety tips.
Using the manual helps you avoid mistakes and makes the setup much easier, especially if this is your first time working with doorbell wiring.
Key Things the Official Manual Covers:
- Step-by-step installation instructions
- Clear wiring and chime diagrams
- Power and voltage requirements
- App setup and final testing steps
Always keep the manual open while installing. It helps you double-check each step and finish the job with confidence.
Doorbell Compatibility and Power Requirements
Before installing a SimpliSafe doorbell, it’s important to make sure your home setup can support it.
- Existing Doorbell Wiring: The SimpliSafe Video Doorbell Pro works best with existing wired doorbell systems. Two low-voltage wires should already be present at your door.
- Power Voltage Range: Your doorbell transformer should provide the right voltage. If the voltage is too low, the doorbell may not turn on or stay connected.
- Mechanical or Digital Chime: Knowing your chime type helps avoid ringing problems. Some chimes need extra setup to work correctly.
- Breaker Access: You must be able to turn off power at the breaker before installation. This keeps the process safe and prevents damage.
Once power and compatibility are confirmed, the rest of the installation usually goes smoothly.
Step-by-Step SimpliSafe Doorbell Installation Guide
Below is a simple guide along with tools to help you through the process:
Tools and Materials Used
- SimpliSafe Video Doorbell Pro
- Mounting bracket
- Angle plate (optional)
- Screws (included)
- Screwdriver
- Pencil (for marking holes, if needed)
- Drill (only if mounting on brick, stone, or plaster)
- Smartphone with the SimpliSafe app installed
Step 1: Turn Off Power to the Doorbell

Before starting the installation, turn off the breaker that supplies power to the doorbell. This step is important because the doorbell wires will be exposed during installation. Cutting the power helps prevent shocks and protects the device.
Double-check that the doorbell no longer has power before touching any wires. Taking this safety step first makes the rest of the process much smoother and safer.
Step 2: Remove the Existing Doorbell
Carefully remove the old doorbell from the wall. Loosen the screws and gently pull the doorbell away so the wires stay visible.
Avoid letting the wires fall back into the wall, as that can make installation harder. This step clears space for the new mounting bracket. Once removed, keep the wires separated and easy to reach.
Step 3: Prepare the Mounting Bracket and Angle Plate
Decide whether the angle plate is needed. The angle plate allows the doorbell to tilt up or down for a better view. If used, place it against the wall with the correct side facing out, then attach the mounting bracket on top.
If not needed, use the mounting bracket by itself. This step helps position the doorbell for the best camera view.
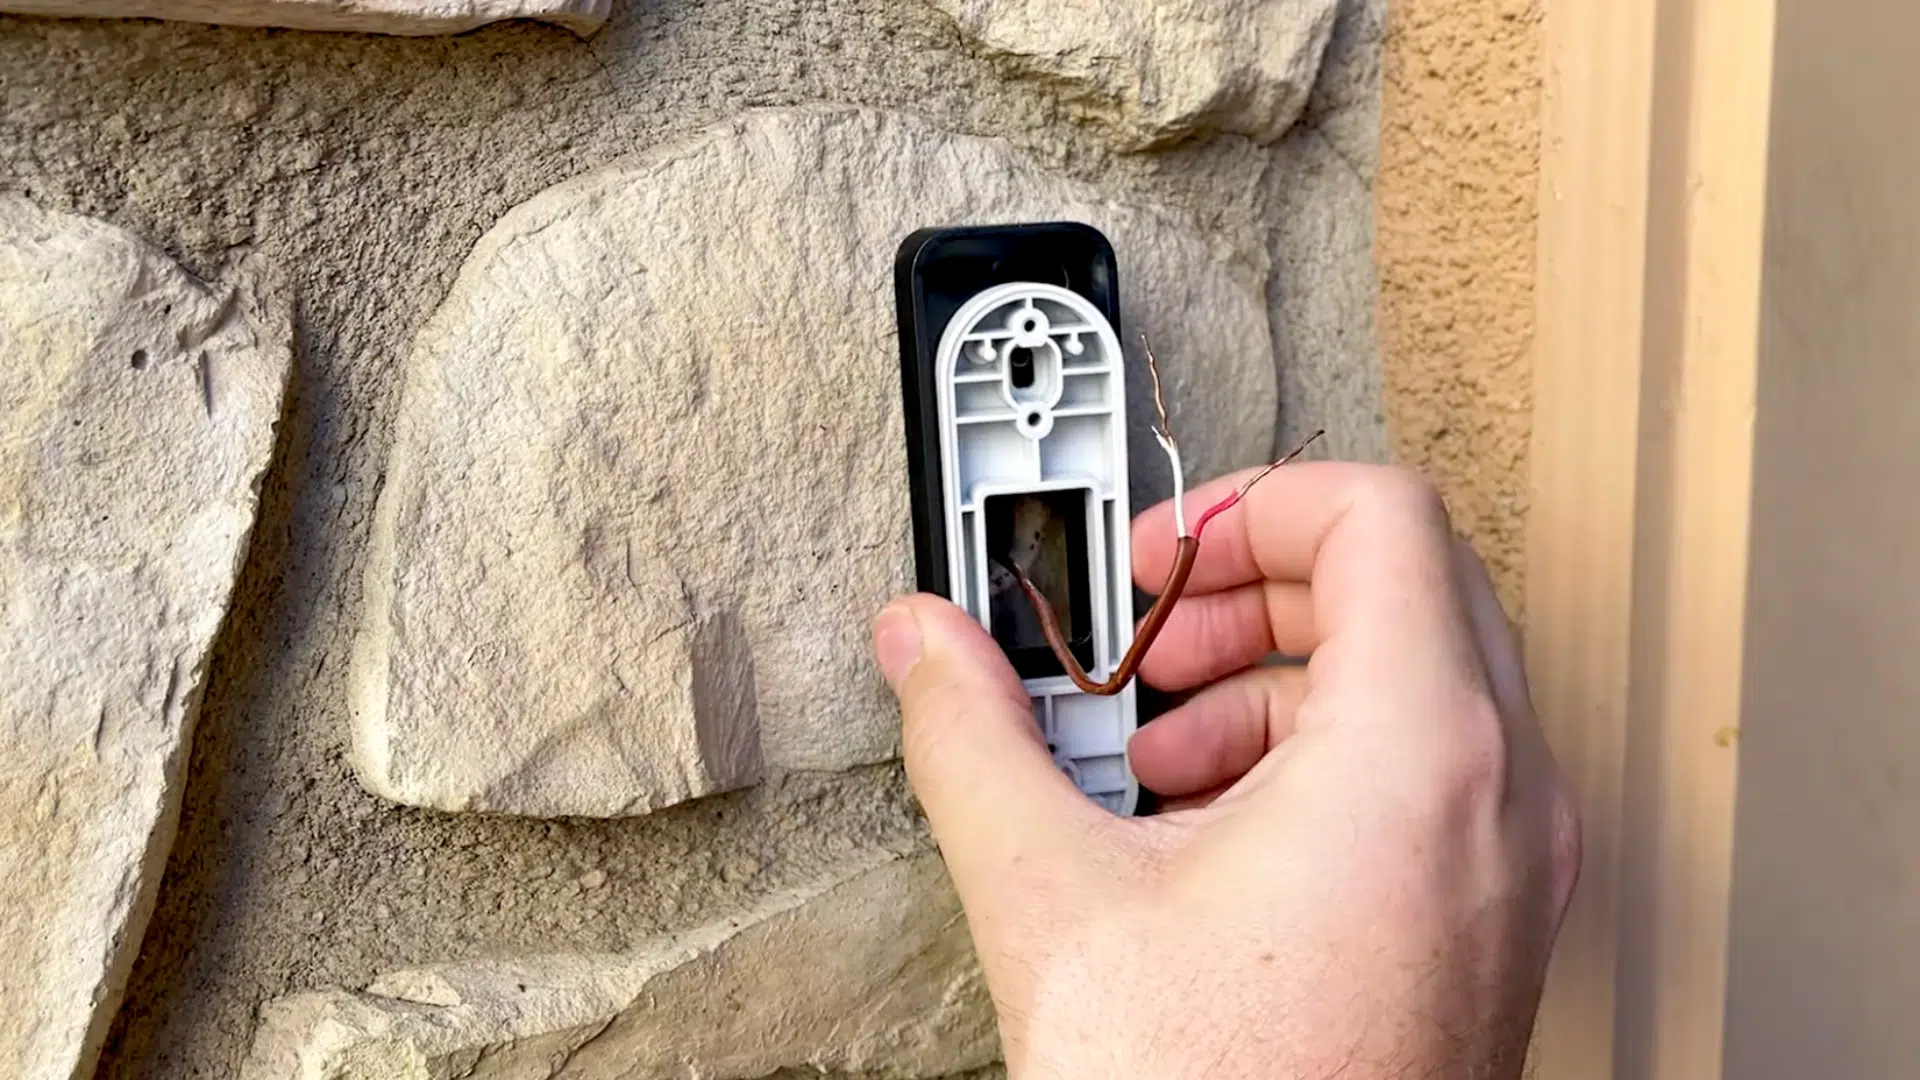
Step 4: Connect the Doorbell Wires
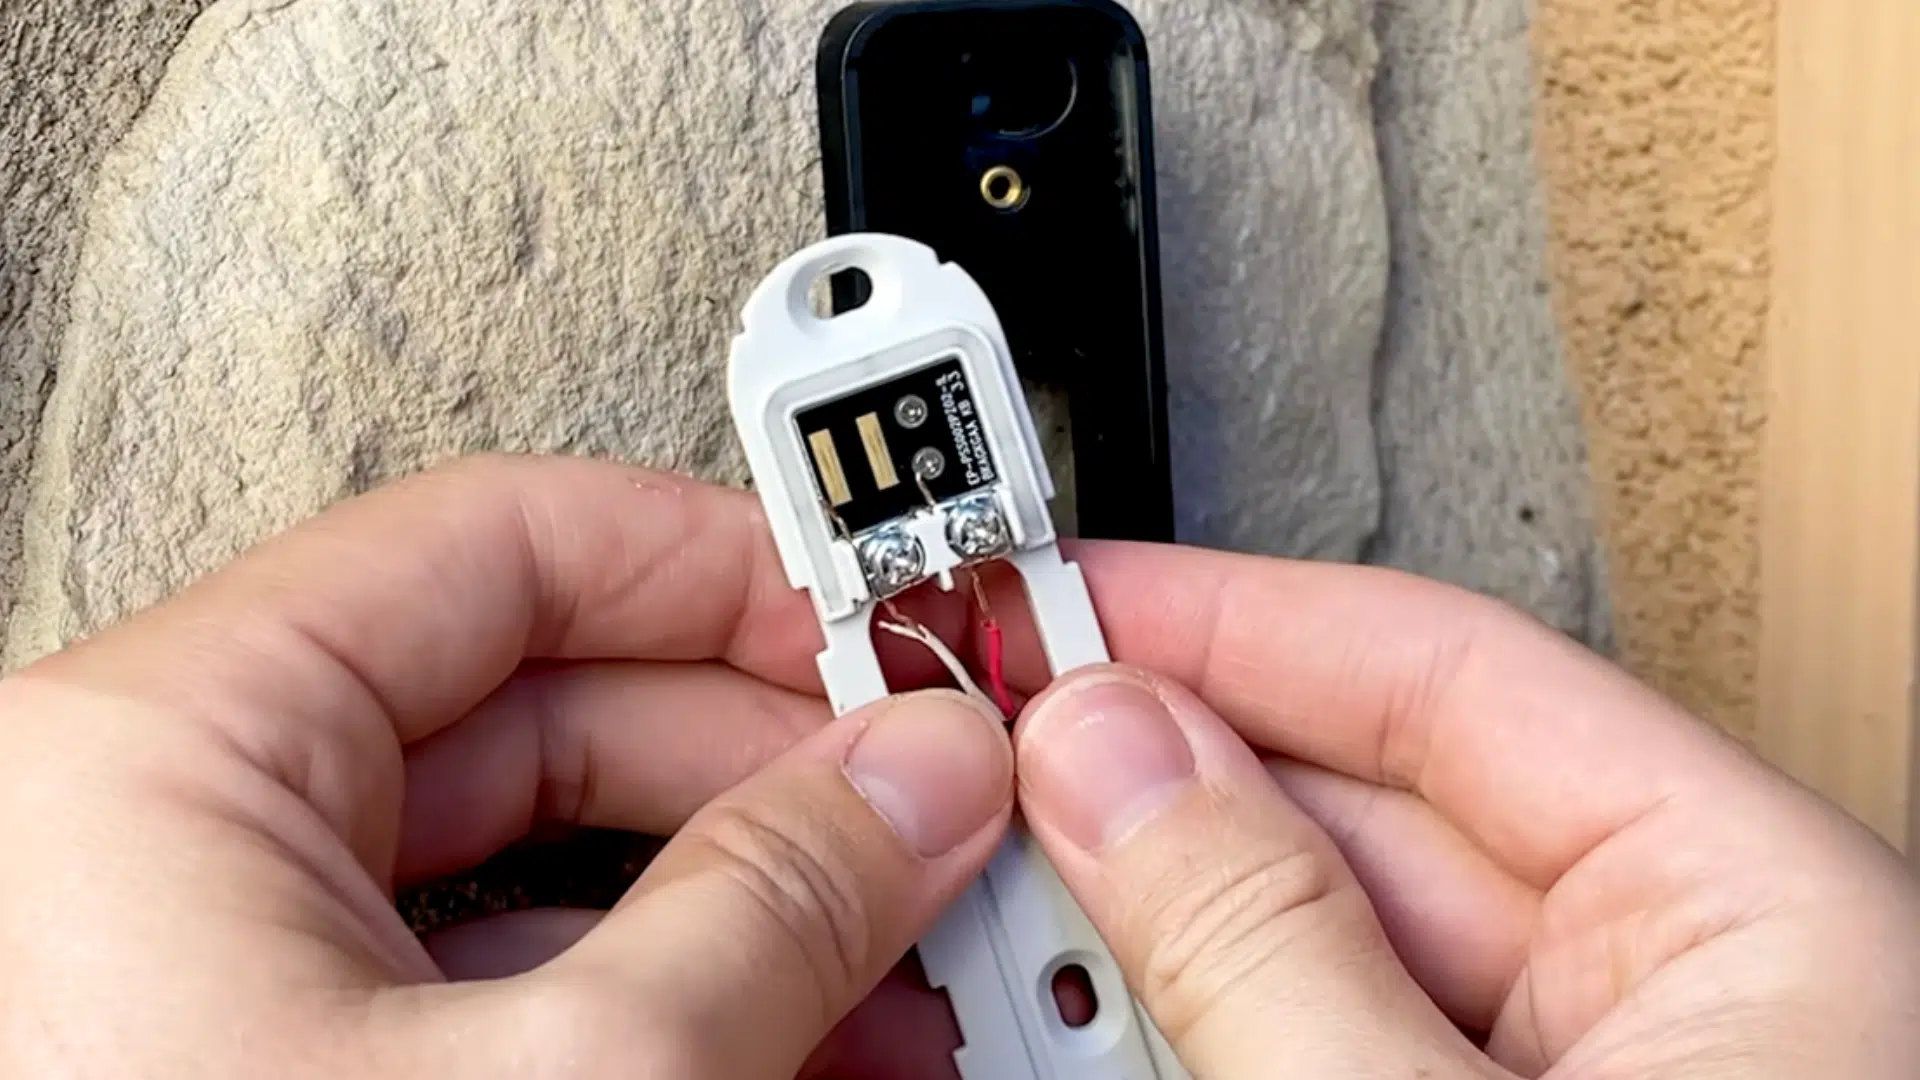
Loosen the terminal screws on the mounting bracket. Slide one wire into each terminal. The order of the wires does not matter.
Tighten the screws so the wires are secure and do not move. Make sure the wires are firmly attached before moving on. This connection supplies power to the doorbell.
Step 5: Mount the Bracket to the Wall

Attach the mounting bracket to the wall using screws. If mounting on brick, stone, or plaster, mark the holes with a pencil and drill first. Secure the bracket so it sits flat and does not move.
A stable mount helps keep the doorbell steady and prevents future issues. Check that everything feels solid before attaching the doorbell.
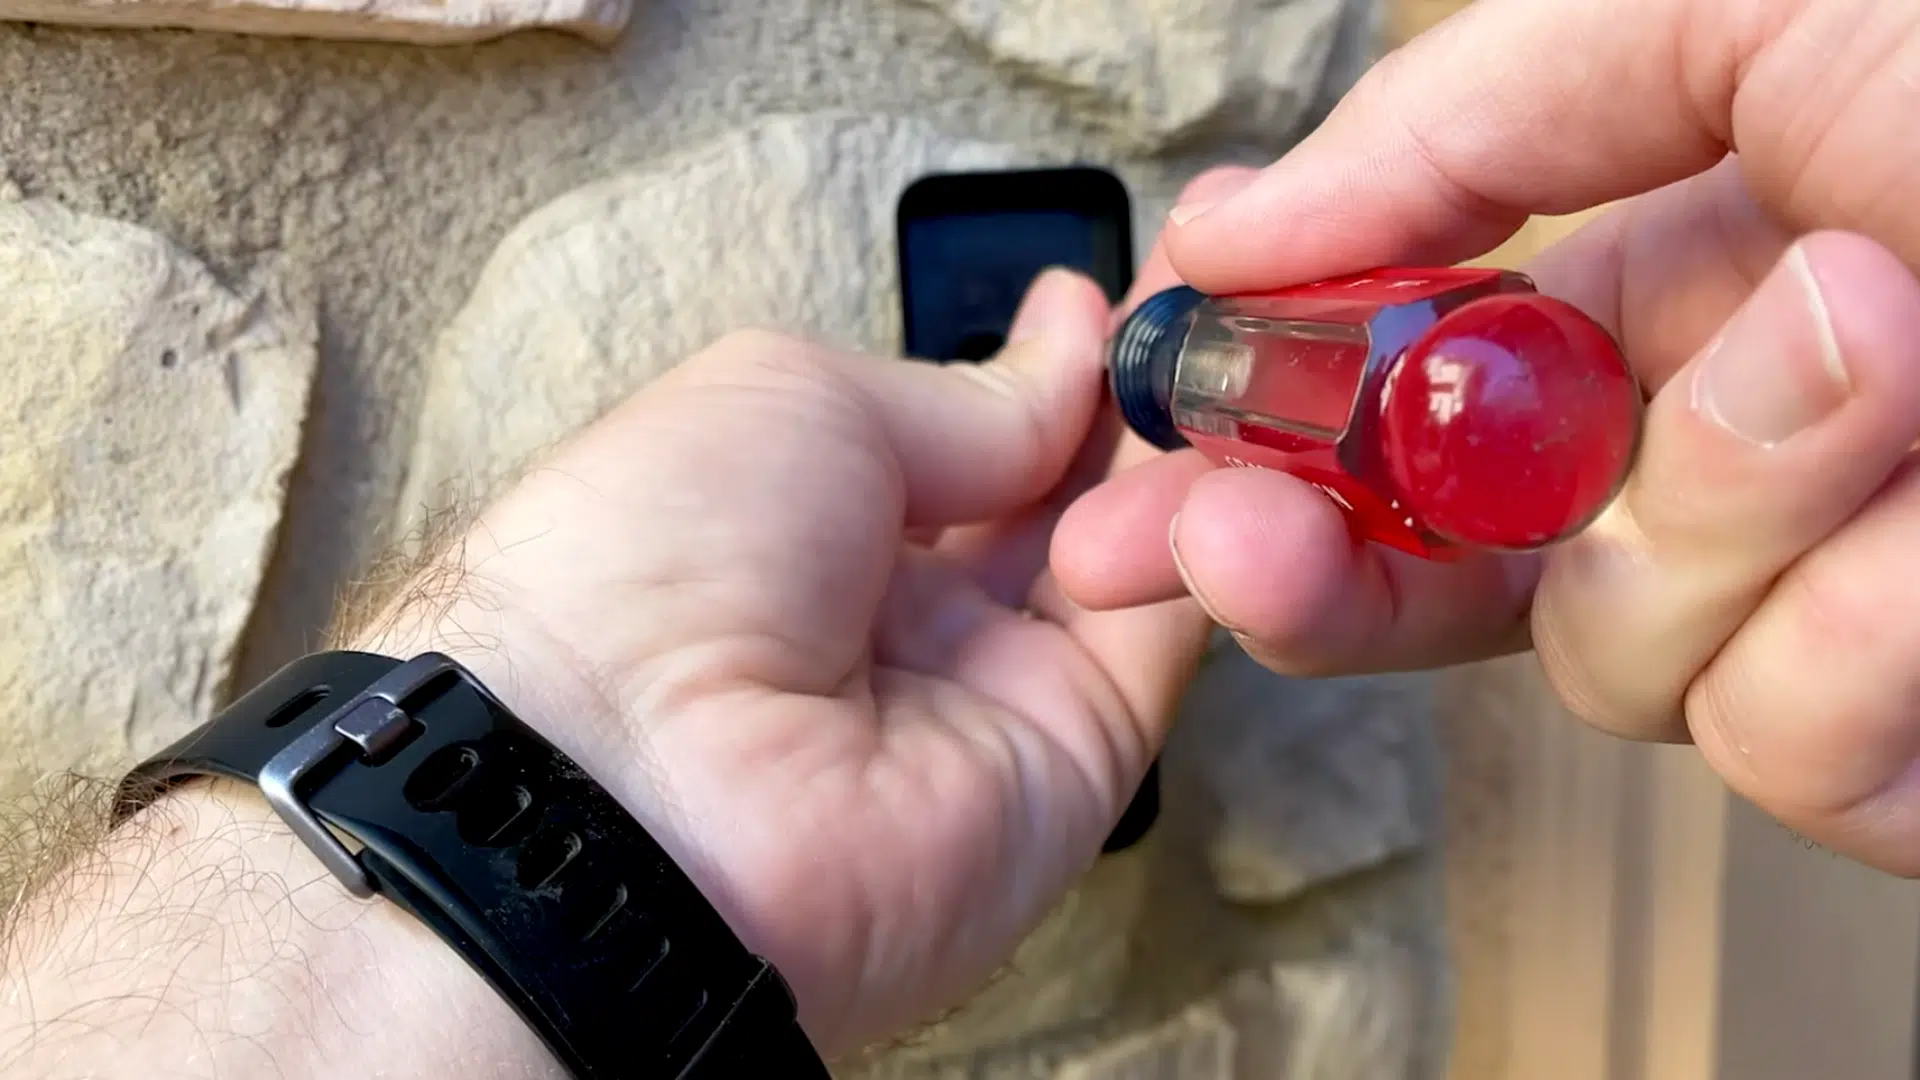
Step 6: Attach the Doorbell and Restore Power
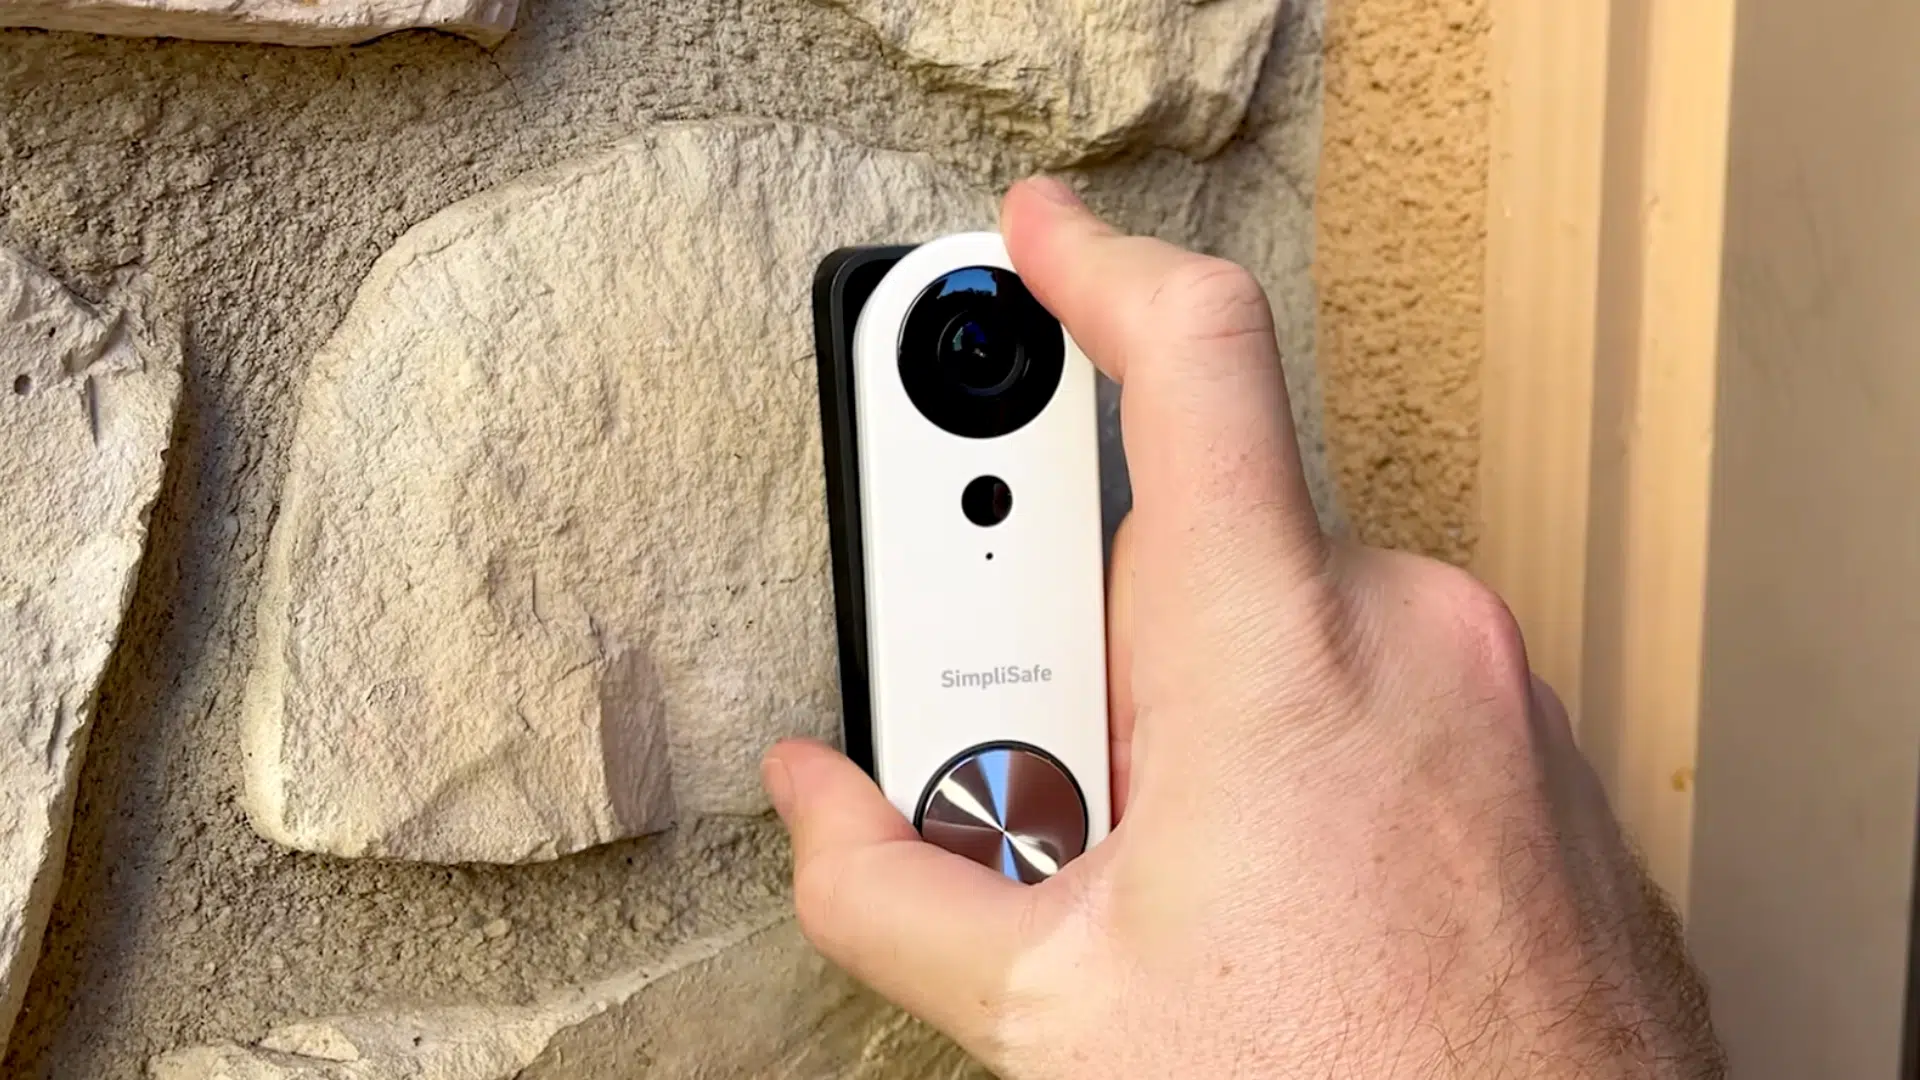
Place the doorbell onto the bracket and slide it downward until it locks into place. Once attached, turn the breaker back on to restore power.
The doorbell should begin powering up. Insert the small security screw at the bottom to lock the doorbell in place. This prevents the doorbell from being removed easily.
Step 7: Set Up the Doorbell in the App
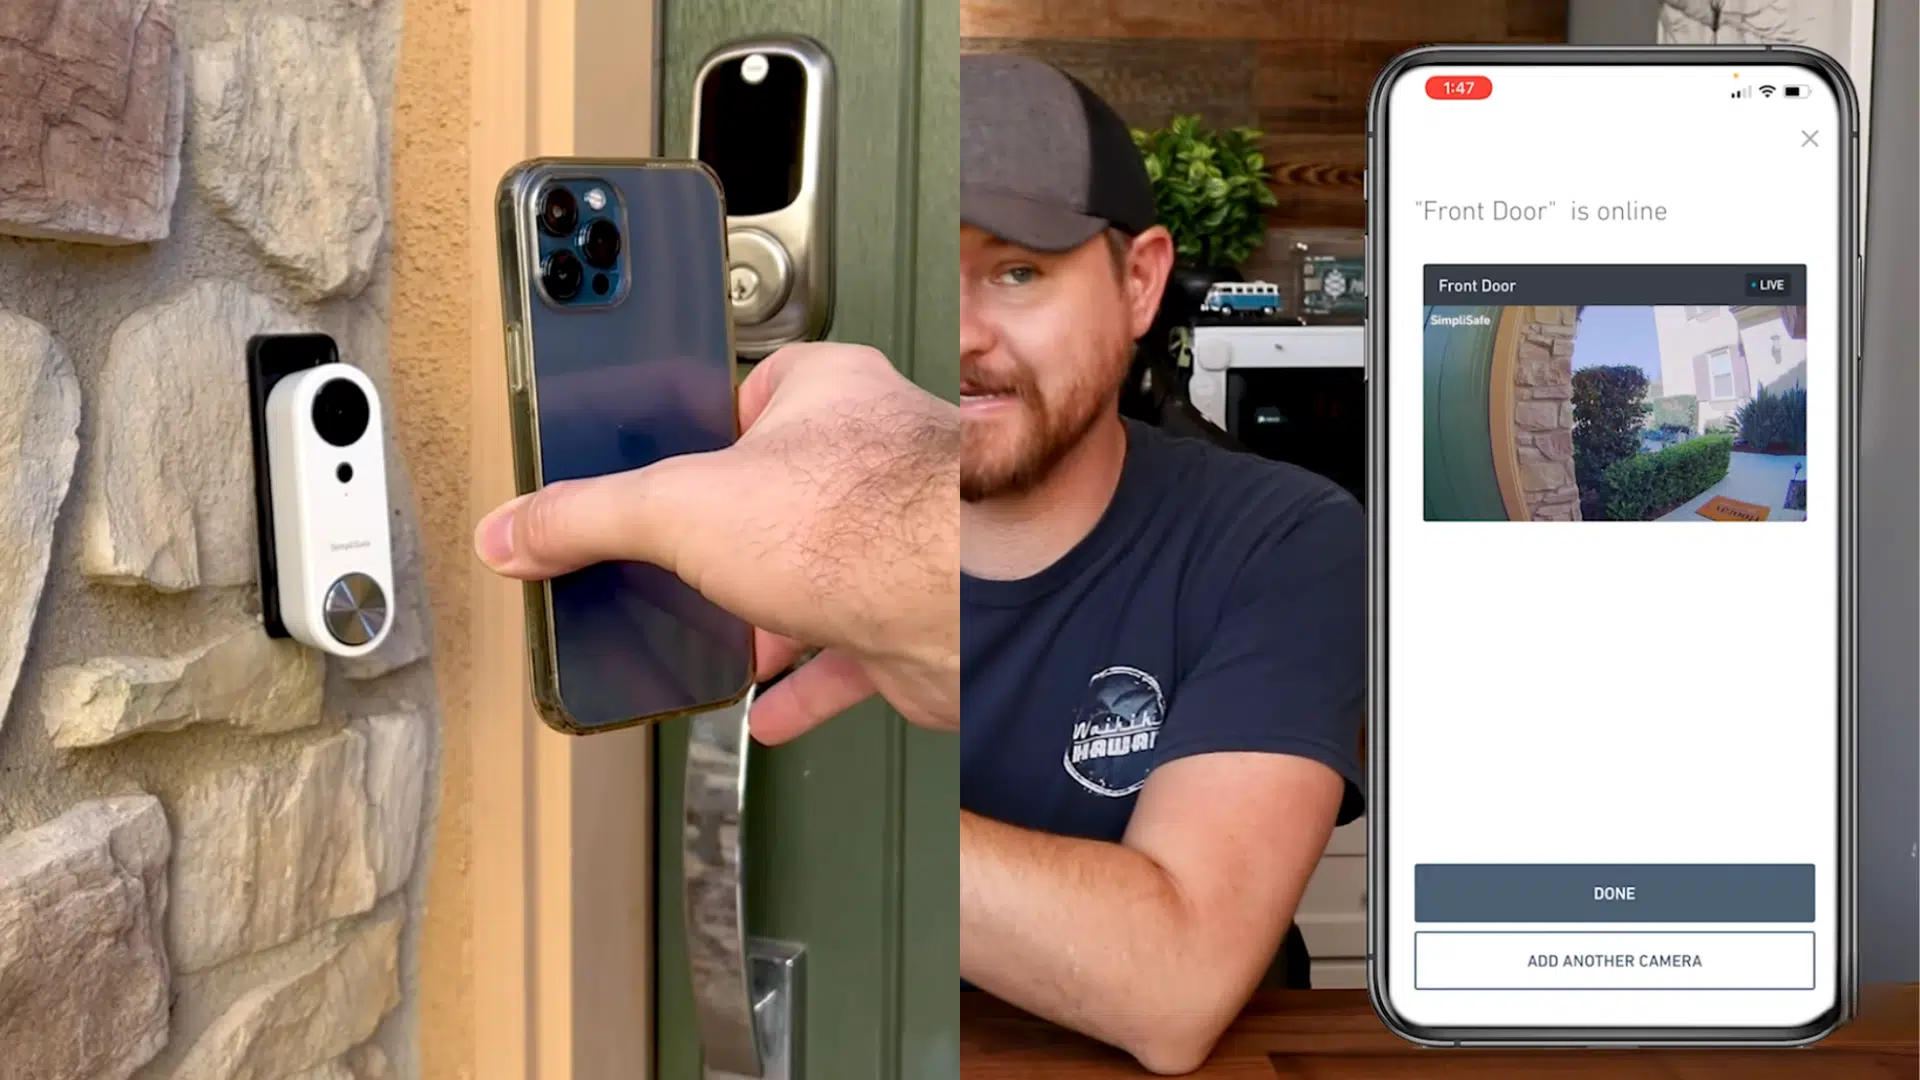
Open the SimpliSafe app and start the setup process. Choose the option to install a doorbell, even if there is no base station.
Follow the prompts to connect to Wi-Fi and select the doorbell location. Use the QR code shown in the app and hold it in front of the doorbell to finish pairing. Once connected, live video should appear in the app.
You can check out the full video below:
Troubleshoot Common Installation Issues
Sometimes a SimpliSafe doorbell doesn’t work right after installation, and that’s usually due to a small setup issue.
| Problem | Possible Cause | Simple Fix |
|---|---|---|
| Doorbell has no power | Breaker is off or wires are loose | Turn the breaker on and tighten the wire connections |
| Doorbell won’t turn on | Wiring not connected properly | Recheck both wires on the mounting bracket |
| Chime does not ring | Chime connector missing or installed wrong | Install or reposition the chime connector |
| Doorbell is loose | Mounting screws not tight | Tighten the mounting bracket screws |
| No video in the app | Wi-Fi connection issue | Move closer to the router and reconnect Wi-Fi |
| Live view works but no recordings | No active subscription | Choose a recording plan in the app |
| Doorbell won’t pair with app | QR code not scanned clearly | Clean the lens and rescan the QR code |
If the doorbell still isn’t working after these checks, the issue may be with wiring or Wi-Fi strength. At that point, reaching out to SimpliSafe support or a professional installer can save time and frustration.
Conclusion
Installing a SimpliSafe doorbell is much easier when you follow the right steps and check your setup first.
Once installed, the doorbell gives you a clear view of your front door and keeps you aware of activity around your home. If something doesn’t work right away, simple checks often fix the issue.
If you’re planning to install your doorbell soon, use this guide as your starting point and keep it handy during setup.
Want more help? Read SimpliSafe support guides or check out our other home security tips on the website to stay informed and confident.