Have you ever noticed how construction crews spend days leveling and shaping the ground before anything takes form? There’s a reason for that.
Here, you’ll learn what grading in construction is and why it’s one of the most crucial steps in any project.
You’ll also know how the land’s slope, elevation, and drainage all come together to create a stable base for every build.
Once you’re through this, you’ll understand what makes proper grading the unsung hero behind every solid foundation, and why it deserves more attention before your next construction or landscaping project.
What is Grading in Construction?
Grading means reshaping or leveling the land before any construction begins. It’s one of the first steps in preparing a site for a building, road, or landscape project.
The main goal is to create the right slope and elevation so water flows properly and the foundation stays stable. In simple terms, grading ensures the ground is safe, even, and ready for building.
Many people mix up grading with excavation or leveling:
| Process | Description | Purpose |
|---|---|---|
| Excavation | Removes soil or rock to create space for foundations or utilities. | Prepares site for foundations, utilities, or infrastructure. |
| Leveling | Focuses on evening out the surface to ensure uniform elevation. | Ensures a flat, even surface for construction. |
| Grading | Shapes the entire site to align with the project’s design and drainage plan. | Prepares the land for drainage, landscaping, and construction. |
For example, grading a house site ensures that rainwater flows away from the foundation rather than collecting around it.
Why Grading is Important
Good grading sets the stage for a strong and safe project. It helps water move where it should, supports the foundation, and keeps outdoor areas usable for years:
- Ensures Proper Drainage: Grading controls how water moves across a site. It prevents pooling near structures, directs water away from foundations, and reduces erosion or water damage.
- Provides Foundation Stability: Grading creates a solid, even base for concrete and structures. It prevents cracking, settling, and uneven surfaces by keeping the soil compact and level.
- Improves Safety and Accessibility: Grading shapes driveways, sidewalks, and paths for smooth movement. It keeps outdoor areas safe and easy to use.
Grading is essential for every construction project. It keeps the site stable, dry, and ready to support safe, long-lasting structures.
Types of Grading in Construction
Grading methods vary depending on the project and site conditions. Each type serves a specific purpose in preparing land for safe, lasting construction:
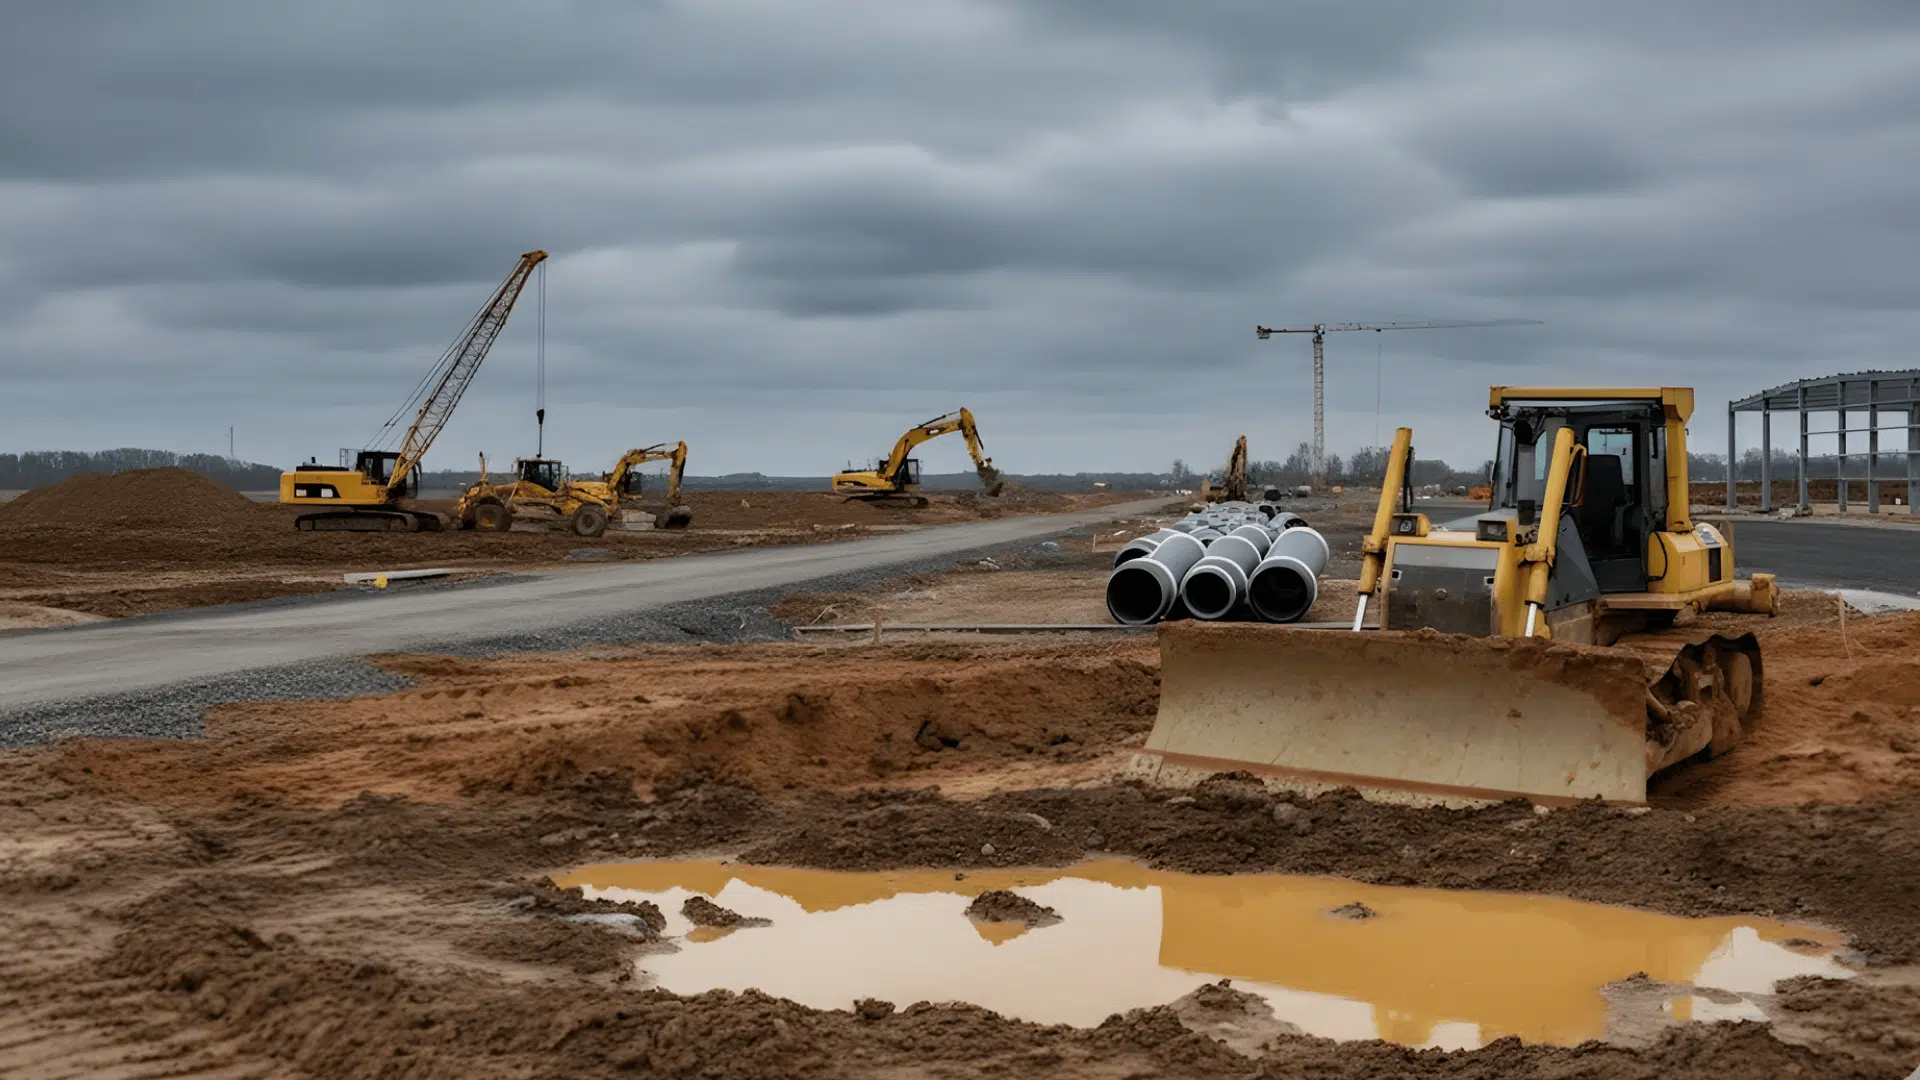
1. Rough Grading
This is the first phase of grading, during which heavy machinery removes rocks, debris, and uneven soil. It shapes the basic contour and slope of the land, creating a foundation for further work.
Rough grading is common in large projects like commercial buildings or roads. It ensures the site meets the planned elevation and provides proper drainage.
2. Finish Grading
Finish grading is done after rough grading to refine the surface. It smooths out minor imperfections and adjusts the land to its final design level.
This stage prepares the site for paving, concrete, or landscaping. It also ensures proper water flow and a clean, even finish.
3. Landscape or Yard Grading
Landscape grading focuses on residential areas, including lawns, gardens, and yards. It directs water away from homes and prevents puddles or soil erosion.
This type also improves outdoor appearance and functionality. A properly graded yard is easier to maintain and supports healthy plant growth.
4. Architectural Grading
Architectural grading shapes ground levels for roads, walkways, and parking areas. It focuses on achieving safe slopes and stable surfaces for daily use.
It also helps manage surface water effectively. Proper grading prevents cracks, drainage issues, and long-term damage.
Choosing the right grading type ensures proper drainage, stability, and safety across all project types.
The Grading Process: Step-by-Step
Grading follows a clear sequence to prepare the land for stable construction, proper drainage, and a smooth foundation.
Equipment Used
- Bulldozer: Moves and levels large amounts of soil to form the site’s basic shape.
- Excavator: Cuts, removes, or relocates soil and rocks during excavation work.
- Motor Grader: Smooths and shapes slopes for precise surface control.
- Compactor/Roller: Compresses soil layers to strengthen the ground and prevent movement.
- Laser Level or Surveying Tools: Checks elevation and slope accuracy throughout the process.
Once all equipment is ready, the grading process proceeds through several key stages that prepare the site for a strong, lasting foundation:
1. Site Assessment and Planning

The process starts with a detailed look at the land. Soil type, slope, and natural drainage are studied to determine how the site should be shaped.
A grading plan is then created to map out where soil should be cut, filled, or leveled. This plan ensures the land matches the project’s design and drainage requirements.
2. Clearing and Excavation

After planning, the site is cleared of vegetation, rocks, and debris. This step opens the land and prepares it for reshaping.
Excavation follows, with high spots cut down and low areas filled in. This helps form the site’s basic shape and sets the groundwork for later stages.
3. Cutting, Filling, and Leveling

This stage focuses on adjusting the land to the desired elevation. Soil is moved, spread, and balanced to achieve a smooth surface and proper slope.
Leveling ensures the ground aligns with construction plans and supports correct water drainage. Consistent grading here reduces the risk of uneven settling later on.
4. Compaction

Once the soil is shaped, it’s compacted in layers using rollers or compactors. This process strengthens the soil by removing air pockets and increasing density.
Proper compaction prevents future shifting, erosion, and cracks in the structure above. It also creates a stable foundation that can handle heavy loads.
5. Final Grading and Inspection

The final grading stage fine-tunes the surface for accuracy and appearance. Small adjustments are made to ensure the slope and elevation match the design exactly.
After shaping, the site is inspected to confirm proper drainage and stability. This final check ensures the land is ready for construction, paving, or landscaping.
Proper grading creates a strong foundation, directs water effectively, and sets the stage for safe, durable construction. It’s a crucial step that determines how well the entire project will perform over time.
Cost and Factors Affecting Land Grading
The cost of land grading can vary widely depending on the project. On average, homeowners can expect to spend $0.50 to $2 per square foot, while larger commercial projects may cost more due to equipment and labor needs.
Several factors influence the total cost:
- Land Size and Slope: Larger or steeper areas require more soil movement, time, and machinery.
- Soil Type: Rocky or clay-heavy soil takes longer to work with and may need specialized equipment.
- Equipment and Labor: Costs rise with heavy machinery use or complex grading requirements.
- Purpose: Residential projects are usually simpler, while commercial sites demand precise grading and compaction standards.
Understanding these factors helps you plan better and avoid surprises during the project.
Yard Grading for Homeowners
Yard grading helps fix drainage issues and keep outdoor areas safe. It shapes the soil so water flows away from your home, preventing leaks, soggy lawns, and foundation damage:
Signs Your Yard Needs Grading
You don’t need special tools to spot grading issues. A few everyday signs can tell you your yard may need attention:
- Water pooling near your house: If puddles form after rain, the ground may be sloping the wrong way.
- Uneven lawns or exposed roots: Bumpy or slanted areas suggest soil movement or poor leveling.
- Muddy or eroded spots after rain: These are clear signs that water isn’t draining properly and may be washing away topsoil.
DIY vs. Professional Yard Grading
Deciding between DIY and professional yard grading depends on your yard’s size, slope, and budget. The table below highlights the key differences to help you choose the right approach:
| Aspect | DIY Yard Grading | Professional Yard Grading |
|---|---|---|
| Best For | Small projects like filling low spots or reshaping small lawn areas. | Large or complex yards needing precise slope correction. |
| Tools Used | Shovel, rake, wheelbarrow, level, and basic soil. | Grading machines, compactors, and laser leveling tools. |
| Skill Level | Suitable for homeowners with basic yard maintenance experience. | Requires trained operators and grading expertise. |
| Cost | Low cost, mainly tools and materials. | Higher upfront cost but ensures accuracy and durability. |
| Time & Effort | Labor-intensive and may take several days. | Faster process completed with professional equipment. |
| Accuracy | Limited precision works for minor slope adjustments. | High precision, meets drainage and building standards. |
| Long-Term Results | May need rework if slopes shift or erosion occurs. | Long-lasting results with proper soil compaction and drainage. |
| When to Choose | If you’re fixing small puddles or minor uneven areas. | If you notice water damage, erosion, or foundation issues. |
Proper yard grading helps protect your home from water damage and erosion. Whether you handle small fixes yourself or hire a pro, the goal is to keep the ground draining correctly and your yard in good shape.
Key Tips for Proper Grading
Good grading depends on careful planning and attention to detail. These simple tips can help you achieve stable, long-lasting results:
- Check Drainage Direction: Ensure water flows away from buildings, not toward them.
- Compact Soil in Layers: Gradually compress soil to prevent shifting, settling, or erosion.
- Follow Local Codes: Always meet local grading, drainage, and erosion control requirements.
- Use Proper Tools or Hire Experts: For large or complex sites, use survey equipment or hire professionals for accurate results.
Proper grading takes attention and patience. Following these simple tips ensures your project drains correctly, stays stable, and lasts without constant maintenance.
Final Thoughts
If you’ve reached this point, you’ve gained a full picture of what grading is in construction and how it quietly shapes the success of every project from the ground up.
Understanding grading helps you plan smarter, avoid costly issues, and appreciate the foundation work that often goes unnoticed but makes all the difference.
Next time you plan a project or notice uneven ground around your home, take a closer look; it might be time to get the grading right.
Proper preparation today means fewer problems tomorrow!