A garage door opener that works well makes daily life easier and more convenient. However, these devices need regular care to perform at their best. Over time, hardware can loosen, parts can dry out, and settings may shift out of place. These small changes can lead to slow response times, loud noises, or doors that do not open smoothly.
Regular maintenance and simple adjustments can restore a garage door opener to like-new condition and prevent expensive repairs down the road. Most homeowners can handle these tasks without special tools or technical knowledge. The process involves basic steps such as tightening loose parts, applying lubricant to moving components, and adjusting force settings.
This guide covers straightforward methods to keep a garage door opener in top shape. Each tip addresses a common problem that affects performance and offers a practical solution anyone can follow.
Tighten all garage door hardware to prevent rattling and misalignment
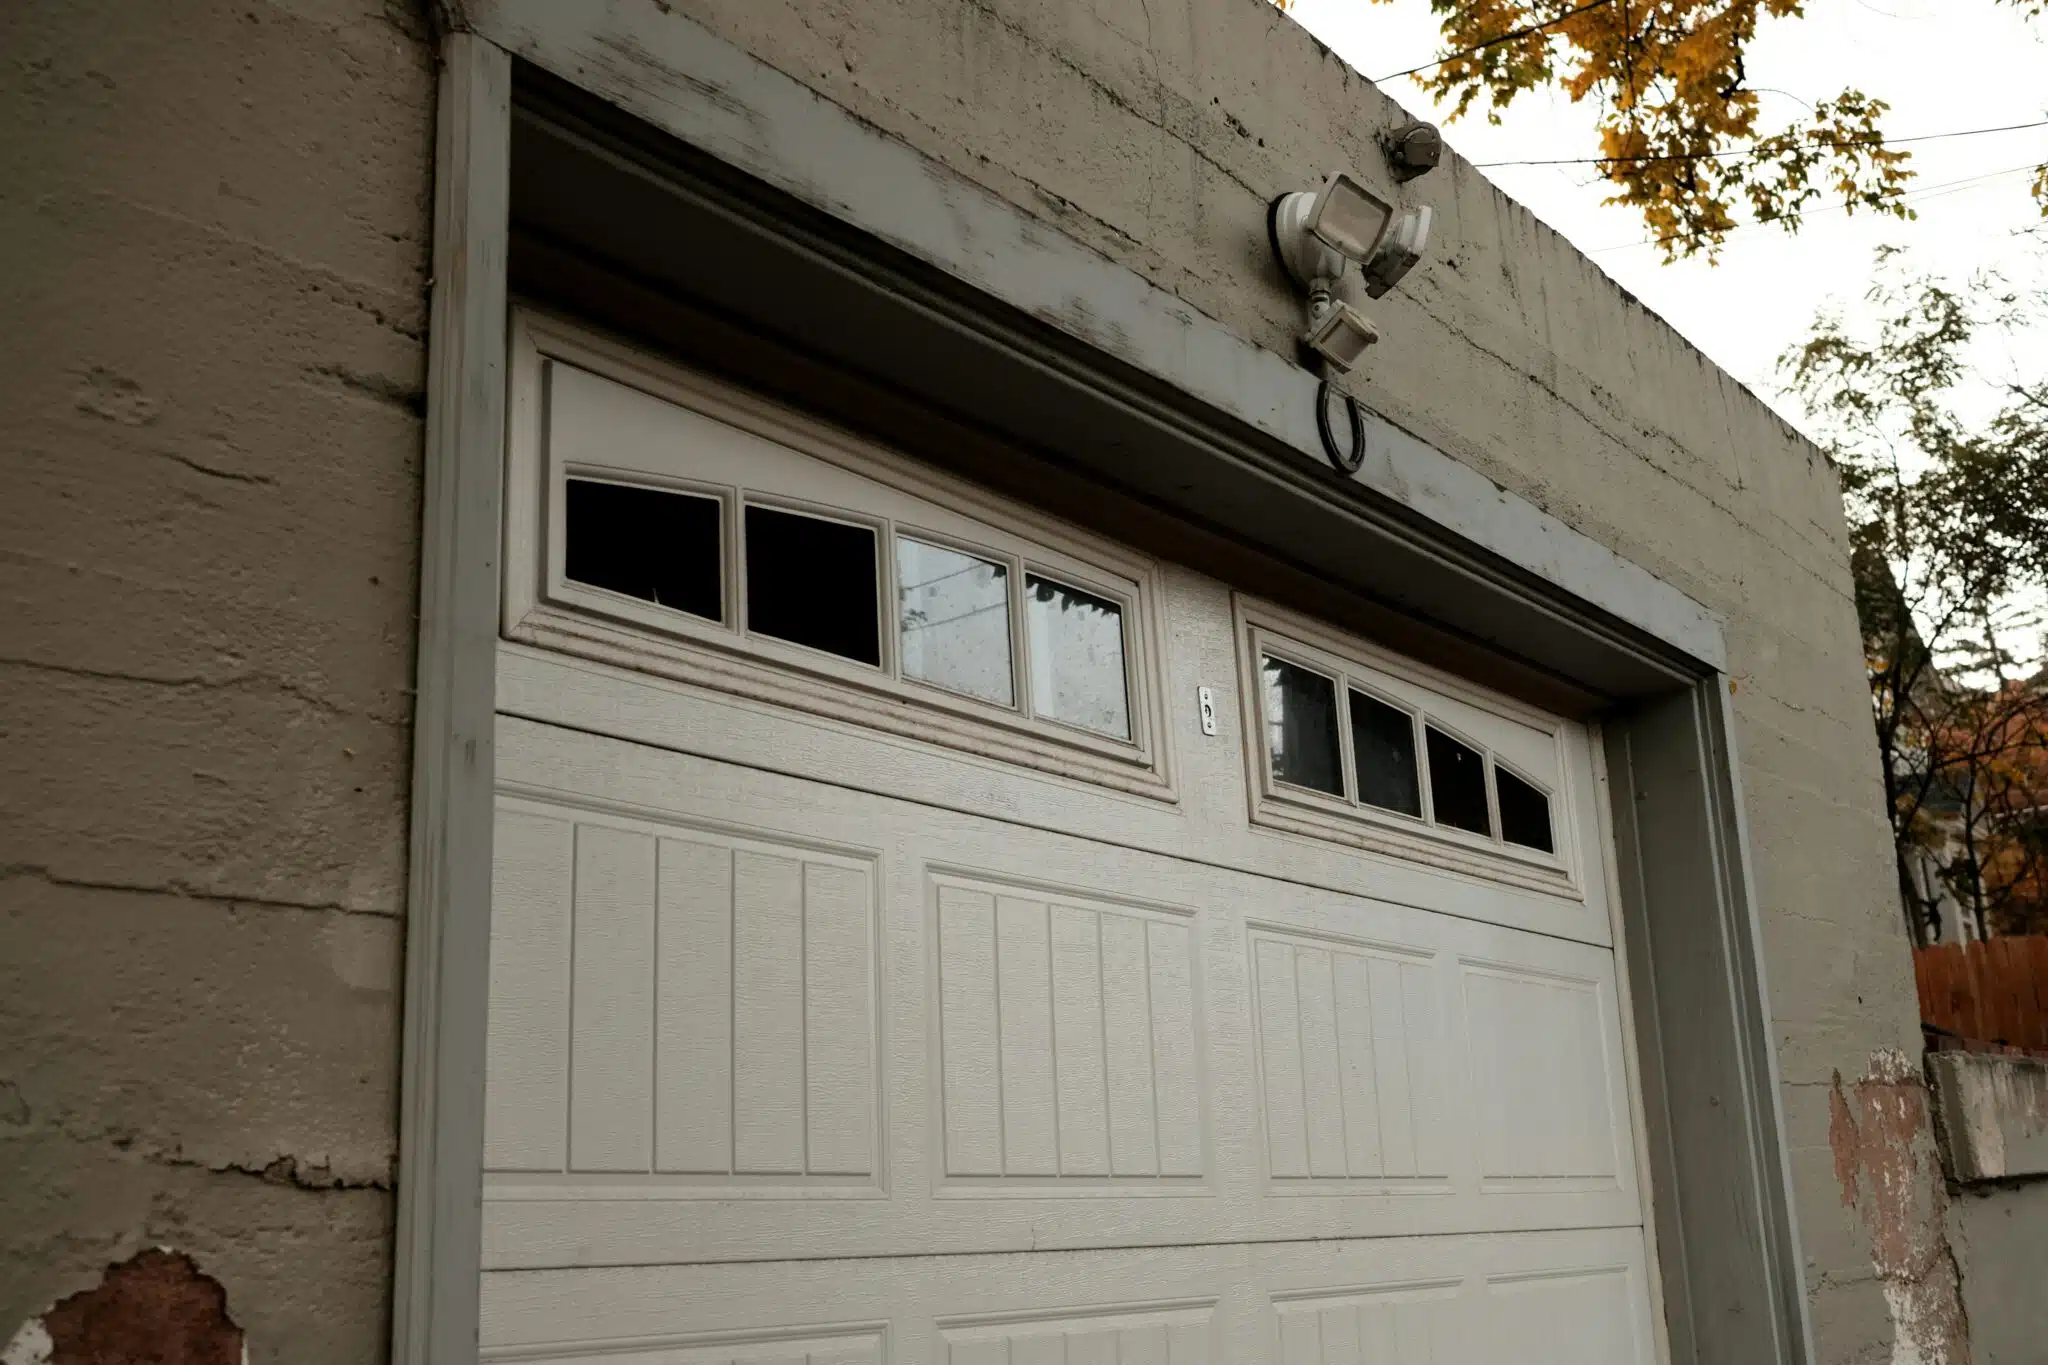
Garage doors get used multiple times every day, which causes nuts, bolts, and brackets to loosen over time. In Phoenix, Arizona, extreme heat causes metal garage door components to expand and contract daily, which often loosens bolts and brackets faster than homeowners expect. Without regular tightening, this can lead to rattling doors and track alignment problems.
In Atlanta, Georgia, high humidity and seasonal temperature swings contribute to gradual hardware loosening, especially around hinges and track mounts, making routine inspections essential. In Chicago, Illinois, cold winters followed by warm summers place repeated stress on garage door hardware, increasing the risk of misalignment if bolts and fasteners aren’t checked consistently. Similarly, in Dallas, Texas, frequent daily use combined with heat can cause fasteners to loosen over time, leading to vibrations and uneven door movement. Meanwhile, Easy Garage Door Repair experts in Houston recommend checking all hardware at least twice a year. A socket wrench or adjustable wrench works well for most bolts and nuts. Start with the brackets that hold the tracks to the wall and ceiling, then move to the hinges between door panels.
Lubricate rollers, hinges, and tracks with silicone-based spray every few months
Regular lubrication keeps a garage door system quiet and helps it last longer. Most experts recommend this simple maintenance task every six months. However, doors that get heavy use may need attention more often.
Silicone-based spray lubricant works best for garage door parts. This type of product reduces friction without attracting dust and dirt. Users should avoid regular oils or greases that can build up and cause problems over time.
The process takes about 15 minutes. First, someone should disconnect the opener’s power for safety. Then, they need to wipe down the tracks, rollers, and hinges with a clean cloth to remove debris.
Next, they apply a light coat of silicone spray to the rollers, hinges, and tracks. The key is to use it sparingly on all moving parts. After application, they should open and close the door a few times to spread the lubricant evenly.
While you’re doing routine upkeep like lubrication, it can also be a good time to look at what’s happening around the garage itself, since worn exterior surfaces can make the whole entry feel neglected. If the area around the door has chipped paint or weathered trim, stone veneer cladding is one option homeowners use to add a tougher finish that holds up better against sun, rain, and daily wear. Another common choice is natural stone (like limestone or slate), which gives a more traditional look but can be heavier and more labor-intensive to install. Both are often used around garage surrounds or lower exterior walls to make the space feel more finished.
Check and adjust the balance of the door for smooth operation
A properly balanced garage door reduces strain on the opener and helps the system last longer. The door should feel nearly weightless and stay in place at any point along its track. An unbalanced door forces the opener motor to work harder, which leads to early wear and potential safety risks.
To test the balance, homeowners should disconnect the opener by pulling the release handle. They can then manually lift the door halfway up. If it stays in place, the balance is correct. However, if the door falls or rises on its own, the springs need adjustment.
The springs control the door’s balance through precise tension. Torsion springs sit above the door, while extension springs run along the sides. Adjustments require special tools and knowledge of spring mechanics.
Professionals should handle spring adjustments because these components store significant force. Attempting repairs without proper training can result in serious injury. Regular balance checks every six months help catch issues early and keep the opener in good condition.
Clean the exterior of the opener with a disinfectant wipe to remove dust
Dust and dirt can build up on a garage door opener over time. This buildup affects how well the unit works and can lead to problems. A simple wipe-down keeps the opener in better shape.
Use a damp cloth or disinfectant wipe to clean the outside surfaces of the opener. Start with the motor housing and then move to the sides and any visible parts. Make sure to reach all areas where dust tends to collect.
This basic task takes just a few minutes but makes a real difference. Clean the opener every few weeks or whenever dust becomes visible. The process removes particles that could work their way into the motor or other parts.
Always turn off the power before you start. This step keeps the work safe and prevents accidental activation. Let the surface dry completely after you finish before you turn the power back on.
Adjust the up force and down force settings using the marked screws
The force adjustment screws control how much power the opener uses to move the door. These screws are usually on the motor unit and are clearly marked with “up” and “down” labels.
To adjust these settings, a homeowner needs a flathead screwdriver. The up force screw controls the power used to open the door. The down force screw controls the power used to close it.
Turn the screws in small increments. A clockwise turn increases the force, while a counterclockwise turn decreases it. Most experts recommend quarter-turn adjustments at a time.
After each adjustment, test the door’s operation. The door should open and close smoothly without stopping partway or reversing unexpectedly. If the door still struggles, make another small adjustment and test again.
Proper force settings prevent excess strain on the opener and reduce safety risks. The door should stop if it meets resistance, which protects people and objects from harm.
Conclusion
A garage door opener requires regular attention to perform at its best. Simple steps like battery replacement, antenna adjustment, and proper lubrication can solve most common issues. Homeowners should also check for interference sources and inspect safety sensors periodically.
These maintenance tasks take minimal time but prevent bigger problems down the road. Most people can complete basic upkeep without professional help, which saves money and extends the life of the opener.