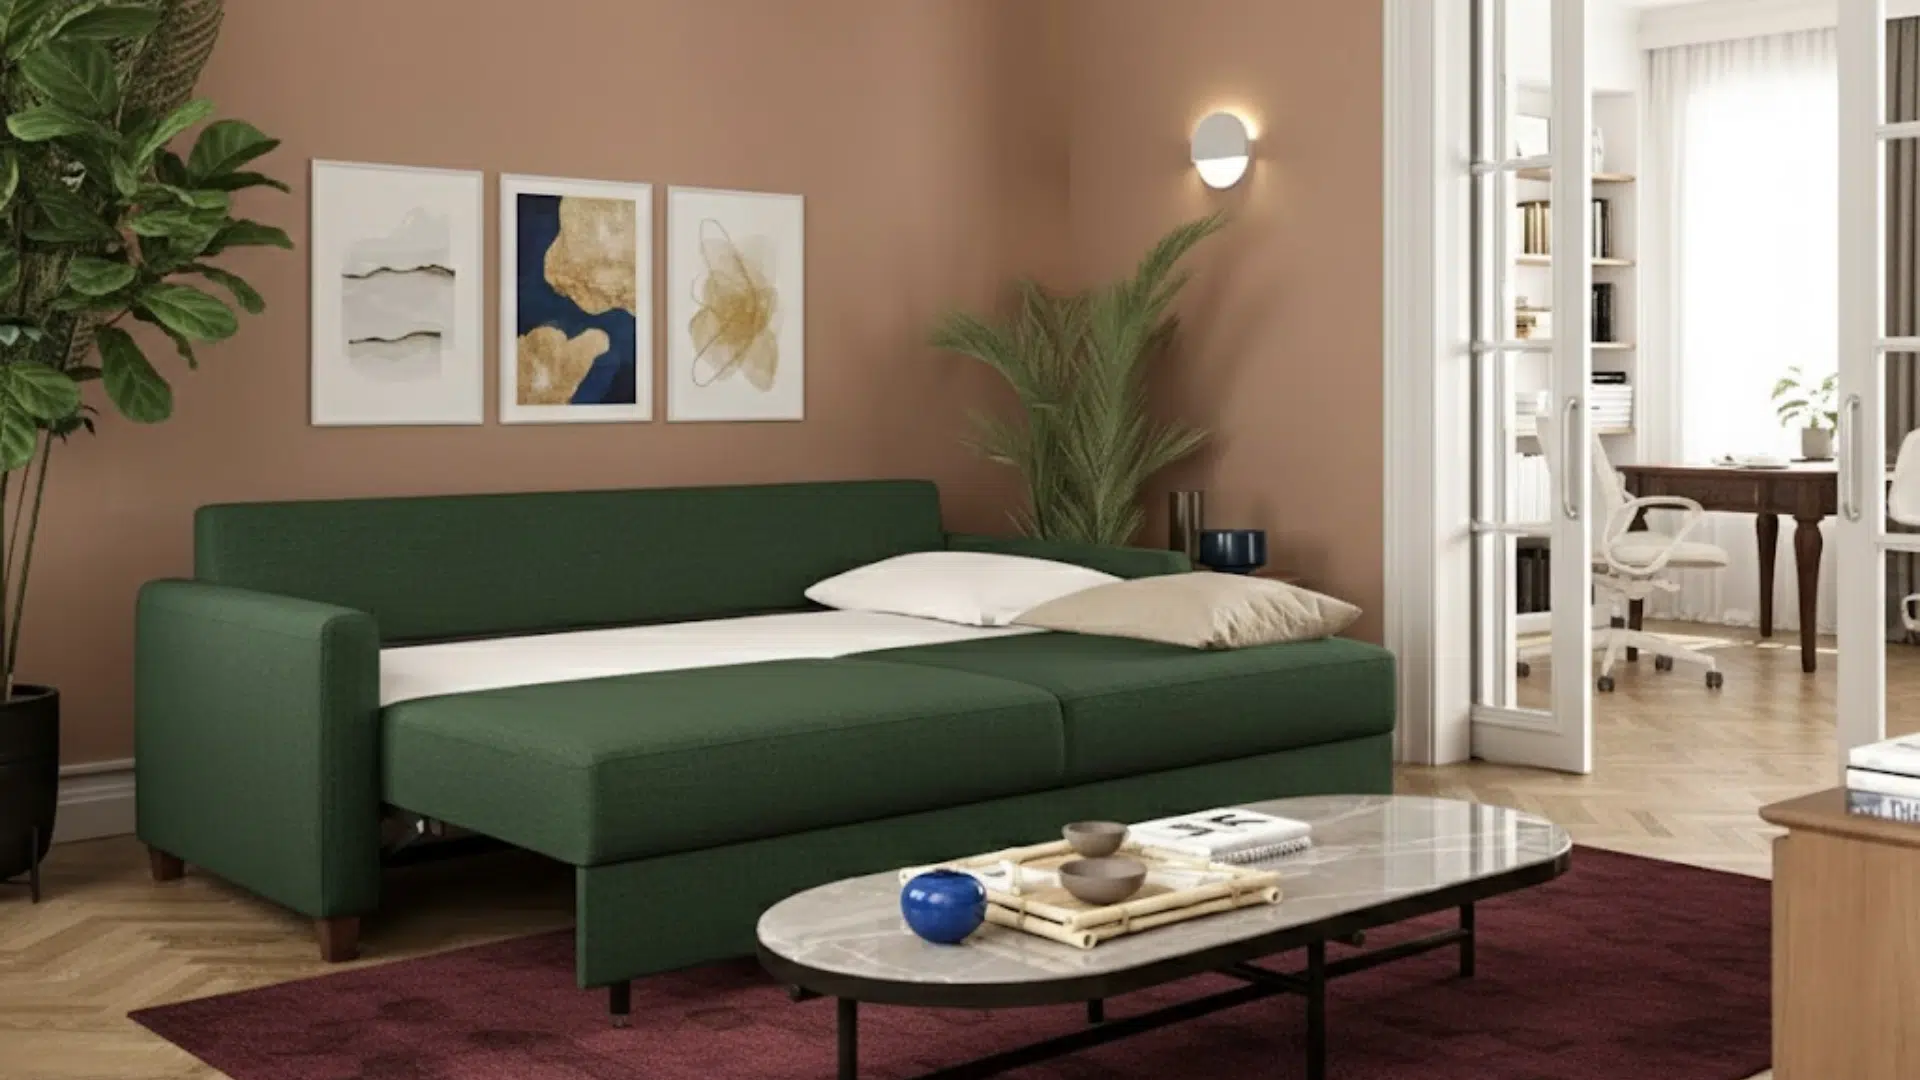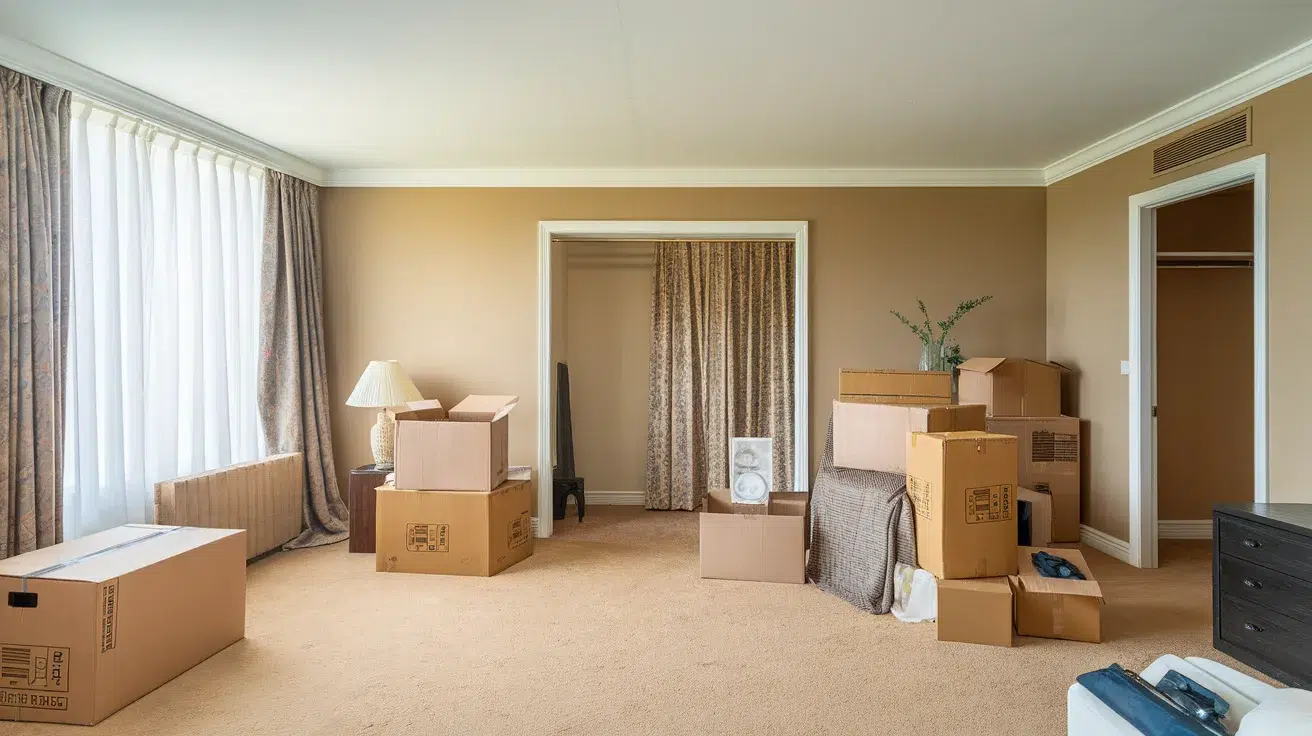
Packing dishes for a move can feel stressful. Plates, bowls, and glasses break easily if they are not packed the right way. One small mistake can leave you with chips, cracks, or a box full of shattered pieces.
The good news is that you do not need special skills to keep your dishes safe. You just need the right supplies, a little patience, and a simple system that works.
In this guide, you will learn how to pack dishes for moving step by step. From wrapping plates to sealing boxes the right way, these tips will help you prevent breakage and unpack with everything intact.
Why Dishes Break During a Move
Dishes are fragile, but they usually don’t break “for no reason.” Most damage happens because of small packing mistakes that add up.
- Empty Space Inside Boxes – When there are gaps, dishes shift during transport. Movement leads to clinking, pressure, and cracks. Even a short drive can cause damage if items slide around.
- Stacking Plates Flat – Plates packed flat take direct weight from the top. Road bumps add pressure, which often causes hairline cracks or full breaks. Packing them vertically reduces this risk.
- Weak Boxes or Poor Taping – Thin boxes bend under weight. If the bottom is not reinforced with strong tape, it can split open while lifting.
Understanding these common causes helps you pack smarter and prevent most breakage before it happens.
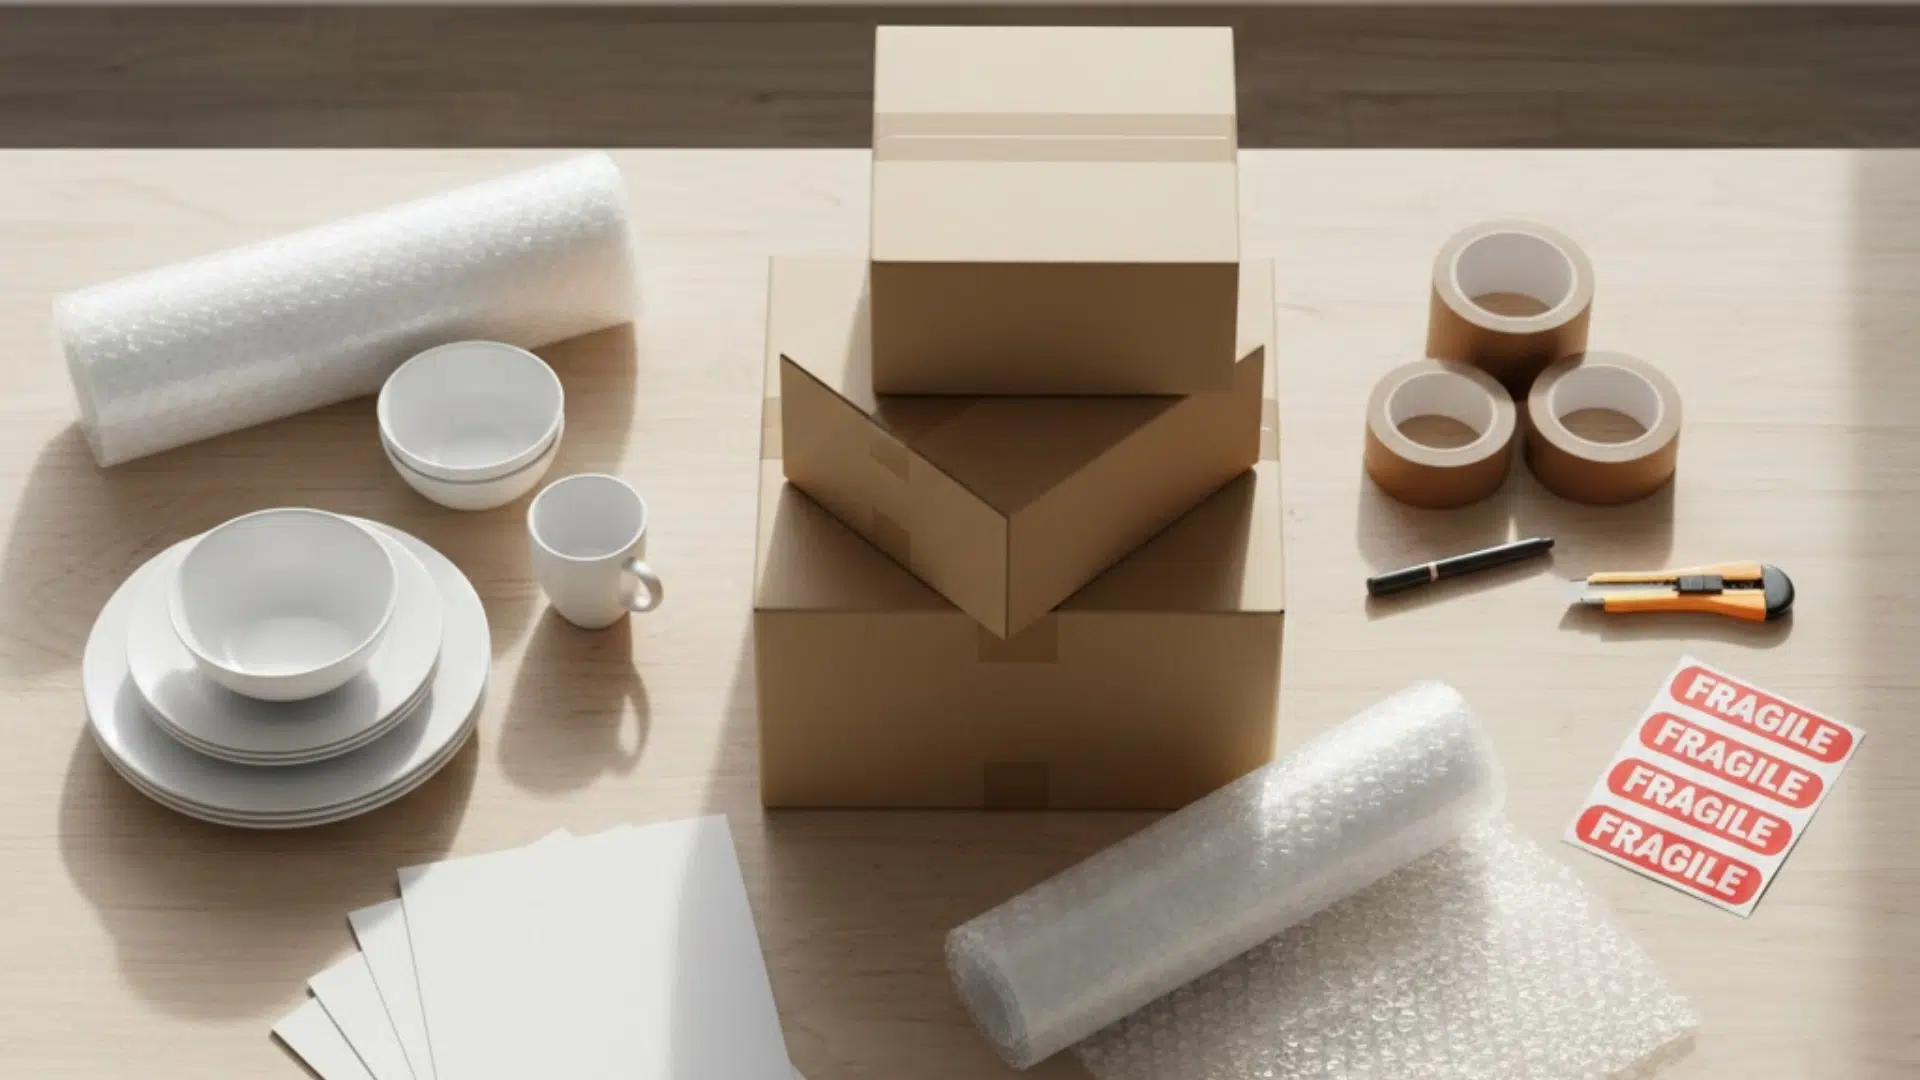
Packing Supplies You Actually Need
Using the right materials makes a big difference. Good supplies protect your dishes from impact, pressure, and shifting.
- Sturdy Small or Medium Boxes
- Packing Paper (Unprinted)
- Bubble Wrap for Fragile Items
- Strong Packing Tape
- Markers and “Fragile” Labels
When you invest in proper supplies, you lower the chances of cracks, chips, and costly replacements.
Choosing the Right Boxes for Dishes
Not all boxes are made for heavy, breakable items. Choosing the right size and strength protects your dishes from crushing and shifting.
| Box Type | Ideal Size | Best For | Weight Capacity | Why It’s Recommended |
|---|---|---|---|---|
| Small Moving Box (1.5 cu. ft.) | 16″ x 12″ x 12″ (approx.) | Dinner plates, salad plates, bowls, mugs | Up to 40 lbs | Smaller size prevents overpacking and reduces pressure damage |
| Medium Moving Box (3.0 cu. ft.) | 18″ x 18″ x 16″ (approx.) | Lightweight plastic dishes, serving trays | Up to 50 lbs | Works for lighter kitchenware but not ideal for heavy ceramics |
| Dish Pack Box (Double-Walled) | 18″ x 18″ x 28″ (varies) | Fine china, full dish sets, fragile ceramics | 60+ lbs (with support) | Extra-thick corrugated walls provide stronger impact protection |
| Divider or Cell Kit Box | Fits inside dish pack boxes | Glasses, wine glasses, stemware | Depends on outer box | Keeps items upright and separated to prevent clinking |
| Plastic Moving Bin (Heavy-Duty) | Varies | Short-distance moves, sturdy dishes | High, depending on bin | Durable and reusable, resists crushing |
Always reinforce the bottom seams with at least two layers of packing tape. A strong box with proper support reduces pressure damage and makes lifting safer.
How to Pack Dishes for Moving
Packing dishes correctly takes time, but it prevents frustration later.
Follow these steps carefully to keep everything safe during the move.
1. How to Pack Plates
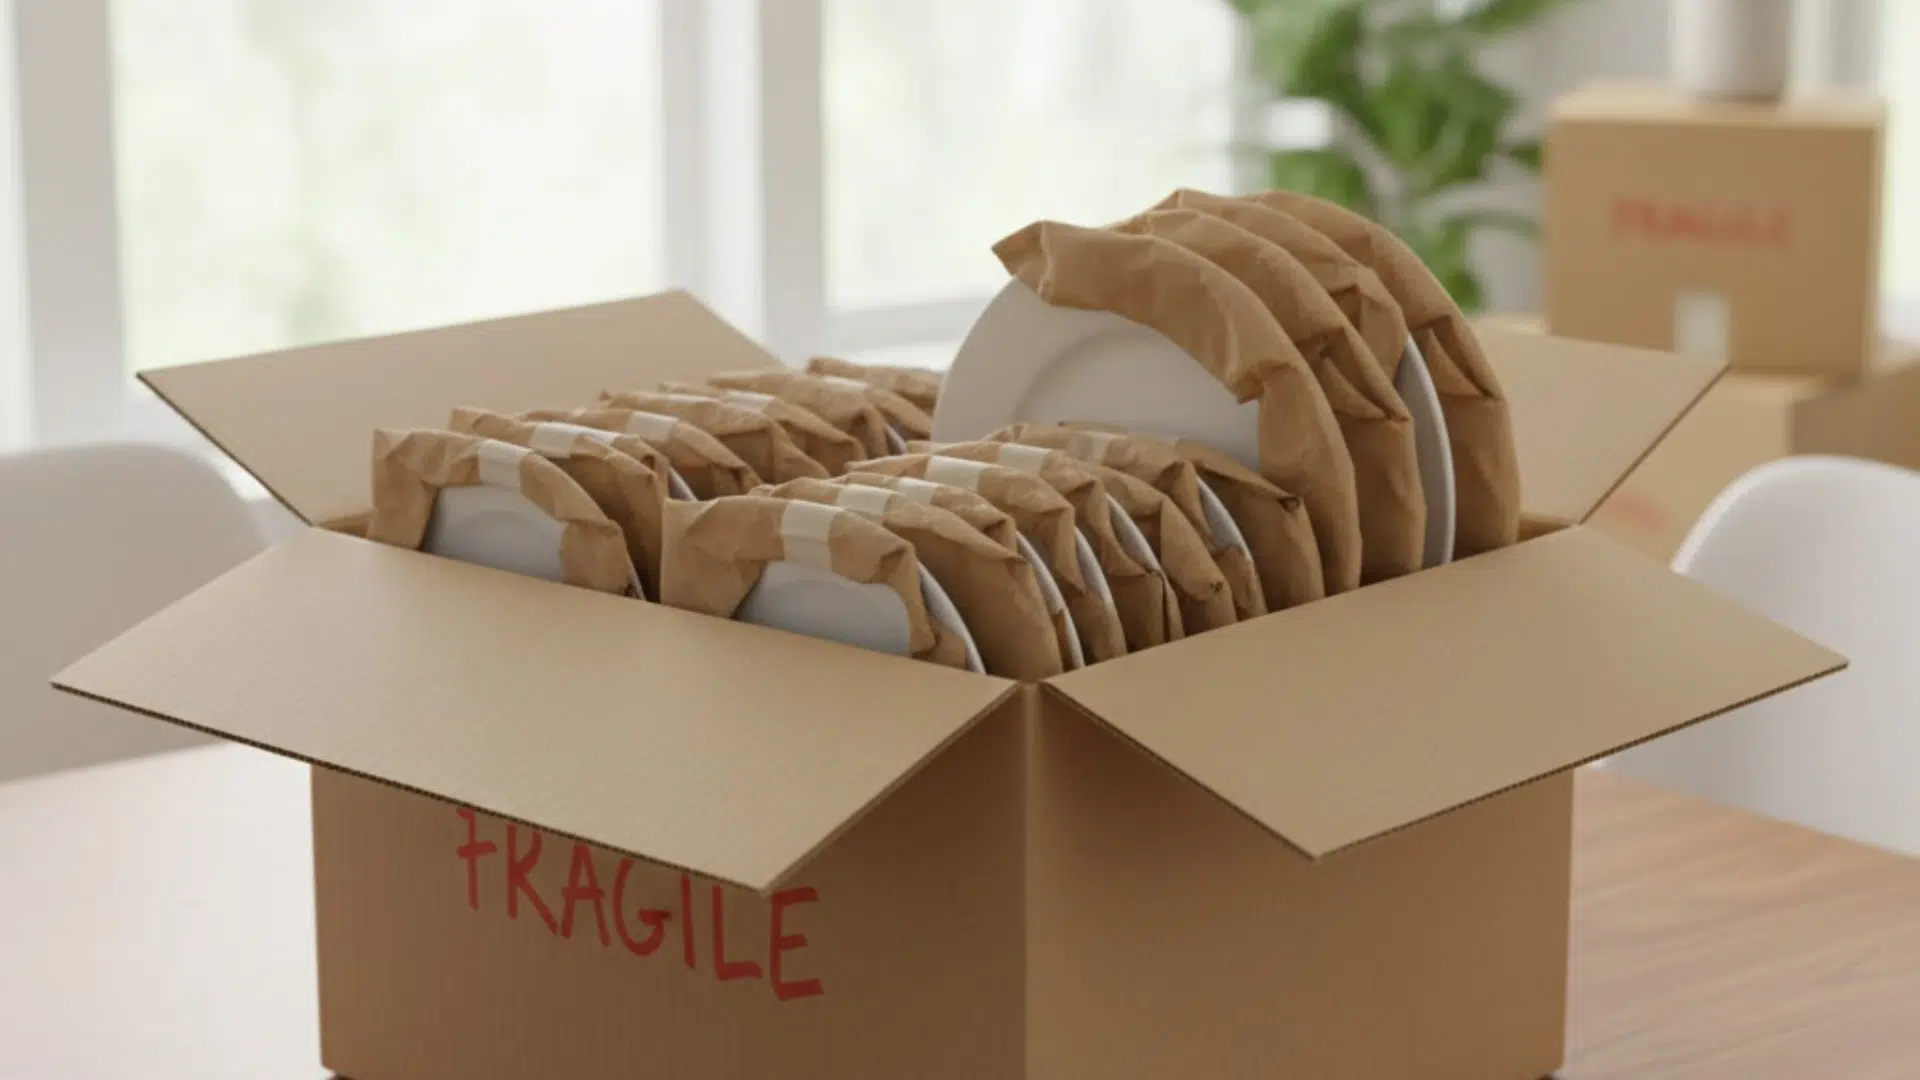
Start by placing a thick layer of crumpled packing paper at the bottom of the box. This base absorbs shock from bumps during transport.
Wrap each plate individually in packing paper. For extra protection, wrap it twice. Place plates vertically, like records, not stacked flat. Vertical packing spreads pressure evenly and reduces cracks.
Fill all empty spaces tightly with paper so nothing shifts when you gently shake the box.
2. How to Pack Bowls
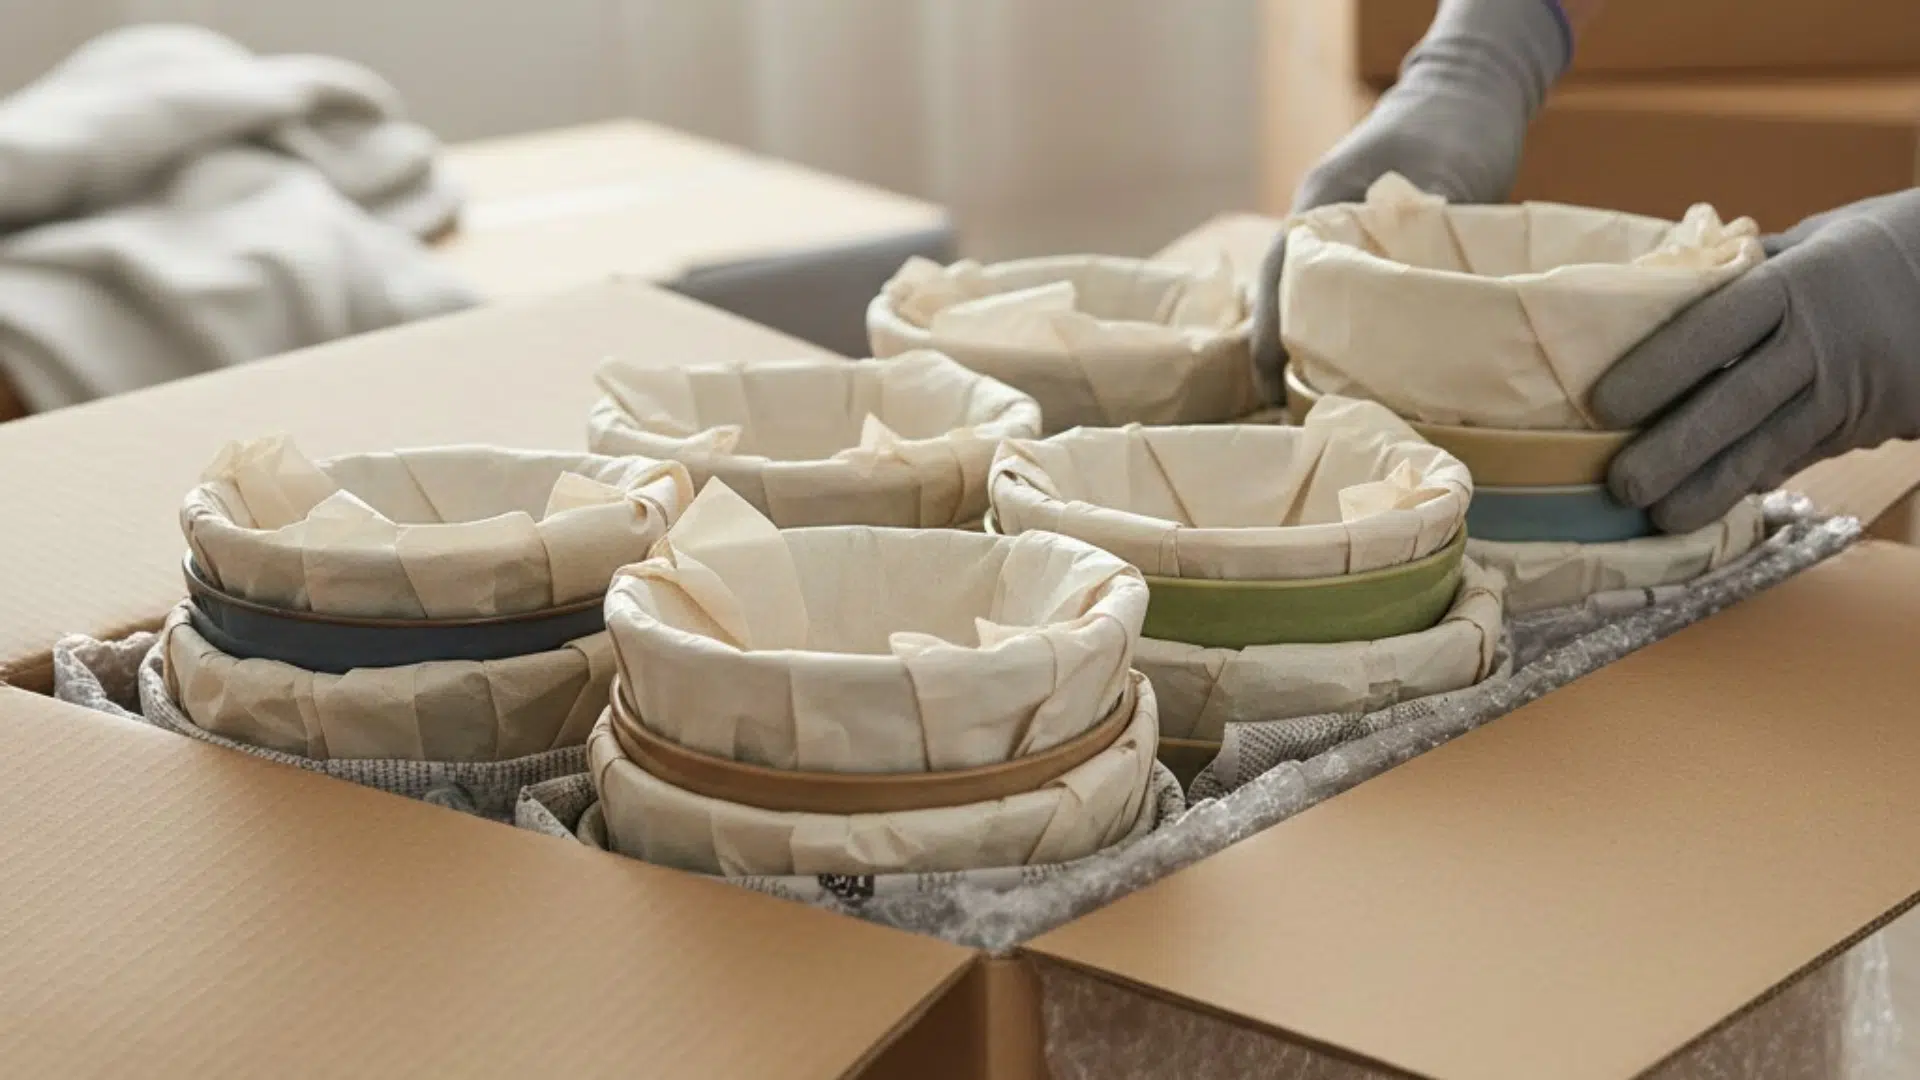
Bowls need protection both inside and outside. Stuff crumpled paper inside the bowl first to support its shape. Then wrap the entire bowl securely.
Place heavier bowls at the bottom of the box and lighter ones on top. Add padding between layers to reduce impact.
Make sure there are no gaps between bowls. Tight packing prevents movement, which is the main cause of chips.
3. How to Pack Glasses and Stemware
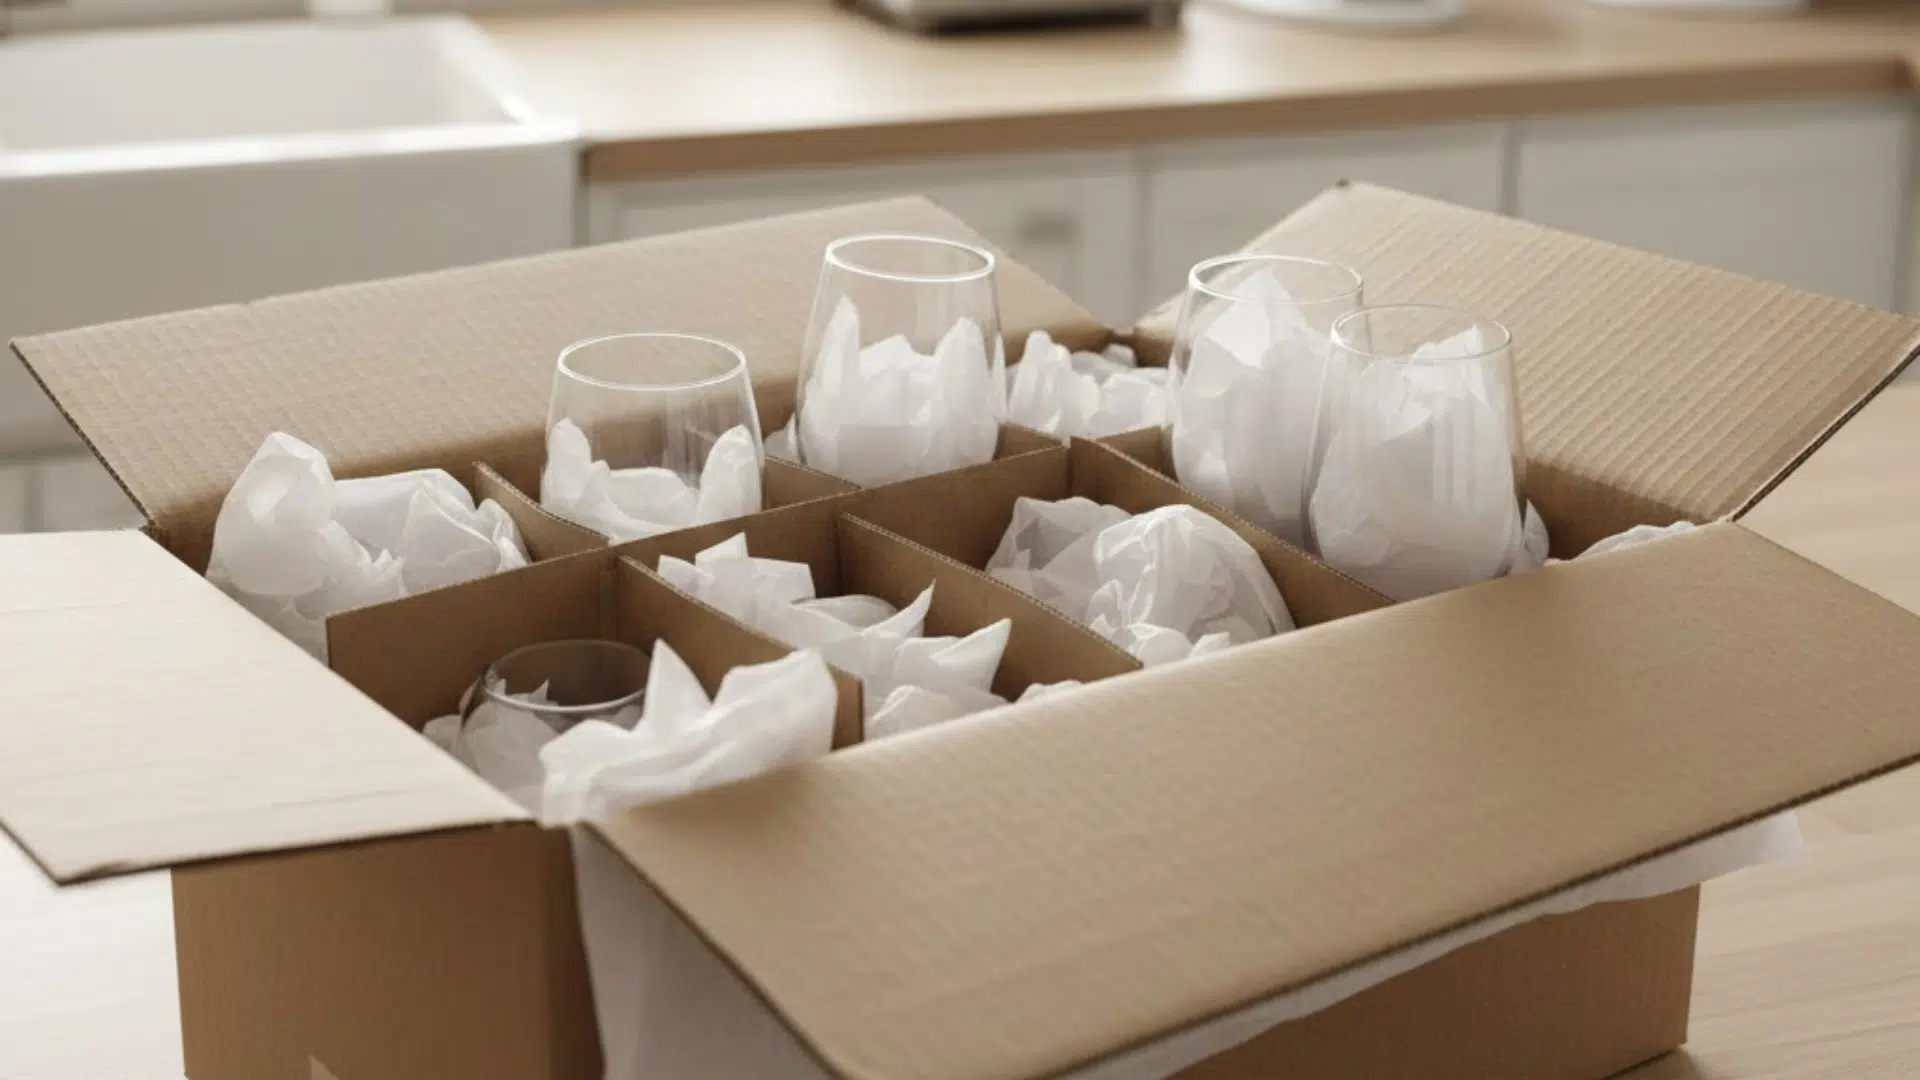
Glasses are more delicate than plates and require extra care. Begin by stuffing the inside with packing paper to prevent collapse.
Wrap each glass individually, paying special attention to the rim. For wine glasses, add extra padding around the stem.
Keep glasses upright inside the box. If possible, use divider inserts to separate them. Never place glasses on their sides.
4. How to Pack Mugs and Cups
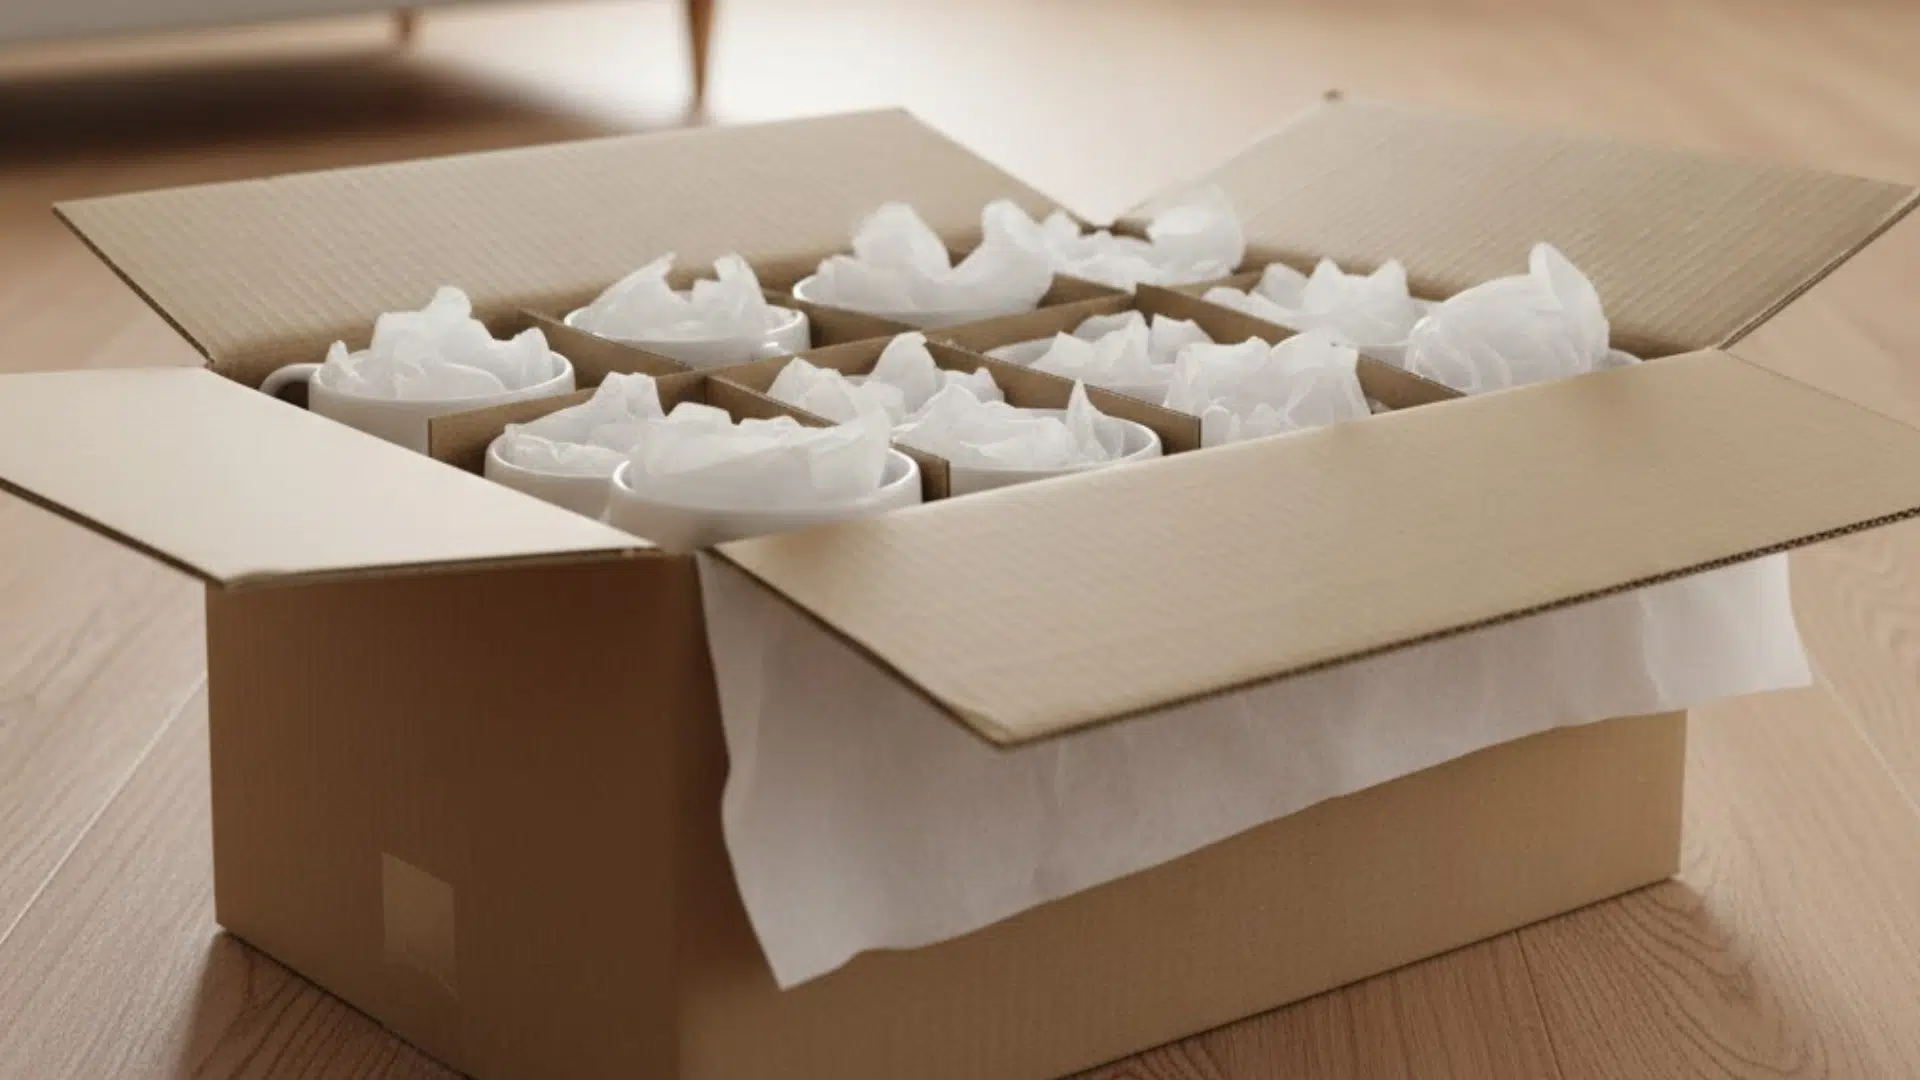
Mugs are sturdy but their handles are weak points. Stuff the inside with paper and wrap the entire mug securely.
Add extra padding around the handle area. When placing mugs in the box, keep them snug but not tightly forced together.
Layer paper between rows and avoid placing heavy items on top. Protecting the handles prevents most mug damage.
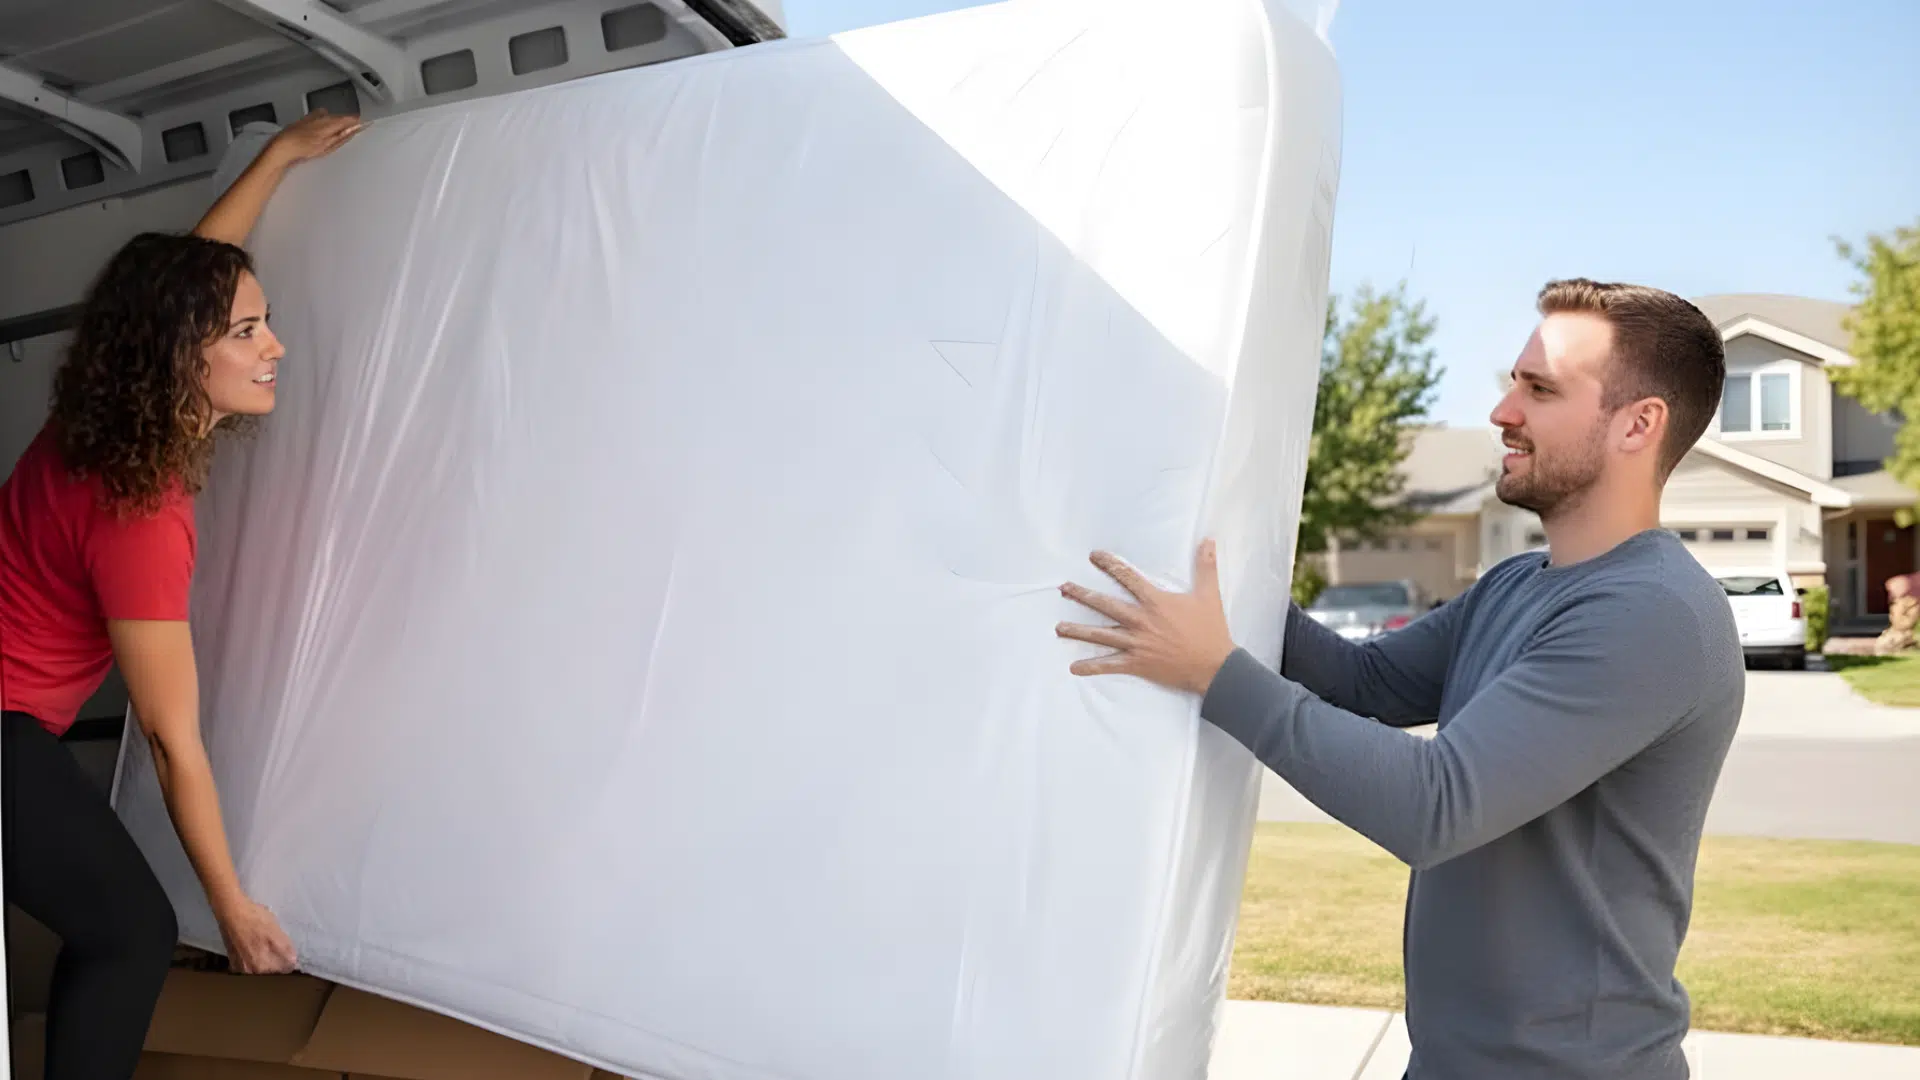
How to Prepare and Seal When Packing Dishes
Good packing is only half the job.
Preparing your box properly and sealing it the right way keeps everything secure during the move.
- Create a Thick Bottom Cushion – Add a layer of crumpled packing paper or bubble wrap at the bottom of the box. This absorbs shock from bumps in the road.
- Fill All Empty Spaces – After placing wrapped dishes inside, press crumpled paper into every gap. If the box shifts when you shake it gently, add more padding. No movement means less breakage.
- Layer and Separate Properly – Add padding between rows of dishes. Never let ceramic touch ceramic without paper in between.
- Seal With Heavy-Duty Tape – Use at least two strips of tape across the top and bottom seams. Reinforce edges if the box feels heavy.
- Label Clearly – Write “Fragile – Kitchen – This Side Up” on multiple sides. Clear labels reduce careless handling.
Taking a few extra minutes to prepare and seal properly can save you from broken dishes and frustration later.
Unpacking Dishes Safely After the Move
Unpacking may feel exciting, but it’s important to move slowly.
Start by placing dish boxes on a flat, stable surface before opening them. Use a box cutter carefully and avoid cutting too deeply, so you don’t damage items inside.
Remove the padding layer by layer and take out one dish at a time. Do not rush or stack items while unpacking. Check each piece for cracks or chips as you go. If something is damaged, set it aside safely.
Unpack heavier items first and place them directly into cabinets. Keep packing paper until everything is fully checked.
Conclusion
Packing dishes for moving takes time, but it is worth the effort.
With the right supplies, strong boxes, and proper wrapping, you can prevent most cracks and breaks. Small steps like filling empty space, sealing boxes tightly, and labeling clearly make a big difference.
Remember, the goal is simple: no shifting, no pressure, and no rushing.
If you’re planning a move soon, start early and follow these steps one box at a time.