
To install a chain link fence, you plan and mark the fence line, call 811 to locate utilities, dig and set your terminal posts and then your line posts in concrete, add the hardware and top rail, stretch the fabric tight with a come-along, and finish by hanging the gates. This guide is written for homeowners and DIYers deciding whether to take on the work, plus anyone who wants to understand what makes a chain link fence fail before they start digging. Expect an intermediate, two-person project that takes about a weekend for a straightforward yard. The steps below follow the standard installation sequence, and along the way we flag the decision points, local code, soil, frost depth, wind load, slopes, and gates, that quietly change the plan. Learning how to install chain link fence well comes down to getting the posts right first, because everything else hangs off them.
Before You Start: Codes, Property Lines, and 811
Fence rules are local, not national, so the first job is finding out what your city, county, or HOA actually requires. The variation is real. Seattle generally allows fences of 8 feet or less without a construction permit as long as they don’t include masonry or concrete elements over 6 feet, but zoning limits still apply. Sacramento exempts fences not over 7 feet from a building permit while still requiring compliance with planning and fence regulations. Roseville allows up to 7 feet in many contexts but drops the limit to 3 feet in front setbacks and sight-visibility areas, where maintaining visibility for drivers matters. Because Sacramento and Roseville fence-height and approval rules differ by jurisdiction, readers in that area can use a local resource such as callfantasticfence.com when comparing DIY work with a professional installation quote.
Before any hole gets dug, call 811 to have underground utilities located. OSHA’s excavation standard (1926.651) requires the estimated location of underground lines to be determined before excavation for good reason: hitting a gas or electric line is dangerous and expensive. Confirm your property lines using existing survey markers or hire a surveyor if you’re unsure, and set posts inside the line to avoid encroaching on a neighbor. Measure and mark the entire fence line accurately while you’re at it, since a crooked layout is far cheaper to fix on paper than after the concrete around your posts has cured.
Tools and Materials You’ll Need
Gather everything before you break ground. This is at least a two-person job, especially once you start stretching fabric, and having the right tools within reach keeps the installation moving instead of stalling on a missing wrench.
Tools:
- Tape measure, wooden stakes, and string line
- Post hole digger or power auger, plus a digging bar for rocky soil
- Post level
- Wrench and socket set, and pliers
- Come along and a stretcher (pull) bar
- A pipe cutter for trimming the top rail to length, plus bolt cutters for the fabric
- Work gloves and eye protection
Materials:
- Terminal posts (end posts and corner posts), line posts, and gate posts
- Top rail, loop caps for line posts, and post caps for terminals
- Brace bands, tension bands, and tension bars
- Tension wire, chain link fabric, tie wires, and hog rings or clips
- Gate hardware including latch hardware, concrete mix, and gravel
Choose the Right Chain Link Fence Materials
A few choices decide how the finished chain link fence looks and holds up: height, wire gauge, mesh size, and coating. Gauge matters more than most people expect. CLFMI notes that ASTM specifications recommend 11½-gauge fabric for fences 3 to 5 feet tall and 11-gauge fabric for 6-foot or taller runs, with lower gauge numbers meaning thicker, stronger wire. Mesh size (the diamond opening) affects both security and cost, with tighter mesh giving a more secure barrier that also costs more. For coating, galvanized steel is the economical standard, while vinyl- or polymer-coated fabric adds corrosion resistance and comes in colors like black or green that read as more residential.
If you want the technical backing, ASTM F1043 covers strength and protective coating requirements for the steel framework, and ASTM F668 covers polymer-coated fabric, including coating classes, mesh and wire sizes, and breaking strength. One warning worth taking seriously up front: privacy slats or windscreen turn an open chain link fence into a solid sail. F1043 cautions that added coverage may require stronger framework, closer post spacing, or back bracing for support depending on your local wind conditions. Decide on slats before you buy posts, not after, because the extra wind load changes both the framework you need and how deeply the posts have to sit.
How Do You Lay Out the Fence Line and Mark Post Locations?
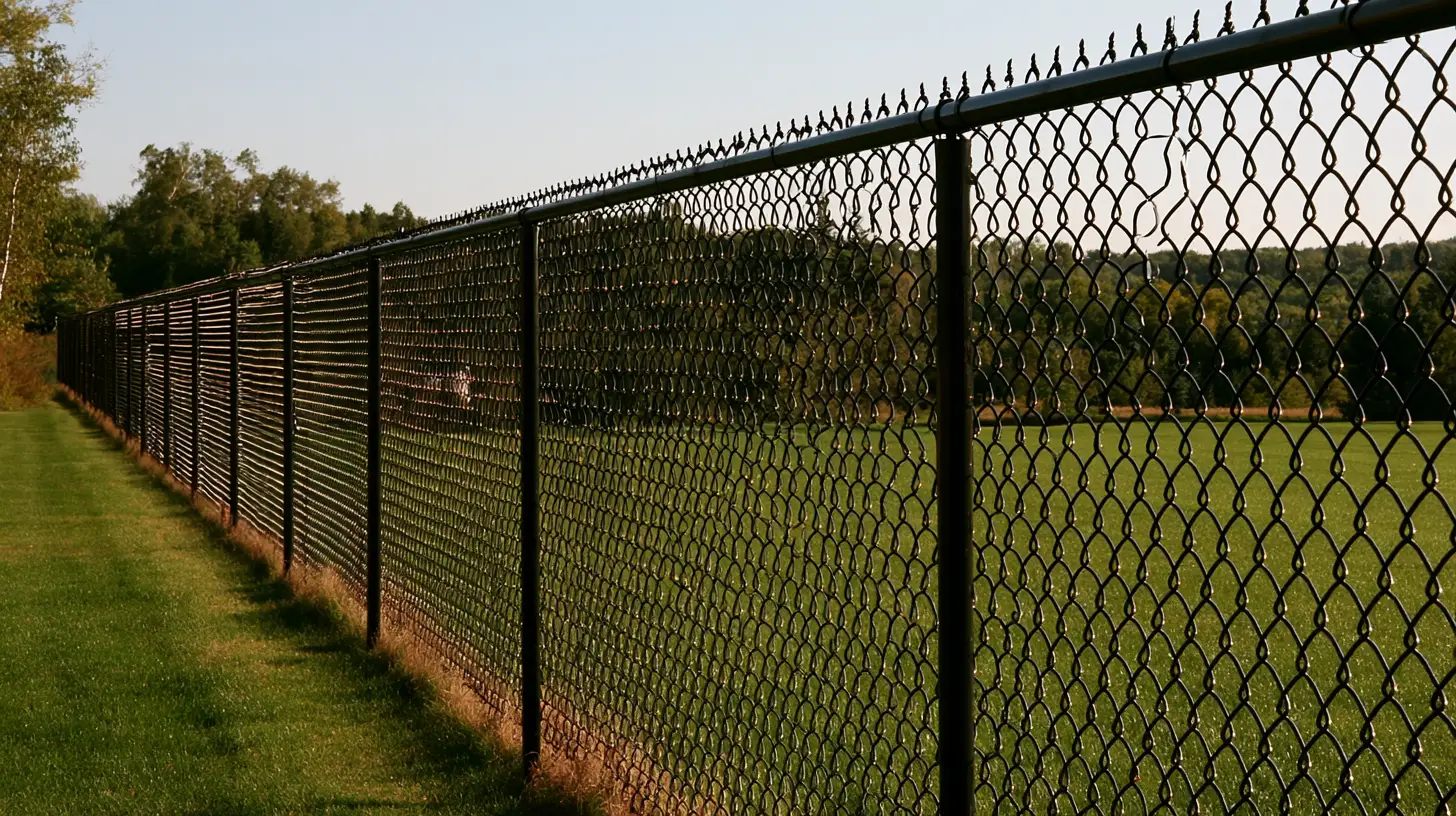
Start by understanding your three post types. Terminal posts (end posts, corner posts, and gate posts) carry the fabric tension and are the heaviest. Line posts are the intermediate posts that support the top rail and fabric between terminals. Gate posts are terminal posts too, but they’re the least forgiving because hinge and latch gaps depend on exact placement.
Sketch the plan, then mark corners and gate openings first, since those anchor everything. Run a taut string line between them and set your line posts along it. Square each corner with the 3-4-5 method (measure 3 feet down one line, 4 feet down the other, and adjust until the diagonal is exactly 5 feet) so runs stay straight and every corner sits at a true right angle. Line posts are typically spaced 6 to 10 feet on center, with 8 to 10 feet common for residential fences, but always defer to the manufacturer’s installation instructions and your site conditions. One layout tip from CLFMI: set terminal posts about 2 inches higher than the fabric width and line posts about 2 inches lower. Mark each post location with a stake or a dab of spray paint so the pattern is clear before you start digging post holes.
How Deep Should Fence Posts Be? Digging and Setting Line Posts, Corner Posts, and End Posts
Set terminal posts first, then line posts, since the terminals define the run and take the load. Getting the post holes right at this stage is the single biggest factor in how straight and solid the finished fence feels. Careful setting posts here saves rework later.
- Size the holes. A common rule is a hole diameter about three times the post width, which lands around 6 inches for residential posts. Keep the sides of each hole clean and roughly vertical so the concrete grips.
- Set the depth. Check code first. A practical starting point: terminal posts at least 36 inches deep and line posts at least 24 inches deep. QUIKRETE’s guidance is to make the hole depth equal to one third to one half of the above-ground post length plus 6 inches, over a 6-inch gravel base. Where frost is a factor, some codes require going below the frost line to prevent heave from lifting your posts over winter, so set deeper when in doubt to reach proper depth.
- Add gravel and set in concrete. Drop in the gravel base for drainage, place the post, and start adding concrete into the hole around it. Use a post level to plumb each one, checking two adjacent sides so it isn’t leaning at any angle, and brace it while the concrete sets. Wear gloves when handling wet mix and steel edges.
- Slope the concrete. Crown the top at a slight angle so it sheds water away from the post rather than pooling against the steel. Fill holes fully so no gaps remain around the base.
Don’t confuse “set” with “cured.” Fast-setting concrete sets in about 20 to 40 minutes and can take heavy weight after roughly 4 hours under normal conditions, but you should still wait about 24 hours before stretching fabric. Pulling tension on posts that haven’t fully cured is one of the fastest ways to end up with a leaning fence, and corner posts and end posts take the most abuse here because they anchor the full pull of the fabric.
Installing Hardware, Post Caps, Top Rail, and Bottom Tension Wire
Before the top rail goes on, slide your tension bands and brace bands onto the terminal posts, spacing tension bands roughly every 12 to 18 inches down the post. Cap everything: loop caps on the line posts (they let the top rail pass through) and dome post caps on the terminals.
Feed the top rail through the loop caps along each run and connect it to the rail ends at the terminals using brace bands and bolts. If a section runs long, trim it to length with a pipe cutter so joints meet cleanly. Rails should overlap or couple cleanly at each joint so the top line stays straight from corner posts to end posts. Then run the bottom tension wire along the base of the fence, roughly 2 inches above grade, which gives the bottom edge of the fabric something to clip to so it can’t be pushed out. Keep all this hardware slightly loose for now. The fence doesn’t become rigid until the fabric is tensioned, and leaving bolts snug-but-not-tight lets everything seat properly once you stretch and then secure it.
How Do You Stretch and Attach the Chain Link Fabric?
This is where the chain link fence earns its stiffness, and where a come along is not optional.
- Unroll the fabric along the line next to the posts, working the roll out flat as you go.
- Insert the first tension bar through the end diamonds and fasten it to a terminal post at one end with the tension bands you installed earlier.
- Stretch it. At the far terminal, weave a stretcher bar into the fabric and hook the come-along to it. Pull until the fabric is taut but not distorted. You want the diamonds firm and even, not warped into stretched-out shapes.
- Trim the excess. Once tension looks right, cut off any surplus fabric with bolt cutters so the end diamonds line up with the terminal.
- Secure the far end with another tension bar and its bands.
- Tie it off. Fasten the fabric to the top rail about every 24 inches and to each line post about every 12 inches with tie wires, then clip it to the bottom tension wire with hog rings.
Uneven tension is a common failure. Stretch too hard and you distort the mesh and stress the posts; too little and the fabric sags within a season, which tells you the pull was wrong. Work one run at a time and check that the top edge stays parallel to the top rail as you go. Wrap each tie wire snugly with pliers so it grips the fabric without cutting into the coating. Keeping the whole chain link fence installed on plumb, cured posts is what makes this last step hold.
How Do You Hang and Adjust the Gate?
Gates deserve extra care because a small misalignment shows immediately and never stops annoying you. Gate posts are terminal posts, so set them deeper than line posts and get them plumb and correctly spaced, since the hinge and latch clearances are unforgiving.
Attach the hinges to the gate frame first, then hang the gate on the post at the correct height and check the swing before tightening anything down. Set enough ground clearance that the gate won’t drag when the soil heaves or after rain, align the latch hardware so it engages cleanly, and confirm the swing direction works with your grade and traffic. Account for how the gate behaves under load and test the full swing, latch, and open, before you make it final. Wide drive gates and double gates are considerably harder than a straight run because their weight and span amplify any post that’s even slightly off angle.
When DIY Is Not the Best Choice
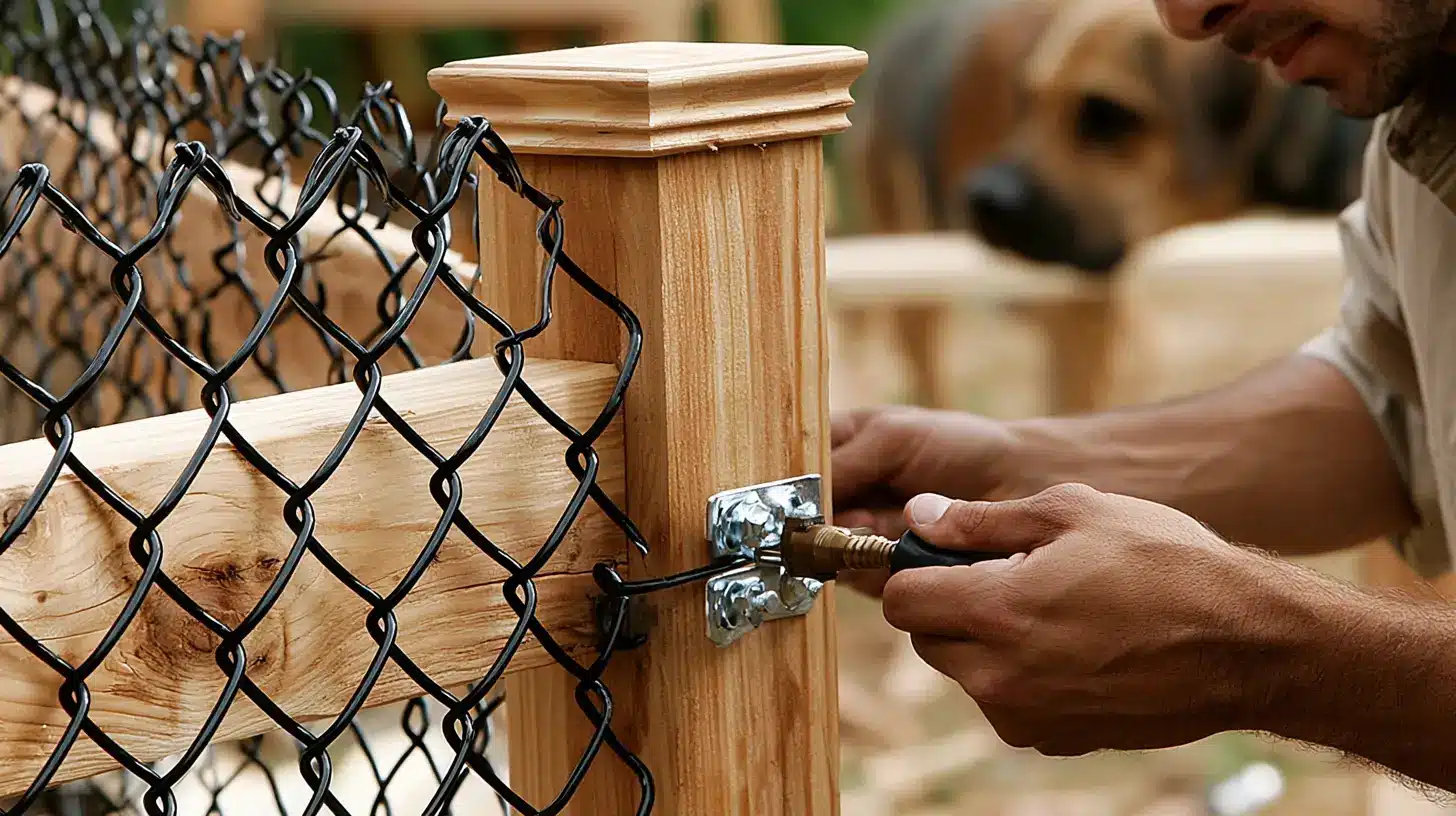
Plenty of flat, square backyards are well within reach of a weekend crew of two. Some jobs aren’t. Consider getting help when you’re dealing with steep slopes, rocky soil that fights an auger, drainage problems, commercial or security-grade fencing, long runs, multiple gates, or windscreen and privacy slats that add wind load. Uncertain property lines or murky local code fall in the same category. A contractor can also assess an existing fence for leaning posts, corroded framework, or drainage issues and tell you honestly whether a repair beats a full replacement. On sloped lots, long commercial runs, or projects where local rules and drainage matter, Seattle-area readers may want to compare the DIY plan with a local installer such as DH Fence Pros before setting posts, since hiring out can save time when conditions are tough.
How Much Does a Chain Link Fence Cost, and How Long Does It Take?
Angi’s 2026 data puts professional chain link fence installation at $8 to $40 per linear foot, with a common average of $10 to $20 per linear foot and an average project cost around $2,412. A typical DIY install runs about one weekend for an intermediate builder. The DIY-versus-pro tradeoff comes down to time, tools, and how many of the factors below apply to your yard.
What moves the price:
- Fence height and wire gauge
- Mesh size and coating (galvanized vs. vinyl-coated)
- Number and type of gates, including drive gates
- Post count and terrain
- Permits and surveys
- Old fence removal, leveling, and clearing
- Privacy slats or windscreen
- Professional labor
If you have hard soil, a big yard, several gates, or an old link fence to tear out, get a quote or two. Those are exactly the conditions that eat DIY savings in rented equipment and weekends, since more posts mean more post holes, more concrete, and more time on your knees checking each one for plumb.
Chain Link Fence Maintenance
Chain link is low-maintenance, not no-maintenance. A quick seasonal check keeps small problems from becoming replacements.
- Walk the fence line and look for loose or missing tie wires; replace worn ones.
- Tighten any loose bolts on bands and rail connections right away.
- Patch torn fabric sections promptly before the tear spreads.
- Keep vegetation off the fabric so it isn’t holding moisture against the steel.
- Rinse the fence with a hose now and then to slow rust, especially on galvanized fabric and the wire ties that hold it.
- Check gate alignment and clearance each season and adjust before it starts to drag.
Key Takeaways
- Check local code, permits, and HOA rules, and confirm property lines before you start.
- Call 811 to locate utilities before digging any hole.
- Set terminal posts first and deeper (about 36 inches) than line posts (about 24 inches), in concrete, going below the frost line where required.
- Let concrete cure about 24 hours before stretching fabric, even if it “sets” in under an hour.
- Stretch fabric tight but not distorted using a come-along and stretcher bar, then secure it with tie wires.
- Give gates extra attention: deeper posts, careful alignment, and a swing test before final tightening.
Frequently Asked Questions
How Deep Should Chain Link Fence Posts Be Buried?
As a general rule, set terminal posts at least 36 inches deep and line posts at least 24 inches deep. Go deeper if your local code requires posts below the frost line to prevent heave, and always size the depth of each hole to your post length and fence height.
How Much Would a 100-Foot Chain Link Fence Cost?
Using the common range of $10 to $20 per linear foot, a 100-foot fence lands roughly between $1,000 and $2,000, and more if you choose taller fabric, a heavier gauge, coated materials, or add gates.
Do You Have to Pour Concrete for a Chain Link Fence?
Terminal and gate posts should be set in concrete because they carry the fabric tension. Line posts are often set in concrete too for extra support and stability. Remember that fast-setting concrete may set in 20 to 40 minutes but still needs about 24 hours to cure before you stretch fabric.
Can I Put a Chain Link Fence in Myself?
Yes, for many flat, square yards the installation is a reasonable intermediate, two-person, one-weekend project. It gets harder fast with steep slopes, rocky soil, drainage problems, long runs, or multiple gates, which is when a professional quote is worth getting.