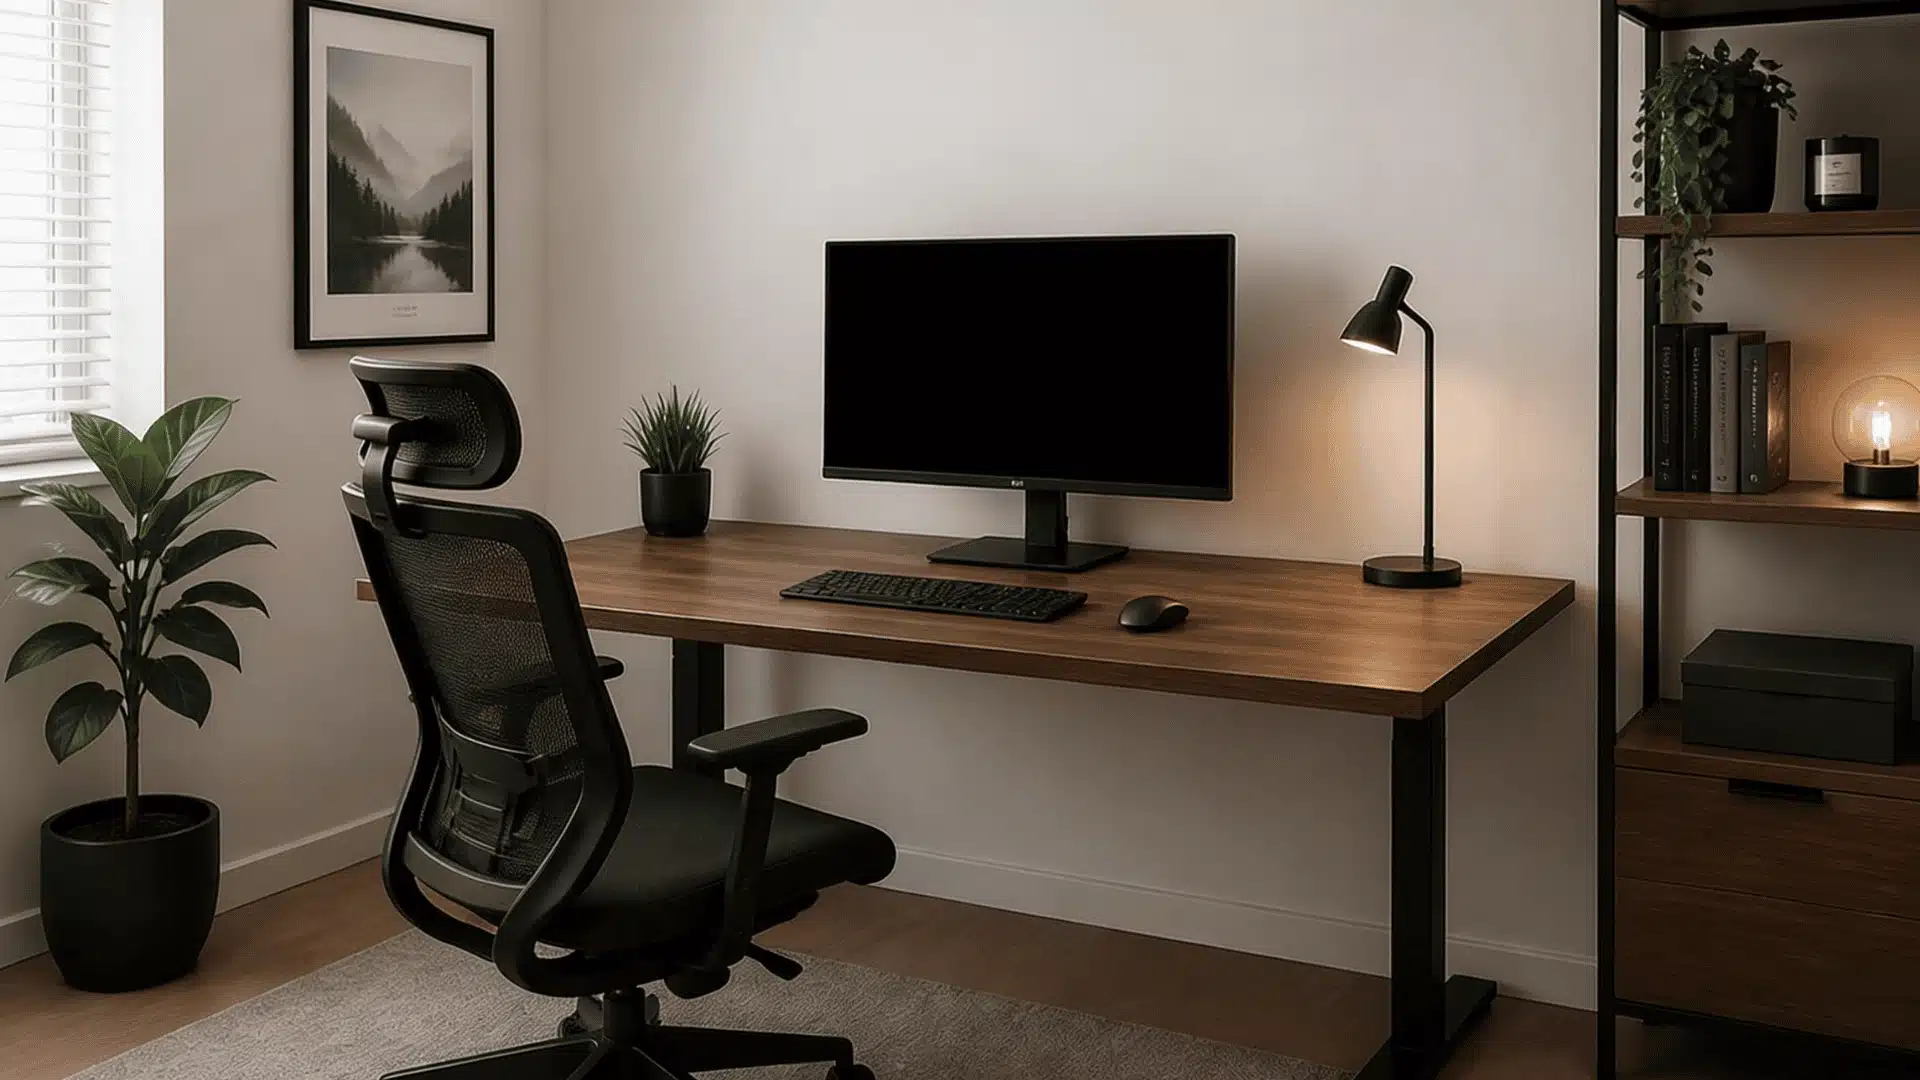
Working from home sounds simple until your back aches, your eyes strain, and your desk drowns in cables. A thoughtful home office setup prevents all of this before it starts.
Most people skip the fundamentals and reach straight for accessories. That backward approach creates problems no monitor stand or cable box can fix once bad habits are already built in.
Comfort, focus, and organization are not separate goals; they depend on each other. Keep reading to discover how the right decisions, made in the right order, change how every workday feels.
From choosing your desk depth to managing your last cable, every step here builds on the one before it. Get the foundation right, and everything else becomes noticeably easier.
What Does a Home Office Desk Setup Actually Need to Do?
A home office setup is about working comfortably for hours, not just buying gear. Getting this right prevents pain and frustration later.
Most people buy accessories first, then regret it when their backs hurt and cables pile up everywhere around their desks.
A good setup does three things well: keeps your body comfortable, your focus sharp, and your desk organized so your mind stays clear.
Always start with the desk and chair, then the monitor, then the lighting, then the cables. Accessories come absolutely last once your foundation feels completely right
Home Desk Setup Guide: 6 Steps to Work Better Every Day
Getting your home office setup right comes down to six decisions. Make them in the right order, and everything else falls into place naturally.
Step 1: Pick the Right Desk for the Way You Work
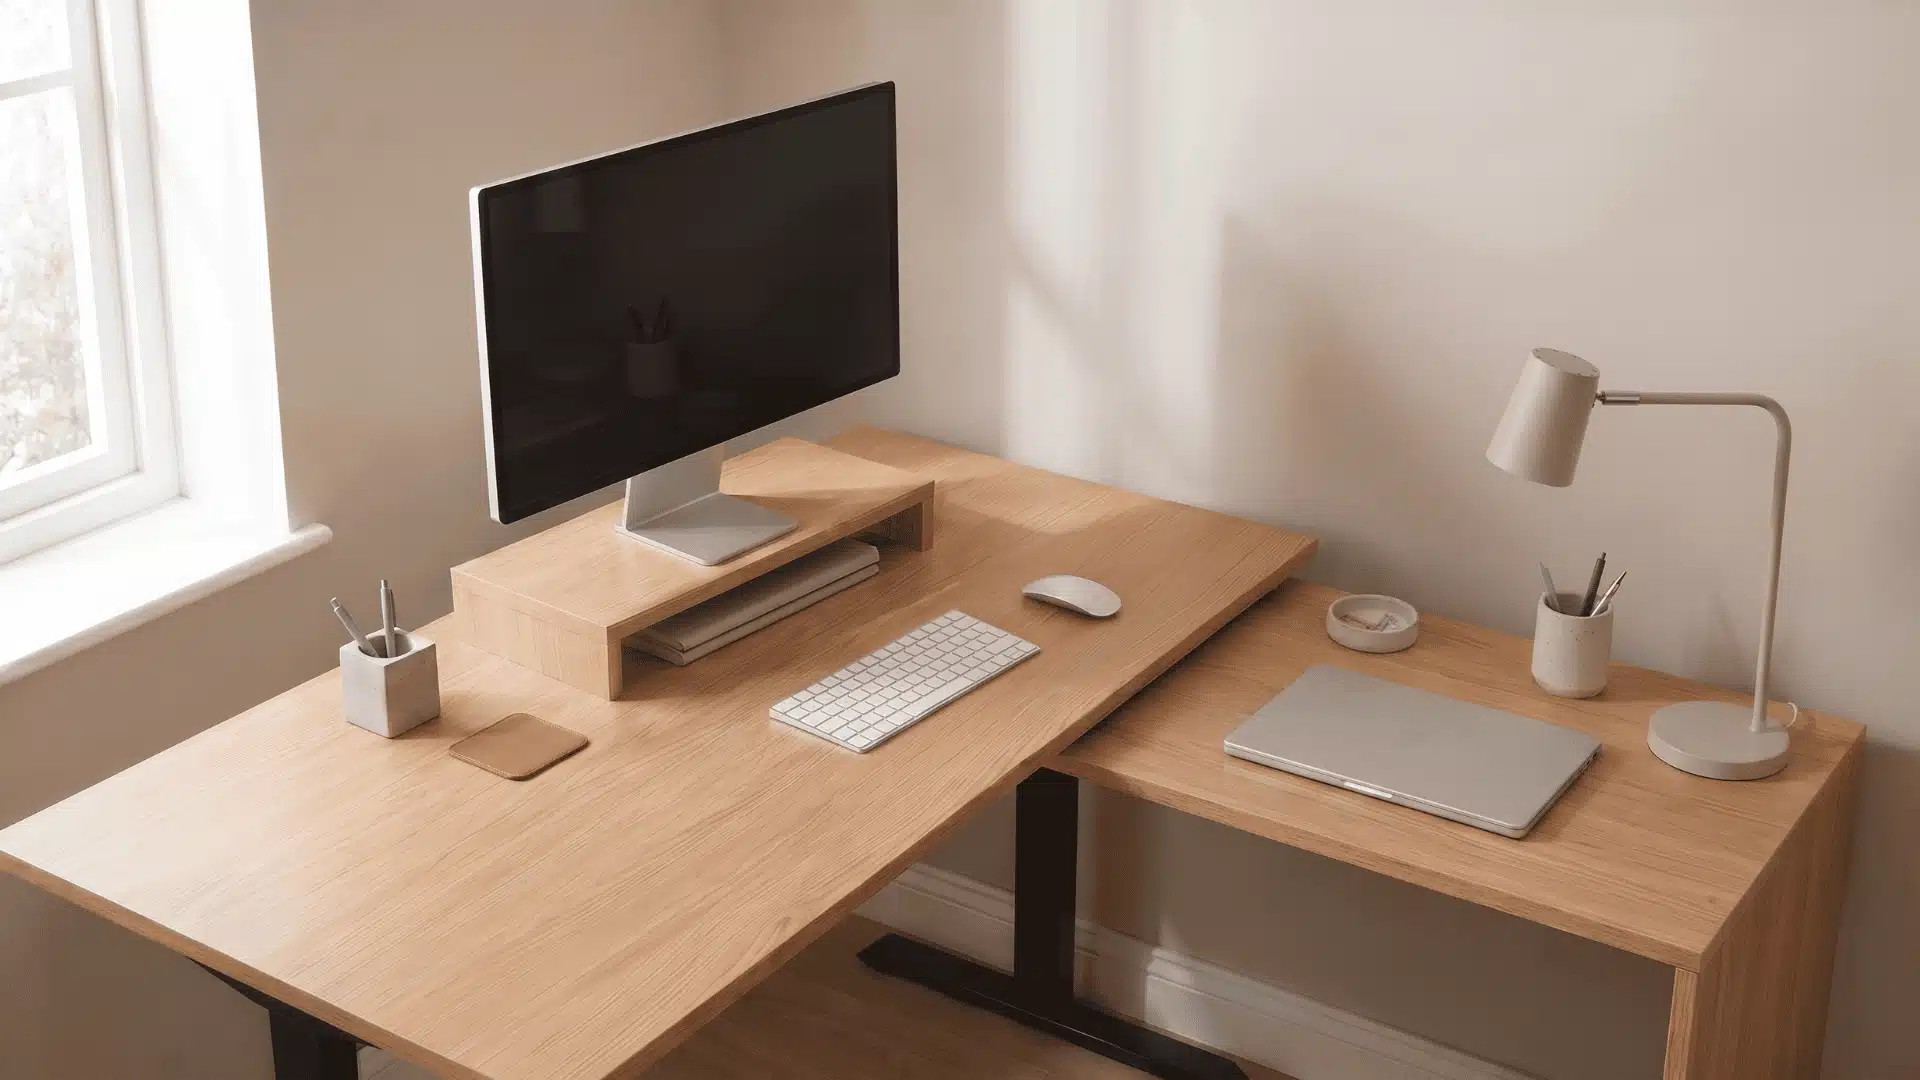
Your home office desk setup starts with depth. Choose one at least 60cm deep. Anything shallower forces your monitor too close, causing eye strain that no other adjustment can fully fix.
L-shaped desks work well for combined setups. They give your laptop and monitor separate surfaces, keeping your primary working area clean, uncluttered, and properly organized without compromising either screen’s position.
A monitor armfrees surface space and improves positioning. Before buying, measure the edge thickness of your desk. Most clamps only fit between 10mm and 80mm, so confirm compatibility before spending any money.
Step 2: Choose a Chair that Supports Your Back
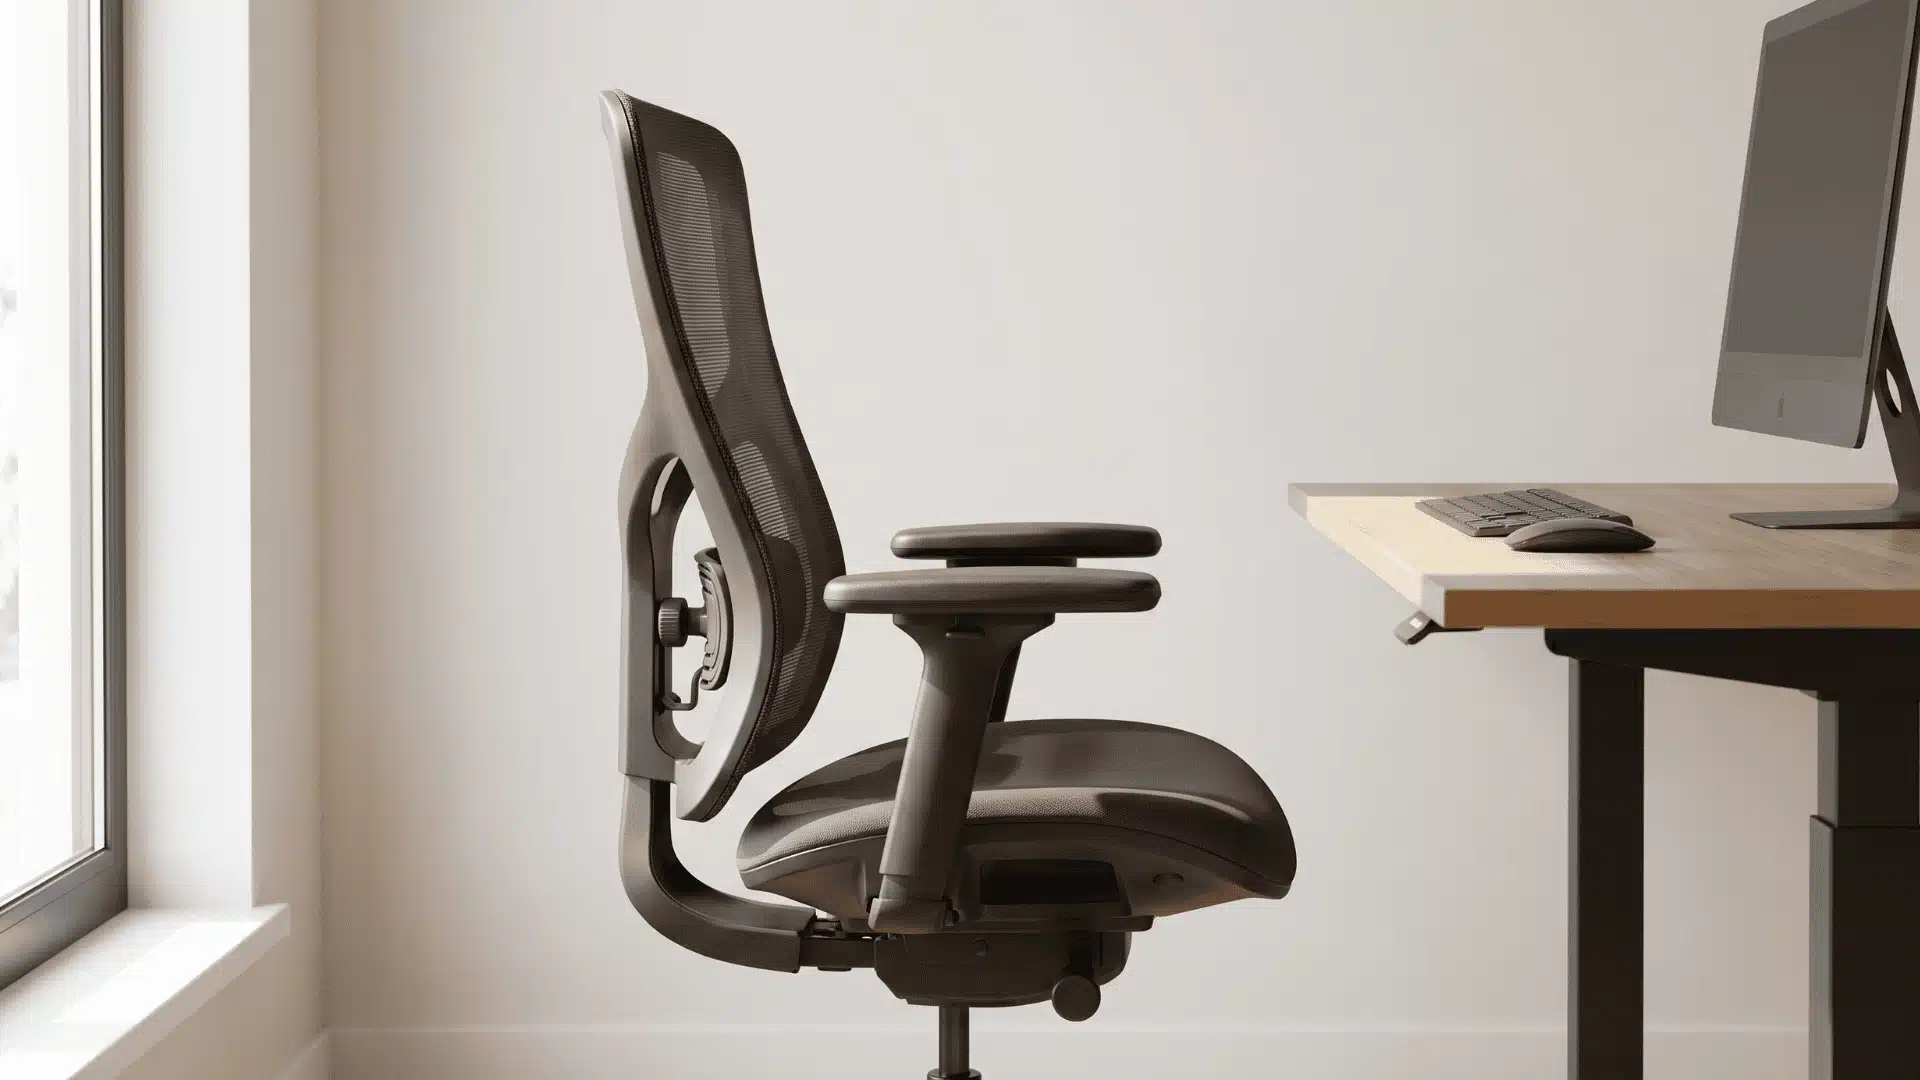
Set your chair height first. Every other adjustment follows from it, keeping your desk, monitor, and posture properly aligned while avoiding costly setup mistakes later.
A bad chair does its damage slowly. Without proper support, your spine and muscles absorb the load your chair should carry. After weeks of daily use, you will feel it.
Get the adjustments right: Feet flat, thighs parallel, knees at 90 degrees, lumbar support in the right curve, armrests level. A dialed-in $60–$130 chair beats an expensive one you simply hope works.
Step 3: Position Your Monitor and Keyboard Correctly
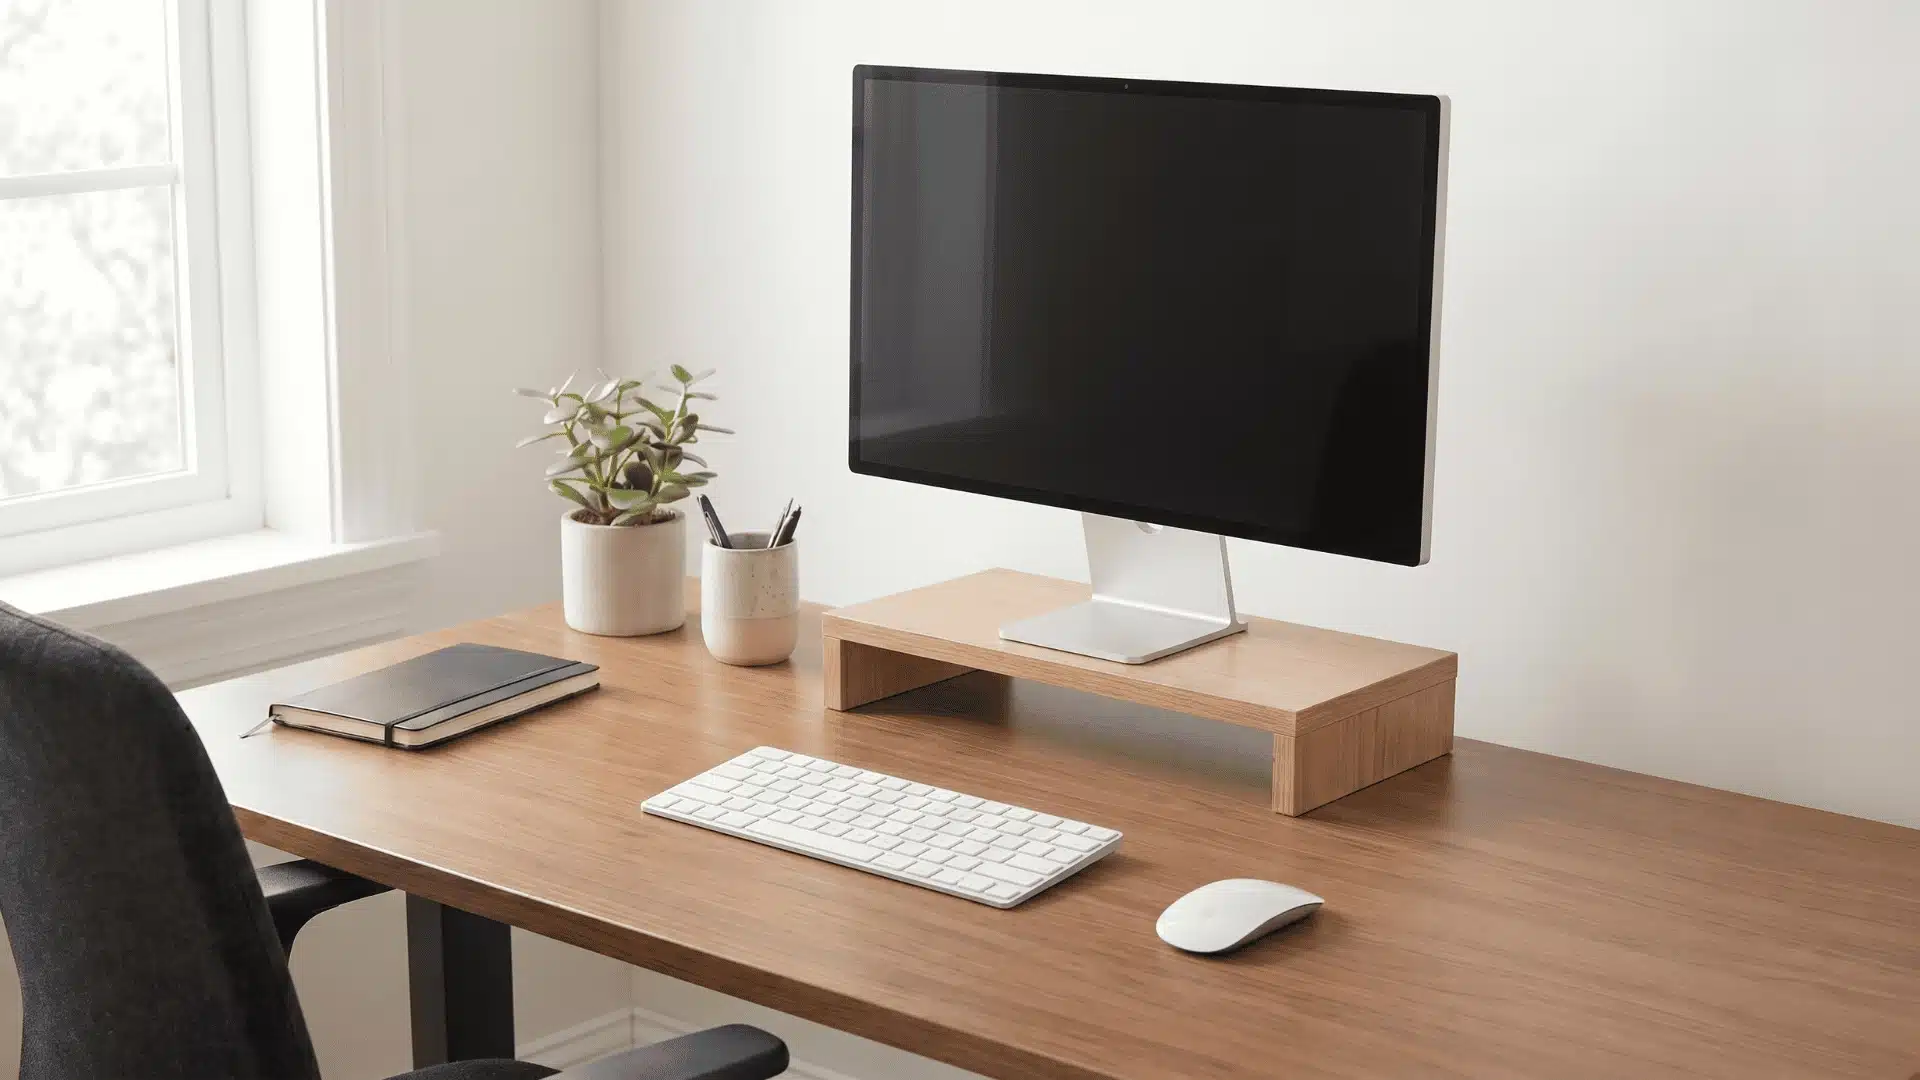
How you position your screen defines everything. It determines how your ergonomic home office setup actually feels after hours of work. Getting this right prevents pain before it starts.
Place your screen 20–26 inches away with the top edge at or just below eye level. Your gaze should land naturally in the upper third without tilting your head at all.
A single 27-inch monitorcovers most tasks well. Dual monitors and ultrawides serve specific workflows but come with trade-offs in cost and software formatting compatibility.
Typewith forearms parallel to the floor, elbows at 90 degrees, wrists straight. Use wrist rests only when pausing, never during active keystrokes, as pressure builds carpal tunnel discomfort over time.
Step 4: Connect Everything Through One Hub or Dock
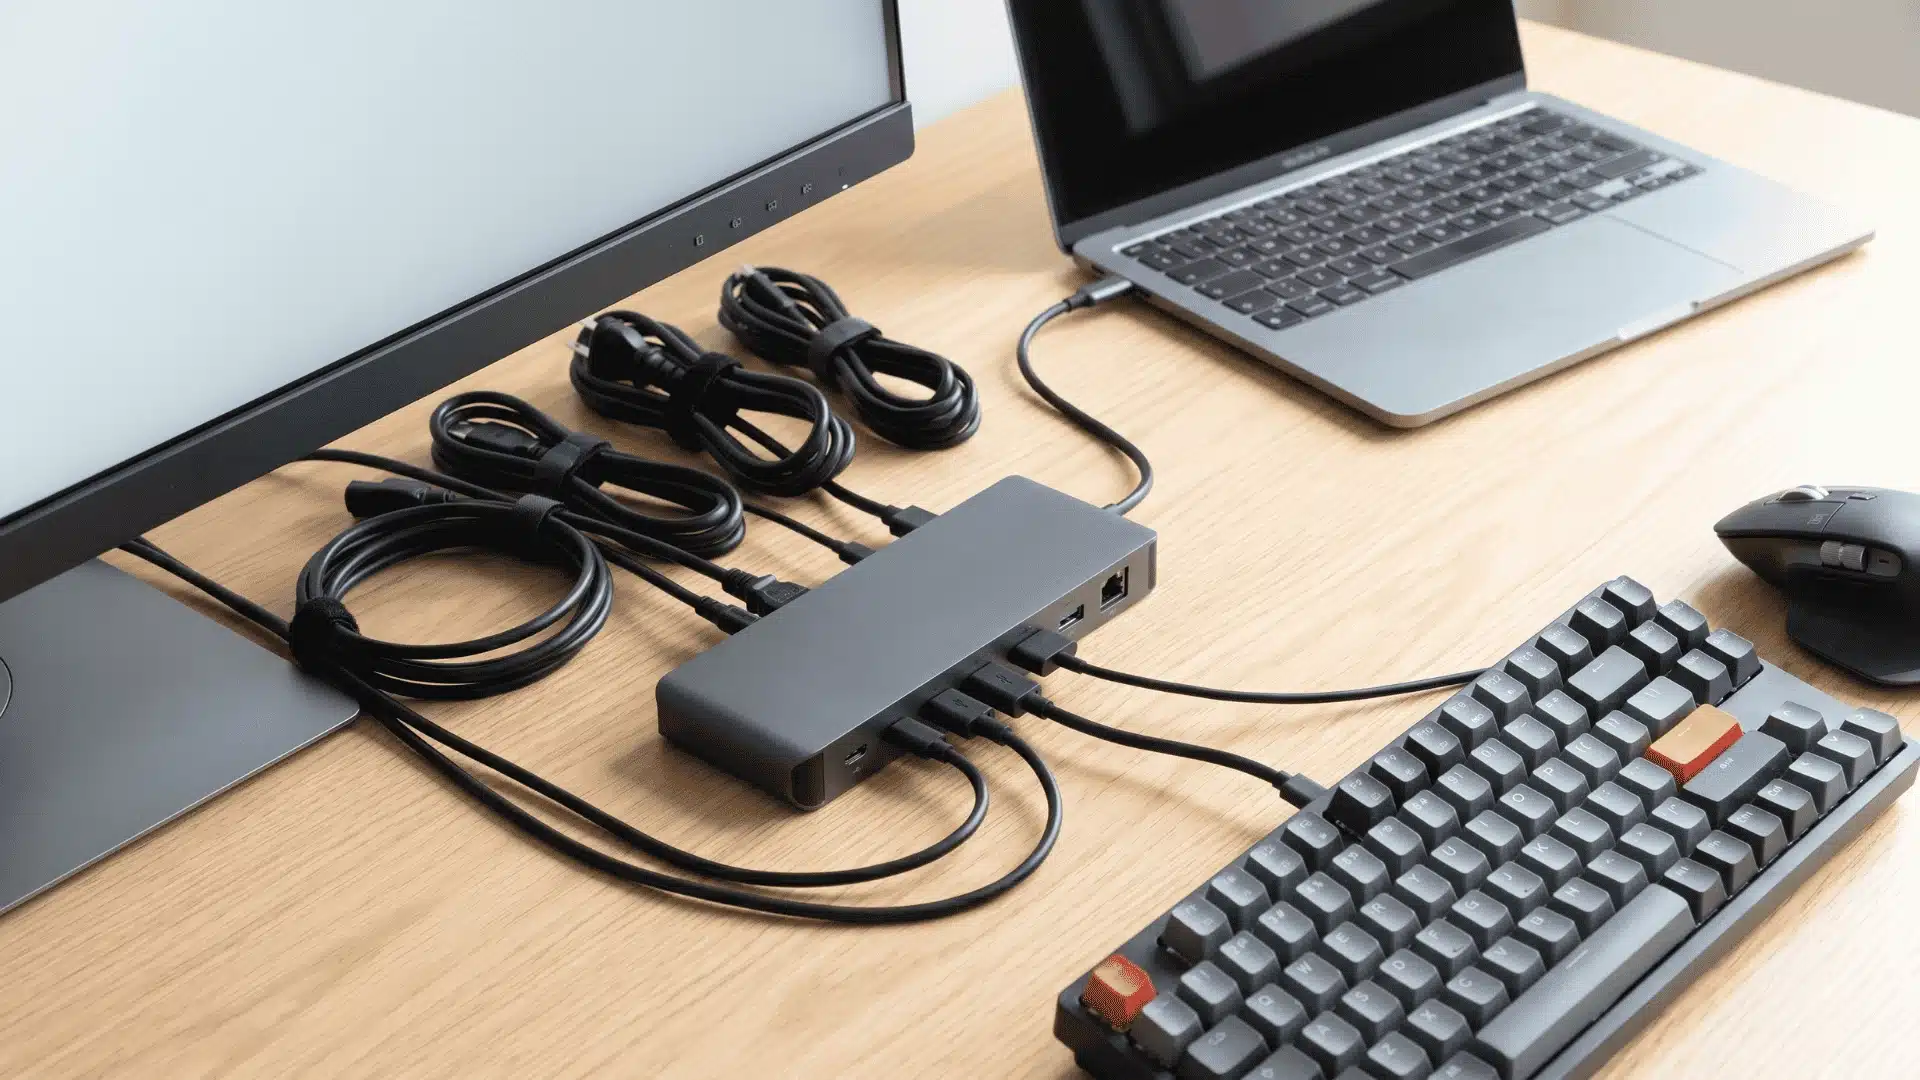
Plugging everything in directly gets messy fast. A hub or dock fixes this by bringing all connections into one spot, making your setup feel intentional, organized, and instantly ready.
A USB-C hub adds HDMI, USB ports, and charging via a single port. A docking station goes further, connecting multiple monitors and all peripherals, so sitting down means everything is immediately live.
Check compatibility before buying. Not every hub works with every laptop. Confirm port matching and video output support first. One right choice keeps your desk clean and your workflow completely uninterrupted.
Step 5: Set Up Your Lighting to Reduce Eye Strain
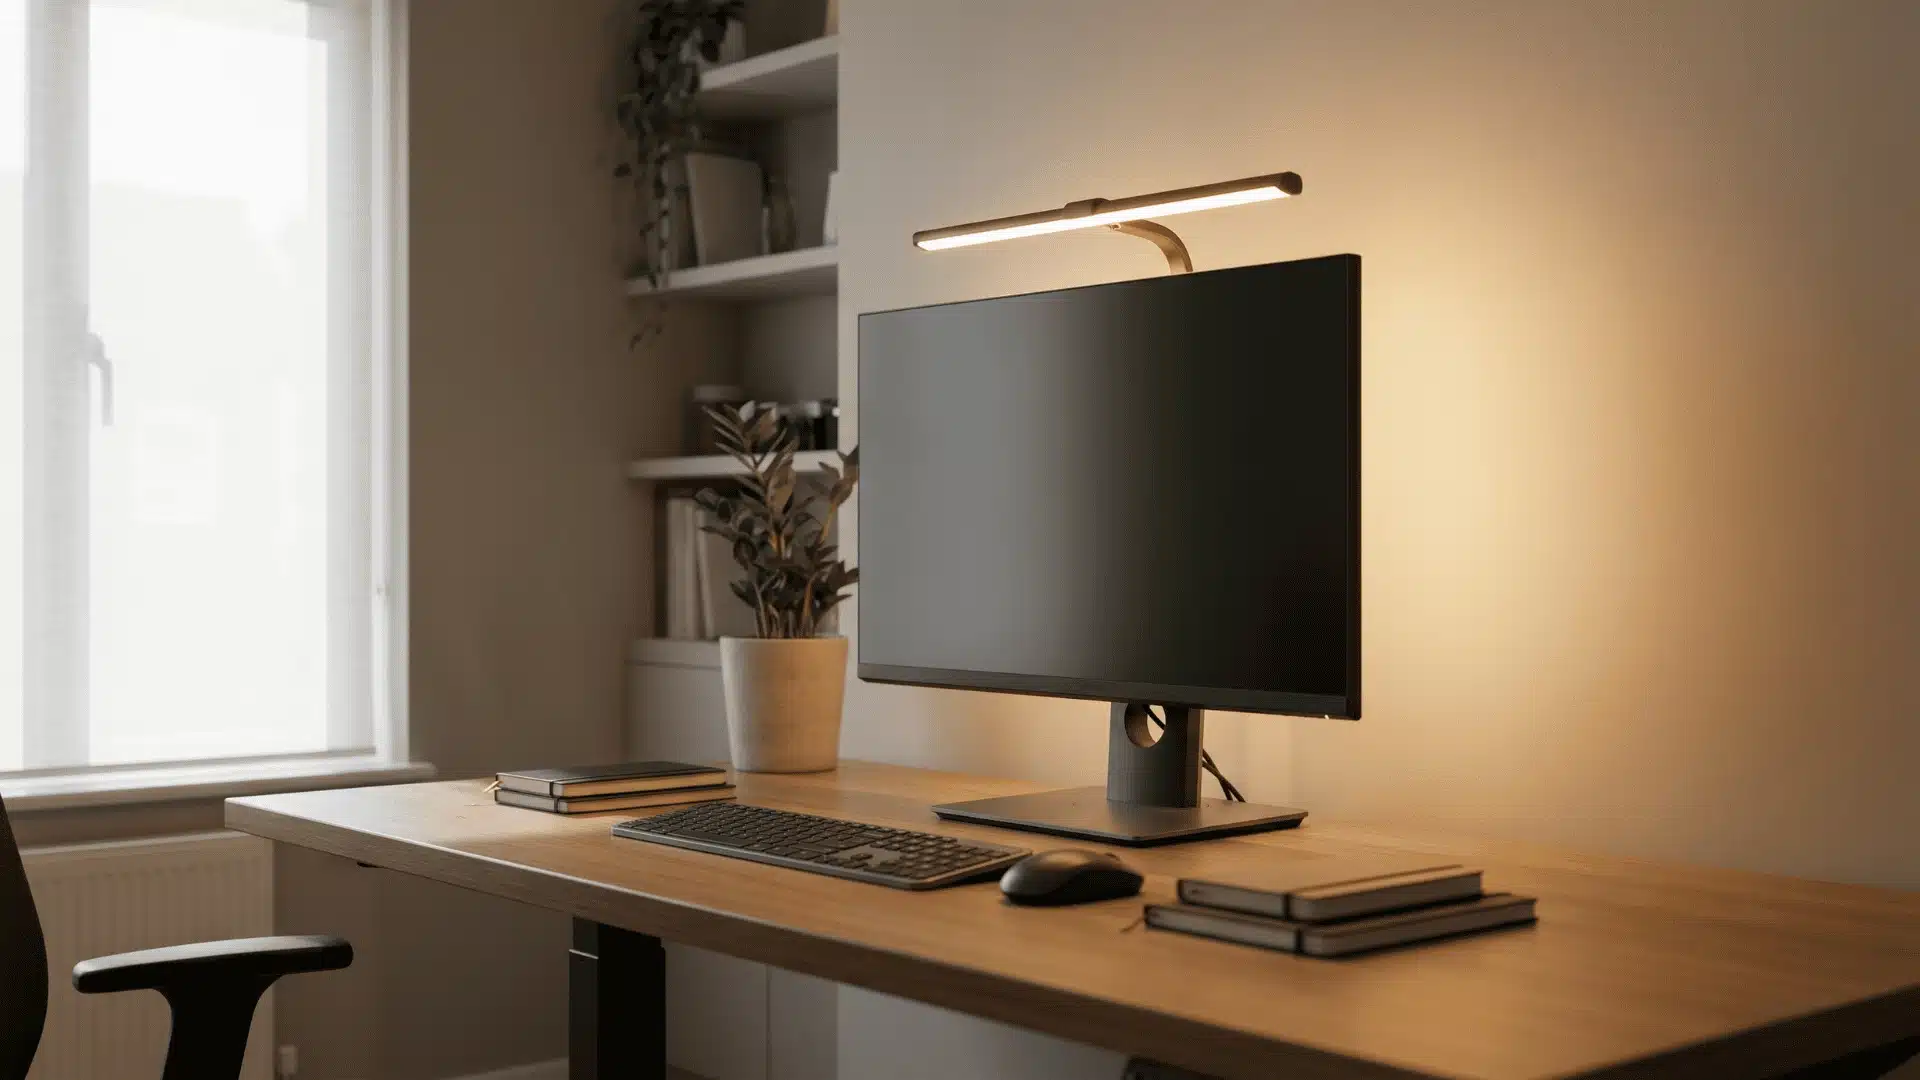
Bad lighting causes eye strain in a specific way. Your eyes constantly adjust to balance the brightness of your screen against the darkness of the room. That continuous micro-adjustment tires them out, not the screen itself.
Position yourself sideways to natural light. Avoid windows directly behind or in front of you. A monitor light bar reduces glare, while a warm lamp behind your screen effectively balances contrast.
Proper lighting takes five minutes to fix. Reducing the contrast gap between your screen and surroundings prevents hours of strain. Small deliberate adjustments make a far bigger difference than simply lowering screen brightness.
Step 6: Implement Cable Management During Setup
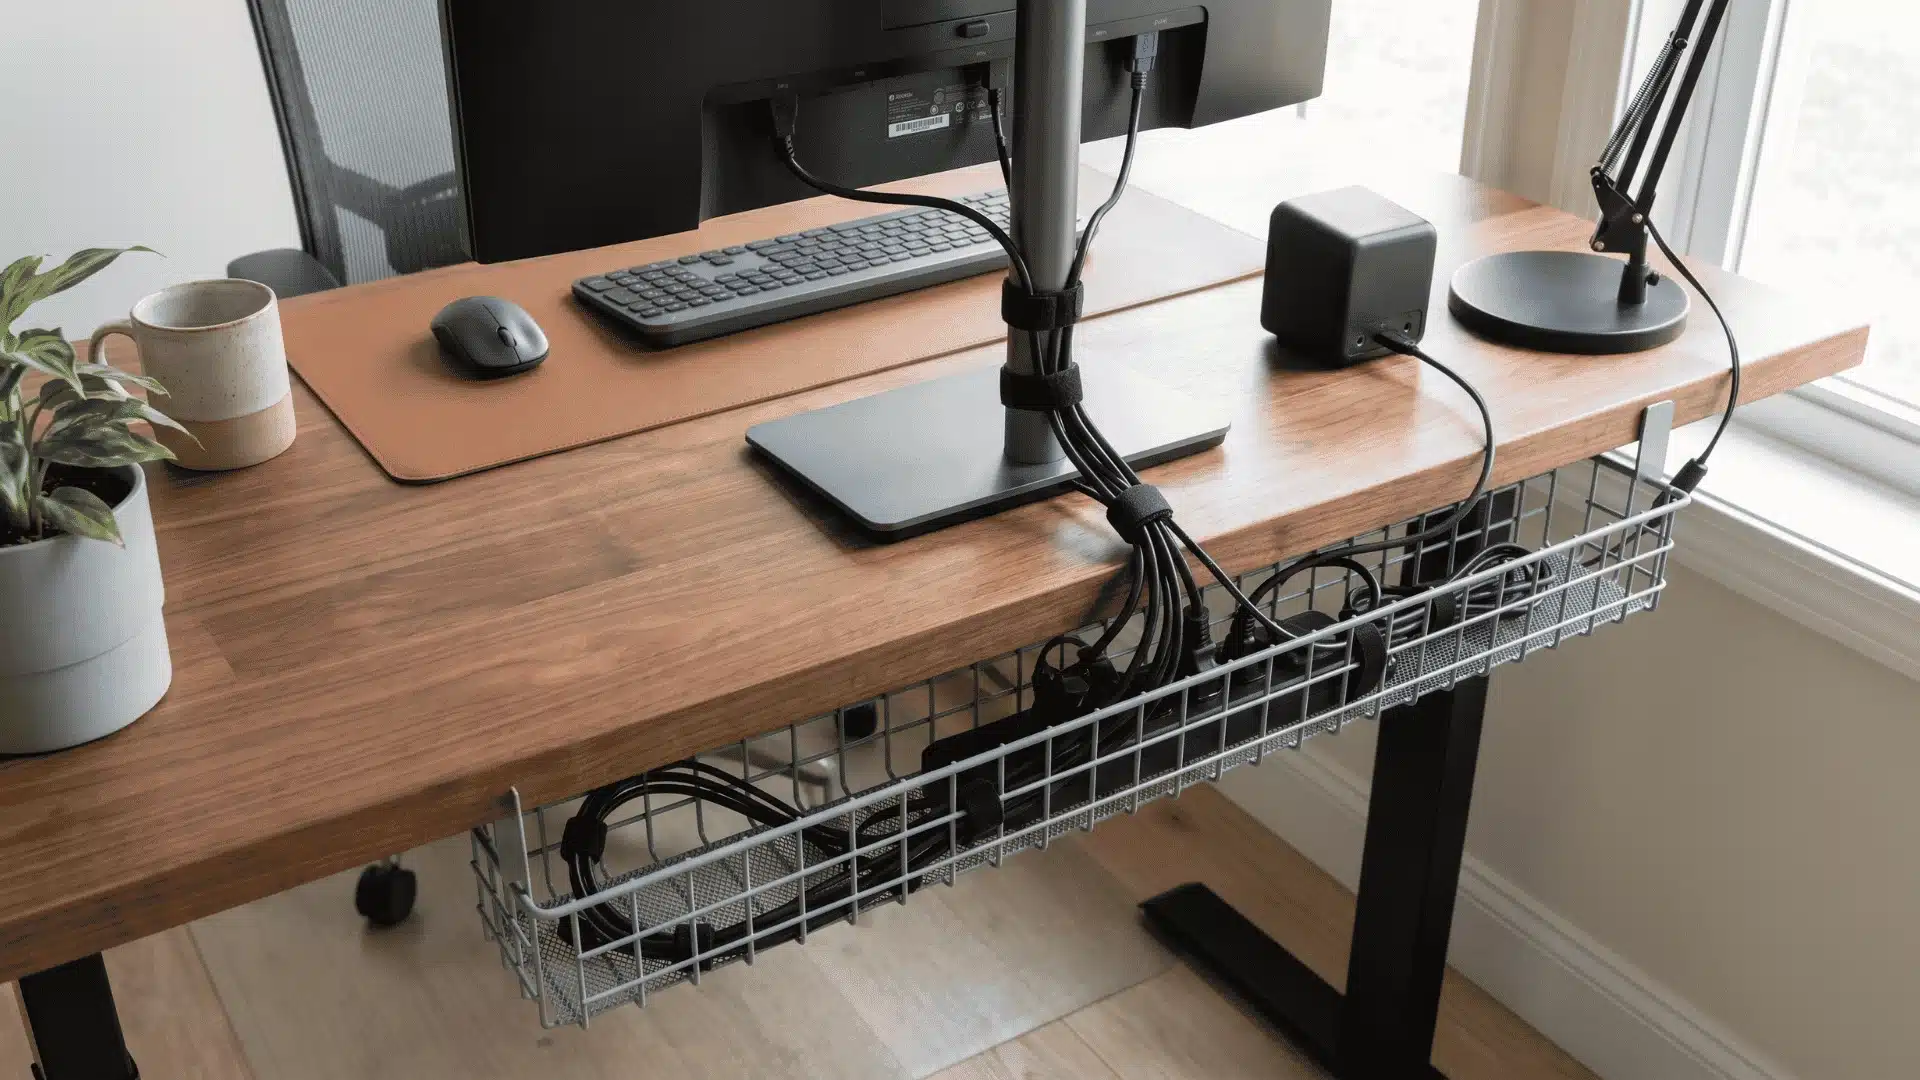
Cable management fails when treated as tidying. It is an architectural problem. Get the structure right once during setup, and it stays clean indefinitely without requiring ongoing maintenance or reorganization.
Start with power strip placement before running any cables. Mount it under your desk surface first. Every device routes down to this strip, then one cord travels to the wall. That is the entire system.
Measure each cable run and add 15–20cm of slack. Never pull cables taut. A cable under tension will bind or snap connectors when a sit-stand desk rises.
Secure cables in the right order. Bundle same-direction cables with Velcro straps, mount a cable tray under the desk, then route the wall cord through a floor clip. Wireless peripherals eliminate two visible cables before you even begin.
How to Choose the Right Monitor, Keyboard, and Mouse?
You do not need to buy the most expensive gear. You just need to buy the right thing for the way you work.
Choosing the right peripherals comes down to your specific work habits. The wrong choice wastes money while the right one quietly improves every single hour you spend at your desk.
Monitor
Your monitor is the one thing you look at every single minute you work. Getting the size, resolution, and panel type right matters more than almost any other purchase.
- For everyday work, a 24- to 27-inch screen with 1080p resolution covers everything you need without overspending on features your workflow will never actually use.
- For photo editing, choose an IPS panel specifically. Colors render more accurately, meaning what you see on screen genuinely reflects what your work will look like in print.
- For gaming, prioritize a screen running at 144Hz or faster. The difference in motion clarity and response time is immediately noticeable compared to a standard 60Hz display.
The right monitor does not need to be the most expensive one available. It needs to match exactly what you spend most of your working hours actually doing.
Keyboard
Your keyboard is the tool your hands never leave. Choosing one that fits your environment and work style reduces fatigue and keeps your desk feeling clean and controlled.
- A wireless keyboard keeps your desk tidy and your hands in a naturally comfortable position without cables pulling or restricting your movement throughout the day.
- Mechanical keyboards are built to last significantly longer than membrane alternatives, making them a smarter long-term investment despite the slightly higher upfront purchase cost.
- If you share a room, choose switches specifically rated for quiet operation. Constant clicking is more disruptive to others than most people realize until someone mentions it.
A keyboard that suits your space and habits is one you stop noticing entirely. That invisibility means it is doing exactly what a good peripheral should do.
Mouse
Your mouse handles everything your keyboard cannot. Comfort, freedom of movement, and wrist support matter far more than extra buttons or premium branding you will rarely use.
- A good mouse is far easier on your hand than using a trackpad for extended sessions. Wireless models give you more natural freedom of movement across your desk.
- If your wrist starts to hurt after long sessions, switch to a vertical mouse. It repositions your hand into a natural handshake posture, reducing strain considerably over time.
The right mouse is one your hand completely forgets about. If you are still thinking about it mid-session, it is probably the wrong one for you.
The right peripherals do not demand a large budget. They demand the right match between what you buy and how you genuinely work.
Starter Setup vs. Upgraded Setup
You do not need to buy everything at once. Start with the basics, get comfortable, and upgrade only when you know exactly what you need.
| Category | Starter | Upgrade | Skip |
|---|---|---|---|
| Desk and Chair | Basic 60cm desk with adjustable lumbar chair | Standing desk and full ergonomic chair | Premium designer desks and branded chairs |
| Monitor and Input | 24-inch 1080p with basic keyboard and mouse | Monitor arm, wireless keyboard, and mouse | Multiple monitors and mechanical keyboards early on |
| Lighting and Cables | Natural sideways light with cable tray | Monitor light bar and full under-desk cable system | RGB lighting and expensive cable boxes |
| Extras | Nothing yet | USB hub or dock | Speakers, webcams, decorative accessories |
Build your foundation first and upgrade one thing at a time. Every dollar spent on the basics of your work-from-home setup returns more value than the same dollar spent on extras.
Common Mistakes that Cause Long-Term Problems
Small setup mistakes may seem harmless at first, but can slowly cause pain, damage, and frustration. Here are the most common ones worth avoiding right now:
- Placing your desk in a noisy spot: A desk next to a door, kitchen, or TV area kills your focus without you noticing. Where you place your desk matters as much as what is on it.
- Not leaving enough space between your desk and the wall: Sitting too close to a wall can make you feel cramped and add stress over time.
- Sharing your workspace with unrelated clutter: Random items on your desk blur the line between work and home, killing your focus fast.
- Poor ventilation around your computer: Computers trapped in enclosed spaces overheat, perform worse, and wear out faster, especially in warm climates.
Home Office Desk Setup Checklist
Get the essentials right from the start. This checklist covers every key component: furniture, display, cables, and more, so nothing gets overlooked.
| Category | Item | Details |
|---|---|---|
| Furniture | Desk | Minimum 60cm deep |
| Furniture | Chair | Adjustable with good back support |
| Display | Monitor | At least 24 inches wide |
| Input Devices | Keyboard & Mouse | Wireless |
| Cable Management | Cable Tray, Velcro Straps & Cable Clips | For routing and securing cables |
| Lighting | Desk Lamp or Monitor Light Bar | Positioned at or above your workspace |
| Connectivity | USB Hub or Docking Station | Centralizes all your connections |
With the right furniture, display, and accessories in place, your workspace will be comfortable, organized, and fully optimized for productive, distraction-free work.
Quick Reference: Common Setup Configurations by Work Type
- For Everyday Work: A monitor, a wireless keyboard and mouse, and a good lamp are all you need. Make sure your chair supports your back.
- For Gaming: Get a 144Hz monitor, a wired mouse and keyboard for faster response, and headphones over speakers in shared spaces.
- For Creative Work Like Photo or Video Editing: Use an IPS monitor for accurate colors, a larger desk for tablets, and good lighting to see your work clearly.
- For Video Calls and Remote Meetings: Place your monitor at eye level, keep your background clean, and use a ring light to keep your face clear.
Your setup does not need to match anyone else’s. Pick what fits your work, start simple, and add only what you truly need.
Conclusion
A productive home office setup is not about spending more money; it is about making the right decisions in the right order, starting with furniture and ending with accessories.
Your posture, your focus, and your cable management are all connected. When each layer supports the next, the whole setup works as one system rather than a collection of separate purchases.
The setups that hold up over time share one thing in common: every choice was intentional, every layer was built on a solid foundation, and nothing was bought before the basics were right.
Start with your desk and chair today. Dial in your monitor position, sort your lighting, then tighten your cables. One step at a time is all it takes to build something that genuinely works.
Frequently Asked Questions
How far should my monitor be from my face in a home office?
Your monitor should be placed 20 to 26 inches from your eyes, with the top edge at or just below eye level. At this distance, your gaze naturally falls in the upper third of the screen without requiring any head tilt. Positioning the screen too close is one of the most common causes of eye strain in home office setups, and neither brightness nor blue-light adjustment fully compensates for the incorrect distance.
What is the minimum desk depth for a home office setup?
A home office desk should be at least 60cm (approximately 24 inches) deep. Anything shallower forces the monitor closer than the recommended 20–26-inch viewing distance, which causes eye strain that ergonomic accessories cannot correct. Deeper desks also allow a more natural keyboard and arm position, keeping forearms parallel to the floor and wrists straight during extended work sessions.
Do I need a docking station or USB hub for my home office?
A USB-C hub is sufficient for most single-monitor home office setups, adding HDMI output, USB ports, and charging through one cable. A docking station is the better choice if you use multiple monitors or need to connect many peripherals simultaneously, since it supports higher bandwidth and more connections. Always confirm port compatibility and video output support with your specific laptop model before purchasing either option.
How do I reduce eye strain from screens in a home office?
Eye strain in a home office is primarily caused by the contrast gap between a bright screen and a dark surrounding environment, not the screen itself. The fix is to balance ambient lighting with your screen brightness. Sit sideways to any windows to avoid direct glare, place a warm lamp or monitor light bar near your screen to raise background brightness, and set your screen brightness to match the room rather than overpower it. This adjustment takes under five minutes and significantly reduces end-of-day eye fatigue.