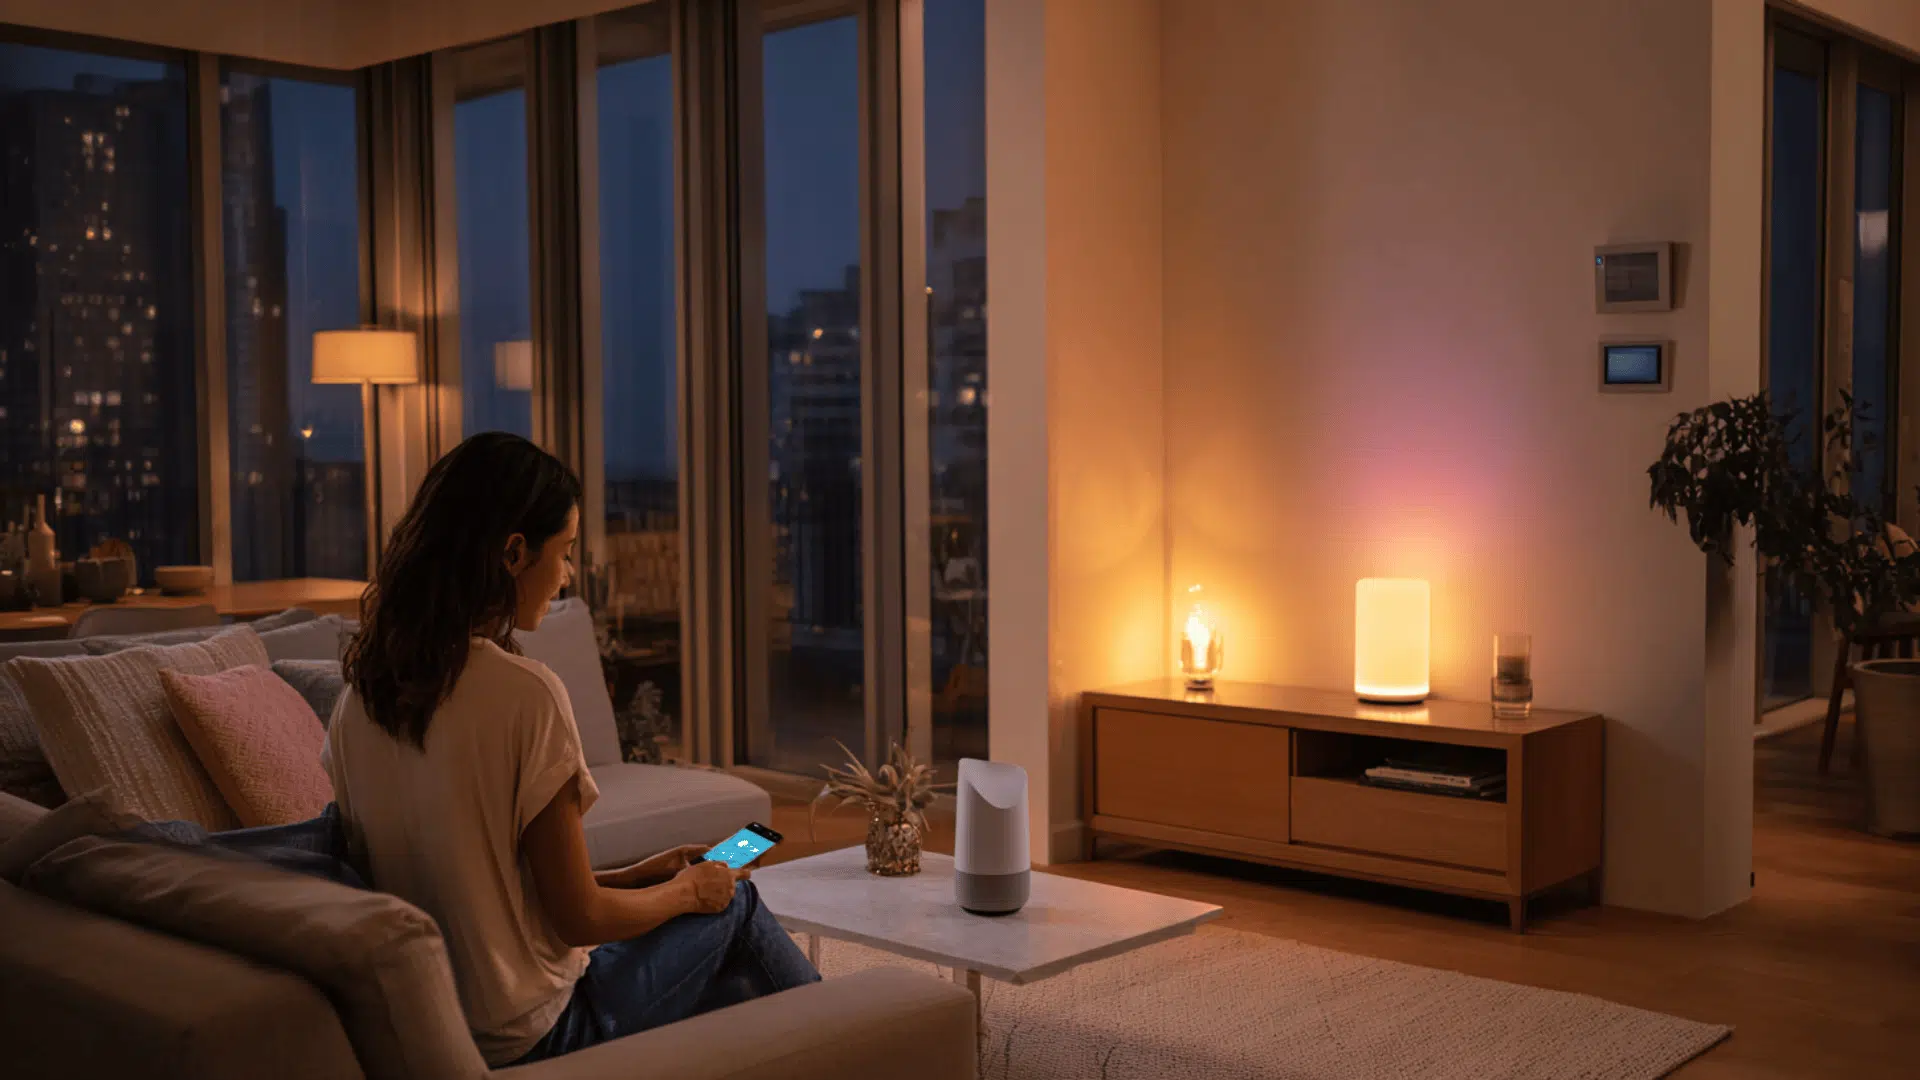
Moving into a new place can feel exciting, but also a little uncertain. You never know who might still have a copy of the old keys.
That’s why learning how to change locks is one of the smartest things you can do for your home.
In this guide, I’ll walk you through everything step by step. You’ll see how to check your tools, pick the right lock, and install it safely.
By the end, you’ll feel confident handling your own locks and keeping your home secure.
Change Locks Or Rekey: Which Is Right For You?
Rekeying means keeping your existing lock but changing the key pattern inside. You’ll keep the same hardware, but old keys will no longer work. It’s ideal when you’ve lost a key or want all doors to use one key.
Replacing means removing the old lock and installing a new one. Choose this when your hardware is worn out, damaged, or you want stronger security.
Quick decision list:
- Lost or stolen keys → rekey
- New home → rekey or replace, depending on condition
- Broken or rusted lock → replace
- Security upgrade → replace
Rekeying is cheaper and faster. Replacing costs more but lets you pick stronger, newer hardware.
Common Home Lock Types
Before replacing your hardware, identify the lock already on your door. Each type functions differently, and knowing what you have helps you buy the right parts.
| Lock Types | Where It’s Used | Key Features |
| Cylindrical Knob or Lever | Most interior and exterior doors | Simple to install; replace if the latch sticks or the handle loosens |
| Deadbolt (Single/Double Cylinder) | Front or back doors | Strong security; replace if bolt jams, rekey after moving in |
| Mortise Lock | Older solid doors | Built inside the door; heavy-duty; replace if the mechanism jams |
| Rim or Night-Latch | Some front or side doors | Surface-mounted; locks automatically; replace if latch fails |
| Euro-Cylinder | Metal or uPVC doors | Slim profile; easy swap; replace if the cylinder turns loosely |
Knowing your lock type makes shopping easier and ensures your new hardware fits properly.
Set Up Safely Before You Start
Work with the door open so you don’t get locked out. Wear safety glasses to protect your eyes, and keep pets or kids out of the area while you work.
Take a few clear photos of your current lock before removing anything. These photos help you line up parts correctly later.
Measure thedoor’s thickness and note the backset, the distance from the edge of the door to the center of the knob hole. Also, check if the latch faceplate is square or rounded.
Make sure the deadbolt sits about 4–6 inches above the handle, with enough room for both to move smoothly once installed.
A Step-by-Step Guide on How to Change Locks for Different Types
If you’ve never changed a lock before, don’t worry, the process is simple when you follow these clear, easy steps.
Tools & Materials You’ll Need
- Screwdriver (Phillips or flathead)
- Drill or driver (optional)
- Replacement lockset or deadbolt (match door size and brand)
- Strike plate and 3-inch screws
- Safety glasses
1. Standard Cylindrical Lock
This is the most common type found on interior and exterior doors. Replacing it takes only a few minutes and a screwdriver.
Step 1: Remove the inside knob or lever and unscrew the through-bolts.
Step 2: Pull both sides apart and remove the latch from the door edge.
Step 3: Insert the new latch, aligning it with the existing cutout.
Step 4: Attach the exterior and interior handles, then tighten the screws evenly.
Step 5: Test the handle and latch to ensure smooth movement before closing the door.
Once the handle moves freely and the latch retracts fully, your replacement is complete. Open and close the door a few times to check for alignment. If the latch sticks, loosen the screws slightly, adjust, and retighten for a snug, smooth fit.
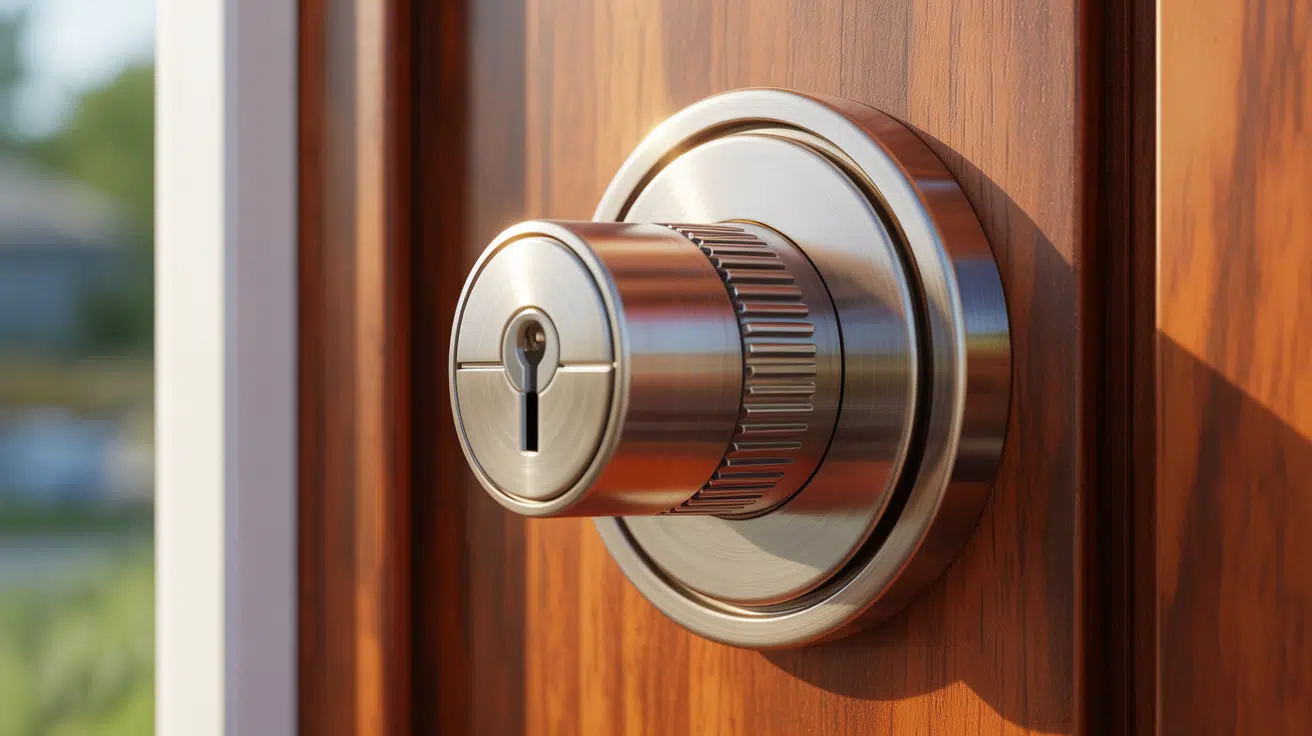
2. Deadbolt Lock
Deadbolts provide added security and are often installed on entry doors. Follow these steps to replace one safely.
Step 1: Remove the thumb-turn plate and mounting screws.
Step 2: Slide out the old bolt and both cylinders.
Step 3: Insert the new bolt, keeping the tailpiece centered.
Step 4: Attach both cylinders and plates, then tighten the screws securely.
Step 5: Reinforce the strike plate with 3-inch screws and test from both sides.
After installation, make sure the bolt slides all the way into the strike plate without rubbing. Lock and unlock it several times to confirm it moves smoothly and that the key turns easily from the outside.
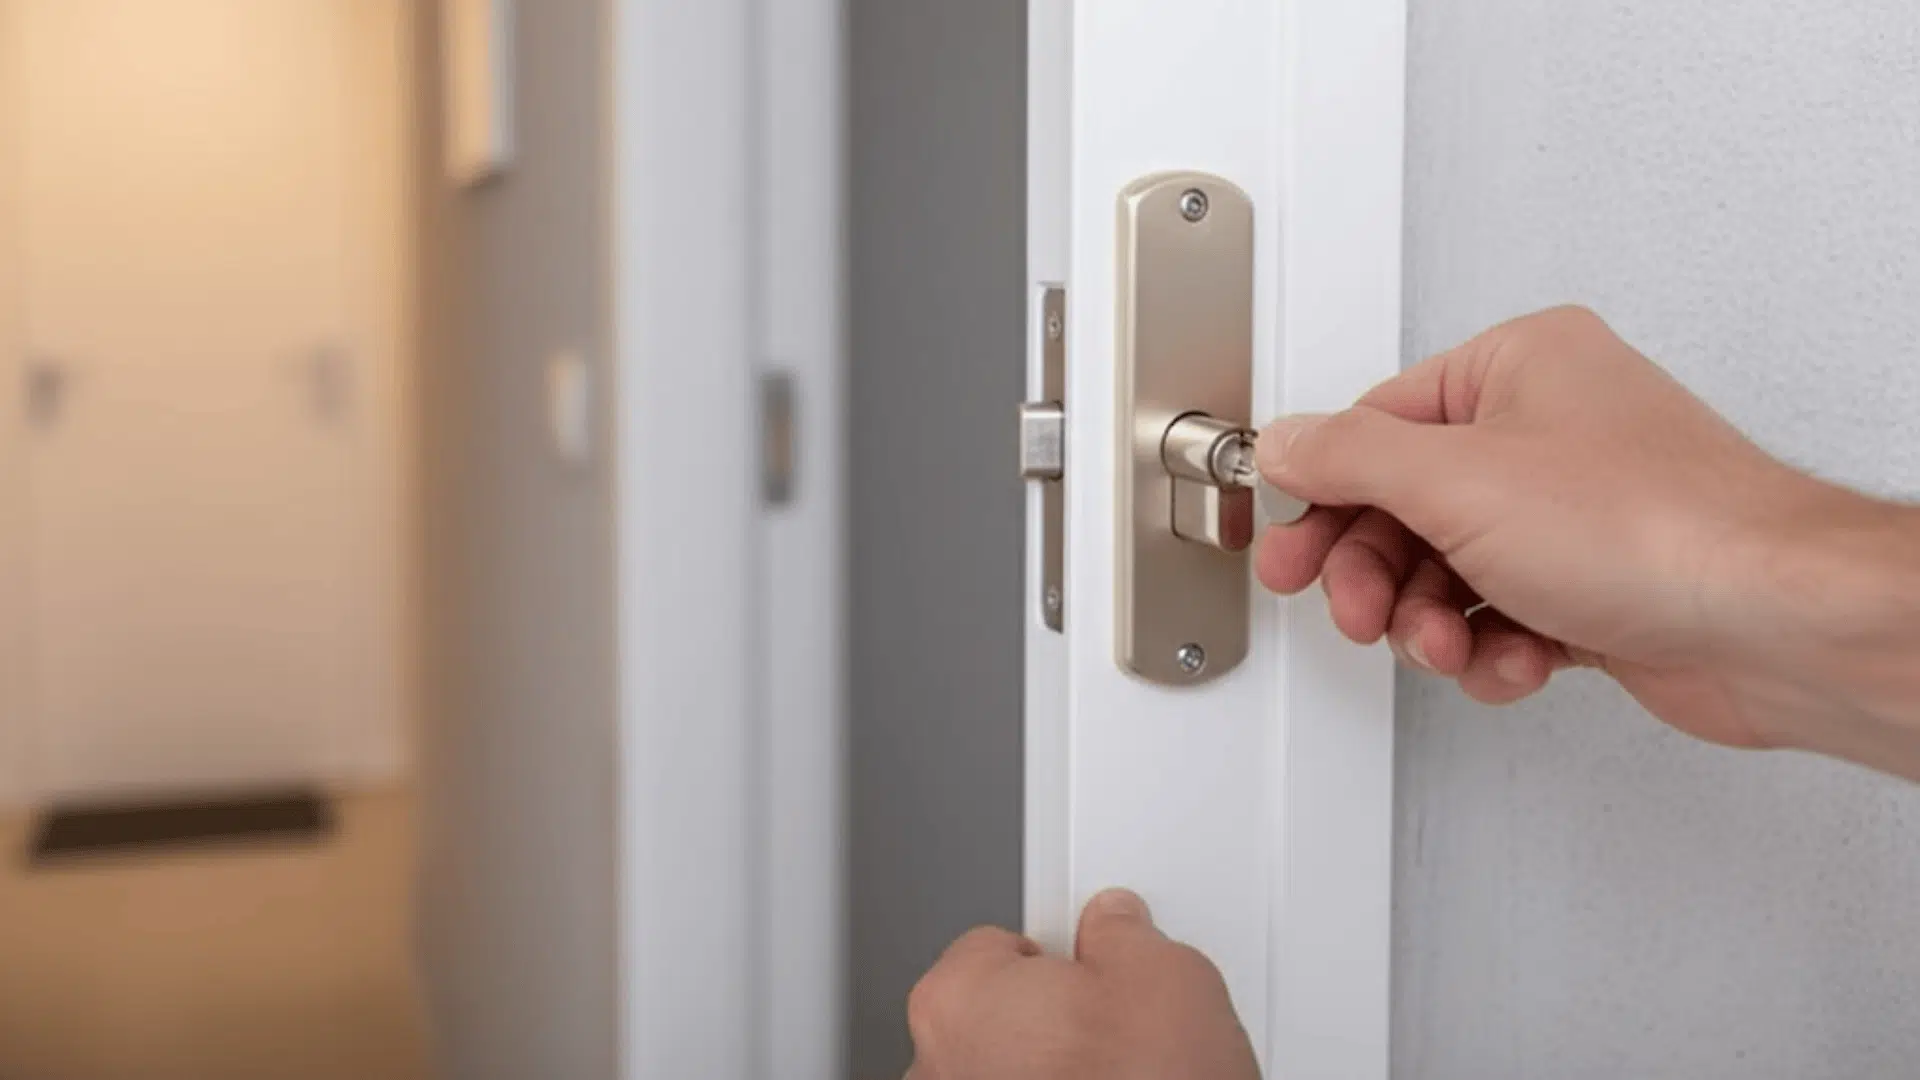
3. Mortise or Rim Lock
These older-style locks are common on solid wood or vintage doors. They take a few extra minutes since the lock body fits into a slot inside the door.
Step 1: Unscrew the interior trim and remove the old lock body.
Step 2: Insert the new lock, matching the existing pocket or holes.
Step 3: Reattach trim plates and handles, tightening screws evenly.
Step 4: Test the latch and key to confirm smooth alignment.
Once installed, the key should turn smoothly without resistance. If the latch doesn’t sit flush, adjust the lock body slightly in the pocket before tightening. A small misalignment can cause sticking or loose movement.
4. Euro-Cylinder Lock
Euro cylinders are popular on modern metal or uPVC doors. They’re simple to replace and require only one screw to remove.
Step 1: Remove the retaining screw on the door edge.
Step 2: Insert the key, turn slightly, and slide out the old cylinder.
Step 3: Fit the new cylinder of the same length and profile.
Step 4: Reinstall the retaining screw and test key movement.
Before tightening, ensure the cylinder sits flush with the door face, not sticking out or recessed. The key should turn smoothly without catching. If the cylinder feels loose, double-check the screw placement and length.
5. Smart or Keypad Deadbolt
Smart deadbolts combine convenience and security. Most install like standard deadbolts but need batteries and programming.
Step 1: Remove the old deadbolt hardware and latch.
Step 2: Install the new bolt and keypad exterior, routing the cable through the door.
Step 3: Connect the cable to the interior unit and attach the mounting plate.
Step 4: Add batteries and program access codes as directed.
Step 5: Test both the keypad and manual key before closing the door.
After setup, check the keypad’s response and locking sound. Test multiple codes, and make sure the manual key works smoothly.
If the keypad feels loose or doesn’t power on, remove the cover and confirm the cable is connected securely and the batteries are properly seated.
How to Rekey a Lock Without Replacing It
Rekeying lets you keep your existing lock while changing which key opens it.
It’s ideal if you’ve lost a key, moved into a new home, or want all doors to use one key. Just make sure to buy a rekey kit that matches your lock’s brand.
You’ll need:
- Rekey kit with new pins and keys
- Plug follower and pin tool
- Screwdriver
Steps:
- Remove the lock cylinder from the handle or deadbolt.
- Use the plug follower to push out the plug carefully without losing springs or pins.
- Replace the old pins with new ones that match your new key.
- Reassemble and reinstall the cylinder in the housing.
- Test the new key to make sure it turns smoothly before closing the door.
Rekeying works best when the hardware is in good condition. If the cylinder sticks or feels worn, replacing the entire lock is usually the smarter move.
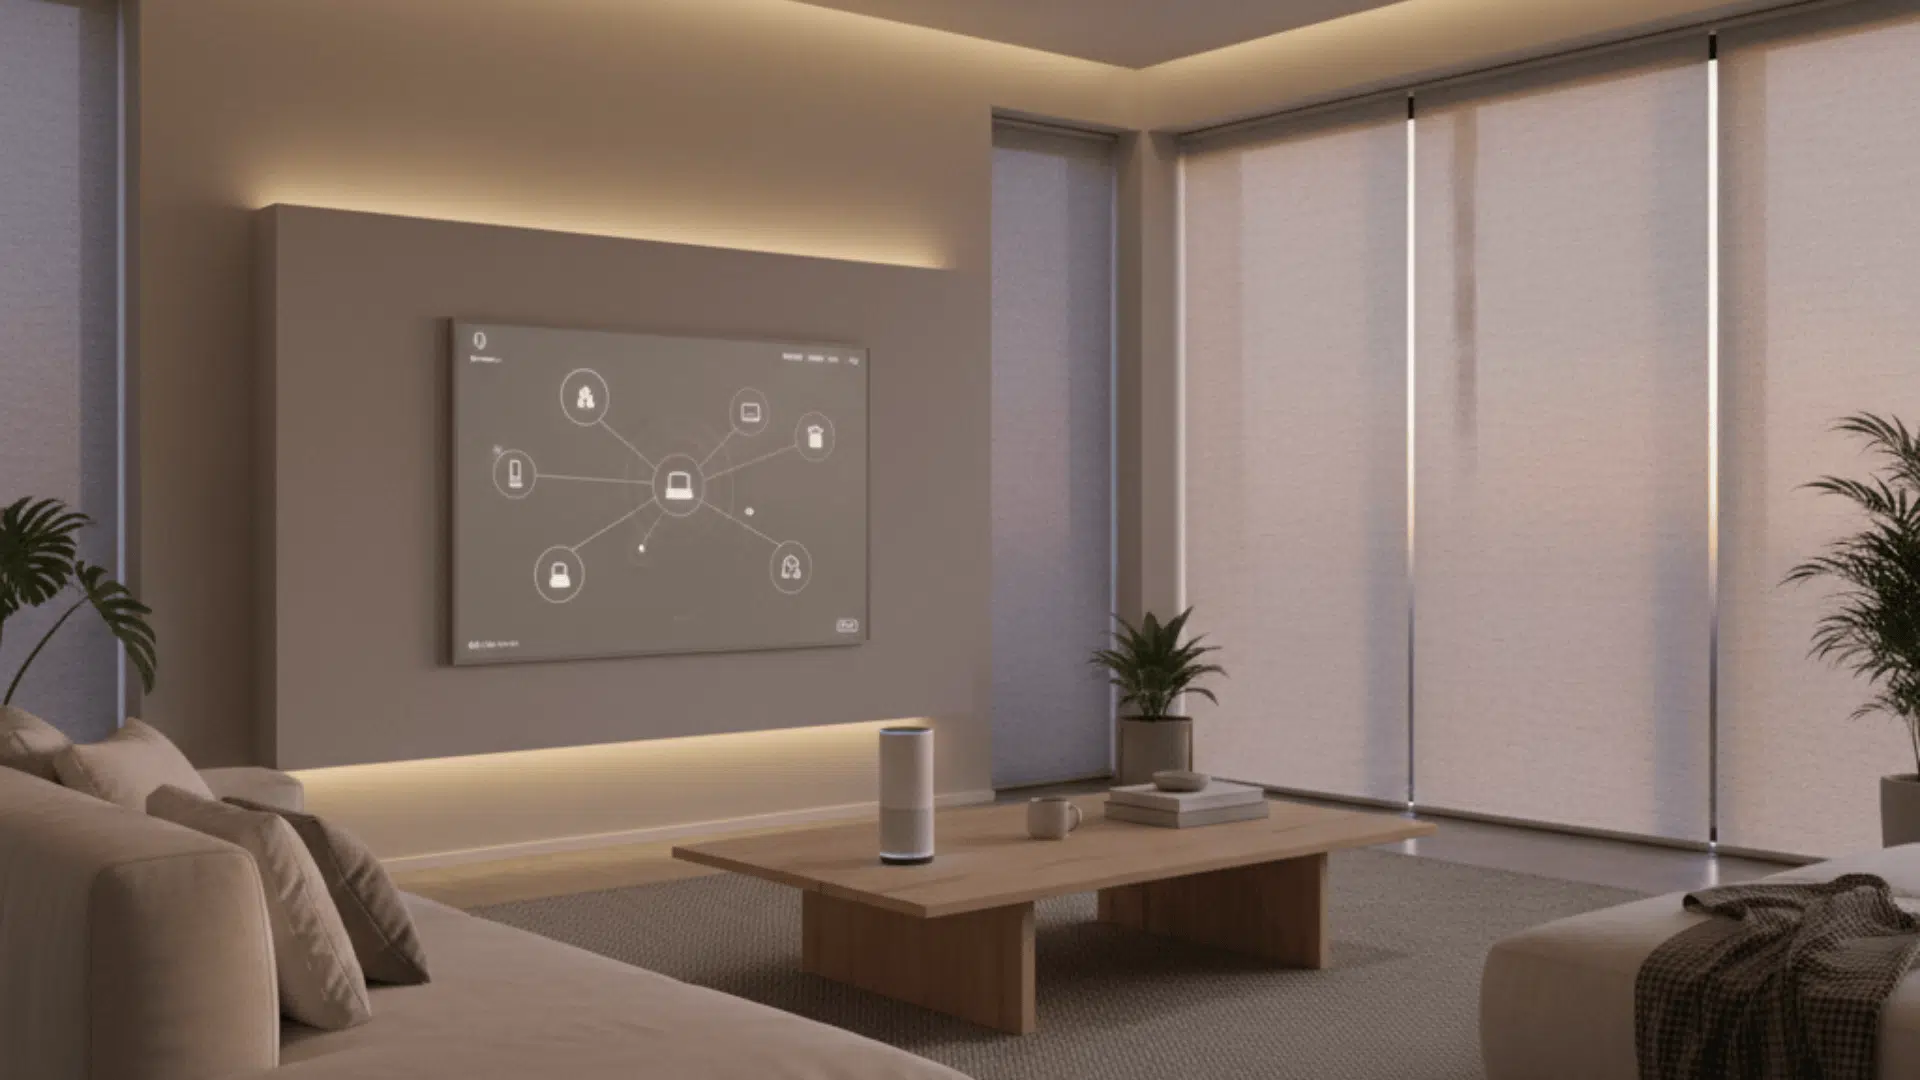
Security Upgrade Options Worth Your Time
Once your new locks are in place, you can take a few extra steps to make your doors even more secure. These small upgrades make a big difference in keeping your home safe and your locks performing their best.
| Upgrade | What It Does | Why It’s Worth It |
|---|---|---|
| Grade 1 Deadbolt | The highest-rated residential lock that resists forced entry and wear. | Offers stronger, long-term protection than standard deadbolts. |
| Reinforced Strike Plate with Long Screws | Extends screw depth into the wall framing for a tighter hold. | Makes it harder to kick in or force the door open. |
| Restricted Keyway Lock | Uses a unique key profile that can’t be duplicated easily. | Prevents unauthorized key copies for better key control. |
| Door Viewer or Peephole | Let’s see who’s outside without opening the door. | Adds safety and peace of mind before unlocking. |
| Security Chain or Smart Alert System | Provides partial opening for conversation or sends phone alerts. | Adds an extra layer of awareness and control when answering the door. |
These upgrades don’t take much time or money, but they can significantly improve door strength and day-to-day security. Even adding one or two can make your entryways much safer.
Common Mistakes To Avoid
Even small errors can affect how well your new lock works. Here are a few things to watch out for:
- Wrong backset or handing: Buying a lock that doesn’t match your door’s measurements can cause a poor fit or function.
- Overtightened screws: Turning screws too hard can make the latch bind and keep the door from closing smoothly.
- Weak door frame: Skipping frame reinforcement reduces overall security, even with a strong lock.
- Low-grade hardware: Cheap locks wear out faster and offer less protection.
- Misaligned strike plate: When the latch doesn’t meet the strike correctly, the lock can stick or fail to close properly.
Paying attention to these details during installation helps your locks last longer, work better, and keep your home more secure.
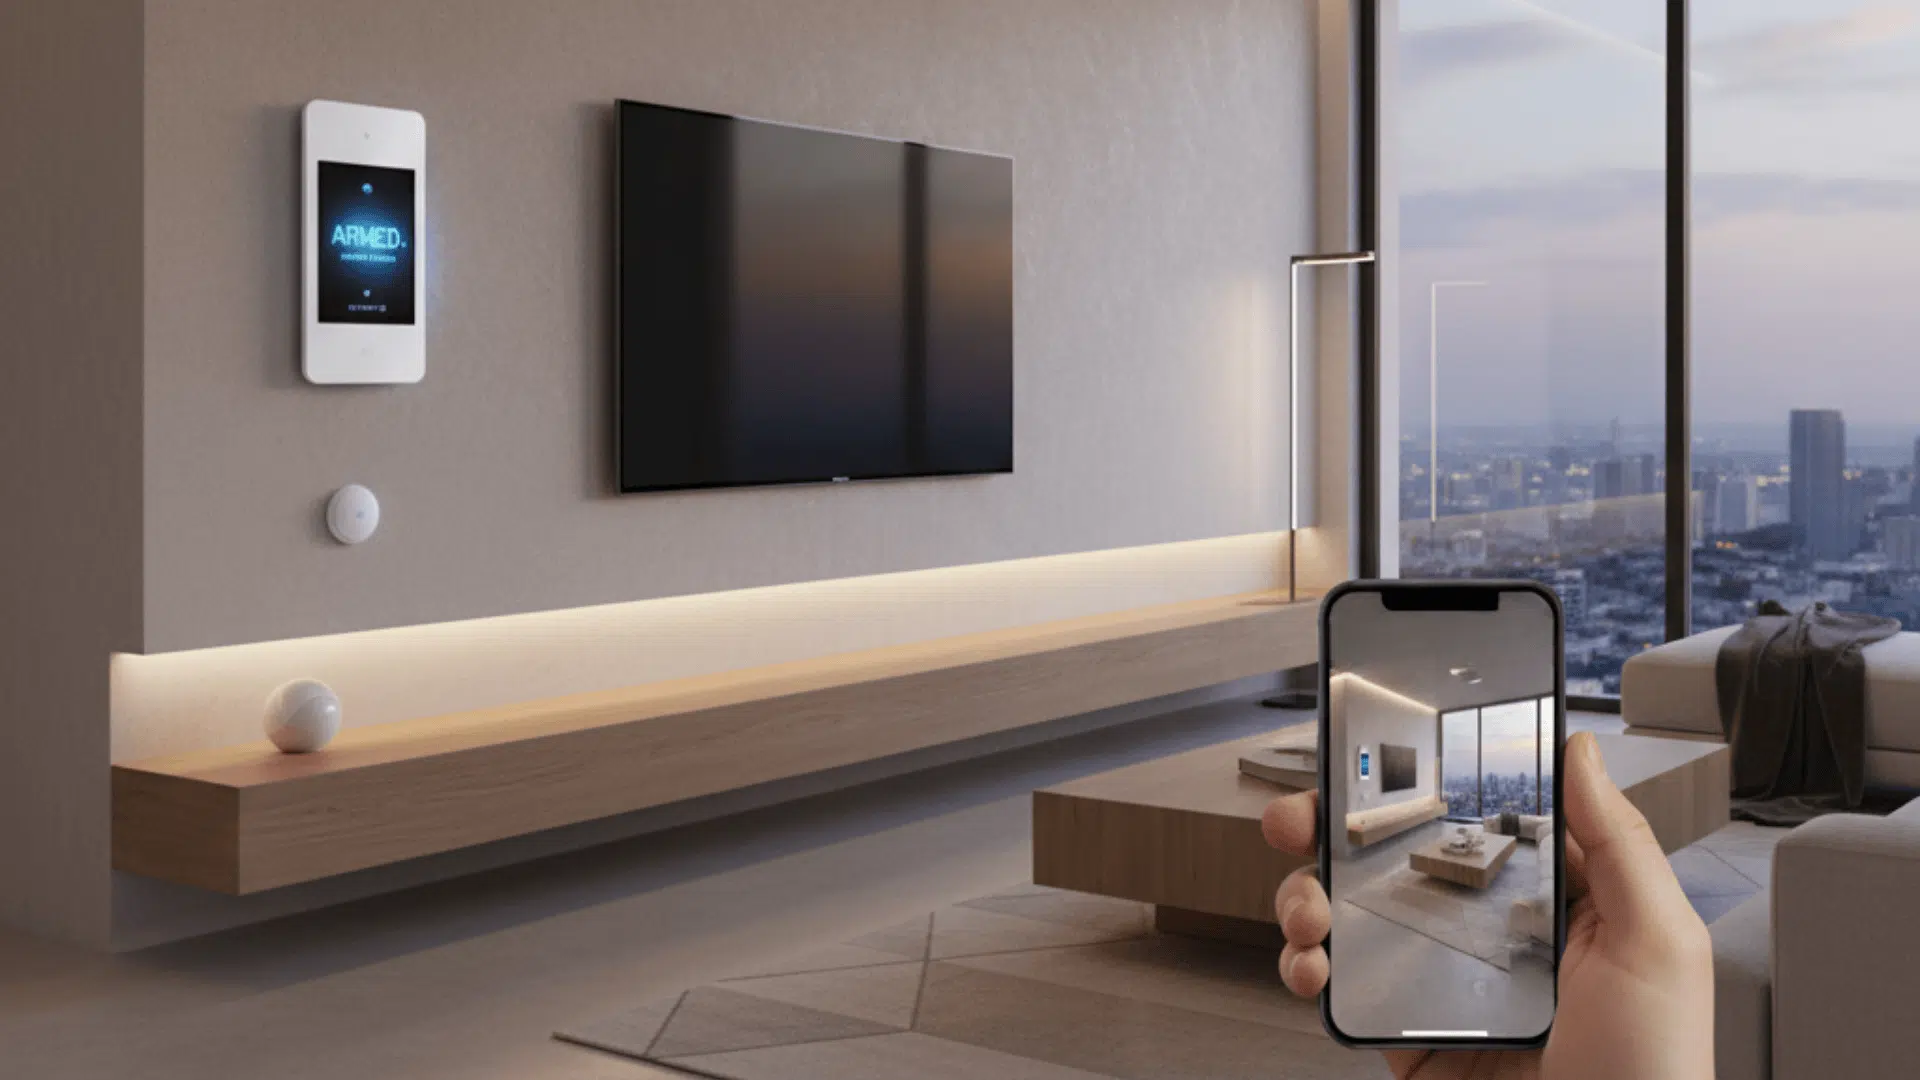
When It’s Time To Call A Locksmith
Sometimes it’s smarter to bring in a professional.
If the door or frame is cracked, the key snapped inside, or you have a master key or multi-point system, a locksmith can help. They have the right tools to fix or replace locks safely without extra damage.
Tip: A locksmith can also spot hidden issues like weak screws or misaligned bolts. Getting expert help early prevents future problems and keeps your locks working smoothly.
Final Thoughts
Changing your locks might seem like a small project, but it makes a real difference in how safe and in control you feel at home.
You’ve learned how to spot the right tools, follow each step carefully, and avoid common mistakes.
Now you know when it makes sense to rekey, replace, or call in a pro if things get tricky. With a little time and patience, you can change locks confidently and keep your doors working smoothly.