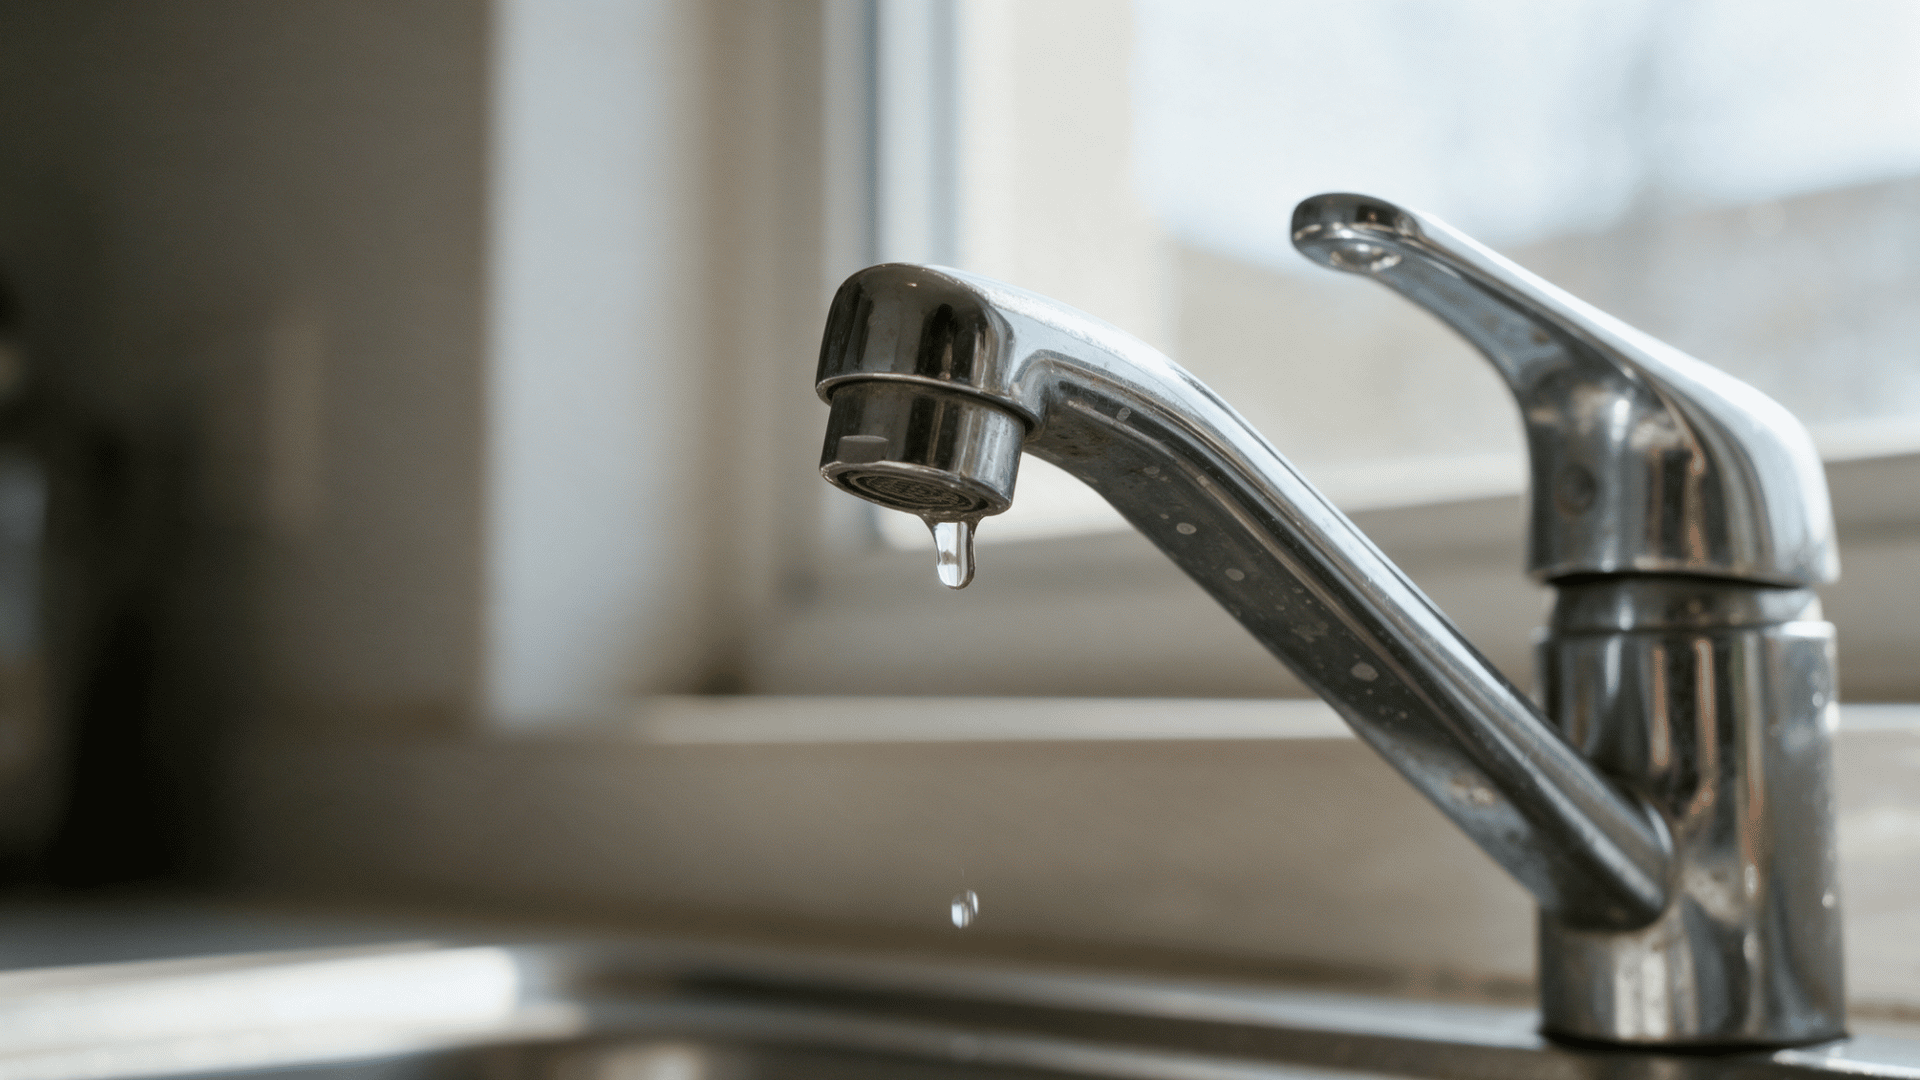
A dripping faucet can be one of those small household problems that quickly becomes hard to ignore. The constant sound, wasted water, and little puddles around the sink can make you wonder what is really causing the issue.
Many people put off dealing with a leaky faucet because they assume it needs special tools or professional help. But a closer look at the problem can often reveal a simpler solution.
If you are wondering how to fix a dripping faucet on your own, knowing what to check first can make the process much easier. A few careful steps can help you get started with confidence.
Why Is My Faucet Dripping?
A dripping faucet usually happens when the parts inside the faucet stop creating a proper seal. When these small components wear out, water can slowly leak through even after you turn the handle off.
One common reason is a worn washer that no longer blocks water flow completely. A damaged cartridge or broken O-ring can also keep the faucet from closing tightly and cause a steady drip.
A faucet leak may also develop because of loose internal parts, mineral buildup, or corrosion. These issues can affect how the faucet works and make it harder for the parts to fit together correctly.
Many leaking faucet problems start with simple wear inside the fixture. I have found that noticing small changes, like a slow drip or a loose handle, can help you spot problems before they get bigger.
How Do You Find the Source of a Faucet Leak?
Before learning how to fix a dripping faucet, find where the water is coming from and understand what may be causing the problem. Checking the leak location first helps you choose the right repair method.
Step 1: Check Where the Water Is Coming From
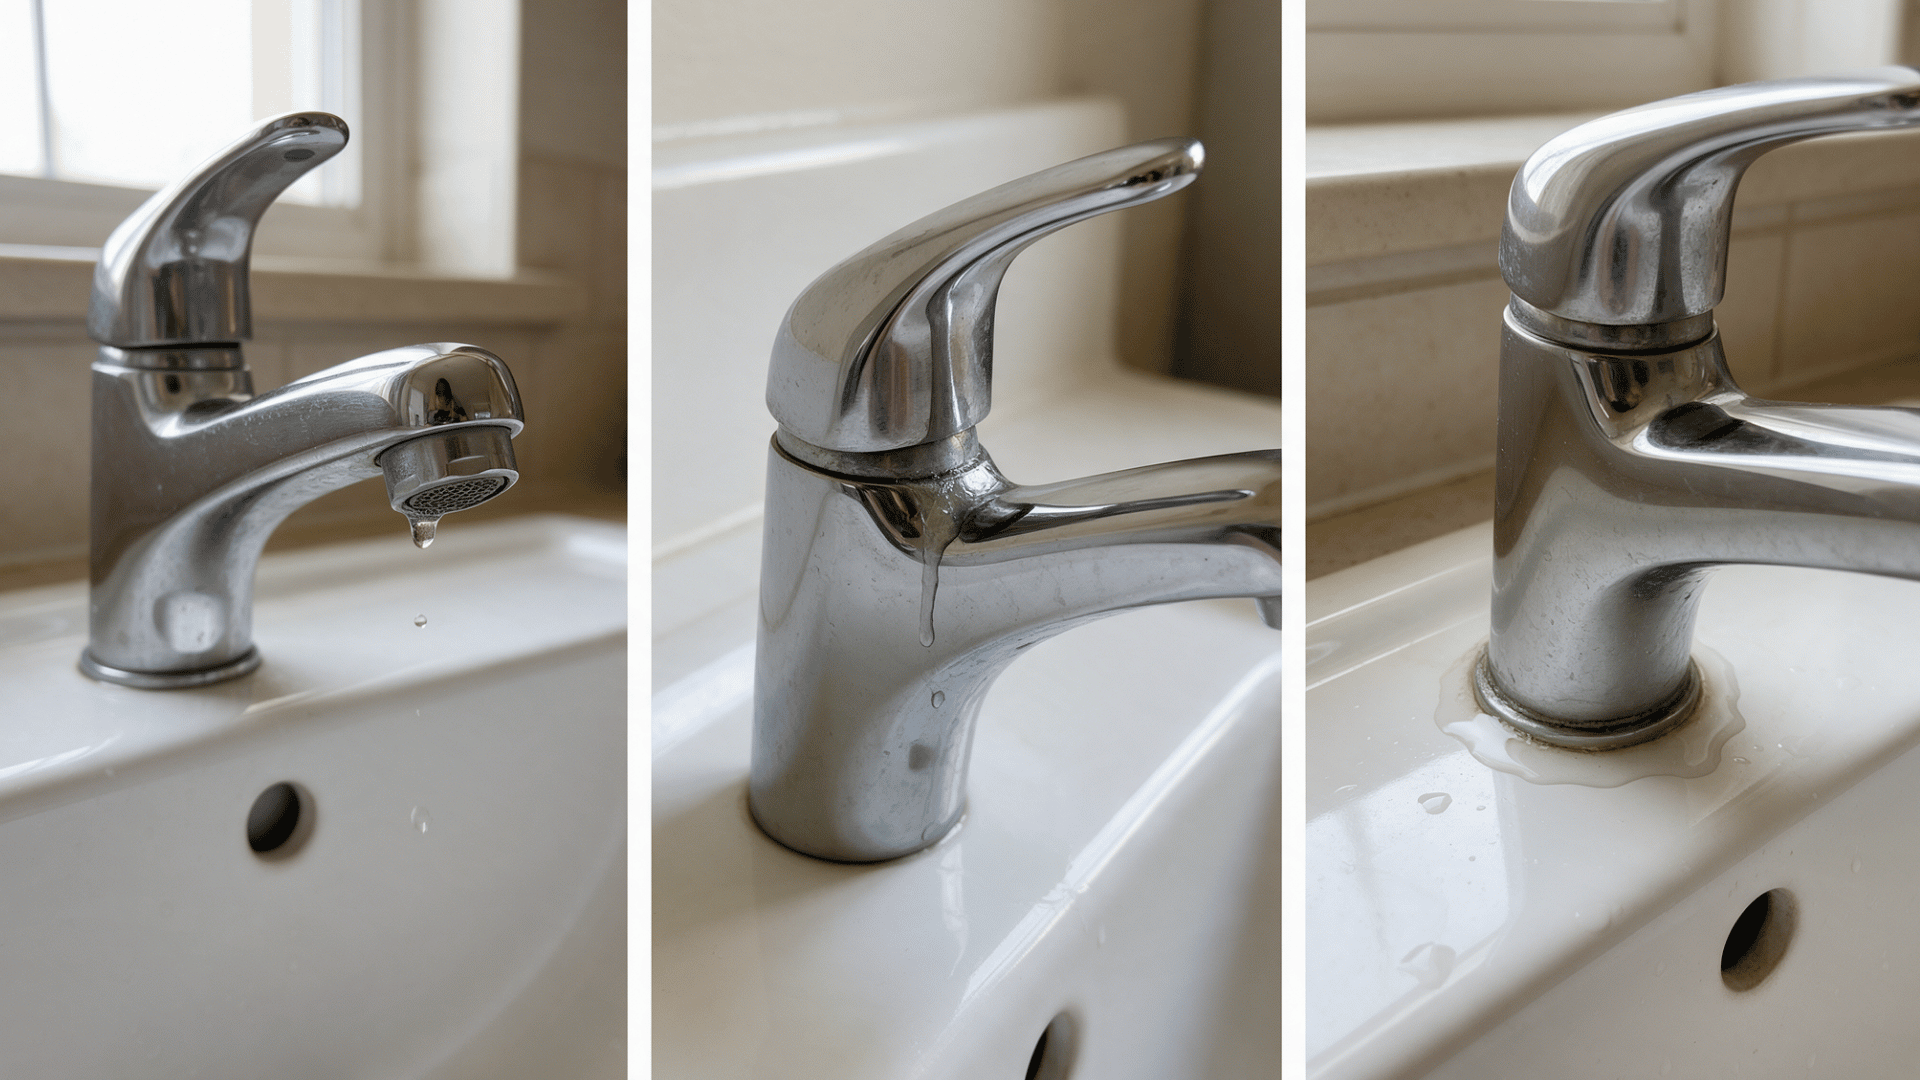
Start by drying the faucet completely and watching where water appears again. The leak location can help narrow down the possible problem area.
- Dripping from the spout: May indicate a worn washer, cartridge, or seal.
- Leaking around the handle: Often points to a damaged O-ring or cartridge.
- Water around the faucet base: May come from a worn gasket or loose connection.
Step 2: Identify Your Faucet Type
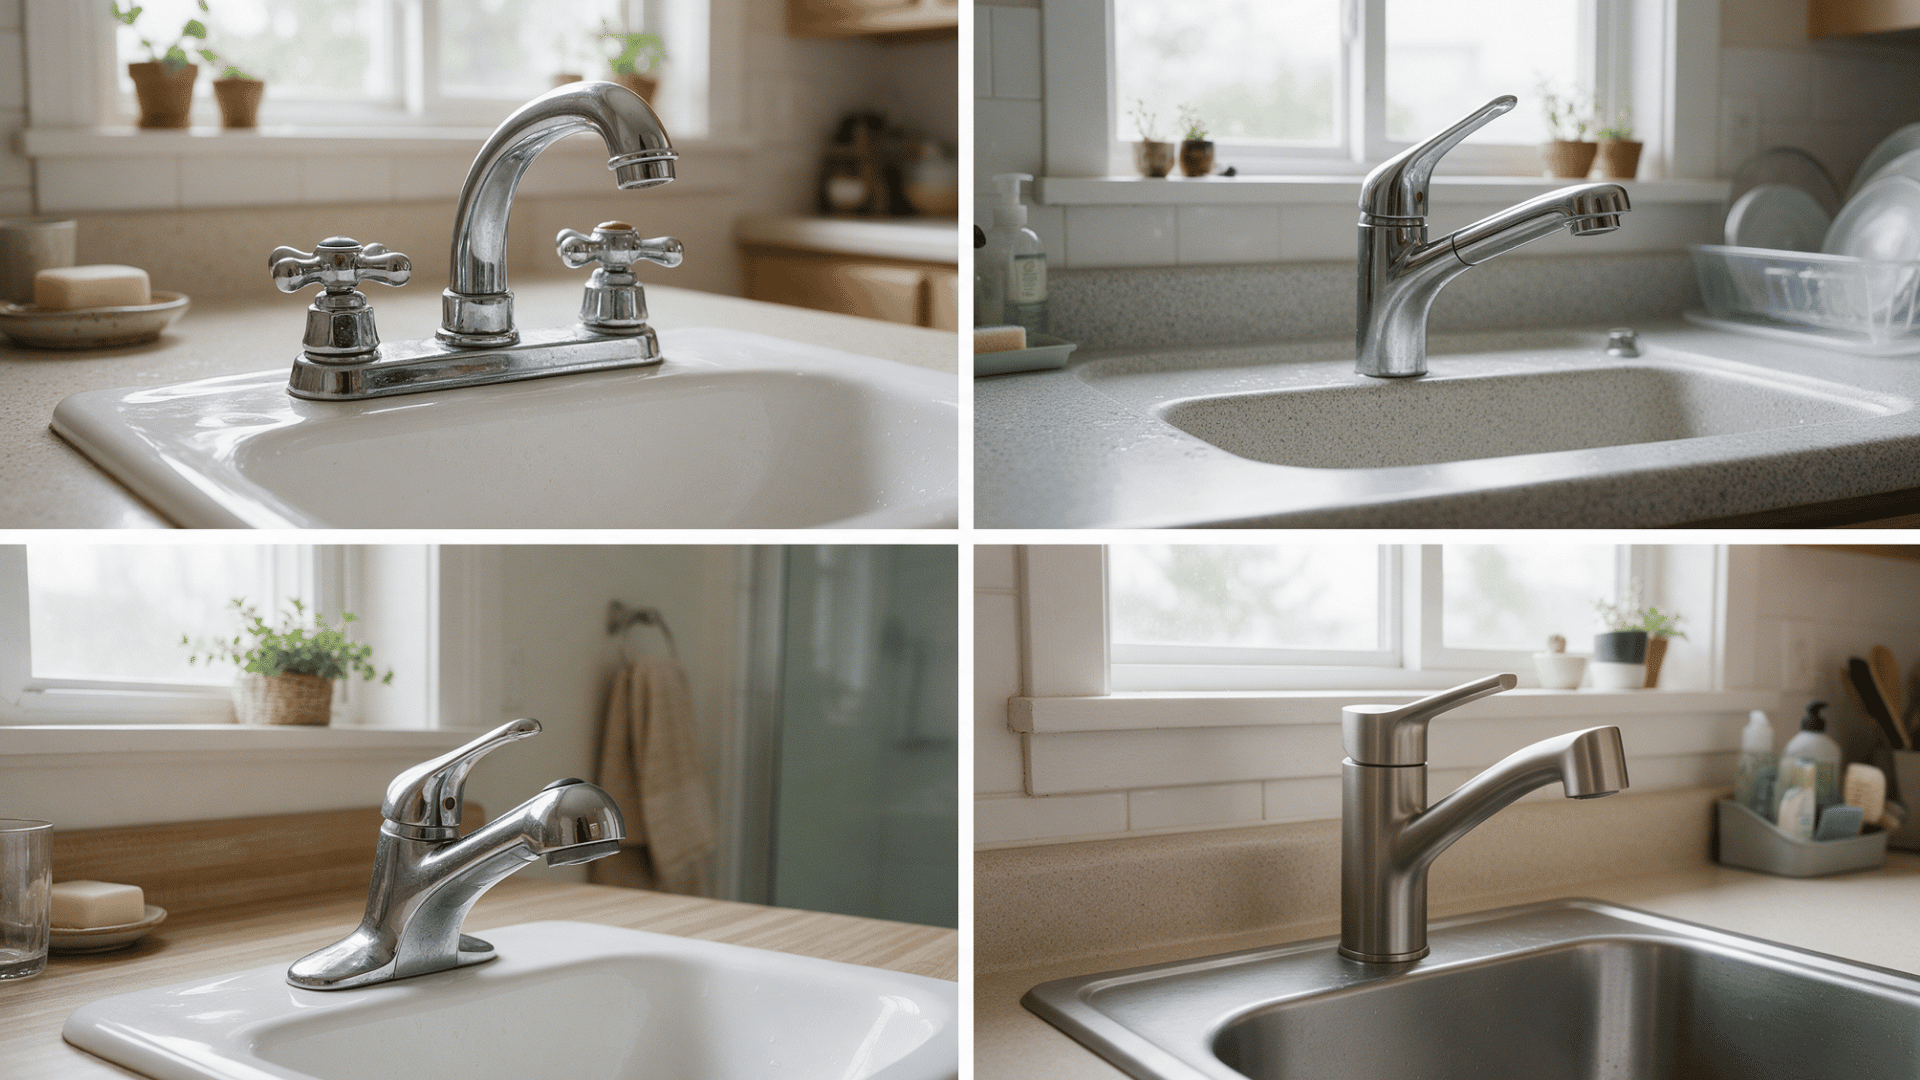
Knowing your faucet type helps you understand which parts may need attention during the repair process.
- Compression faucet: Uses washers that press down to stop water flow when the handle is closed.
- Cartridge faucet: Uses a replaceable cartridge that controls water flow and temperature.
- Ball faucet: Uses a rotating ball with seals and springs to control water movement.
- Ceramic disc faucet: Uses ceramic discs that create a tight seal inside the faucet body.
Step 3: Inspect the Internal Components
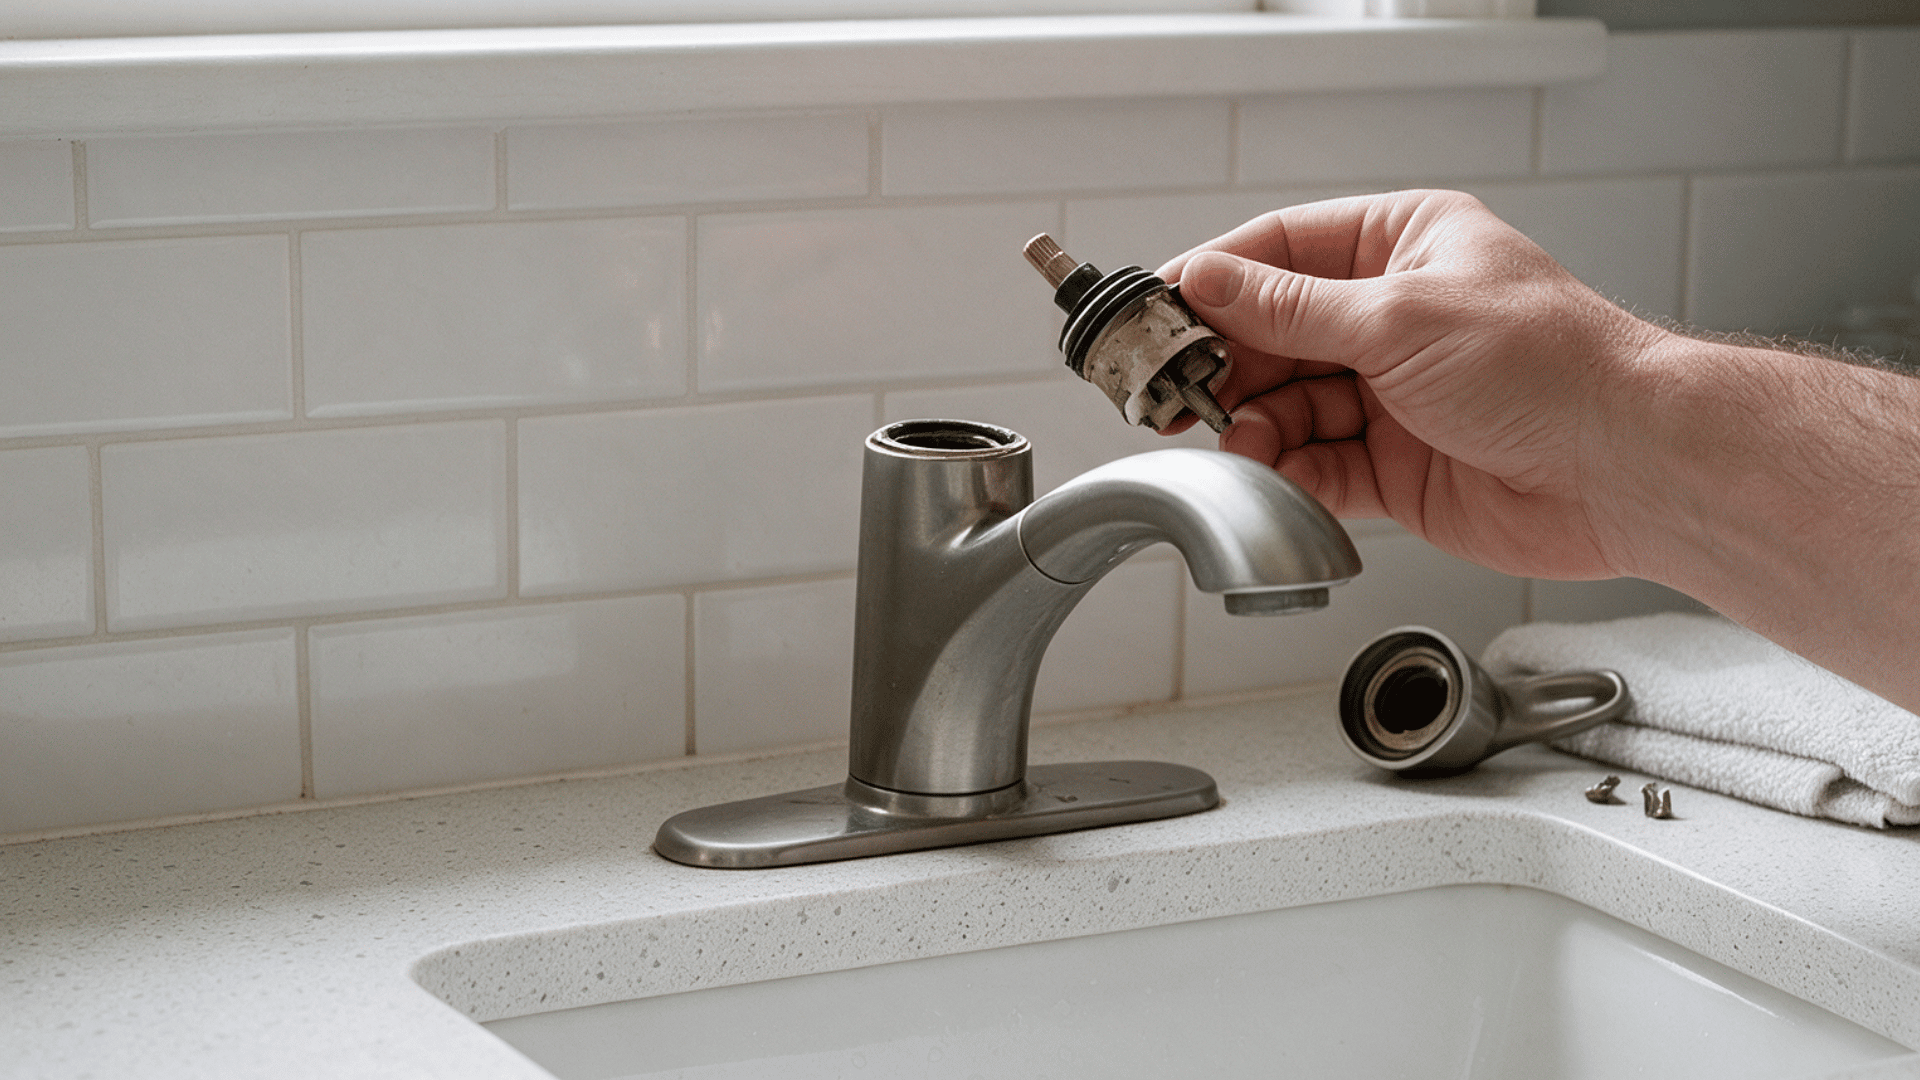
After turning off the water supply, check the internal parts for signs of wear or damage. These small components often affect how well the faucet seals.
- Washer: Look for cracks, flattening, or wear that may stop it from sealing properly.
- Cartridge: Check for damage, buildup, or signs that it no longer controls water flow correctly.
- O-ring: Look for broken, stretched, or worn rings around the faucet handle or body.
- Valve seat: Check for corrosion or mineral buildup that may prevent the faucet from closing fully.
What Should You Know Before Repairing a Dripping Faucet?
Before you fix a dripping faucet, prepare your workspace and gather the right supplies. A few simple steps can make the repair easier and help prevent mistakes when you take the faucet apart.
Keep your faucet repair tools nearby, and make sure you have the correct replacement parts before you start. Follow these steps before removing any components:
- Protect the workspace: Place towels nearby and keep small parts organized before starting.
- Cover the drain: Place a cloth over the drain to keep small parts from falling in.
- Take photos first: Capture the faucet setup to make reassembly easier later.
- Match replacement parts: Compare old parts or use the faucet model to find the right match.
- Clean mineral buildup: Remove deposits around parts so new components can seal properly.
How to Fix a Dripping Faucet Step by Step
Once you find the source of the leak and gather the right parts, you can begin the repair. Most dripping faucet fixes follow a similar process, but the exact part you replace depends on your faucet type.
Tools and Parts Needed
Tool or Part | Purpose | What It Helps With |
|---|---|---|
Adjustable wrench | Loosening faucet connections | Removing nuts and fittings safely |
Screwdriver | Removing handle screws | Taking apart faucet handles |
Replacement cartridge or washer | Replacing worn components | Stopping water leaks from damaged parts |
Plumber’s grease | Protecting moving parts | Helping parts move smoothly after repair |
Cloth or towel | Catching water and protecting surfaces | Keeping the work area clean |
Tip: Before buying any replacement part, check your faucet model and existing components. Different faucets may use different washers, cartridges, or seals.
Step 1: Turn Off the Water Supply
Before you take the faucet apart, shut off the water supply completely. This keeps water from spraying out while you work and gives you a cleaner area for the repair.
- Find the shutoff valves: Look under the sink and turn the valves clockwise until the water stops.
- Open the faucet: Let any water left in the lines drain out.
- Check the flow: Make sure no water comes from the faucet before moving on.
Step 2: Remove the Faucet Handle
Next, remove the faucet handle so you can reach the parts inside. Handle designs vary, so check for a visible screw or a small decorative cap that may be hiding it.
- Remove the cap: Gently lift the cover to reach the handle screw.
- Loosen the screw: Use the correct screwdriver to remove the fastener.
- Lift the handle: Pull it away slowly to expose the parts below.
Step 3: Inspect the Damaged Part
Once the handle is off, look closely at the internal parts. Wear, cracks, buildup, or loose pieces can prevent the faucet from sealing properly and may be the cause of the drip.
- Inspect the washer: Look for cracks, flattening, or worn edges.
- Check the cartridge: Look for buildup, damage, or poor movement.
- Examine the O-ring: Check for breaks, stretching, or worn areas.
Step 4: Replace the Faulty Component
After finding the worn part, replace it with a matching component. The size and shape matter, so compare the new piece with the old one before putting it into the faucet.
- Remove the old part: Take out the worn washer, cartridge, or seal carefully.
- Install the replacement: Place the new part in the same position.
- Add plumber’s grease: Use a small amount on moving parts when needed.
Step 5: Reassemble the Faucet
Reassemble the faucet in the same order you removed the parts. Work carefully and make sure each piece sits properly before tightening anything into place.
- Return the internal parts: Set each component back in its correct position.
- Secure the handle: Replace the screw and make sure the handle feels firm.
- Avoid overtightening: Too much pressure can damage seals or small parts.
Step 6: Test the Faucet
After reassembly, turn the water supply back on slowly and test your work. Watch the faucet for a few moments to make sure the dripping has stopped and no new leaks appear.
- Open the shutoff valves: Restore the water supply slowly.
- Check for leaks: Look around the spout, handle, and faucet base.
- Test the handle: Make sure it turns smoothly and shuts off fully.
What If Your Faucet Still Drips After Repair?
Sometimes a faucet may keep leaking even after replacing a worn part. Before trying another dripping faucet fix, check the parts and connections carefully.
Problem | Possible Reason | Check |
|---|---|---|
Still drips after repair | Wrong part or damaged valve seat | Match parts and inspect the valve |
Handle leaks | Loose connection or worn seal | Check screw and seals |
Leak from base | Damaged gasket | Inspect and replace gasket |
Hard-to-turn handle | Buildup or poor installation | Clean parts and reinstall |
Tip: Deep corrosion, damaged valves, or a leak you cannot clearly locate can be signs a plumbing problem needs professional help rather than another DIY attempt.
How Can You Prevent Future Faucet Leaks?
Regular care can help reduce the chances of another drip or leak. Simple faucet maintenance habits can keep internal parts working properly and help you prevent faucet leaks before they become bigger problems.
- Clean mineral buildup regularly: Remove deposits around the faucet and aerator to keep water flowing smoothly.
- Avoid forcing faucet handles: Turn handles gently to prevent stress on internal parts.
- Replace worn parts early: Replace damaged washers, seals, or cartridges before leaks worsen.
- Check loose connections: Tighten fittings when you notice movement or small leaks.
- Pay attention to small drips: Fix minor leaks early before they waste water or damage nearby areas.
Final Thoughts
Fixing a dripping faucet does not always require a major repair or a quick call for help. Acting when you notice a small leak can protect your sink area and prevent unnecessary water waste.
Each faucet has different parts that can wear down over time, so paying attention to how it works can help you make better repair decisions. I find that simple maintenance habits often make future fixes much easier.
Knowing how to fix dripping faucet problems can be useful whenever a small leak appears at home. With a little patience and the right approach, you can handle many common faucet issues with confidence.
Frequently Asked Questions
Can a Dripping Faucet Increase My Water Bill?
Yes, even a small drip can waste gallons of water over time and may increase your water bill.
How Long Does It Take to Fix a Dripping Faucet?
Most simple faucet repairs take about 30 minutes to 1 hour, depending on the issue and faucet type.
Why Does My Faucet Drip Only When the Handle is Turned Off?
A faucet that drips when turned off usually has a worn washer, damaged cartridge, or faulty seal.
What is the Most Common Cause of a Dripping Faucet?
The most common causes are worn washers, damaged cartridges, loose parts, and worn seals.
Is Fixing a Dripping Faucet Worth It or Should I Replace It?
Repairing is usually worth it for minor issues, but replacement may be better if the faucet is damaged or keeps leaking.