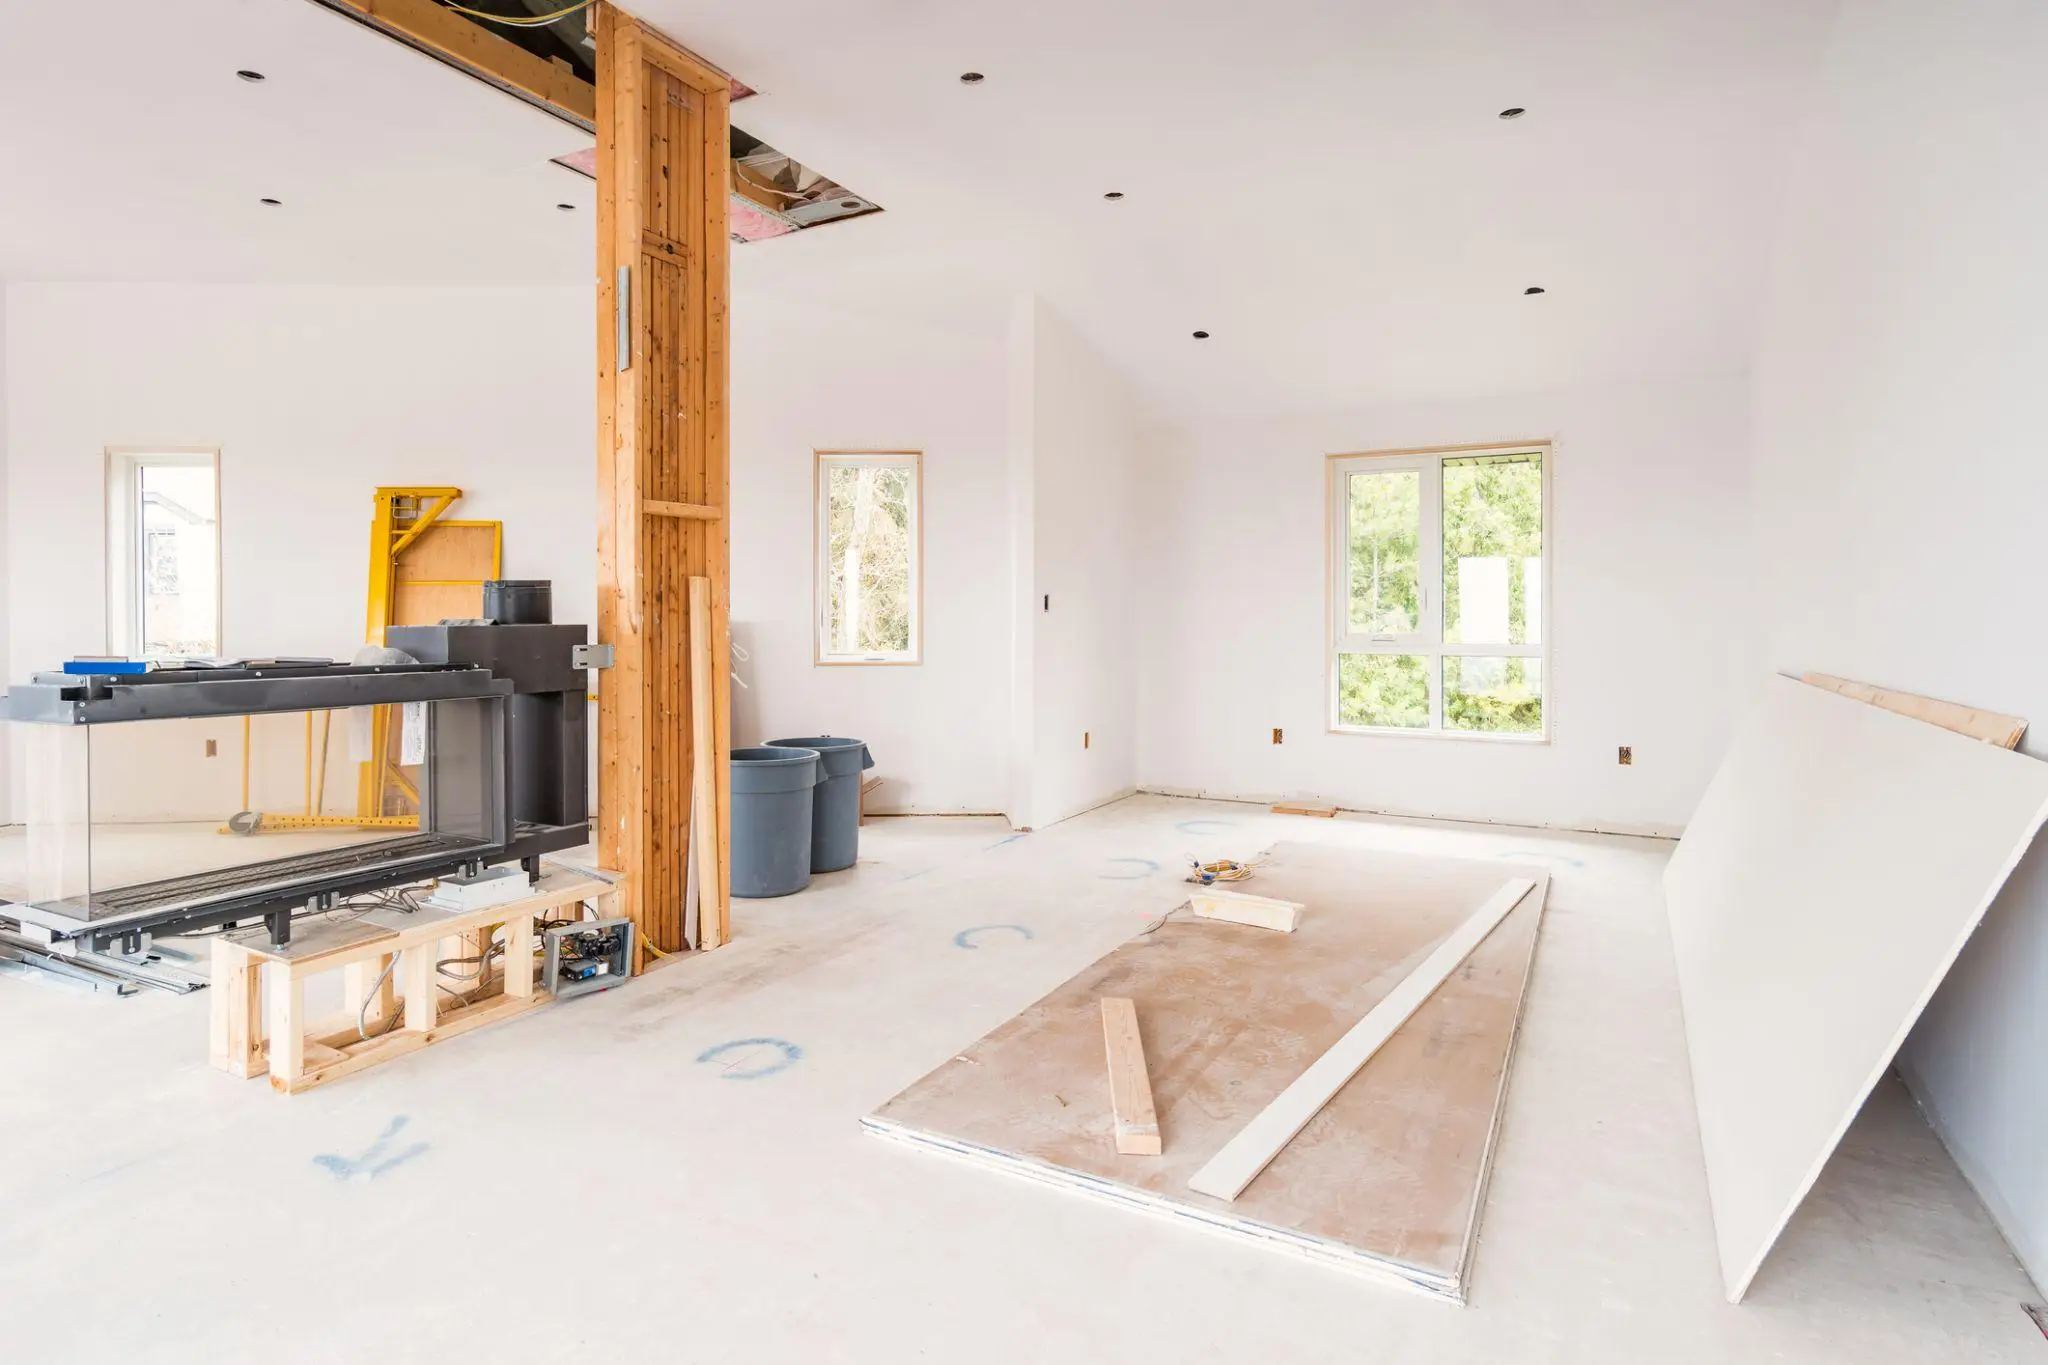
During a whole-home renovation, the safest place for your belongings is out of the work zone entirely. Most homeowners use a mix of on-site containers, off-site units, or a sealed spare room, depending on the project’s length and how often they need access. Clear each room before demolition starts, protect anything that stays, and keep daily essentials separate so you are not digging through boxes for weeks.
Introduction
Picture your living room with the sofa shoved against one wall, boxes stacked to the ceiling, and a fine grey film of drywall dust settling over everything you own. That is what a full renovation looks like when nobody planned where the furniture would go. The work itself is exciting. The in-between weeks can feel like camping inside a construction site.
Plan a little and the whole thing shifts. Teams like the crew at Reborn Renovations will tell you a clear, empty work zone helps the job move faster and keeps your belongings out of harm’s way. Tuck your furniture and keepsakes somewhere secure and the dust stays where it belongs, with your stress level dropping right alongside it.
The real trick is knowing which items to move, where to send them, and how to protect whatever cannot leave. Sort that out early and you skip dragging the same dresser down the hallway five separate times.
Picking the Right Place to Store Furniture During Renovation
The first big decision is where everything goes once the crew arrives. The right answer rests on three things: how long the project runs, how often you need to reach your items, and how much space sits open on your property. A short kitchen refresh has very different needs than a six-month gut job.
Knowing where to store furniture during renovation comes down to matching the option to your timeline and budget. Most homeowners take one of three routes:
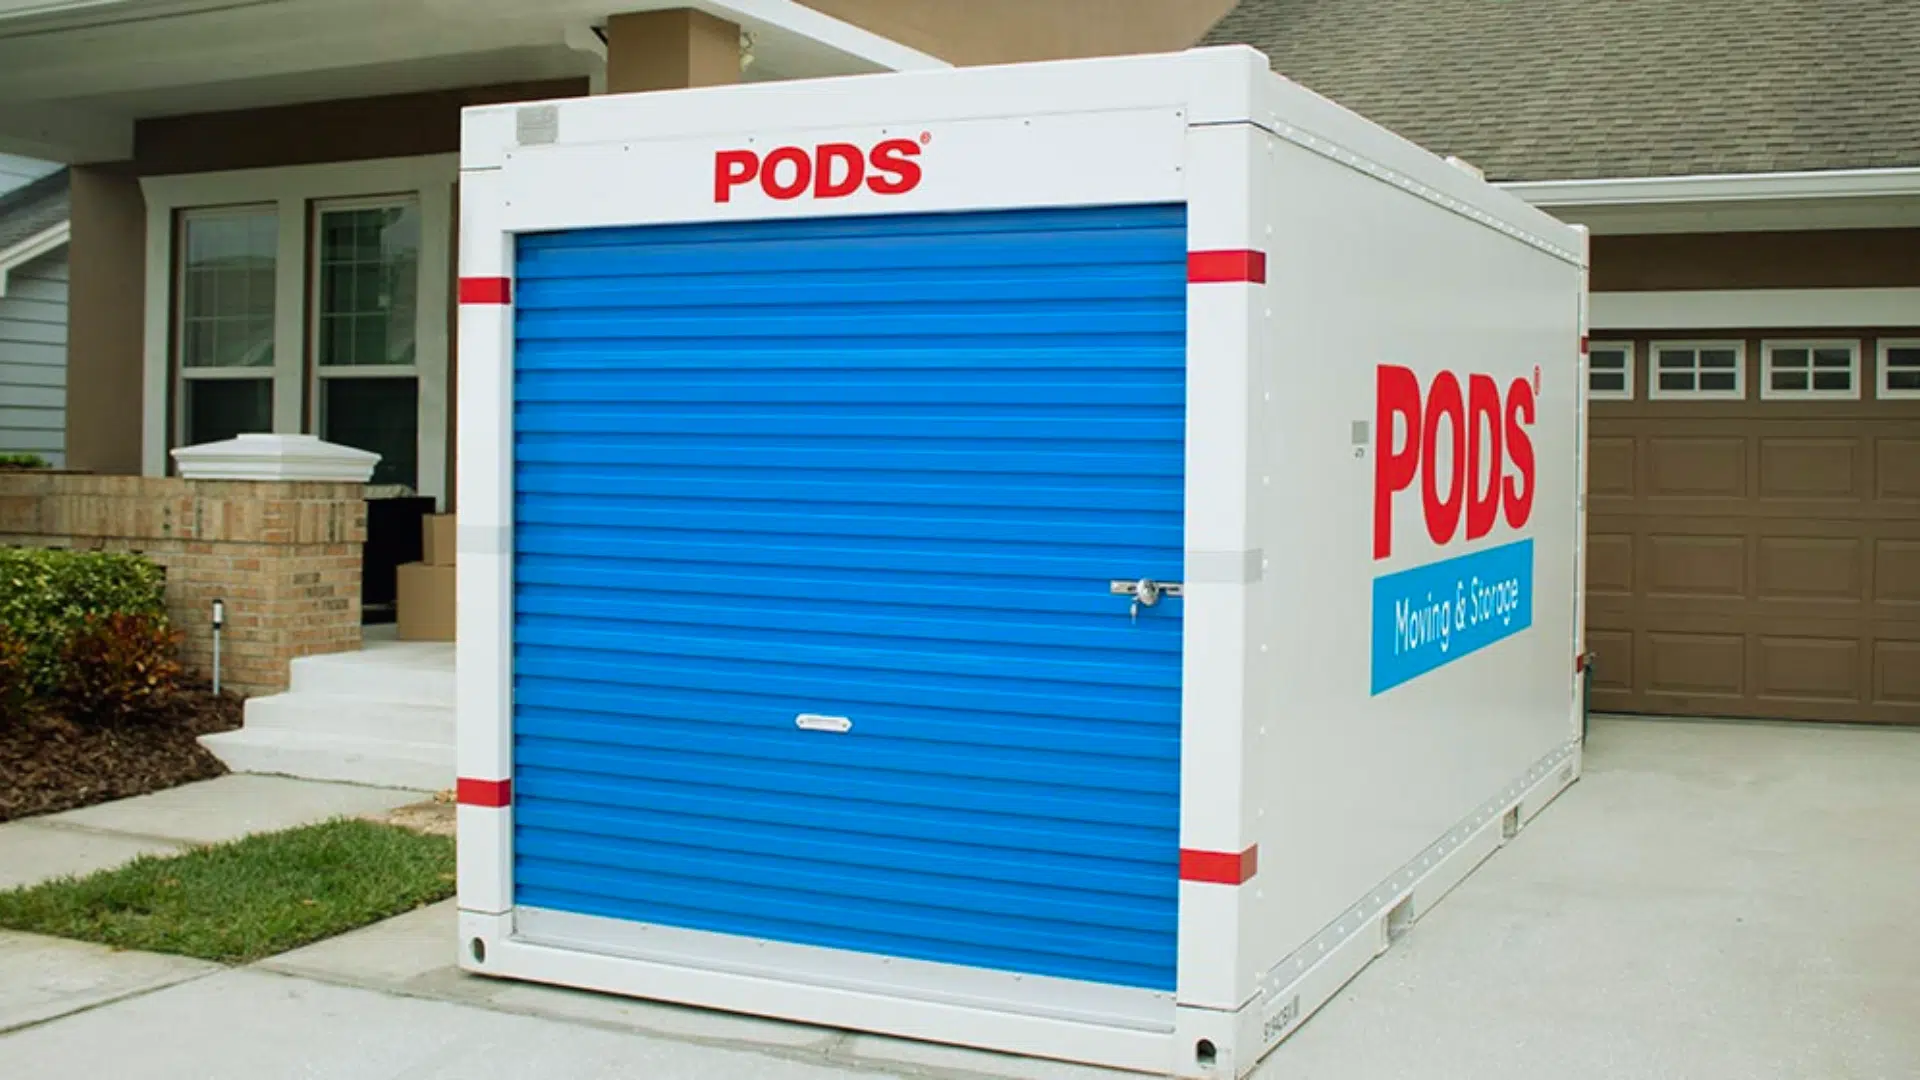
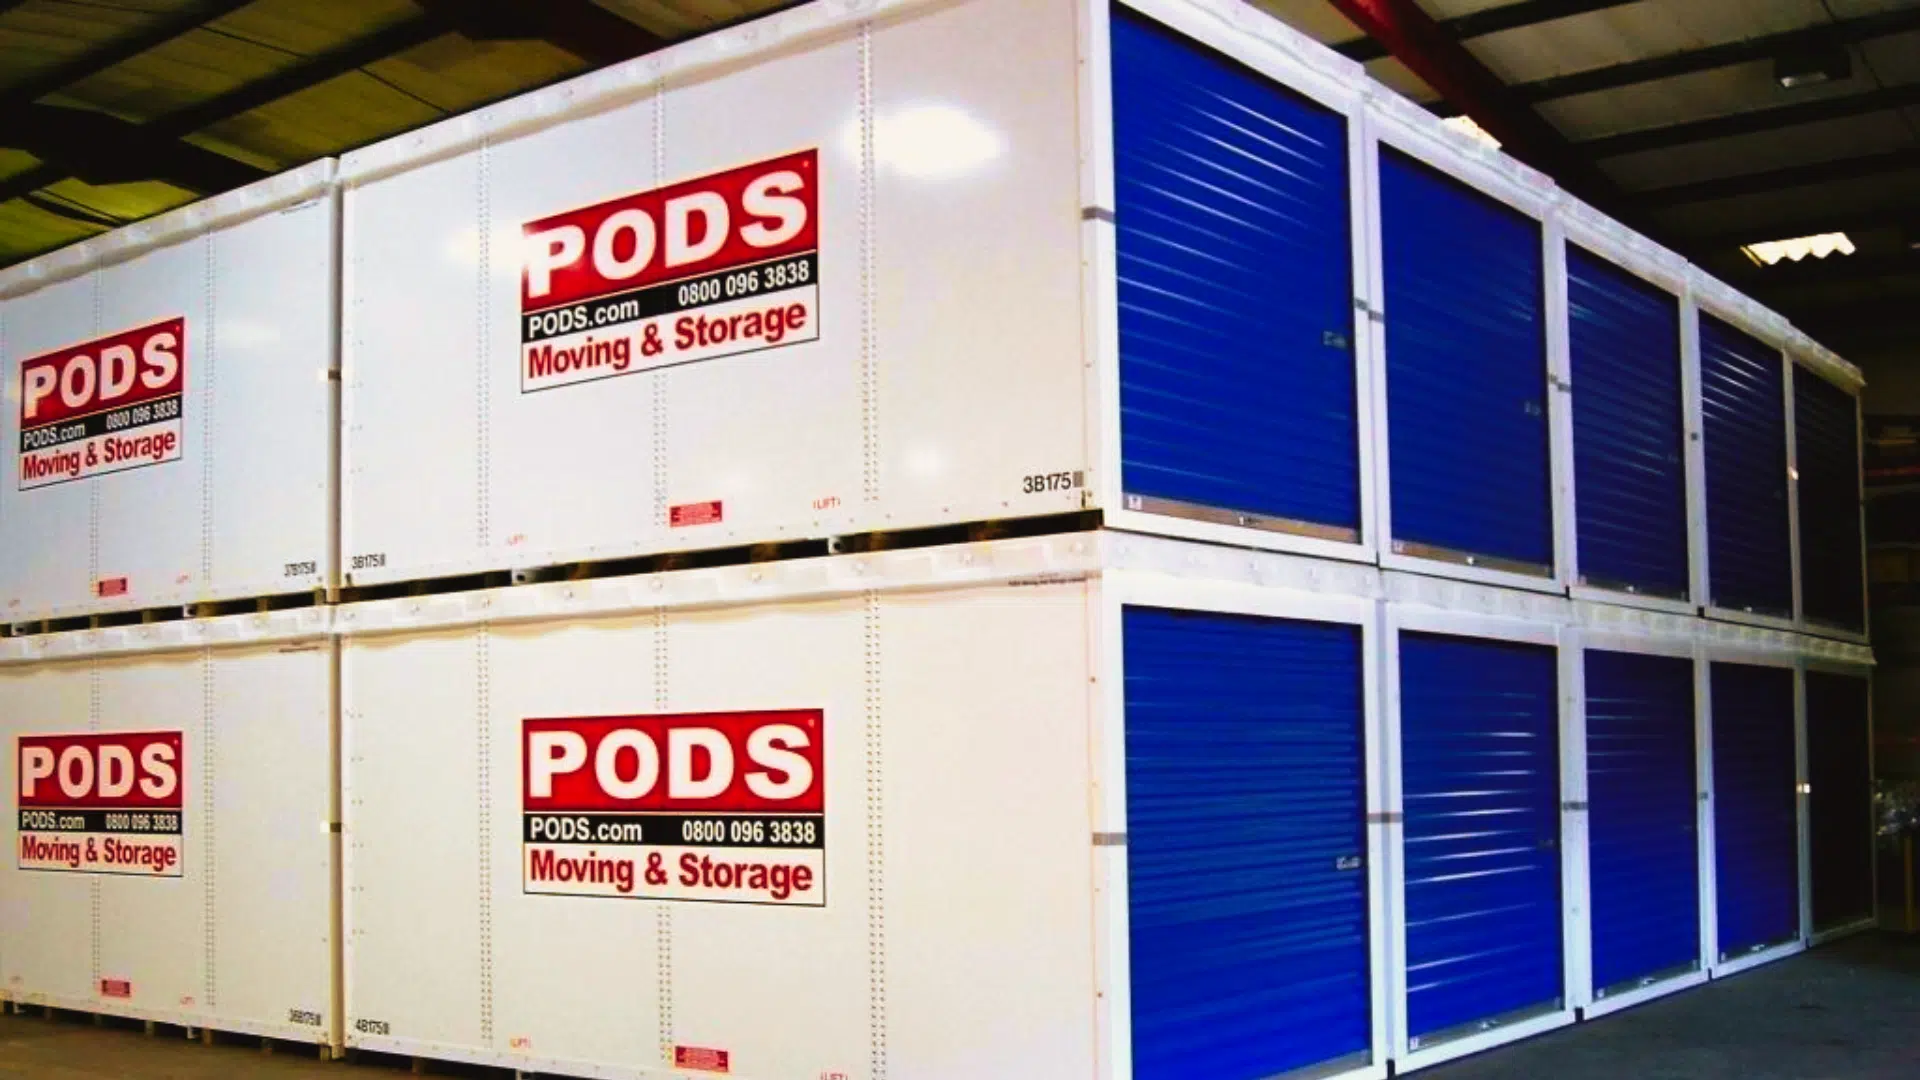
- On-site portable container — A steel unit dropped in your driveway. You load it at your own pace and reach your things whenever you like.
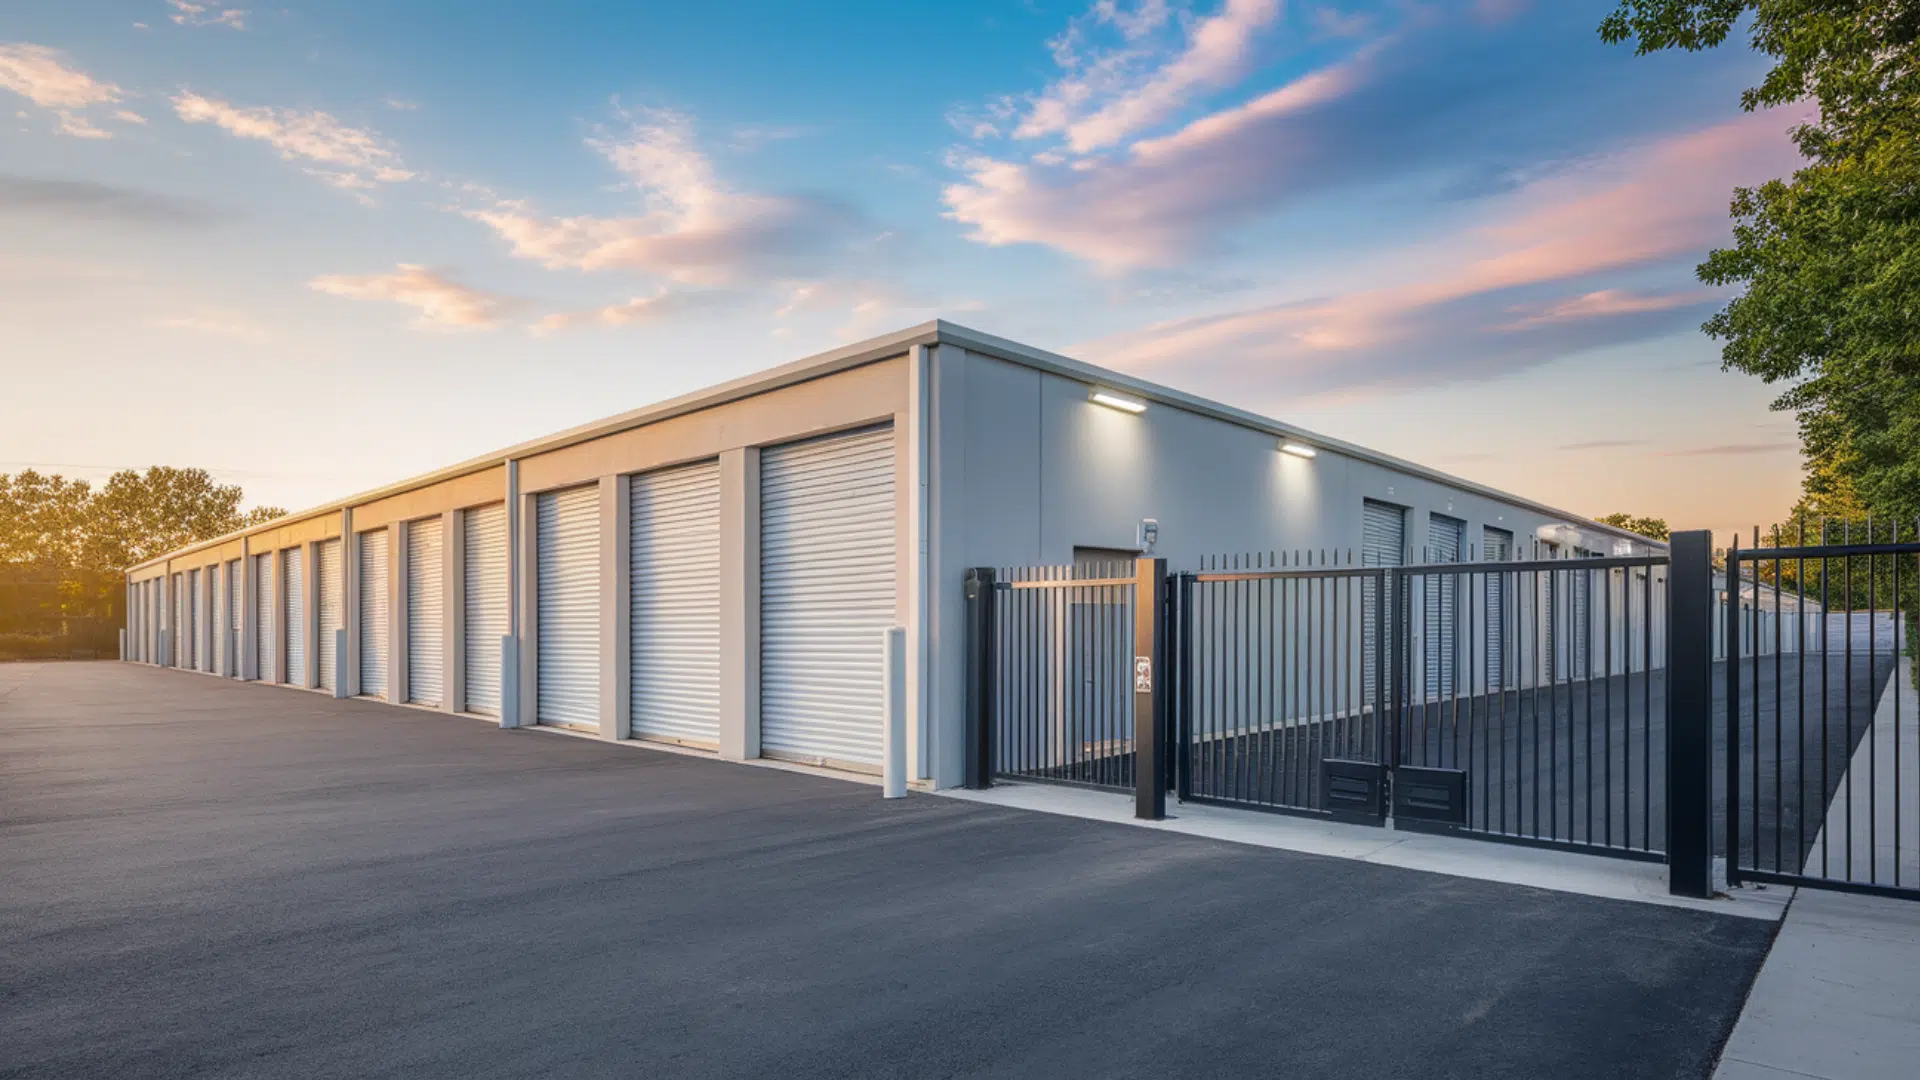
- Off-site storage unit — A rented space at a facility. Ideal when you have no driveway room or want everything completely off the property.
- A sealed spare room — A garage, basement, or bedroom that stays untouched. Cheapest option, but it fills up fast and offers the least protection.
Matching the Option to Your Project
Each choice carries trade-offs worth weighing before you commit. This table lays them out side by side:
| Storage type | Best for | Access | Watch out for |
|---|---|---|---|
| Portable container | Whole-home jobs, uncertain timelines | On-site, anytime | Needs driveway space and permits in some areas |
| Off-site unit | Long projects, full clear-outs | Facility hours or 24/7 | Truck rental and repeat loading trips |
| Spare room | Small budgets, lighter work | Immediate | Limited space, exposure to dust and traffic |
For a whole-home project where every room gets emptied, one spare room rarely holds it all. Plenty of families lean on a container parked outside, since it keeps belongings close while freeing up the house completely.
Keeping What You Need Within Reach
Living in your house during a renovation means some items cannot disappear into storage. Pack a clearly marked essentials box with the things you touch daily, and set it apart from everything else. That short list usually looks like:
- Chargers, medications, and important papers
- A few changes of clothes and basic toiletries
- Kitchen basics if your cooking space stays usable
- Kids’ or pets’ must-have items
Keep that box somewhere you can grab it without breaking the seal on a packed container. This one habit spares you a lot of frustrating searches once the work begins.
Once you have picked a spot and pulled your essentials, the next job is guarding whatever makes the move.
How to Protect Furniture During a Renovation From Dust and Damage
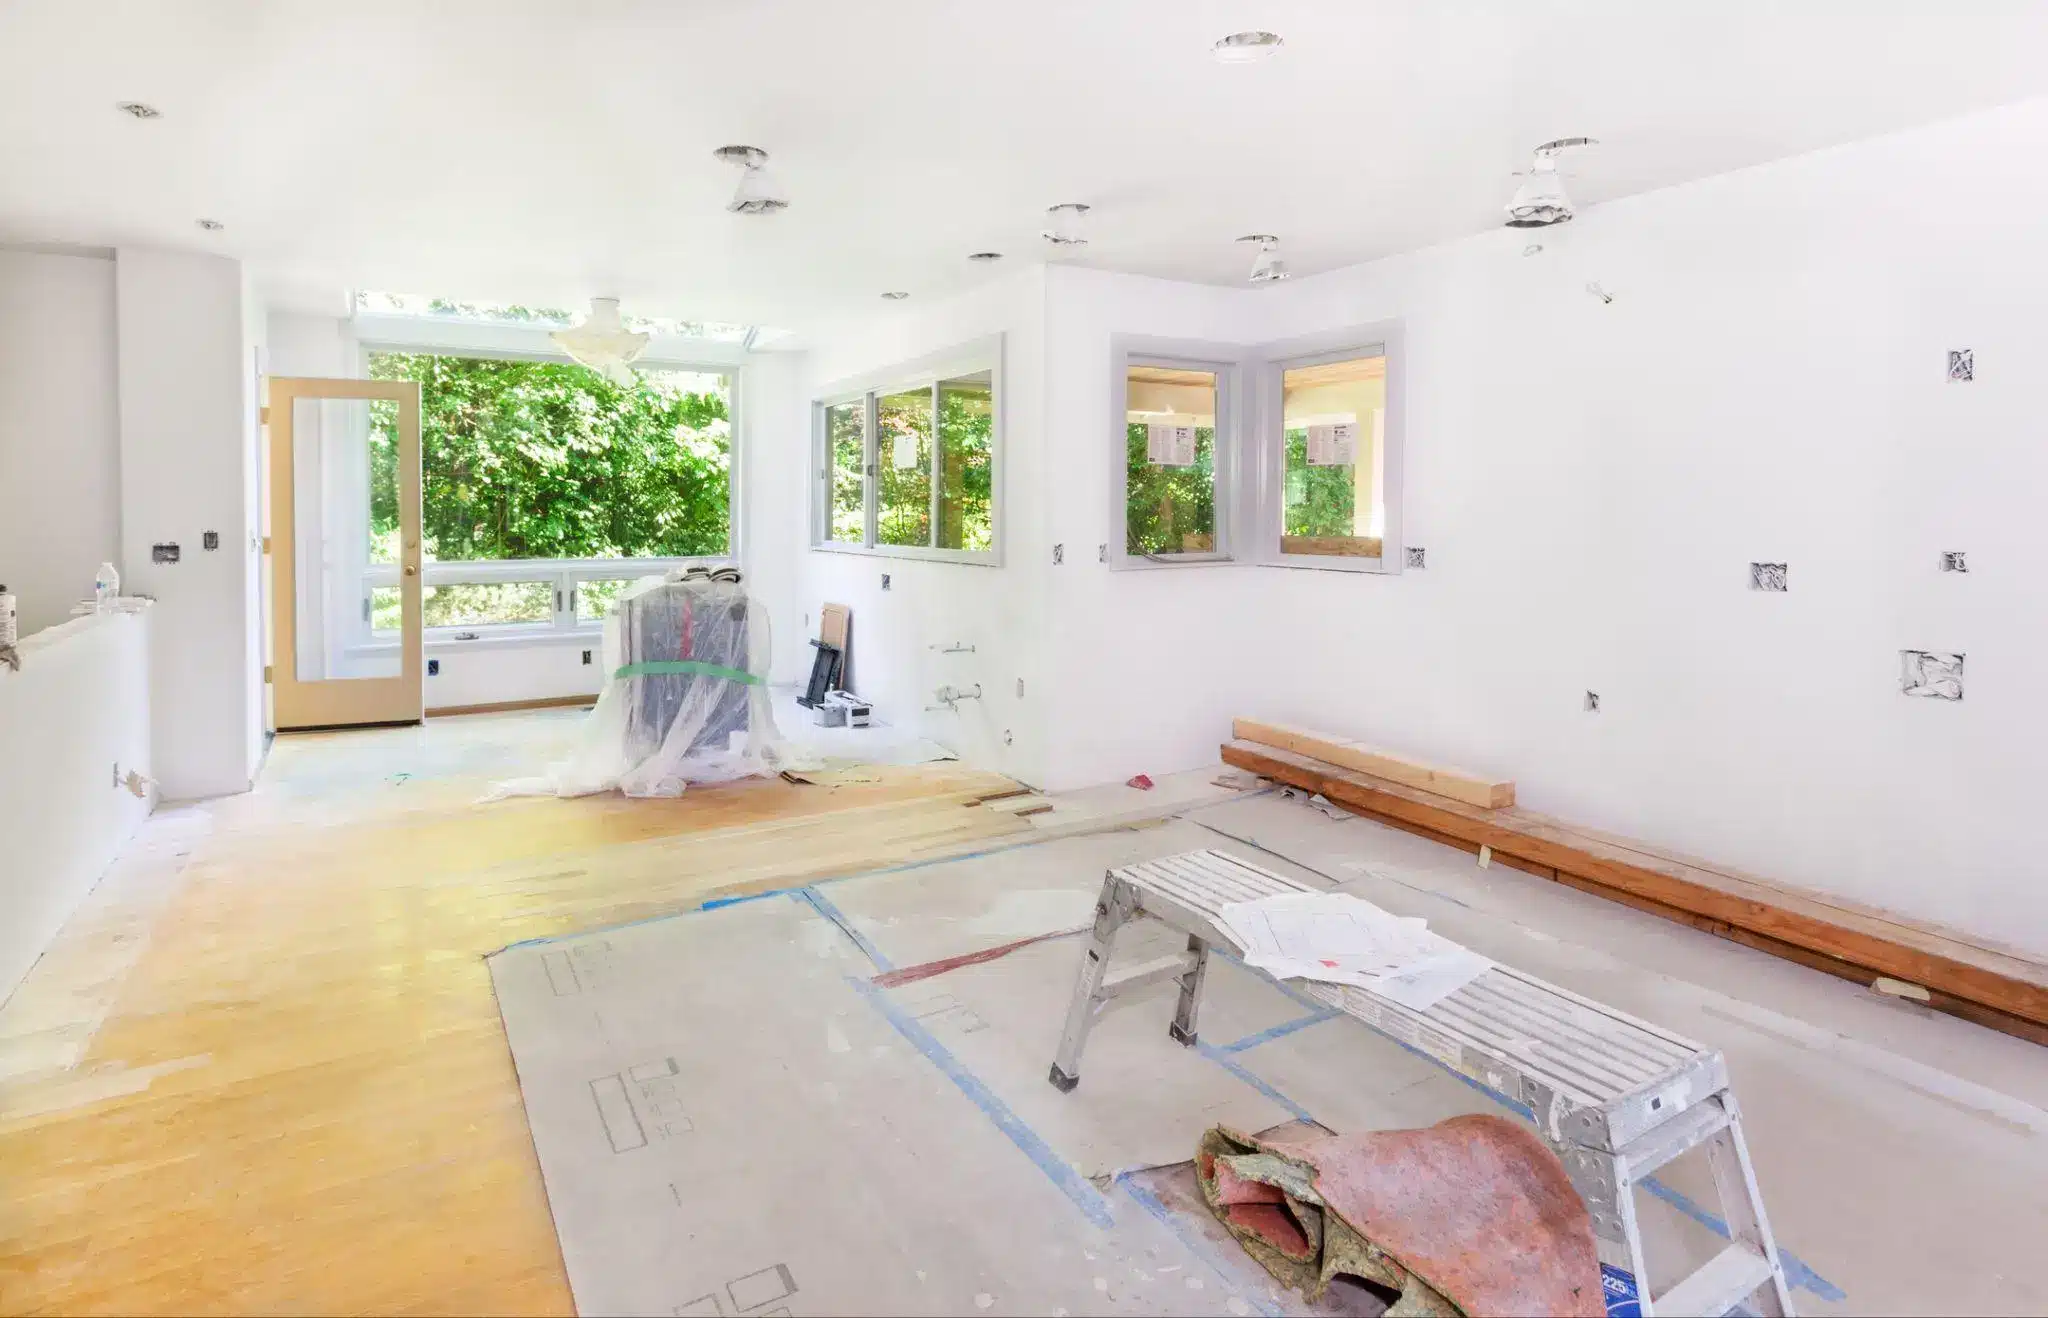
Deciding do you need storage during a home renovation is only half the battle. Whatever you move still has to survive weeks of handling, temperature swings, and grit in the air. A bit of prep now prevents scratched tabletops and warped wood later.
Learning how to protect furniture during a renovation starts before a single box is packed. Clean and fully dry every piece first, since trapped moisture invites mould and musty smells over a long storage stretch. From there, work through the basics:
- Wrap sofas and soft pieces in moving blankets, not plastic, so they can breathe
- Disassemble bed frames and tables, then bag the screws and tape them to each piece
- Slip mattresses into sealed covers and store them upright to save room
- Slide cardboard between stacked items to stop rubbing and scuffs
Packing Fragile and Sensitive Items
Delicate belongings need their own plan. Dishes, glassware, and keepsakes do best in sturdy boxes with dividers and plenty of padding from paper or bubble wrap. Anything sensitive to heat or humidity deserves extra thought.
According to Statista, home improvement spending in North America has climbed steadily in recent years, which means more households than ever are storing valuables through long projects. Give these items climate-controlled space when you can:
- Wood furniture and antiques
- Electronics, instruments, and vinyl records
- Photos, artwork, and important documents
Shielding What Stays Behind
Some pieces are too big or too bothersome to move. For those, renting a portable storage container for renovation use can hold the overflow while you seal off the rest. Cover stationary furniture with sheeting, tape plastic across doorways, and lay drop cloths over floors you want to keep clean.
Raising boxes onto pallets also keeps pests and damp away from anything left in a garage or basement. With your belongings packed and shielded, you are ready to think about timing the whole move.
Timing the Move While Living in Your House During a Renovation
Good storage is as much about when as where. Pack too late, and you are hauling furniture while contractors wait. Pack too early, and you lose access to things you still need. A simple sequence keeps the whole process calm and orderly.
Start with the rooms slated for demolition first, then work outward. Basements and attics often double as storage before they become work zones, so clear those early. This rough order works for most whole-home jobs:
- Empty demolition rooms and shared storage spaces first
- Pack lesser-used items a week or two ahead
- Move daily-use pieces last, right before work begins
- Keep your essentials box out until the final day
A Real-World Example
Take a family renovating a three-bedroom home over four months. They rented a driveway container, cleared one room every few days, and labelled each box by room and contents. When the crew needed a space, it was already empty and swept.
Because their things stayed on-site, grabbing a winter coat or a missing tool took minutes rather than a drive across town. Small choices like labelling and staging saved them hours every single week.
Protecting Your Peace of Mind
Renovations stretch and shift, so build in a little breathing room. A few habits keep the stress manageable:
- Photograph valuables before packing, for your own records
- Keep an inventory list on your phone
- Confirm container placement or unit size before delivery day
- Check local permit or HOA rules early
Handle these details up front and the messy middle stretch feels far less chaotic, leaving you free to watch your home take shape.
Your Renovation Storage Plan, Start to Finish
A whole-home renovation turns your house into a worksite, but your belongings do not have to pay the price. The homeowners who sail through it are the ones who sort out storage before the first wall comes down. Match your option to the project’s length, protect whatever you pack, and keep your daily essentials within easy reach.
Clear each room in order, guard fragile and sensitive pieces with proper wrapping and climate control, and give yourself a little schedule cushion for the surprises that always crop up. None of it is hard, and doing it early is what separates a smooth project from weeks of frustration.
Handle your things with care now, and you will step into your finished home with everything intact and ready to enjoy.