A cluttered workspace can slow you down, hide important papers, and make simple tasks feel harder than they should during an ordinary workday at home.
Good home office organization starts with understanding how you work, what you use most, and where clutter usually begins to build near your desk daily.
A clear system helps you sort supplies, manage paperwork, free desk space, and use walls without filling the room with unnecessary storage products or furniture.
The steps ahead focus on practical choices that fit your routine, reduce friction, and keep the space easy to reset each day without extra effort.
What Should You Prepare Before Home Office Organization?
Before you buy a single organizer, figure out how you actually use the space. Grabbing bins and folders feels like progress but it won’t fix anything if you skip this step.
I’ve watched people fill a drawer with dividers, then still lose the same receipts every week. The organizer wasn’t the problem, their system never matched how they actually worked.
Before you touch a store shelf, look at these three things:
- How much paper crosses your desk each week: This helps you decide if you need filing cabinets, folders, or a mostly digital setup.
- Whether your work is mostly digital or physical: Your storage system should match the type of work you actually do.
- Whether you use the office alone or share it: A shared space needs storage that works for everyone using it.
These answers point you toward the right kind of system. Skip them, and you’re just guessing.
A shared office needs a different setup than a solo one. If your partner drops mail on your desk, plan for that. If your kid does homework there, plan for that too. A system built only for you will fail in a shared space.
Matching your system to how you actually work matters more than which bins you buy. Buy organizers before you know this, and they’ll sit half-used within a month. That mismatch, not laziness, is why so many storage products end up unused in a closet.
How Do You Organize a Home Office Step by Step?
These steps work in order. Purge first, then the desk, then paper, then vertical space.
Step 1: Sort and Remove Items You No Longer Need
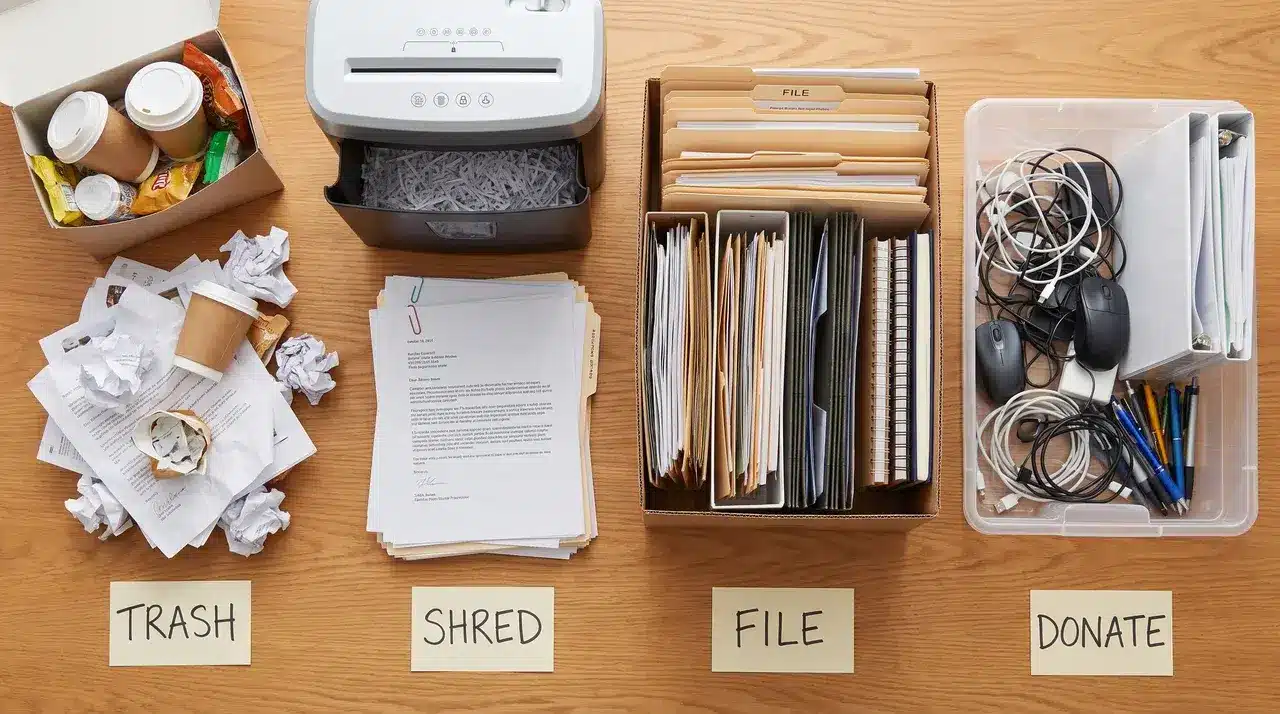
Before anything gets a home, it needs a category. I use four: trash, shred, file, and donate.
Every item you own falls into one of these. No exceptions, no “maybe later” pile.
- Trash: broken pens, dead notebooks, anything you’d never miss
- Shred: old statements, tax papers, anything with your name and account numbers on it
- File: documents you’ll need again, sorted by what they’re for
- Donate or relocate: good supplies you just don’t use here
Cords deserve their own pass. If a cord doesn’t match a device you still own, get rid of it.
Once everything has a category, skip storage products and jump straight to setup. That’s the mistake I see most. People buy bins before they sort. Then they’re sorting into bins that don’t fit what they own.
Step 2: Create a Cleaner Desk Setup
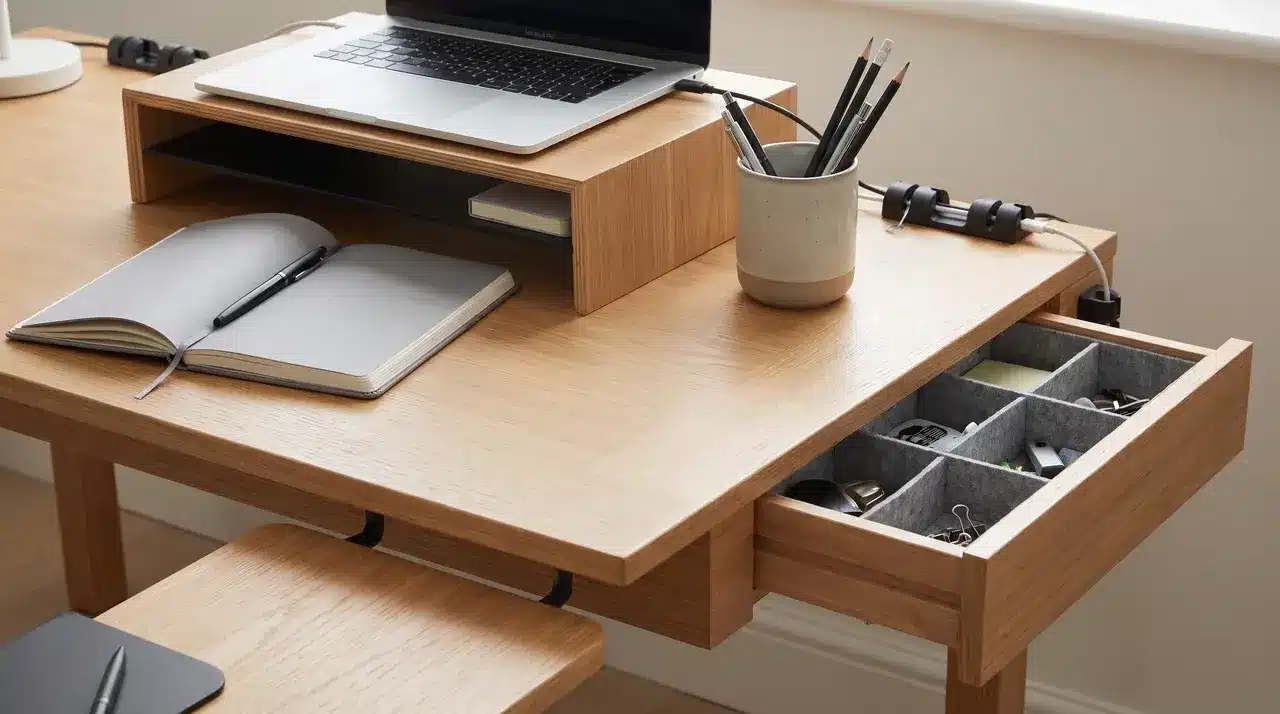
When customizing your desk to fit your workflow, it should only hold what you touch every day. Everything else belongs somewhere else.
I keep my desk down to a laptop, one notebook, and a pen cup. That’s it.
- A monitor stand raises your screen and opens space underneath for a keyboard or notepad
- Drawer dividers keep small items like paper clips from sliding into one messy pile
- Cable clips keep charging cords off the surface and out of your way
A clear desk isn’t about looking tidy. It’s about knowing where things are without thinking.
Clip your cords down first. Loose cables are usually the first thing that makes a clean desk look messy again.
Step 3: Build a Simple Paper Filing System
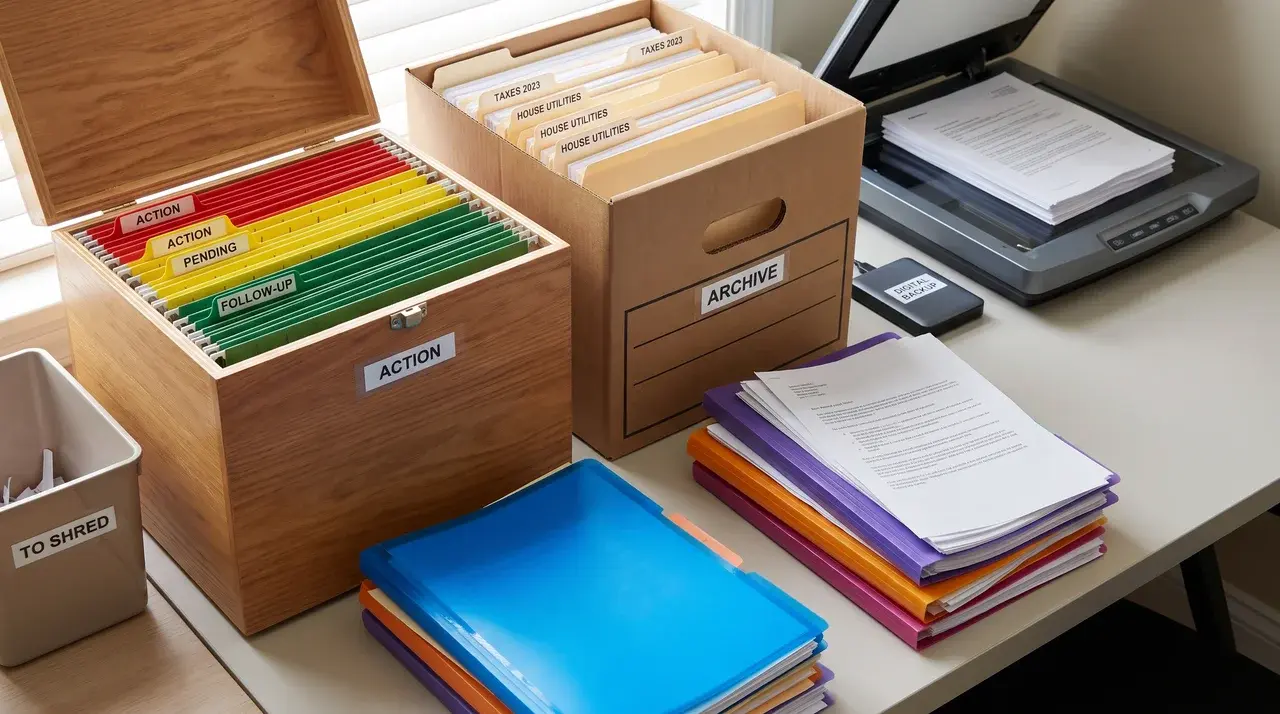
Paper builds up fast if you don’t have a rule for where it goes.
Split your paper into two piles: action and archive. Action is anything you need to deal with soon.
Archive is everything else you’re required to keep.
- An action file holds bills, forms, or anything with a deadline
- Using a label maker for consistent filing with a color-coded system (green for money, red for medical, blue for household) speeds up filing
- Digitizing receipts cuts down physical paper, but only if you actually file the scans somewhere
That last point trips people up. I’ve scanned receipts into a folder I never opened again. Digitizing only helps if you treat your scanned files the same way you’d treat paper ones.
Step 4: Add Vertical Storage Without Creating More Clutter
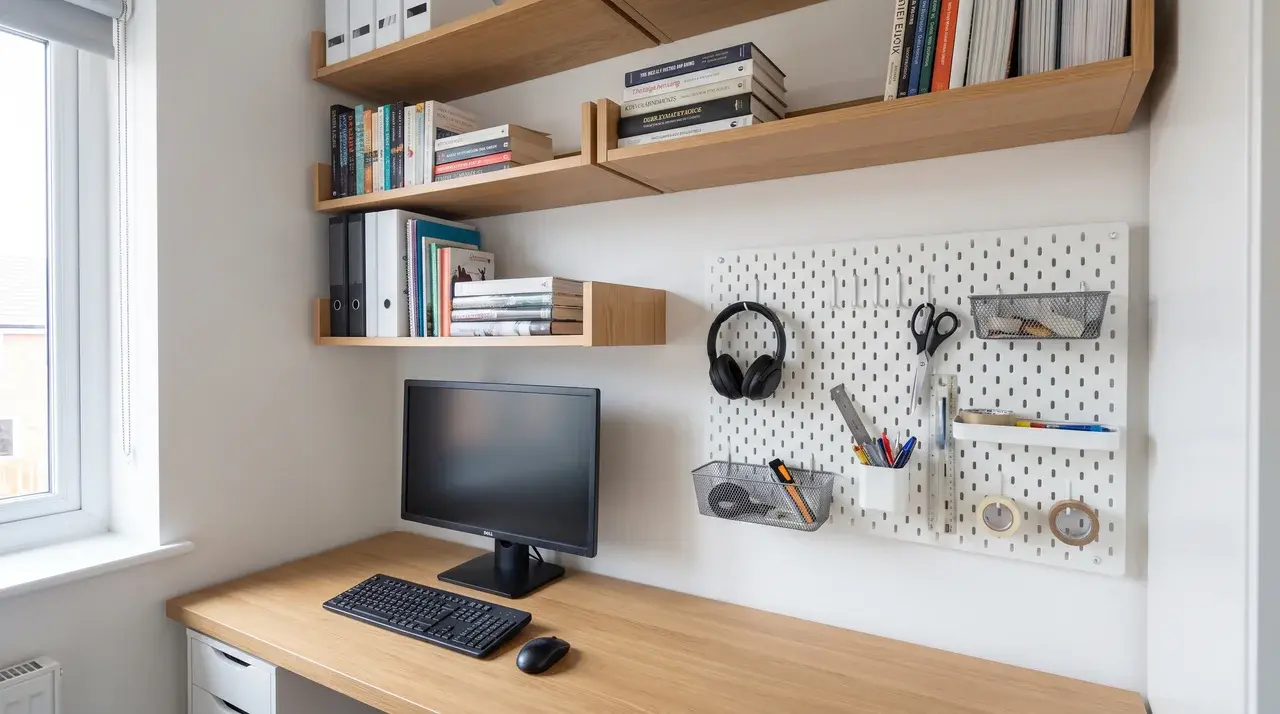
Once your desk and paper are sorted, storage ideas for small spaces on your walls are the next place to look. Shelving and pegboards work well here, especially in small rooms where floor space is tight.
- Wall shelves hold books, binders, or reference material you don’t need daily
- Pegboards hang small tools, headphones, or scissors within reach of your desk
- Both keep floor and desk space clear without adding another bin
Vertical storage works best for things you grab occasionally, not daily paperwork. Load it up without a plan, and you’ve just moved your clutter higher up the wall.
Why Do Home Office Organization Systems Break Down?
Most organized offices don’t fall apart because you got lazy. They fall apart because putting things away got harder than it needed to be.
Every time you have to decide where something goes, that’s a small tax on your time. A good system removes that decision. A bad one asks you to make it over and over.
I’ve built systems that looked great on day one then died in a week, the problem was never effort. It was that every returned item needed a judgment call instead of an obvious home. Shared offices break this fastest.
You can build the perfect system, but it only holds if everyone uses it. One person dropping mail on the desk “just for now” is enough to unravel the whole thing. Digitized paper has its own version of this.
Scanning a receipt feels like progress but if there’s no set place for that scan to land, you’ve just created digital clutter instead of physical clutter.
The system didn’t fail. It just moved the same problem somewhere new.
How Do You Keep Your Home Office Organized?
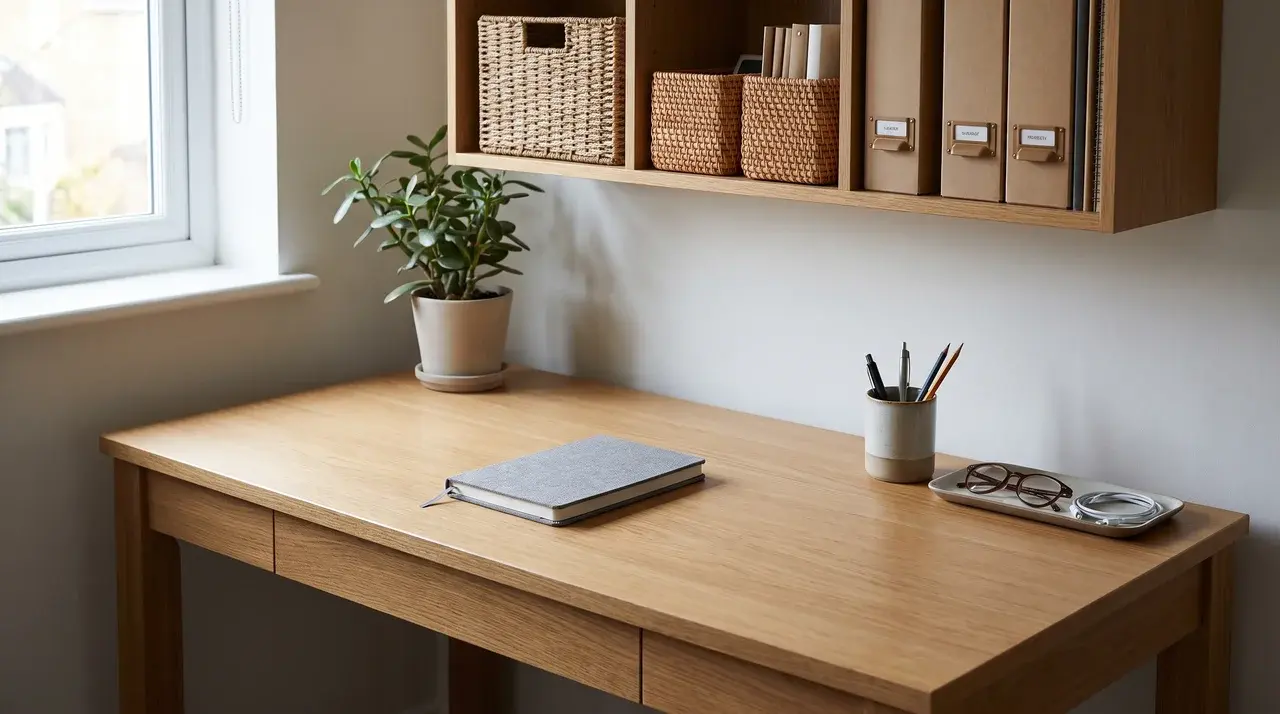
A short daily reset helps you check if your system is actually working. It is more than just tidying up.
- Put things back before leaving your desk: Return supplies, clear the surface, and set up anything you need for the next day.
- Keep resets short: If your cleanup takes only two or three minutes, your system is easy to maintain.
- Watch for repeated clutter: Overflowing bins and growing piles are signs that your setup needs changes, not another round of decluttering.
- Adjust the system when needed: If items keep collecting in the same place, create a better storage solution for them.
- Reduce daily friction: If your reset takes longer every day, the problem is with the setup, not your habits. Fix the system so organization feels easier.
Conclusion
A well-organized office is not about having the most storage products. It is about creating a system that fits the way you work every day.
Home office organization tells that simple systems last longer when every item has a clear place and easy return point.
Start with one small area, fix the problems you notice most, and adjust your setup as your work habits change over time.
Take a few minutes today to clear your desk, sort your supplies, and build a workspace that helps you stay focused and comfortable.
Frequently Asked Questions
What are the 4 C’s of decluttering?
The 4 C’s are a simple sorting framework: Categorize items by type, Consolidate duplicates, Contain what’s left in a defined space, and Commit to returning items there after use. It gives a quick mental checklist for sorting through a cluttered area without overthinking each item individually.
What are the 7 steps to organize a home filing system?
Most home filing systems follow a similar sequence: gather all paperwork, sort by category, purge anything outdated, create action versus archive folders, label consistently, digitize what you can, and schedule a recurring review. The exact steps vary slightly by source, but the underlying goal is a system you’ll actually maintain.
What are the best office organizers?
The most useful organizers are drawer dividers for small supplies, labeled bins or folders for paperwork, a desktop letter sorter for action items, and wall-mounted shelving or pegboards for vertical storage. The “best” option depends less on the product and more on whether it matches your actual paper and supply volume.