Moving a pool table looks simple until you get close to it. It’s flat. It has legs. It sits there quietly. That makes it feel like oversized furniture… It’s not.
A pool table is heavy in uneven ways, sensitive to small shifts, and expensive to fix when something goes wrong. Most damage doesn’t come from big accidents. It comes from small choices made too fast.
In this guide, I’ll explain why these tables behave the way they do, what actually causes damage, and how to think through each step.
If you’re trying to figure out how to move a pool table, this will give you clarity before you touch anything.
First, Identify What Type of Pool Table You Have
Before thinking about tools or helpers, you need to know what you’re dealing with. Pool tables look similar on the outside, but the inside changes everything. The way a table is built decides how fragile it is, how much it weighs, and how careful you need to be.
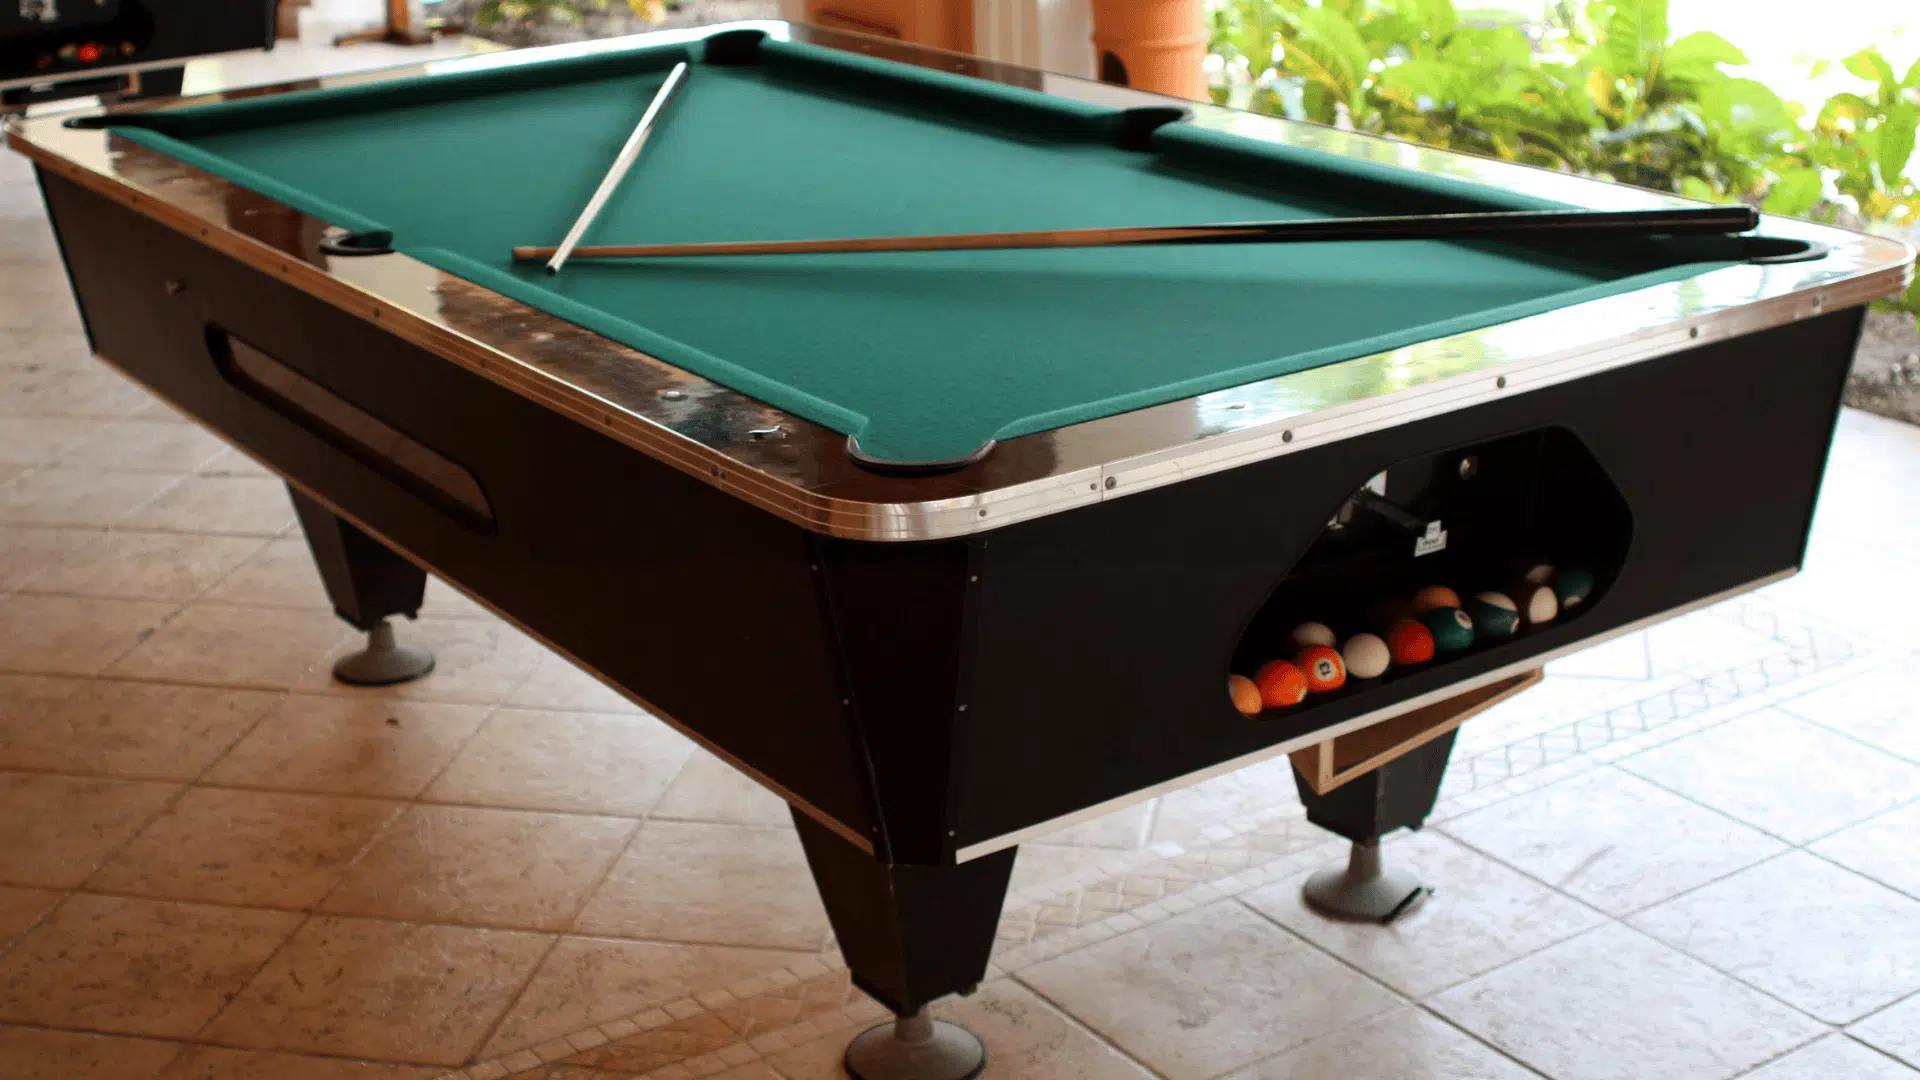
1. Slate Pool Tables
Most full-size home pool tables use slate. An 8-foot slate table usually weighs between 700 and 1,000 pounds. Most of that weight sits in the slate, not the frame or legs.
Slate cracks because it’s stone. It’s strong when it lies flat and supported evenly. It’s weak when twisted, tipped, or stressed on one edge. Cracks often happen during lifting, not transport. A small twist while clearing a doorway is enough.
Leveling matters because the slate pieces must sit perfectly flat against each other. Even a small gap changes how balls roll. Once the table shifts, gravity takes over. The slate settles where it wants to, not where it should.
3. Non-Slate or MDF Pool Tables
Some tables use MDF or other engineered boards instead of slate. These are lighter and more forgiving. They flex a little instead of cracking.
Moving these tables intact can be safer in some cases. The risk of sudden breakage is lower. The downside is long-term stability. MDF tables can warp if stressed unevenly, but they rarely fail all at once.
Lower risk does not mean no risk. Legs can still loosen. Frames can still twist. The difference is how severe the damage becomes.
Can You Move a Pool Table Without Taking It Apart?
This is the most common question, and also where most bad advice starts. The answer depends on distance, obstacles, and table type. Not effort or confidence.
Situations Where No Disassembly is Reasonable
There are limited cases where leaving the table intact makes sense.
Same-room moves work because the table stays level the entire time. Being on the same floor matters because stairs change how weight is carried.
Short distances reduce how long the table stays under stress. Avoiding stairs and tight turns keeps twisting forces low, which protects the frame and legs.
If all of those are true at the same time, moving without disassembly can be reasonable. If even one changes, risk increases fast.
Situations Where Disassembly is Mandatory
Stairs force weight onto corners and edges. Doorways cause twisting. Long distances increase vibration. Truck transport adds bounce and flex.
These forces don’t look dramatic. They don’t feel dramatic. They act slowly, then fail suddenly. Slate rarely gives warning before cracking.
How to Move a Pool Table without Disassembly
This approach only works when conditions are close to perfect. Same room. Same floor. No obstacles. If any of that changes, stop and rethink.
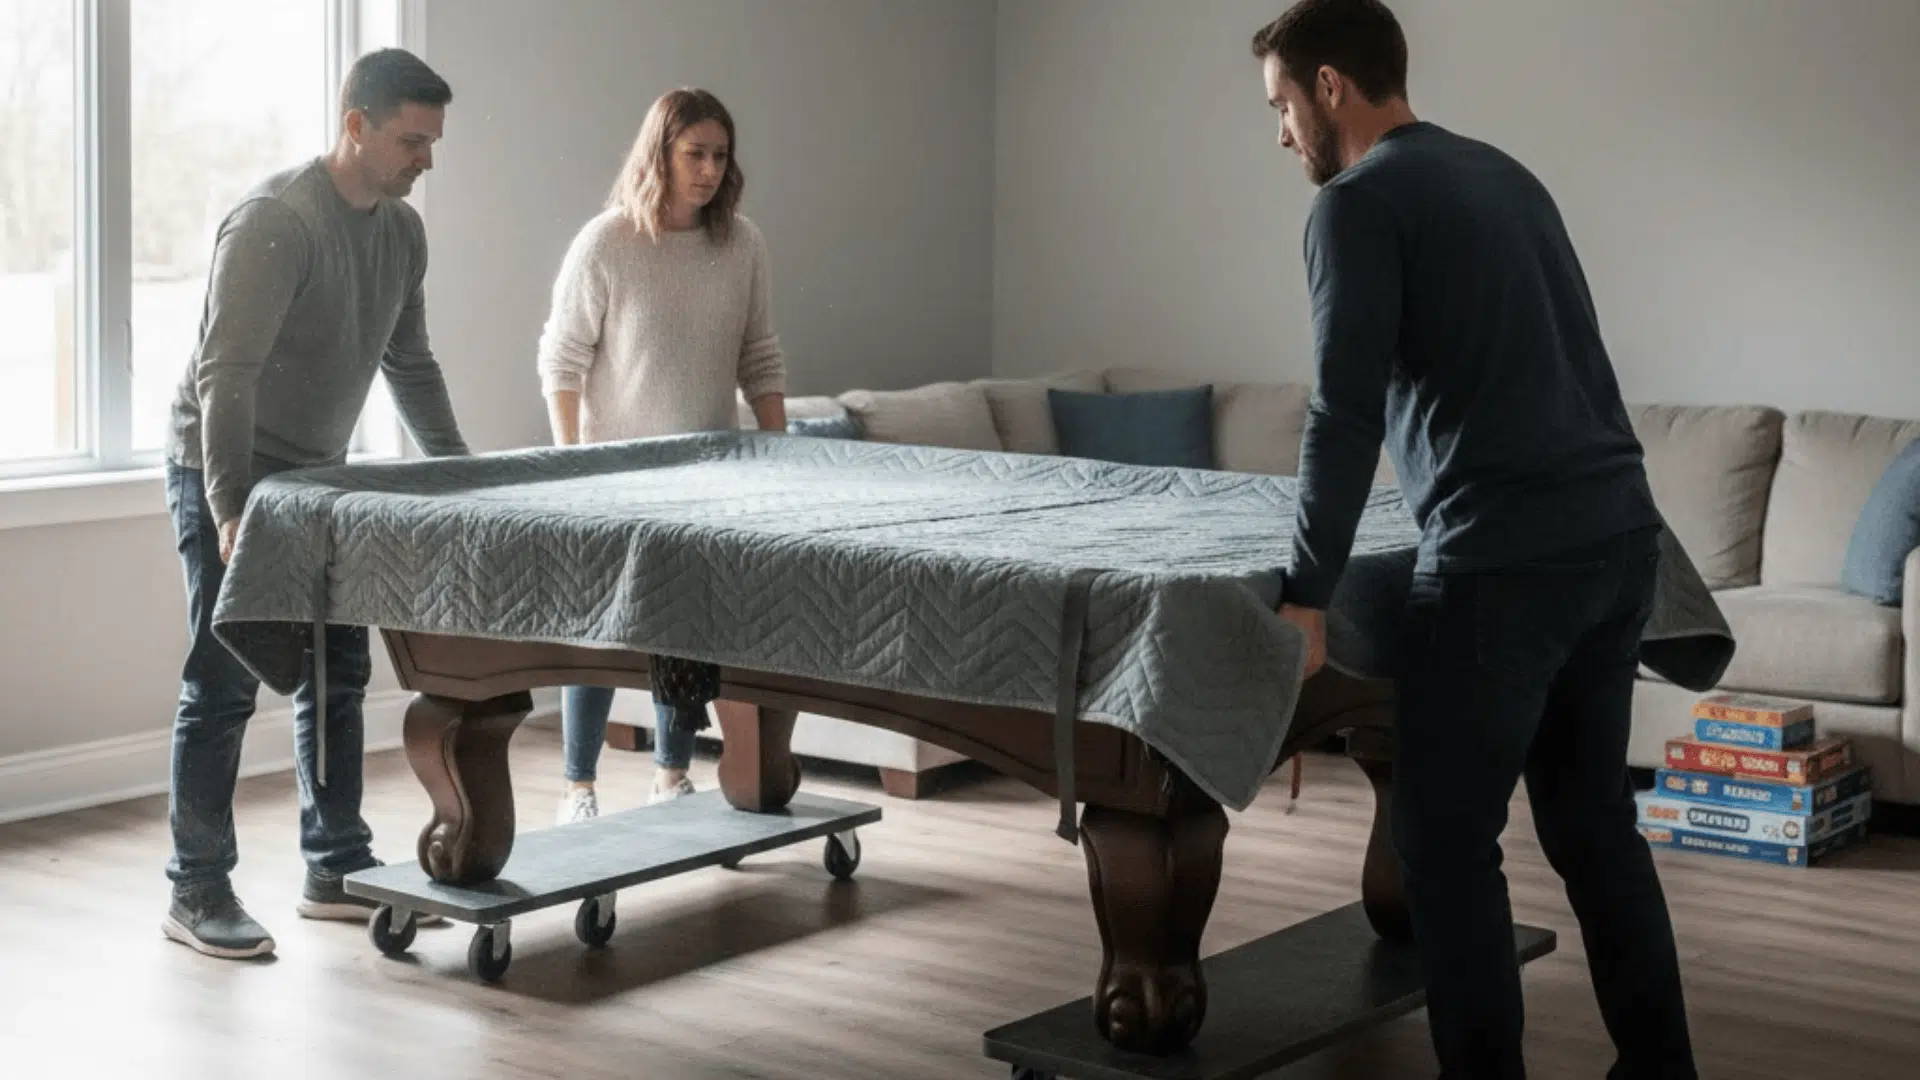
- Confirm you have enough help. You need at least three strong adults, though four is safer. One person lifts while others handle the dollies and guide movement.
- Prepare the dollies correctly. Use four heavy-duty furniture dollies, one under each leg. Lock them if possible so they cannot roll unexpectedly during lifting.
- Lift the table the right way. Lift one end at a time, only a few inches. Always lift from the frame near the legs, never from the rails, which can crack or separate.
- Lower onto the dollies slowly. Keep movements controlled. Lower the table gently so weight settles evenly onto each dolly without twisting the frame.
- Roll the table with care. Move slowly. Avoid sharp turns and sudden stops. Watch the legs closely. If anything shifts, stop immediately and reset.
- Avoid common mistakes. Do not tilt the table. Do not roll over cords, debris, or uneven flooring. Do not rush just because it feels stable in the moment.
This method works only for very short, controlled moves. If the table needs to turn tightly, cross rooms, or change levels, disassembly is the safer option
How to Move a Pool Table with Disassembly
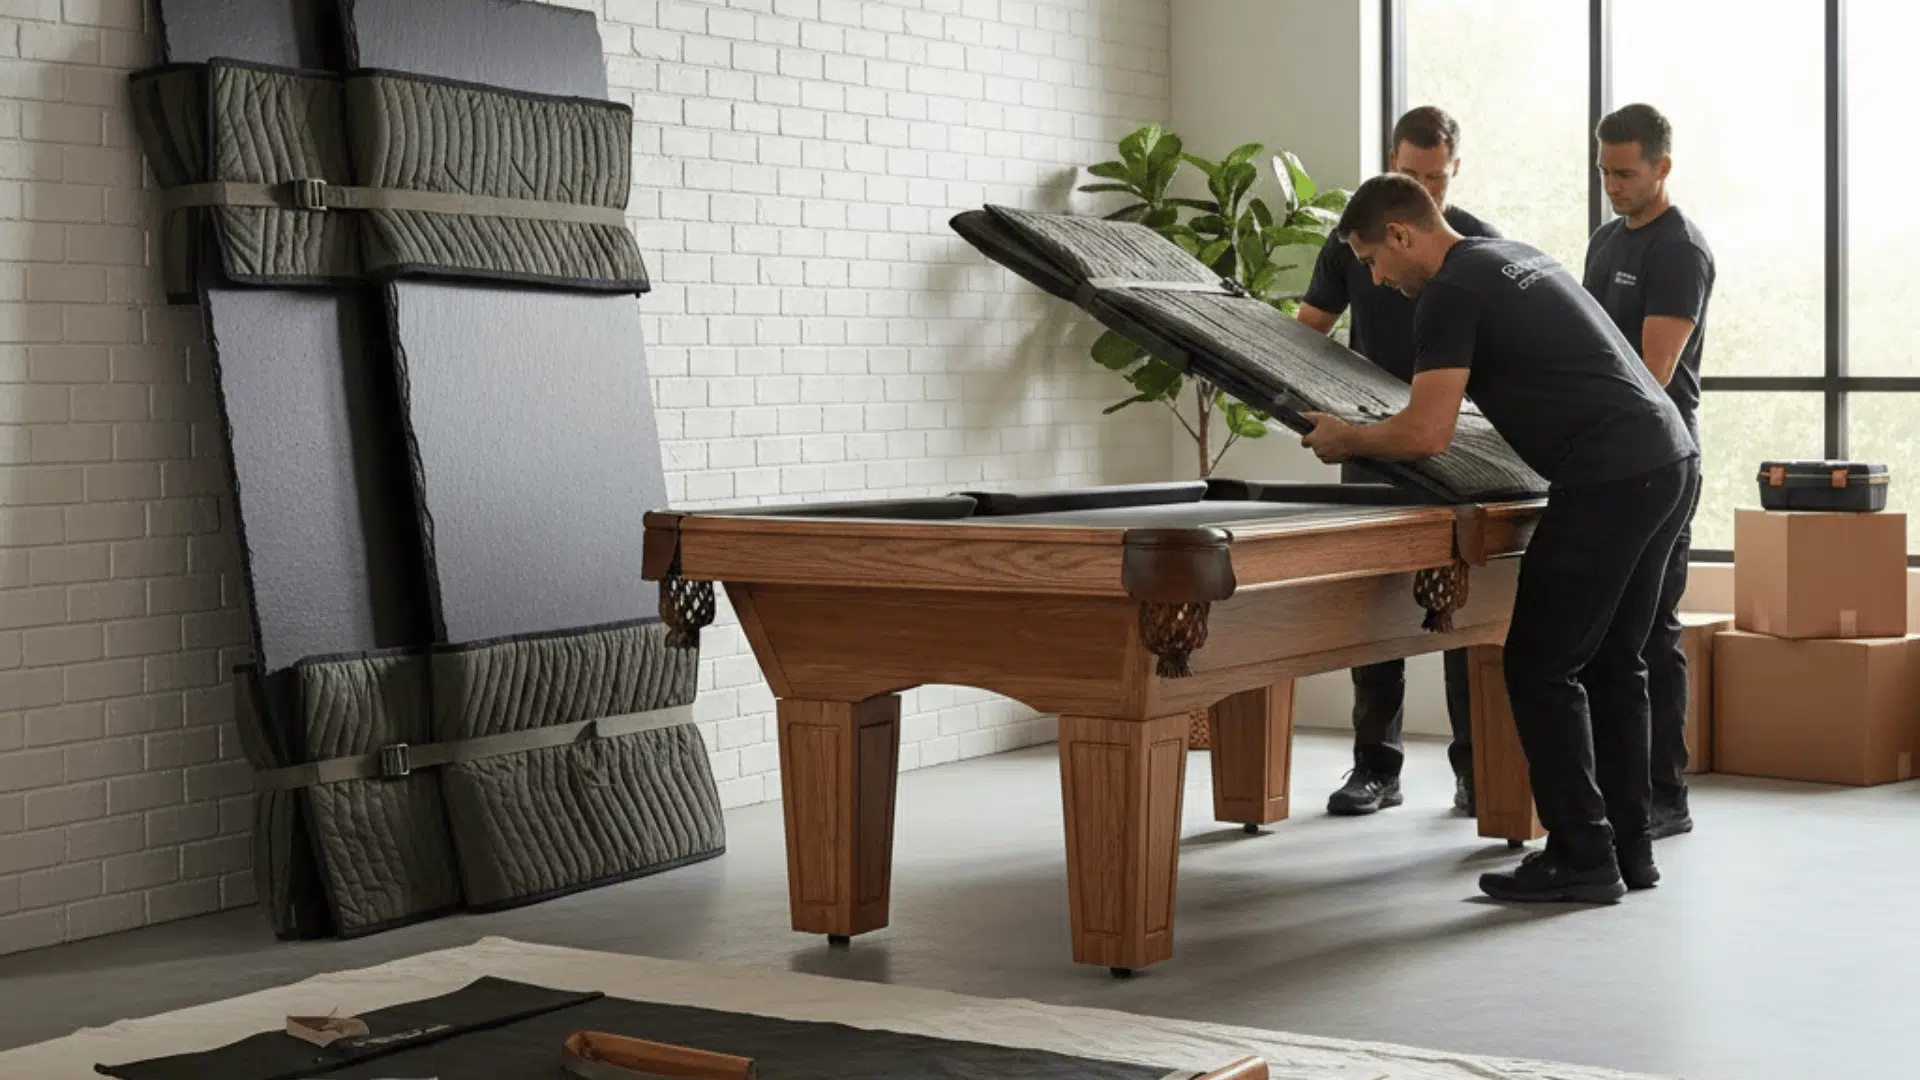
Disassembly spreads weight into manageable parts. It removes stress points. It gives you control instead of momentum. This is why professionals use it.
Tools and Supplies Needed
You’ll need basic tools, but organization matters more than strength.
- Furniture dollies support heavy sections and reduce strain while moving.
- Moving blankets protect surfaces from scratches and impact.
- Socket set removes bolts cleanly without stripping.
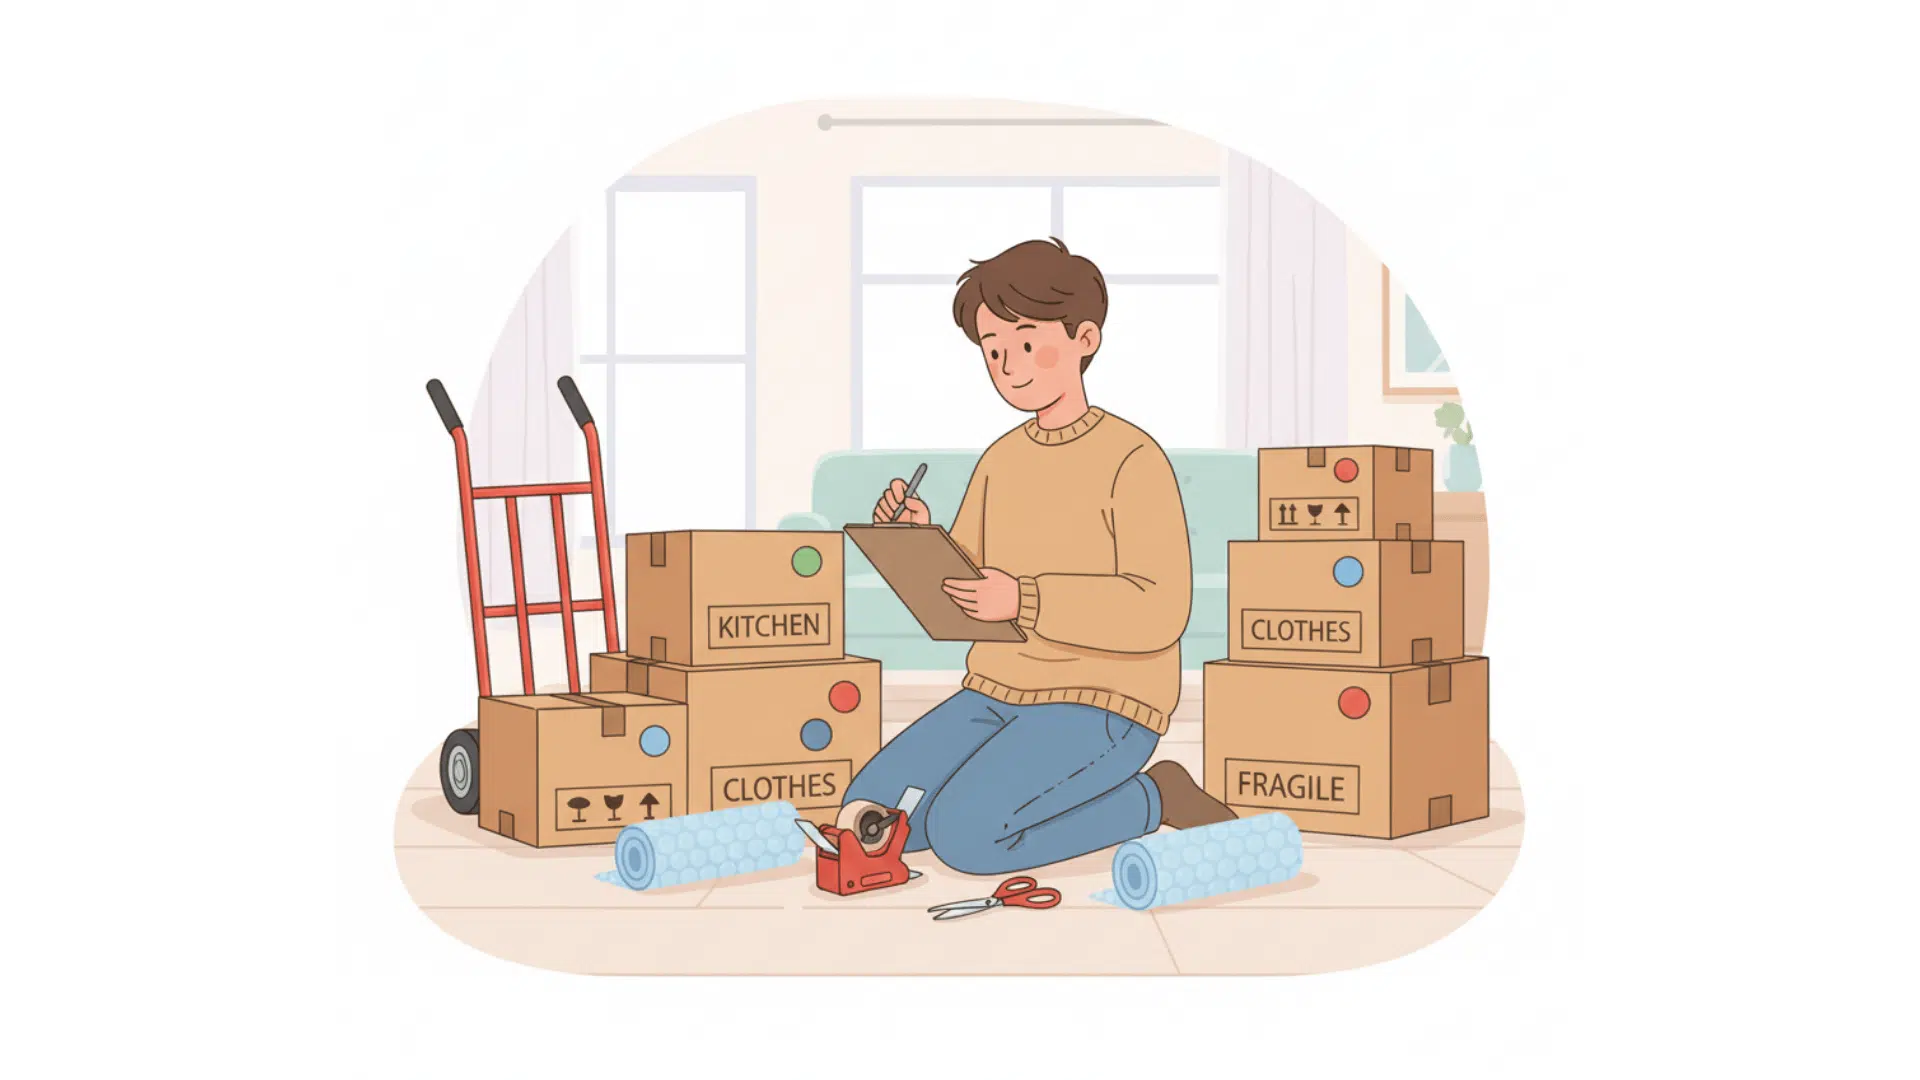
- Labels and bags keep hardware organized and easy to reinstall. Lost bolts cause more trouble than people expect.
Step-by-Step Disassembly Process
- Start with the pockets. Remove them carefully and set hardware aside.
- Next, remove the rails. These are usually bolted from underneath. Keep each rail section grouped with its bolts.
- Remove the felt slowly. It’s often stapled or glued. Pulling too fast can tear it, even if you plan to replace it.
- Remove the slate next. Most tables have three slate pieces. Unscrew them from the frame. Lift each piece straight up with help. Do not slide them sideways across the frame.
- Finally, remove the legs and frame. At this point, everything should be manageable by hand.
Transporting the Slate Safely
Slate can be moved flat or vertical, but only when it is supported correctly. Flat transport works when the entire surface is evenly supported. Vertical transport works only when the edge is fully padded and stabilized.
Padding matters because hard contact points create pressure cracks. Never rest slate directly on concrete or metal edges, which concentrate force in small areas.
Most cracks happen when weight is allowed to focus in one spot. Spread the load, control the movement, and slow everything down.
Re-Assembling and Leveling the Pool Table
This step decides how the table plays over time. If it is not level, nothing else will feel right.
Even small slopes change gameplay. Balls drift. Breaks react differently. Shots miss without clear reasons. Gravity usually always wins.
Step 1: Set the frame – Place the frame in its final position and tighten all bolts. Make sure every leg sits solid on the floor. If the frame rocks, fix that first.
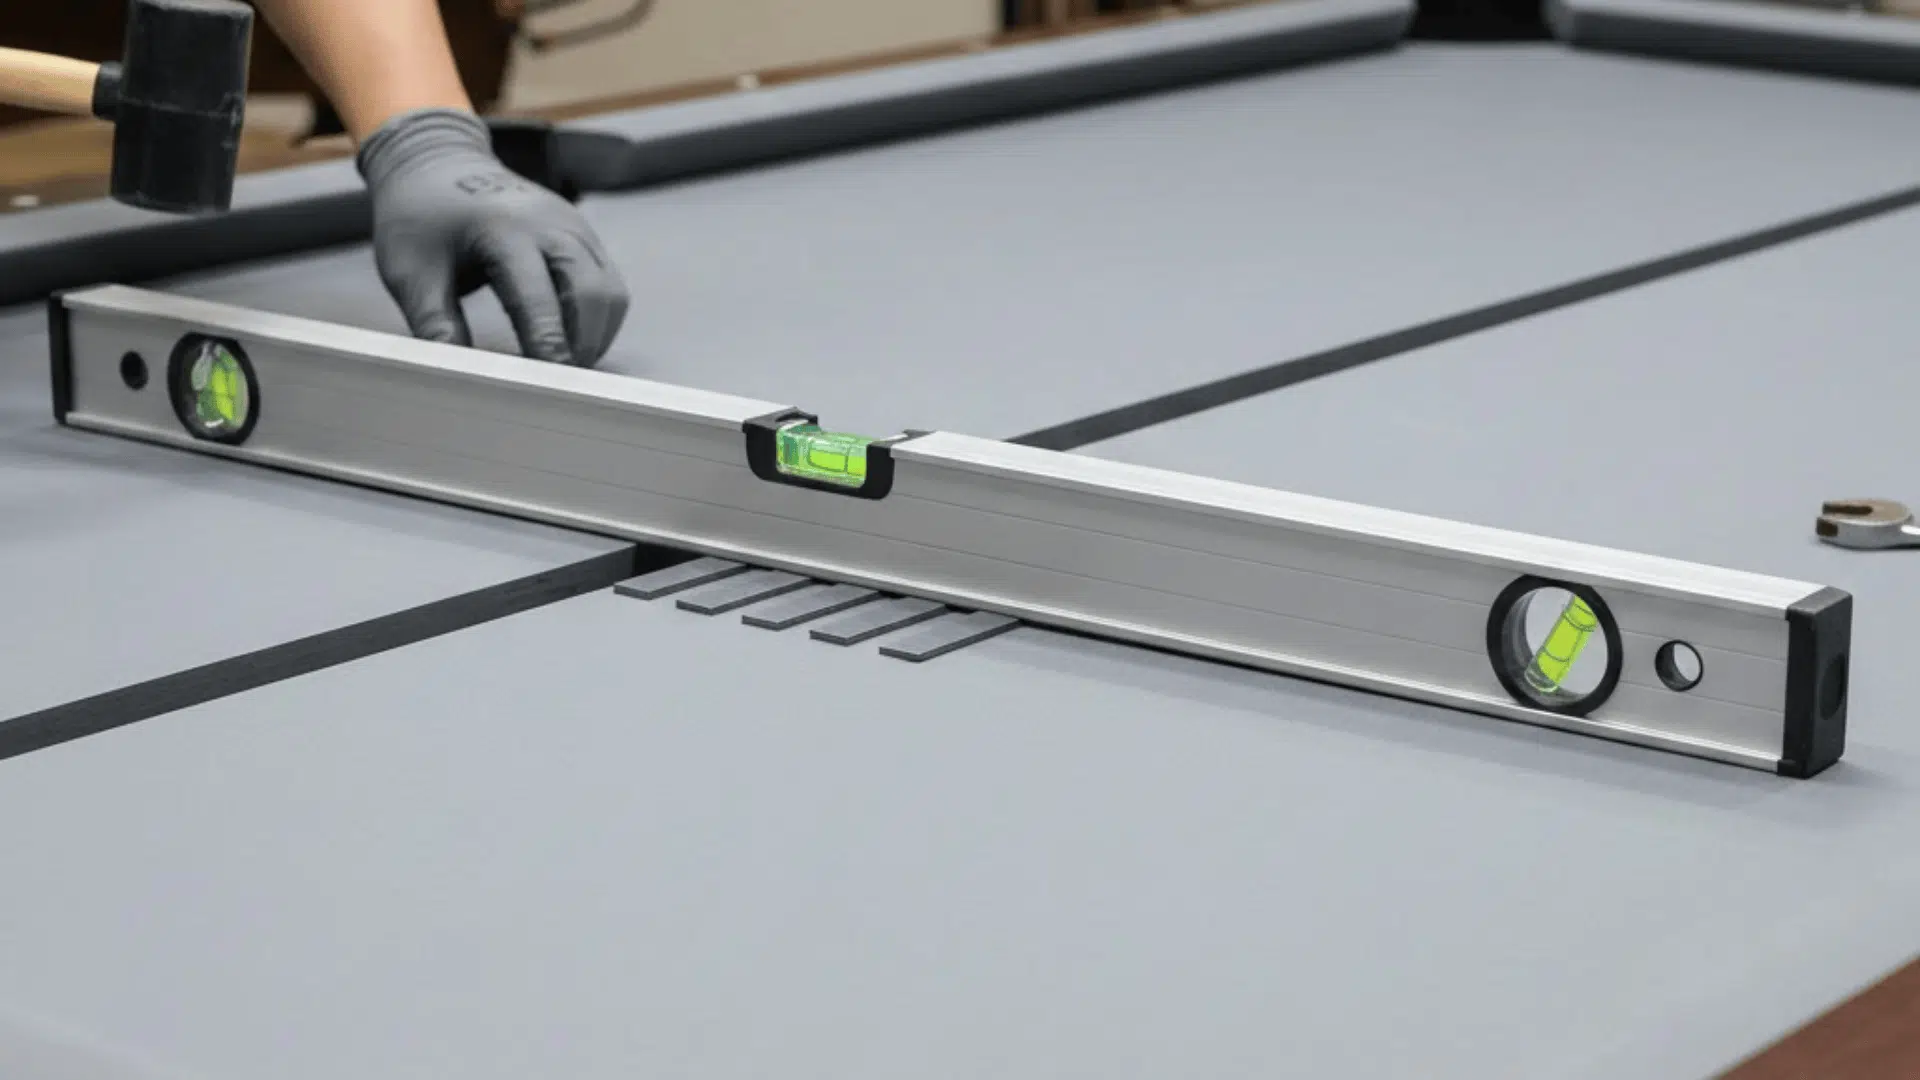
Step 2: Level the frame – Use a long level and check all directions. Adjust legs or add shims slowly. Recheck after every change. The frame must be level before the slate goes on.
Step 3: Place the slate – Set the center slate first, then the other pieces. Slide seams together gently. Do not force the stone into place.
Step 4: Level the slate – Check the slate in multiple directions. Use slate shims under low spots. Make small adjustments and recheck often. Even tiny differences affect play.
Step 5: Check seams – Run your hand across the seams. They should feel smooth and even. If gaps will not close, stop and call a professional. Forcing slate can crack it.
Step 6: Final check- Roll a ball slowly across the table. If it drifts, recheck the level before adding cloth. This step is worth the time. A properly leveled table plays true and stays that way longer.
Common Mistakes that Ruin Pool Tables
- Tipping the table on its side shifts weight into the frame and slate unevenly, creating stress points that can crack slate, loosen joints, and permanently warp the structure.
- Lifting by the rails instead of the frame puts force into decorative parts that are not load-bearing, often causing rail separation, hidden damage, or long-term alignment problems.
- Dragging legs across the floor twists the frame while the slate resists movement, stressing leg joints and increasing the risk of cracks, chips, or broken mounting points.
- Skipping the leveling step leaves the table under uneven tension, which affects play, accelerates wear, and can cause joints to loosen or fail over time.
- Rushing because it “almost fits” leads to forced angles and sudden shifts, turning minor clearance issues into cracked slate, damaged walls, or serious hand injuries.
Each mistake adds stress where the table is weakest.
DIY vs. Hiring Professionals
This decision isn’t about pride. It’s about matching risk to reward.
| DIY Makes Sense | Hiring Professionals Is Worth It |
|---|---|
| Same-room moves with a clear, flat path and no stairs | Slate tables, where weight and fragility demand precision |
| Short-distance moves that keep stress time low | Any stairs which multiply load shifts and loss of control |
| Non-slate tables that are lighter and more forgiving | Longer moves where vibration and twisting add risk |
| Situations where replacement cost is low and damage is acceptable | High-value tables where damage would be costly or permanent |
| You have enough strong helpers and proper equipment | Tight spaces, uneven floors, or unknown obstacles |
Professionals don’t just lift better. Tri Billiards understands how small mistakes during a move can turn into expensive damage.
Conclusion
Moving a piano is one of those tasks where patience matters more than confidence.
The safest outcomes come from understanding limits, planning for small details, and knowing when a situation has crossed from manageable to risky. Strength helps, but awareness helps more.
When you think in terms of balance, control, and environment, decisions become better. Sometimes that leads to a careful DIY move. Other times it leads to calling professionals without guilt. Both are smart choices when made for the right reasons.
If this guide helped you think more clearly about how to move a piano, take the next step by walking your route, checking your tools, and deciding honestly what level of risk you are willing to accept before you begin.