Turning a steel box into a usable space sounds simple, but the way that steel reacts to weather can catch people off guard. Heat, cold, and moisture move through it fast, which is why shipping container insulation matters more than most expect.
The real challenge isn’t just picking a material. It’s understanding how each option changes the way the container feels and performs once you’re inside it.
This guide breaks down the choices in a clean, practical way so you can see what actually works, what doesn’t, and where your budget fits.
By the end, you’ll know how to avoid the common traps and build something that stays comfortable year-round. So let’s start with the basics.
Do You Really Need to Insulate a Shipping Container?
A container looks solid from the outside, but the inside reacts to the weather quickly. This part is really about helping you figure out if insulation is something you actually need or if your setup can live without it.
Heat, Cold, and Condensation
Steel doesn’t ease into temperature changes. It reacts instantly. The sun hits the roof, and the entire inside heats up. A cold front moves in, and the walls chill almost right away.
When warm air inside touches cold steel, you get condensation. It shows up as tiny droplets on the walls and ceiling. Looks like sweat, but it’s just moisture forming because of the temperature difference.
That’s where rust starts. It can also make the space feel damp. If you’re storing anything sensitive or planning to use the container as a workspace or living area, this becomes a real issue.
Insulation slows all of this down, so the container doesn’t jump from one extreme to the other.
When You Don’t Need Insulation
There are situations where you can skip insulation and be totally fine. If the container is being used for basic storage in a place without big temperature swings, the risk is pretty low.
Tools. Yard equipment. Boxes. Those things can handle a bit of heat or cold without trouble. Mild climates help a lot, too. If humidity stays low and the weather doesn’t shift quickly, condensation barely shows up.
But once you start storing anything that can rust, warp, or get damaged by moisture, insulation becomes more useful. Same thing if you plan to spend time inside the container.
It’s not impossible to run a bare steel container in the right conditions, but you need to know exactly what’s going on inside and what the local climate is like. That’s usually what decides it.
Types of Shipping Container Insulation
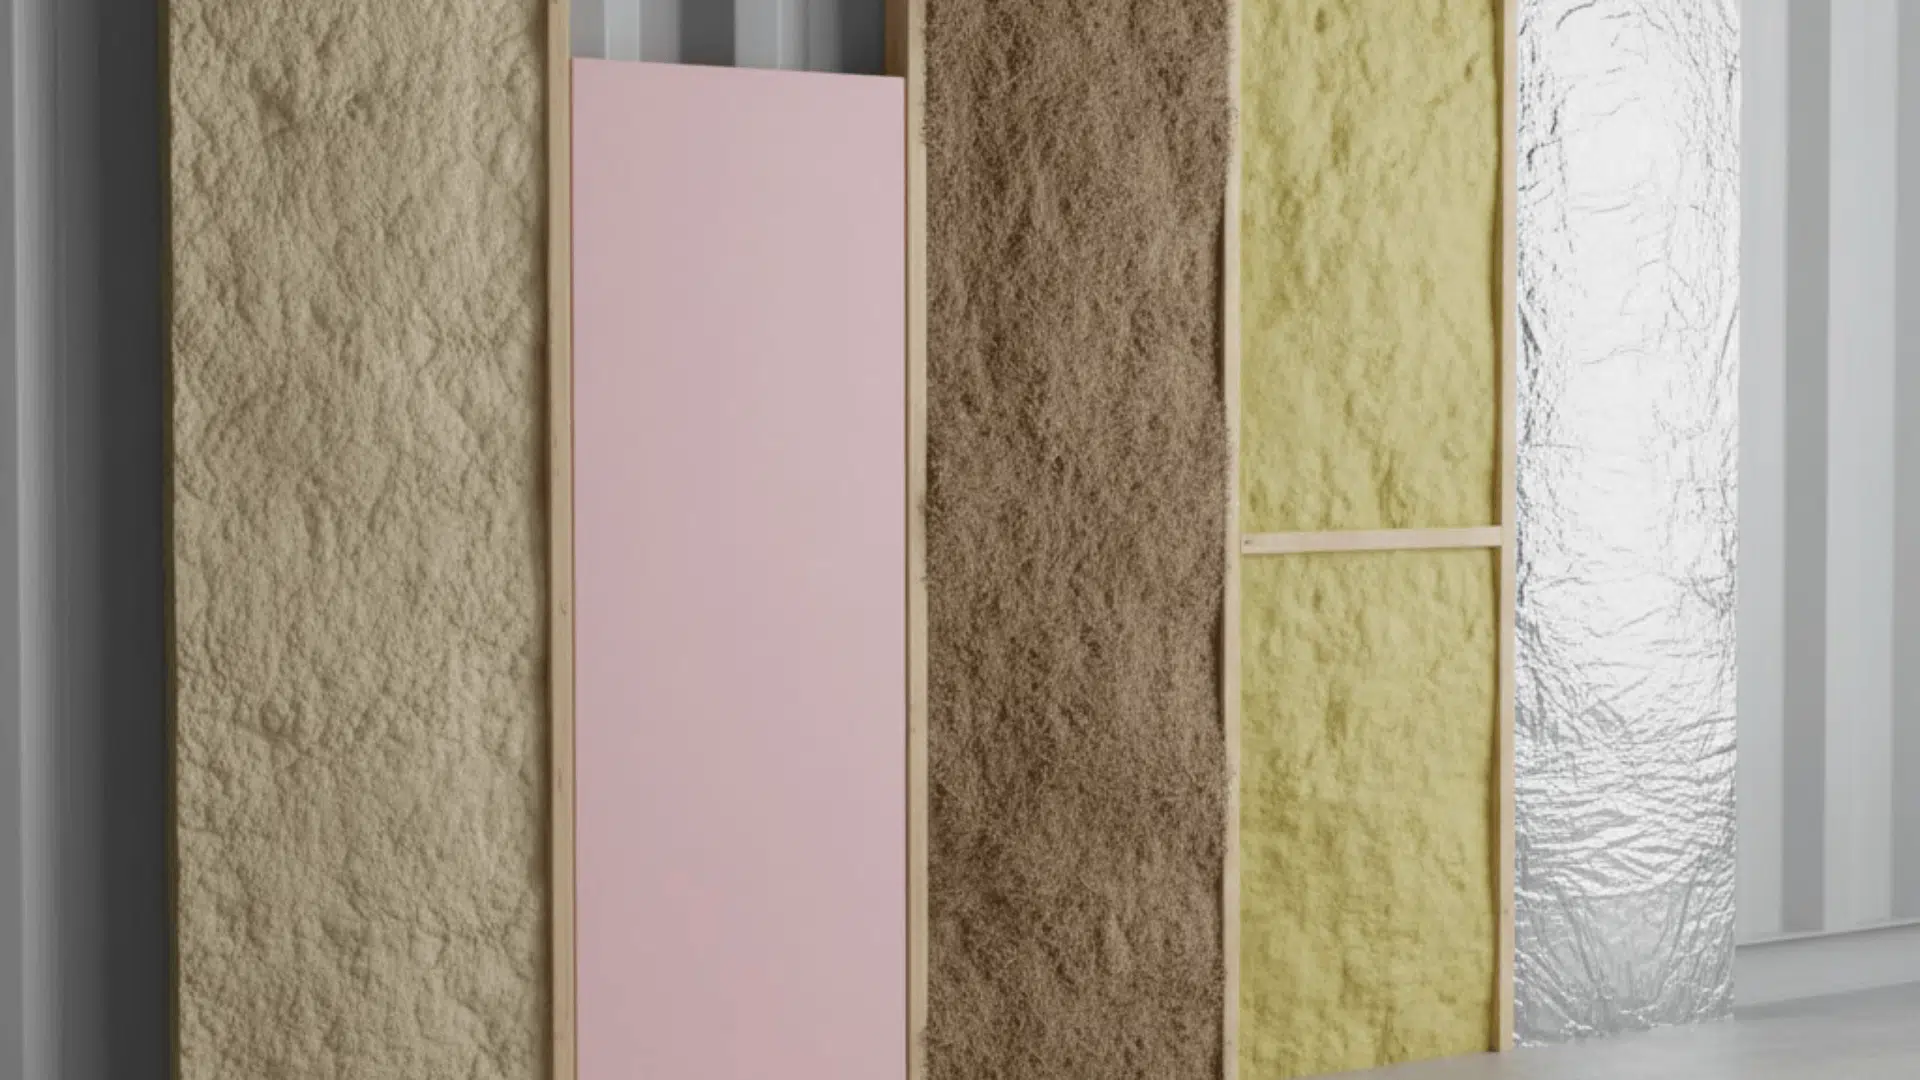
There are a bunch of ways to insulate a container, and each one behaves a little differently once it’s up on the walls.
1. Spray Foam Insulation
Spray foam is the one a lot of people look at first.
Closed-cell is the version most pros use in containers. It has a higher R-value, handles moisture better, and sticks right to the steel. Open-cell is softer and cheaper but doesn’t control moisture well, so it’s not ideal for containers.
Closed-cell creates a tight seal. Moisture can’t really sneak behind it. That means less sweating on the walls and fewer cold spots. The downside is the cost. It’s one of the most expensive options, and DIY kits get pricey fast.
Safety is another thing. DIY spray foam can go wrong. Fumes, bad mixing, uneven curing, clumps, overspray everywhere. If you’re not used to working with it, it’s easy to waste money or end up with a surface that needs to be shaved down and redone.
Most people should avoid DIY spray foam unless they’re comfortable with the mess and the protective gear.
2. Rigid Foam Board (XPS, EPS, Polyiso)
Rigid foam is one of the best budget options. It’s light, tough, and works well on walls and floors. It’s also easy to cut. You do need a vapor barrier with it, though, because moisture can still move around the edges if things aren’t sealed properly.
For floors, it’s almost standard. Lay it down, cover with subfloor, done. For walls, you’ll usually pair it with adhesive or furring strips.
3. Mineral Wool
Mineral wool holds up well in high-heat or fire-risk situations. If the container is going to become a living space, this material makes sense. It’s also good for sound control.
You do need framing to hold it in place, so it adds a bit of work. It doesn’t stop moisture by itself, so you still need a plan for vapor control.
4. Fiberglass Batts
Fiberglass is the cheapest of everything here, but it fights moisture the worst. Containers create condensation, and fiberglass soaks it up.
Over time, it can sag, get heavy, and lose effectiveness. It’s fine for dry, mild climates, but overall not a great match for steel walls.
5. Reflective Bubble Wrap (Reflectix)
Reflectix looks appealing because it’s cheap and easy. The problem is most people use it wrong. It only works when there’s an air gap on at least one side.
Without that, it doesn’t do much. It reflects heat but doesn’t insulate by itself. Beginners often slap it directly onto steel and expect miracles. Doesn’t work that way.
6. InSoFast Insulation Panels
These panels snap into place and follow the corrugation of the container walls. That’s the main appeal. It’s tidy, fast, and removes a lot of the small-gap guesswork.
The cost is higher than basic foam board, but the install is easier for DIY builds. You also save interior space because the panels are slim and designed for tight fits.
7. SIP Panels
SIP panels are usually used on the outside of the container. They have a high R-value and add strength. This keeps all your interior space and gives excellent insulation at the same time.
The downside is the price. It’s one of the most expensive methods, and the panels are heavy. Not a beginner-friendly option, but one of the best long-term solutions if budget allows.
What Each Insulation Type Costs

| Insulation Type | Approx. Cost (USA) | Notes |
|---|---|---|
| Spray Foam (Closed-Cell) | $2 – $3.30 per sq ft | Best moisture control and vapor barrier; pro installation. |
| Spray Foam (Open-Cell) | $1.50 – $2.60 per sq ft | Lower cost but not recommended for containers due to moisture risk. |
| Rigid Foam Board | $0.50 – $2 per sq ft (material) | Good value for floors and walls; needs vapor barrier. |
| Mineral Wool | $0.64 – $2.19 per sq ft (material) | Fire-safe, useful for habitable units; needs framing. |
| Fiberglass Batts | $0.64 – $2.19 per sq ft (material) | Cheapest material choice but absorbs moisture. |
| Reflective Bubble Wrap | $0.20 – $0.50 per sq ft (material) | Cheap but only effective with air gap. |
| InSoFast Panels | $1,720 – $5,835 per full container kit | Ready-made panel + inserts kits for entire container. |
| SIP Panels (Structural Insulated Panels) | $4 – $6 per sq ft | Premium external option with high R-value. |
A few things worth noting:
- Spray foam’s cost varies mostly by thickness and whether a pro does the install. Closed-cell is more expensive but worth it for moisture control.
- Rigid foam board and mineral wool are common DIY picks, but both still need good sealing.
- InSoFast’s kits are sold as bundles that cover a full container; the price range varies by panel type and kit size.
- SIP panels are typically a premium option and often used externally; they cost more but deliver high insulation performance.
Internal vs. External Insulation
A shipping container can be insulated from the inside or the outside, and each approach changes how the container handles space, temperature, and moisture. The difference comes down to what matters more: keeping the build simple or keeping every inch of interior room.
Internal Insulation
Internal insulation is the faster route. It’s straightforward, friendly for DIY work, and doesn’t require extra exterior structure.
The main drawback is the loss of interior space. Once the insulation and finishing go up, the walls move inward and the container feels a bit narrower.
External Insulation (“Exoskeleton Method”)
External insulation keeps the interior size almost the same. It also helps stop condensation because the steel doesn’t swing between hot and cold as quickly.
The downside is the extra work. It needs proper cladding to handle rain and sun. Even though it’s more involved, it solves moisture issues better than most internal setups and doesn’t get much attention online, which makes it a strong angle to cover thoroughly.
How to Prepare a Shipping Container for Insulation
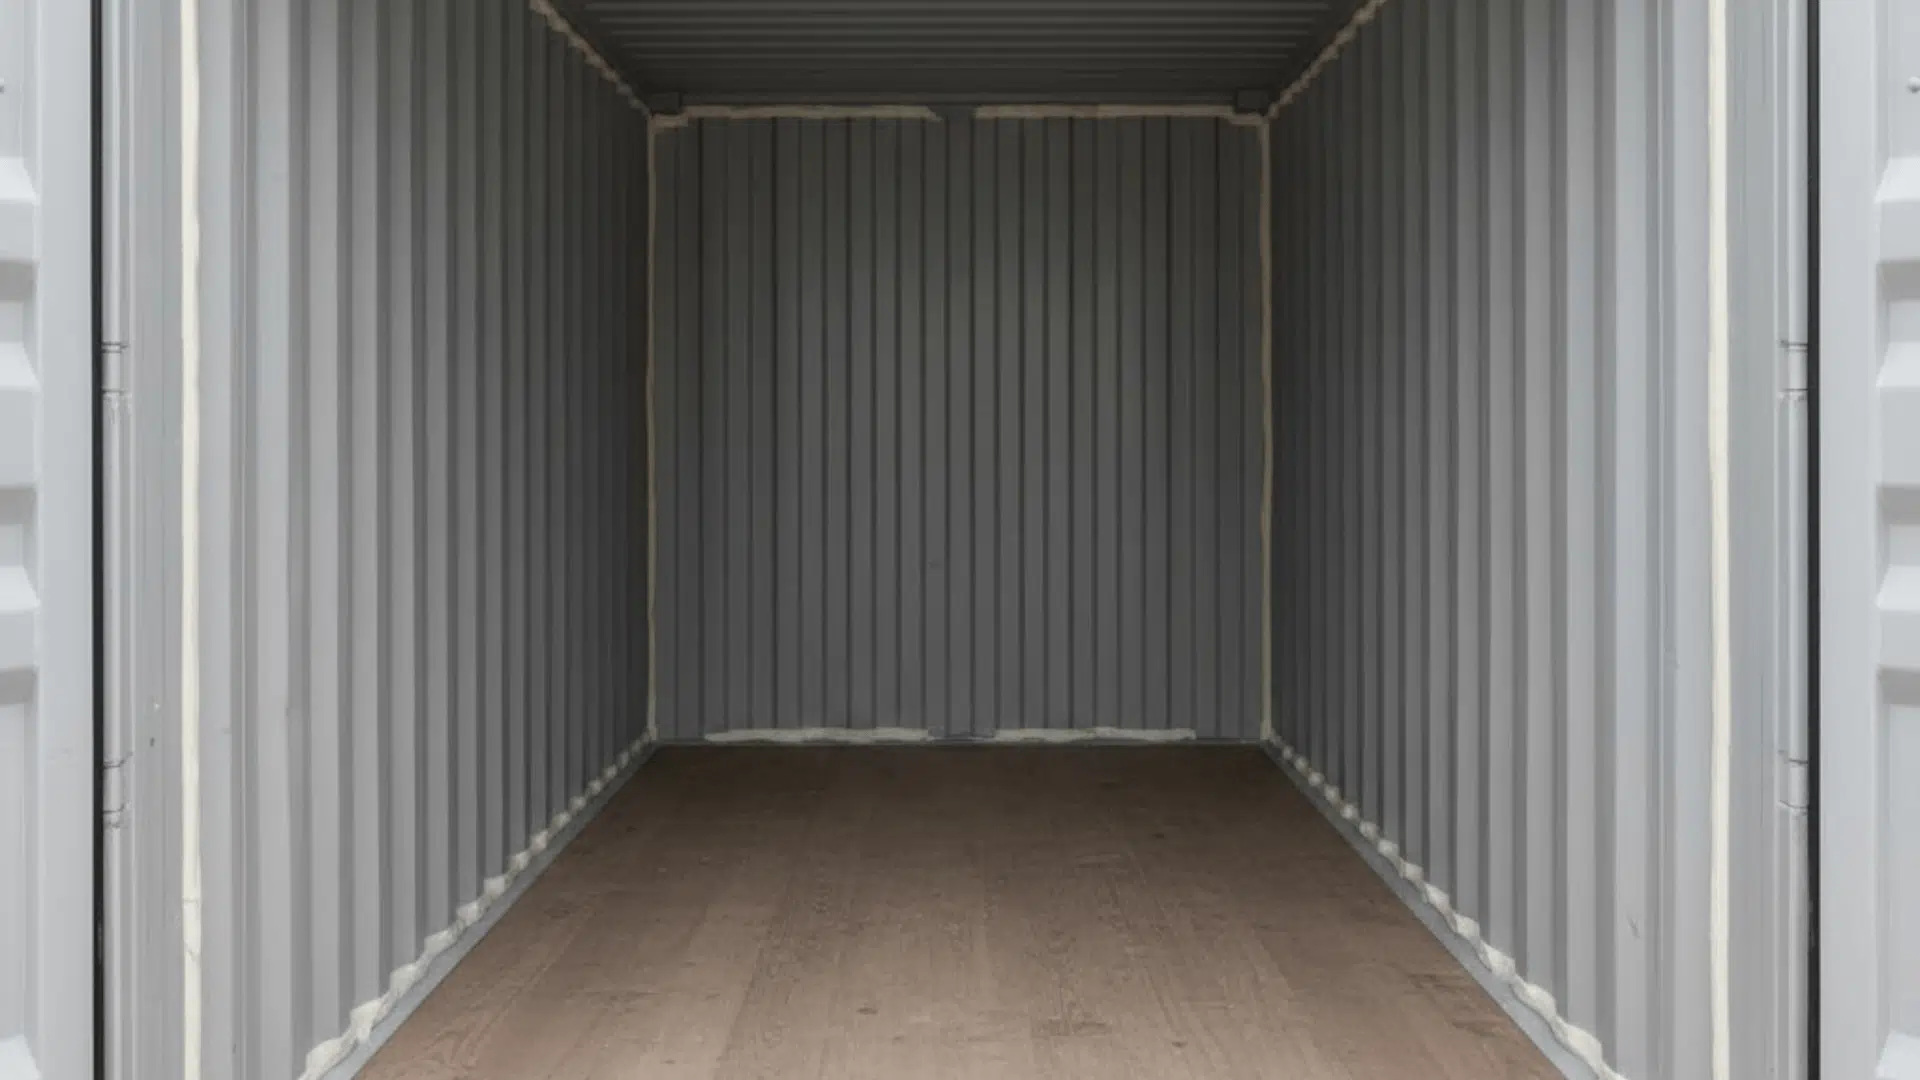
A container needs a bit of prep before insulation goes in. These steps help the materials stick better, control moisture, and keep the interior stable once everything is finished.
1. Cleaning & Rust Removal
- Wipe down the inside to remove dust and grime.
- Brush off any rust and treat the spots so they don’t spread later.
- Add a protective coating if needed to keep the steel from breaking down under the insulation.
2. Sealing Gaps & Cracks
- Look for small openings around doors, seams, or old bolt holes.
- Seal everything with a durable exterior sealant to stop drafts and moisture.
- Fill even the tiny gaps so condensation can’t build up behind the insulation.
3. Adding Furring Strips or Framework (if needed)
- Install strips or a light frame if the insulation needs a backing.
- Use the space between the strips for wiring or small utilities.
- Keep the layout simple so the insulation and wall panels sit clean and flat.
Step-by-Step Installation: Walls, Ceiling, and Floors
Once the container is prepped, the insulation can go in. Each surface has its own quirks, so the goal is to keep everything tight and sealed. That’s what stops air movement and keeps moisture from building up behind the materials.
1. Wall Insulation Process
Walls usually go first. It’s straightforward, but the fit matters. The panels or boards should sit snug against the steel or the furring strips, depending on the setup. Any gaps here make the insulation less effective.
After everything is in place, the seams get sealed so air can’t sneak behind the panels. Once that’s done, the interior finish can go on.
2. Ceiling Insulation Process
Warm air collects at the top, so the ceiling needs a clean, consistent fit. The ribs can make the surface uneven, and the insulation has to account for that. Panels either tuck between the ribs or stretch across them.
The seams need to stay tight because even small gaps show up fast in the ceiling. When the insulation is set, the ceiling finish sits flush over it.
3. Floor Insulation Process
The floor is all about stability. Most people use 3″ rigid foam because it holds up well and delivers strong thermal protection.
The foam goes down first, and everything has to stay level so the subfloor doesn’t shift or squeak later. The subfloor gets installed on top, usually as plywood panels secured into place.
Once you walk on it, the whole setup should feel solid.
Preventing Condensation, Sweat, and Mold
A container can build up moisture fast because the steel reacts to temperature changes right away. Keeping things dry comes down to blocking moisture, controlling airflow, and matching your setup to the climate.
- Vapor barriers: Stop warm, humid air from hitting cold steel. A sealed barrier keeps condensation from forming behind the insulation and helps the walls stay dry.
- Ventilation options: Moving air out of the container keeps humidity from building up. Passive vents work for simple setups, while small fans or mechanical systems help if you plan to spend time inside.
- Climate-specific tips: Humid areas need stronger moisture control and steady airflow. Cold climates benefit from tight insulation and a good vapor barrier. Dry regions are easier overall, but big swings in temperature can still create small pockets of condensation.
Keeping moisture under control is what protects the container long-term. Once the air stays balanced and the steel stays dry, the insulation does its job the way it should.
How Much Does It Cost to Insulate a Shipping Container?
Insulation costs change based on the size of the container and the materials you choose. Below are real price ranges you can expect for different methods and container lengths so you can plan a budget that fits your needs.
20-Foot Container Costs
A 20-foot container is the smaller, easier option to outfit. Here are typical ranges:
- Spray foam (closed-cell): About $3,000 – $5,500 for pro installation, depending on thickness and coverage.
- Rigid foam board: Roughly $1,200 – $2,500 including materials and basic labor if you’re hiring help.
- Mineral wool: Around $1,500 – $2,800 with framing and sealing work.
- Fiberglass batts: Often $800 – $1,800 with materials and installation.
- Reflective bubble wrap: Under $500 for materials alone, but needs proper air gaps to work.
- InSoFast insulation panels: About $1,720 – $3,200 for complete kits designed for a 20-ft container.
- SIP panels (external): Around $3,000 – $4,200 depending on cladding and install.
40-Foot Container Costs
A 40-foot container is bigger, so the prices scale up.
- Spray foam (closed-cell): Around $5,000 – $9,000 with professional work.
- Rigid foam board: Roughly $2,000 – $4,000 with materials and labor factored in.
- Mineral wool: Around $2,200 – $4,000 with framing and sealing.
- Fiberglass batts: Typically $1,200 – $2,500 with materials and install.
- Reflective bubble wrap: Usually under $800 for materials only, again only effective with an air gap.
- InSoFast insulation panels: About $3,500 – $5,800 for full-container kits.
- SIP panels (external): Around $5,000 – $7,000 depending on complexity.
Cheapest Possible Option
If your priority is saving money and you don’t need heavy thermal control, the lowest-cost paths tend to be:
- Reflective bubble wrap: Cheapest material cost, often under $500 for a full 20-ft container.
- Fiberglass batts: Under $2,000 including labor for a 20-ft setup if moisture isn’t a big concern.
- Rigid foam board (DIY): Around $1,000 – $2,000 in materials for a 20-ft container if you install it yourself.
These budget routes won’t offer the same moisture control or R-value as spray foam or SIP panels. But for basic storage or mild climates, they can get the job done without breaking the bank.
Costs can vary a lot depending on climate, labor rates, and the R-value you target. The numbers above give you a realistic range to plan around so you can pick the right balance of performance and price.
Rodent-Proofing a Shipping Container
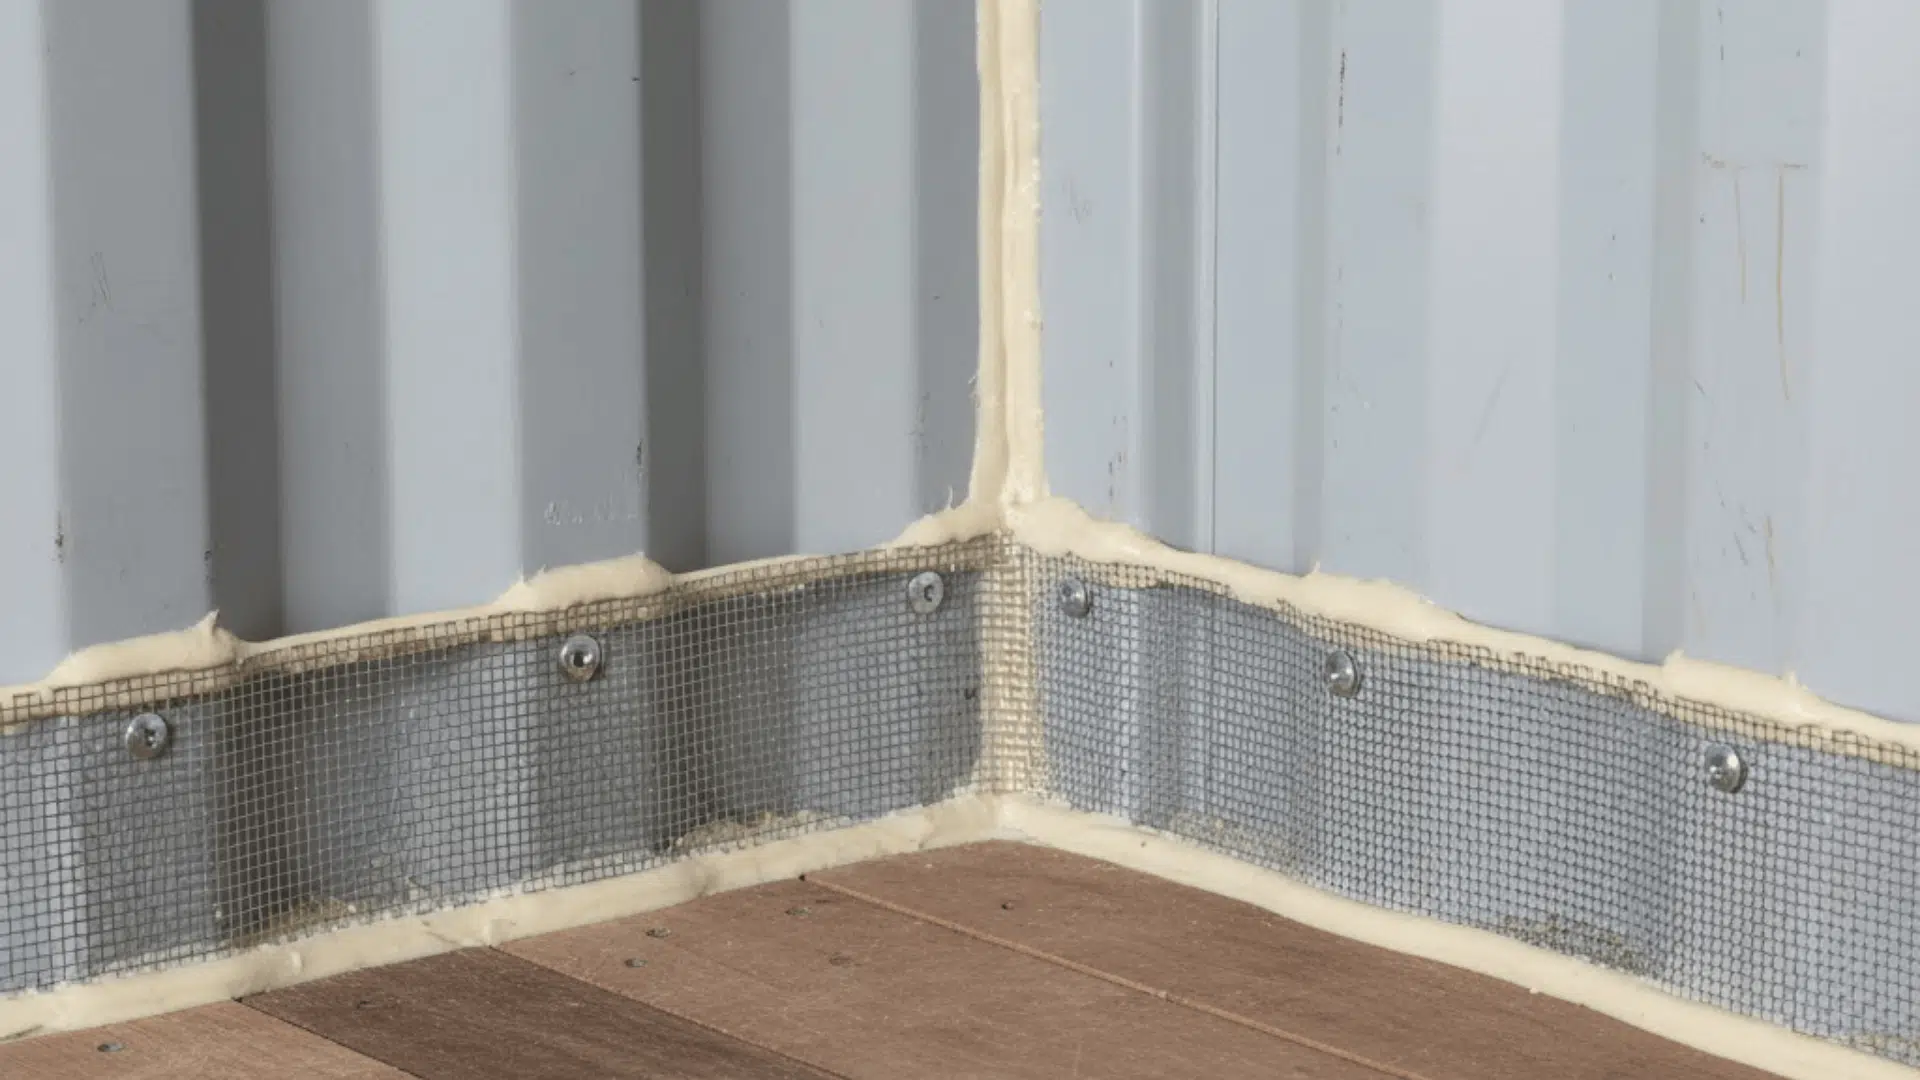
Containers look sealed from the outside, but small openings around the structure can still let rodents in.
Keeping them out comes down to spotting those weak points early and closing them off before the insulation and interior finish go in.
1. Entry Points
Rodents usually slip in through tiny openings around the doors, hinges, floor edges, and old bolt holes.
Even gaps that look too small can be enough for them to squeeze through. A quick inspection around the entire perimeter helps you spot anything they might use as an entry path.
2. Sealing Solutions
Once the openings are identified, sealing them is straightforward. Steel-safe sealants, expanding foam, or metal mesh work well for closing gaps.
Door gaskets or weatherstripping can tighten up the main entry area so nothing slips through when the doors are closed. The goal is to make every opening too tight or too reinforced for rodents to work their way in.
3. Additional Measures
If the container is in a spot where rodents are common, a few extra precautions help. Keeping vegetation trimmed around the container removes hiding spots. Elevating the container slightly reduces crawl-under access.
Storing food or waste inside attracts pests, so keeping the space clean goes a long way. These small steps make the container harder for rodents to approach and less appealing overall.
Common Mistakes to Avoid
A few mistakes show up over and over when people insulate containers, and they’re easy to avoid once you know what to look for.
- Using reflectix incorrectly: It needs an air gap to work. Directly attaching it to the steel won’t give you real insulation.
- Skipping vapor barrier: Warm air reaches cold metal without it, which creates condensation and hidden moisture issues.
- Using fiberglass without moisture control: Fiberglass absorbs moisture and sags if the container sweats, making it a poor fit unless everything is sealed tightly.
- DIY spray foam accidents: Bad mixing, uneven coverage, and overspray can ruin surfaces and waste material if you’re not experienced.
- Ignoring floor insulation: The floor loses heat quickly. Skipping it makes the container feel cold even if the walls and ceiling are insulated well.
Keeping these in mind makes the whole build smoother and helps the insulation actually perform the way it’s supposed to.
Wrapping Up
Insulating a container comes down to making smart choices about space, moisture, and long-term durability.
The right setup depends on how the container will be used and the climate it sits in, not just the materials you pick. That’s the part most people overlook.
Good preparation and clean installation usually matter more than chasing the highest R-value. It’s the balance between airflow, sealing, and layout that determines how well the shipping container insulation performs over time.
If you plan that out early, the whole project feels easier and the results last longer. Ready to move forward? Take the next step and start building your plan today.