Renting a dumpster bin for a home cleanout involves selecting the right size based on your project scope, checking local disposal rules, and booking with a reliable provider who offers clear pricing and flexible timelines. Most companies deliver the bin to your driveway or another accessible spot, allow you to load it over several days, and then haul it away for proper disposal. Planning ahead – especially around prohibited items like paint, chemicals, or electronics – helps avoid delays or extra fees.
Introduction
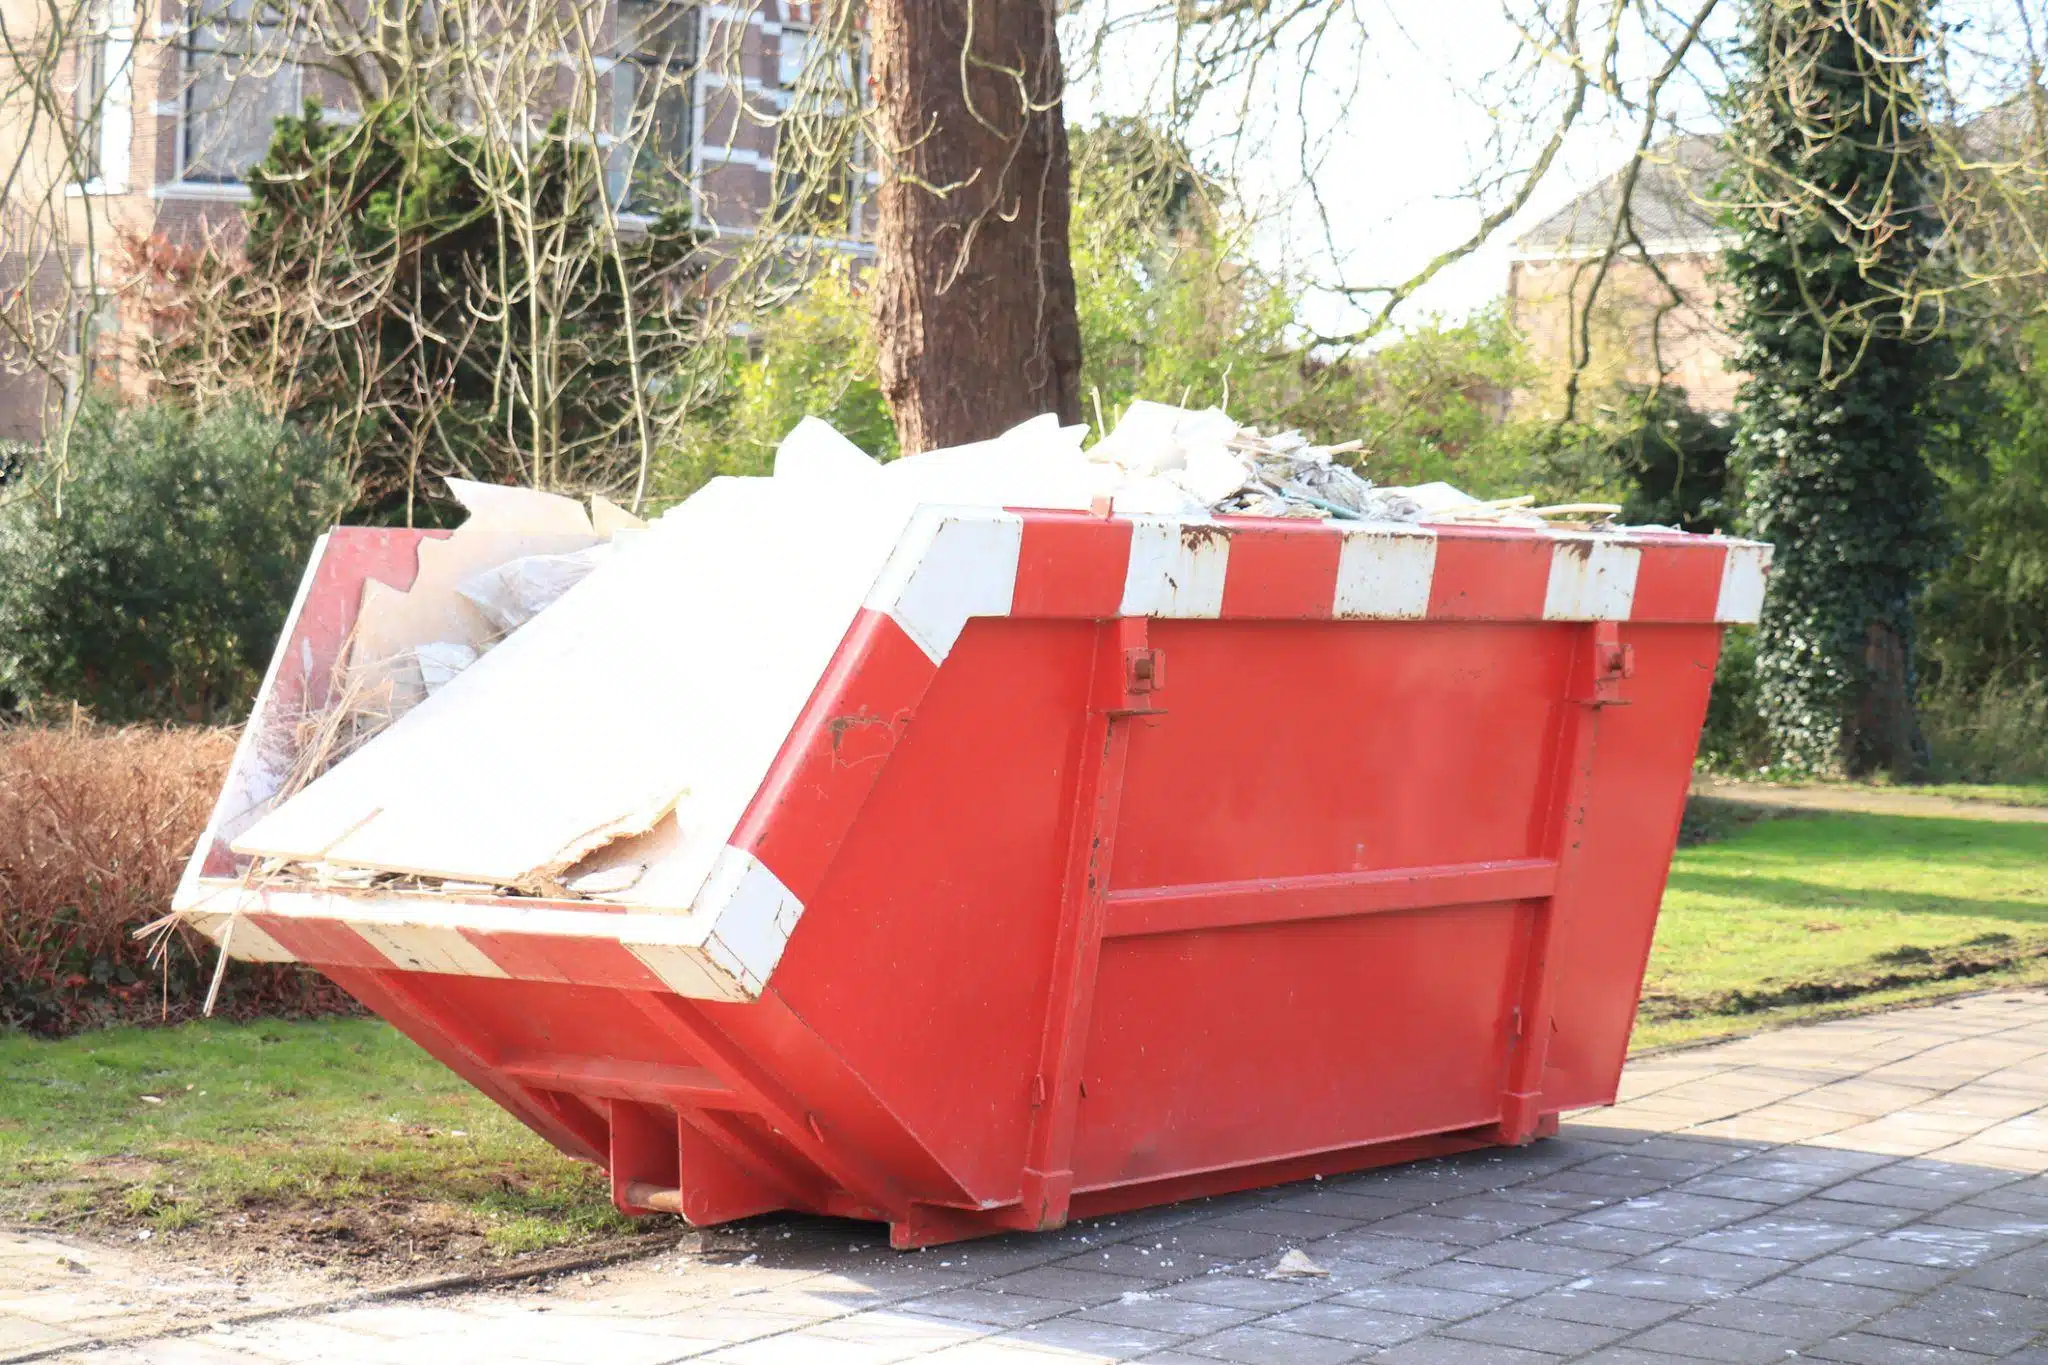
Spring cleaning turned into a full garage overhaul? Inherited a cluttered basement after a family move? Home cleanouts often start with good intentions but quickly reveal just how much stuff has accumulated over the years. Whether you’re downsizing, renovating, or simply reclaiming space, managing waste efficiently is key to keeping the project stress-free and on schedule.
For many Canadian homeowners, the simplest solution is to rent a dumpster bin from Bye Bye Junk – a single container that handles everything from broken furniture to old drywall without multiple trips to the landfill. Unlike hauling bags to the curb or scheduling repeated junk removal appointments, a rental bin gives you control over the pace and flow of your cleanup.
The right approach saves time, reduces physical strain, and ensures materials are disposed of responsibly. In the sections below, we’ll walk through how to choose the correct bin size, what you can (and can’t) toss, and how to prepare your property for smooth delivery and pickup – all while avoiding common pitfalls first-time renters encounter.
Choosing the Right Dumpster Bin for Your Home Cleanout
Selecting the appropriate bin isn’t just about size – it’s about matching the container to your project type, volume of debris, and even driveway space. A bin that’s too small means mid-project delays; one that’s too large wastes money and may not fit on your property.
Common Home Cleanout Scenarios and Recommended Bin Sizes
|
Cleanout Type |
Typical Debris Volume |
Suggested Bin Size |
|---|---|---|
|
Garage or shed cleanup |
Light to moderate |
10–14 cubic yards |
|
Full basement or attic clear-out |
Moderate to heavy |
14–20 cubic yards |
|
Post-renovation debris removal |
Heavy, bulky materials |
20–30 cubic yards |
|
Estate cleanout (entire home) |
Very high volume |
20–40 cubic yards |
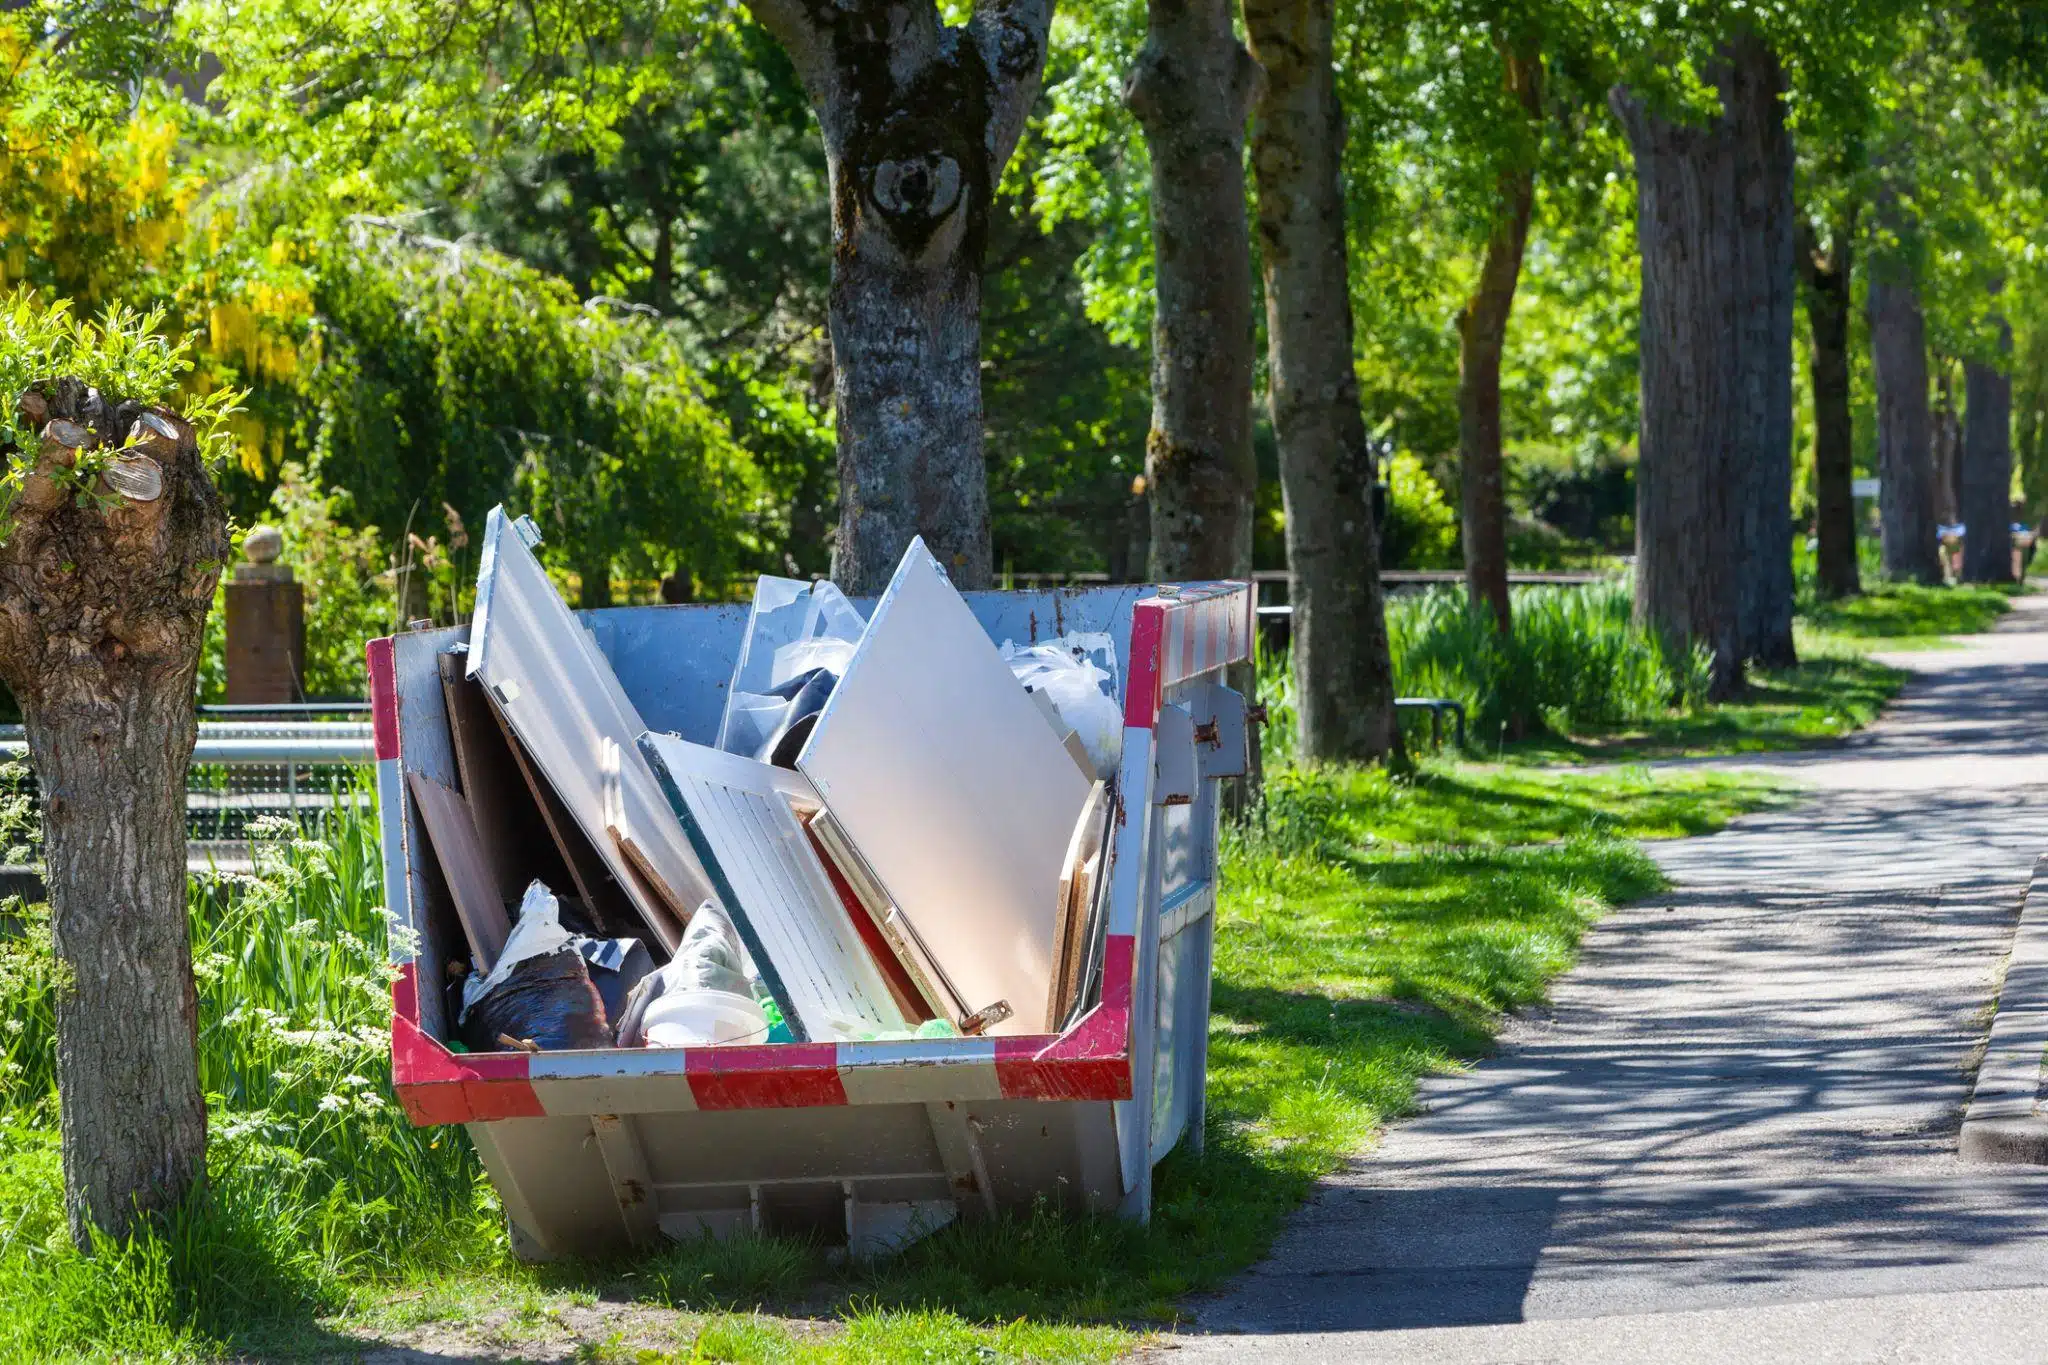
What Can (and Can’t) Go in a Rental Bin?
Most garbage bins for rent accept common household waste like:
- Broken furniture
- Old carpets and padding
- Non-hazardous construction debris (drywall, wood, tiles)
- Yard waste (in some cases)
However, nearly all providers prohibit:
- Paints, solvents, or chemicals
- Tires and batteries
- Appliances containing refrigerants (e.g., fridges, AC units)
- Electronics (TVs, computers)
- Asbestos or contaminated soil
Always confirm prohibited items before loading – disposal facilities in Canada often reject entire loads if hazardous materials are detected, which can lead to extra fees or rescheduling.
Delivery and Placement Considerations
Before your bin arrives, ensure:
- The drop-off spot is level, paved, and free of overhead wires or low-hanging branches.
- You have at least 12 feet of width and 20 feet of length for safe placement.
- Local bylaws don’t require permits for street placement (common in urban areas).
If you’re unsure about access or space, take photos of your driveway or intended spot and share them with the rental provider during booking. Many expert companies like Bye Bye Junk offer virtual site checks to avoid delivery issues.
What to Do After Choosing Your Bin: Smart Tips for a Smooth Cleanout
Once you’ve locked in your bin size and delivery date, the real work begins. But with a little strategy, you can turn a chaotic cleanout into an efficient, even satisfying process. These tips help you stay organized, safe, and cost-effective from day one to final pickup.
Plan Your Load Order
Start by sorting items into categories before the bin arrives:
- Donate/sell (clothes, books, working electronics)
- Recycle (paper, metal, certain plastics)
- Trash/debris (broken items, non-recyclable waste)
Only the last group goes into the bin. This reduces volume, keeps disposal costs down, and aligns with Canadian waste diversion goals.
Maximize Space Without Overloading
- Break down large items (e.g., dismantle furniture, flatten boxes).
- Place heavier debris at the bottom (mattresses, wood, concrete) and lighter items on top.
- Never fill above the bin’s rim – overfilled containers often violate transport regulations and may not be hauled away on schedule.
Timeline Matters
Most standard rentals include 3–7 days of use. If you need more time, confirm extension policies upfront – some providers charge daily fees after day seven. For large projects like estate cleanouts, consider staging your work:
- Days 1–2: Clear out easy-to-reach areas (closets, shelves)
- Days 3–4: Tackle bulky or heavy zones (basement, garage)
- Day 5: Final sweep and bin inspection
Explore Complementary Options
If your cleanout includes mixed waste streams, look into bins for rental that specialize in specific materials – like green waste bins for yard trimmings or clean wood-only containers for renovation scraps. Some municipalities also offer free drop-off days for electronics or hazardous waste, which can reduce what you put in your main bin.
And remember: waste bin rentals aren’t just for big jobs. Even a small 10-yard bin can eliminate weeks of bagged curbside garbage, especially during seasonal decluttering or post-holiday cleanup.
Final Thoughts: Making Your Cleanout Count
Renting a bin for a home cleanout isn’t just about getting rid of stuff – it’s about reclaiming space, reducing stress, and starting fresh. Done right, it can be one of the most satisfying parts of moving, renovating, or simply simplifying your life. The key is preparation: knowing what you’re throwing away, choosing the right container, and respecting local disposal rules.
Keep in mind that not all waste is created equal. While a rent dumpster bin service handles the heavy lifting, your role in sorting, loading responsibly, and timing the project makes all the difference. And if you’re ever unsure whether something belongs in the bin, it’s better to pause and check than risk a rejected load or unexpected fee.
For ongoing clutter challenges – or situations where a full bin feels like overkill – consider pairing your rental with other solutions like donation pickups, recycling depot runs, or community swap events. Many Canadian cities support these alternatives through municipal programs, making it easier than ever to dispose thoughtfully.