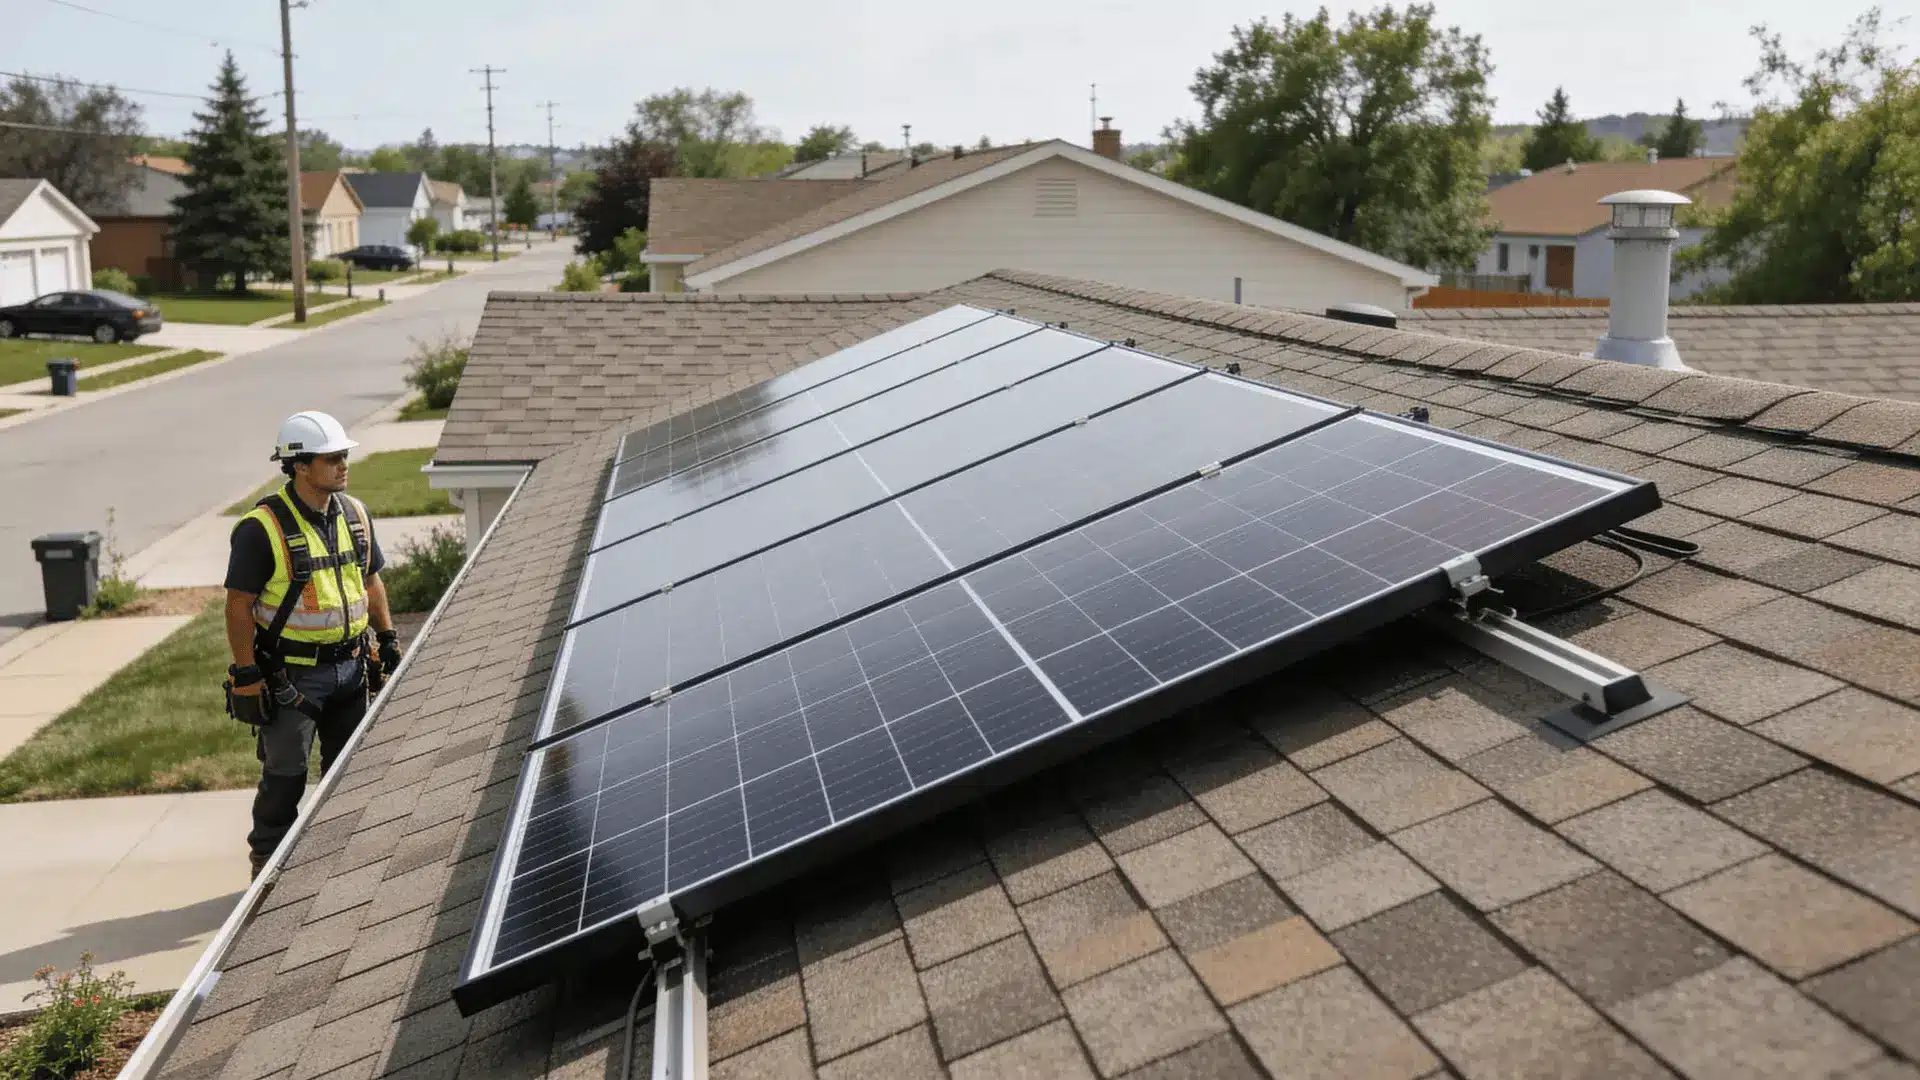
Installing solar panels can sound simple. Bolt panels down, connect some wires, turn it on, done. But that’s not how it works.
Solar installation is part structural work, part electrical system, and part code compliance process. If one part is wrong, the system may fail inspection, leak water into your roof, or create a serious safety risk.
I’ve seen people focus only on the panels and ignore the structure underneath, and that’s usually where problems begin.
In this guide, you’ll walk through the full installation process in the correct order. Not just what to do, but why each step matters and what can go wrong if it’s rushed.
Let’s start before anything touches the roof.
What Happens Before You Physically Install Solar Panels?
Before you drill a single hole, you need to know three things: how much power you need, whether your roof can support the system, and whether you’re legally allowed to connect it.
Planning decides whether your system can ever be turned on. It isn’t optional paperwork.
1. System Sizing and Load Calculation
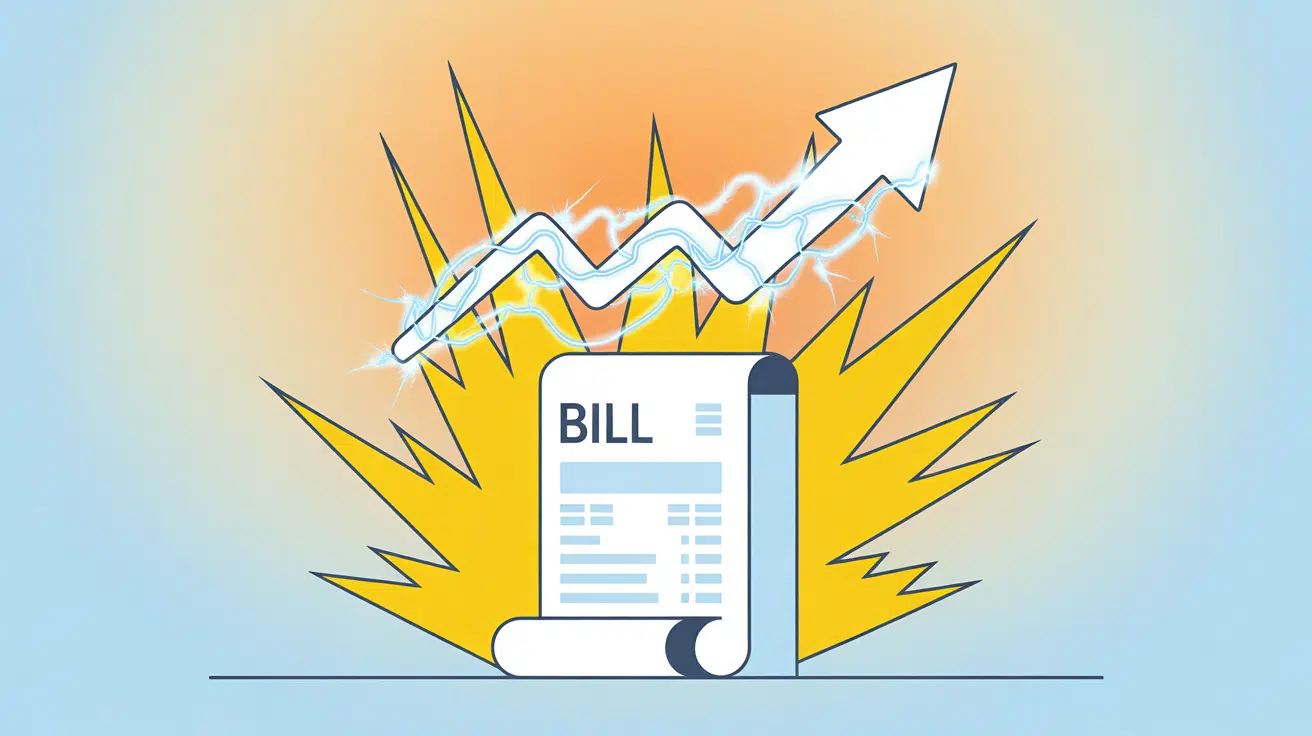
Every system begins with energy usage. Look at your past 12 months of electric bills and add up your total kilowatt-hours (kWh). Divide by 12 to get a monthly average. That number tells you how much energy your panels must produce.
From there, the chain is simple:
Energy use → Required system wattage → Number of panels
If your home uses 900 kWh per month and your location averages about 4 peak sun hours per day, you can estimate the needed system size. A 6 kW system might produce around that monthly output, depending on sun exposure.
Now convert the system size to panels.
If each panel is rated at 400 watts: 6,000 watts ÷ 400 watts per panel = 15 panels
That panel count directly affects roof space, rail length, number of roof penetrations, and electrical configuration.
This varies by home. A shaded roof or low-sun area needs more panels for the same output, which changes structural load and wiring layout.
A common mistake is assuming you can “add a few panels later.” Electrical limits and inverter sizing often prevent that.
Stop here once you know your realistic panel count. That number defines everything that follows.
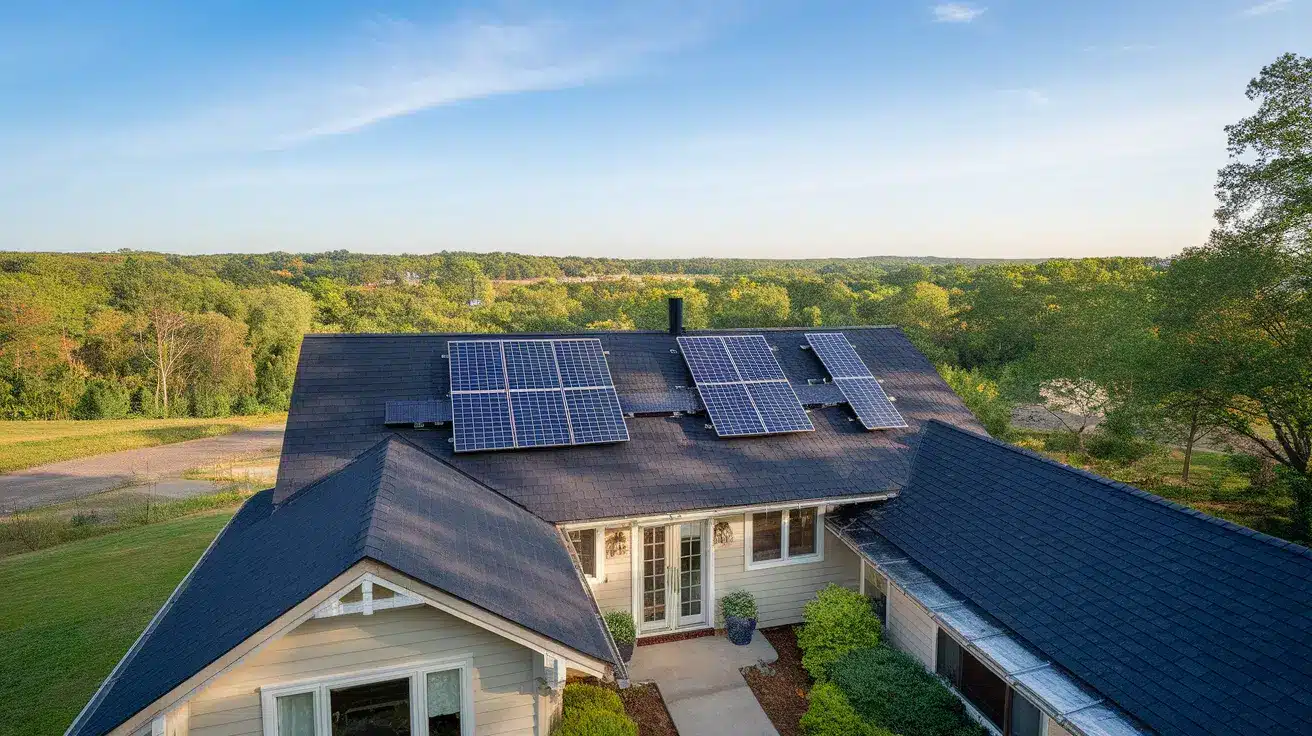
2. Structural Roof Verification
Solar panels are not light decorations. A typical panel weighs 40–50 pounds, and once you add rails and hardware, the load increases.
The weight isn’t usually the biggest risk. Wind is.
When wind lifts under panels, it creates uplift force. That force transfers through the rails into the mounting bolts and then into your rafters. If attachments miss rafters and only grab decking, they can slowly rip out.
Here’s the chain:
Wind uplift → Rail tension → Lag bolt shear → Rafter load transfer
If bolts anchor only into plywood sheathing, the plywood can split or pull free over time. You need to locate rafters accurately, confirm rafter spacing, and check roof age and condition.
A 20-year-old roof near the end of its life should be replaced before installation. Removing panels later to re-roof is expensive and disruptive.
Load distribution matters too. Panels placed too close together can concentrate stress in one area, while proper spacing spreads force more evenly across framing.
3. Permits and Utility Approval Sequence
Even if your system works technically, it cannot legally operate without approval. The sequence usually looks like this:
Design submission → Permit approval → Installation → Inspection → Utility interconnection → Permission to operate
Inspection timing matters. If you energize the system before approval, you can face fines or forced disconnection.
Inspectors typically verify rafter anchoring, wire gauge sizing, grounding connections, conduit protection, and breaker ratings.
Utilities then install or approve a net meter. Without this step, exported power can disrupt billing systems or violate grid rules.
Planning determines whether your installation can move forward safely and legally.
How is the Racking System Securely Attached to The Roof?
The racking system carries all structural loads. If it fails, the panels fail with it. Roof attachments must transfer weight and wind force into rafters, not into roofing material.
1. Locating and Anchoring Into Rafters
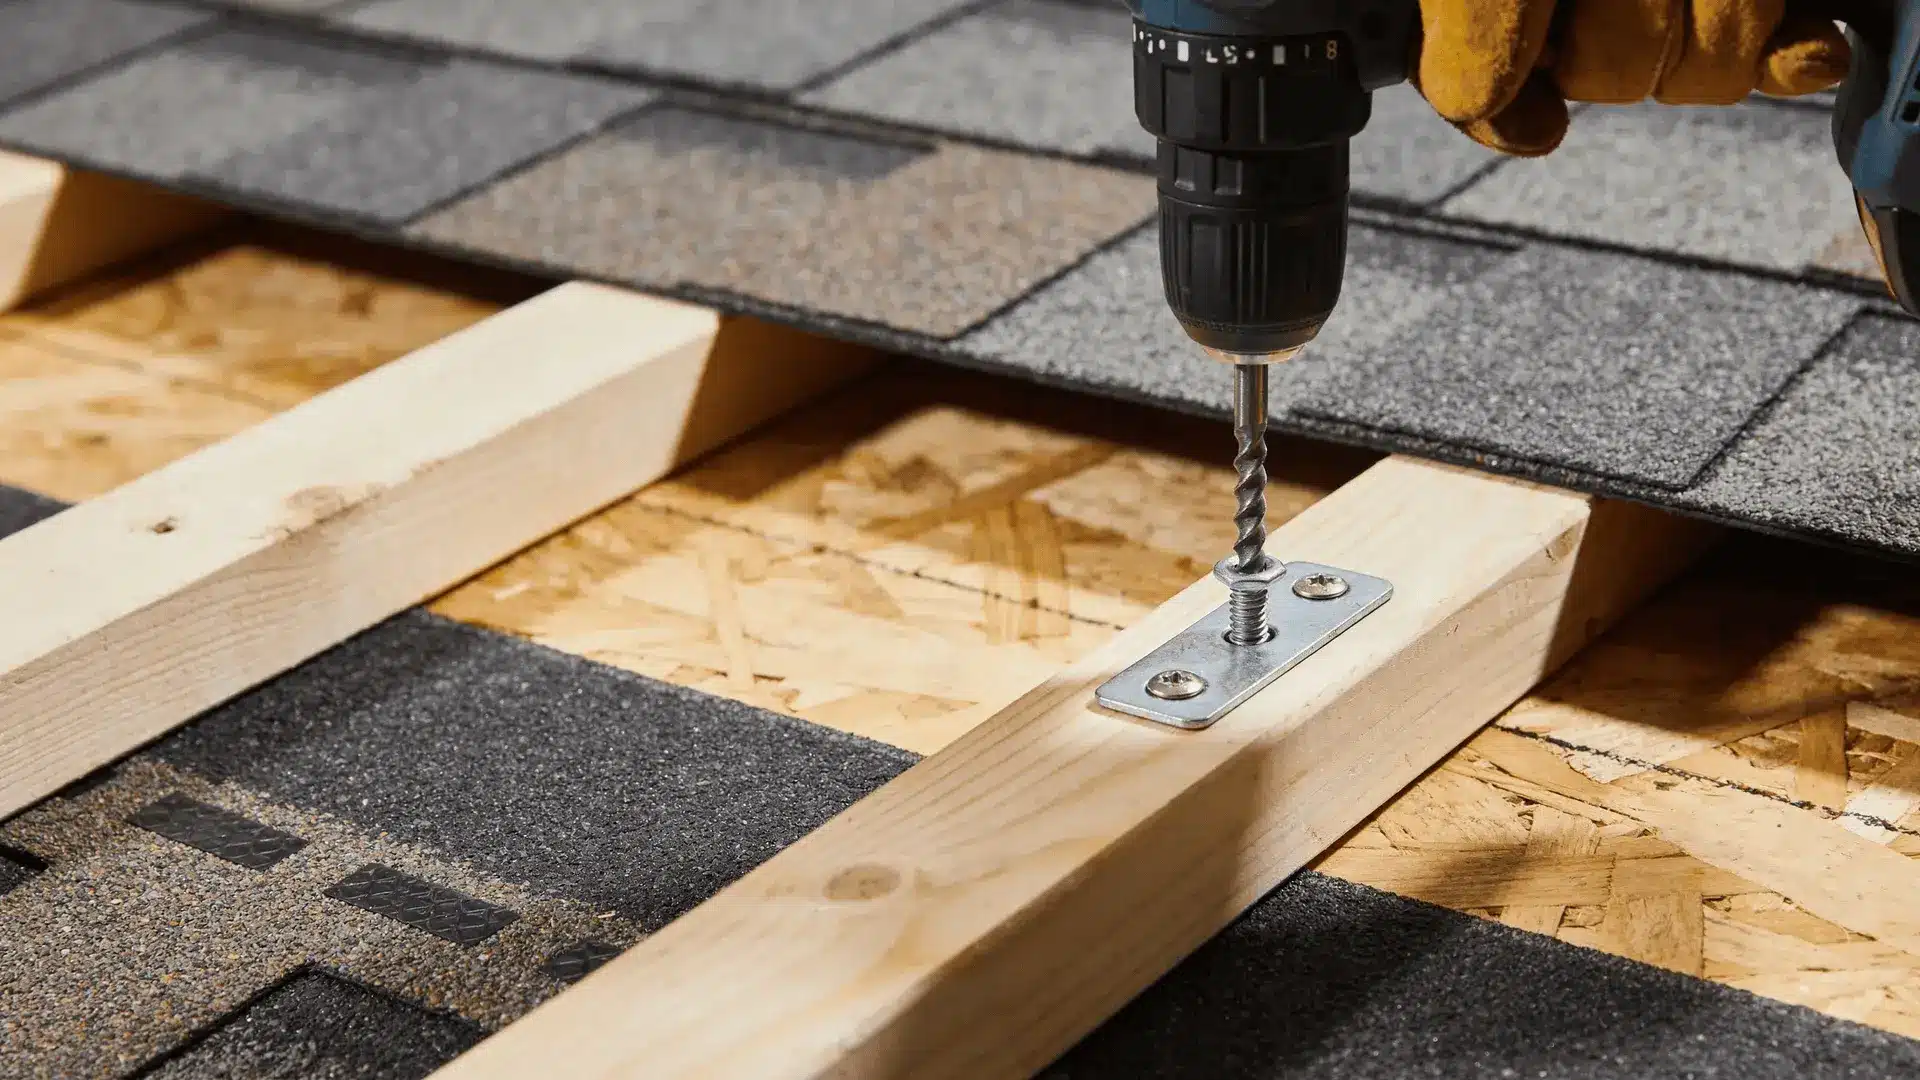
Rafters run beneath the roof deck. They are structural beams, not just reference points.
You have to find their exact location before drilling. Stud finders alone are often unreliable through roofing layers. Many installers measure from attic framing or use small pilot holes to confirm placement.
Lag bolts secure mounts into rafters. The forces involved include downward weight load, side shear from wind, and uplift from suction. All of that travels through the bolt into the wood framing.
If a lag bolt misses a rafter, the connection may seem fine at first. Over time, vibration and weather loosen it, and in strong wind it can pull free.
Contrast the two outcomes:
- Proper rafter anchoring → Force spreads into framing → Long-term stability
- Deck-only anchoring → Force concentrates in plywood → Failure risk
Every mount must align with the framing. That isn’t optional.
2. Installing Flashing to Prevent Water Intrusion
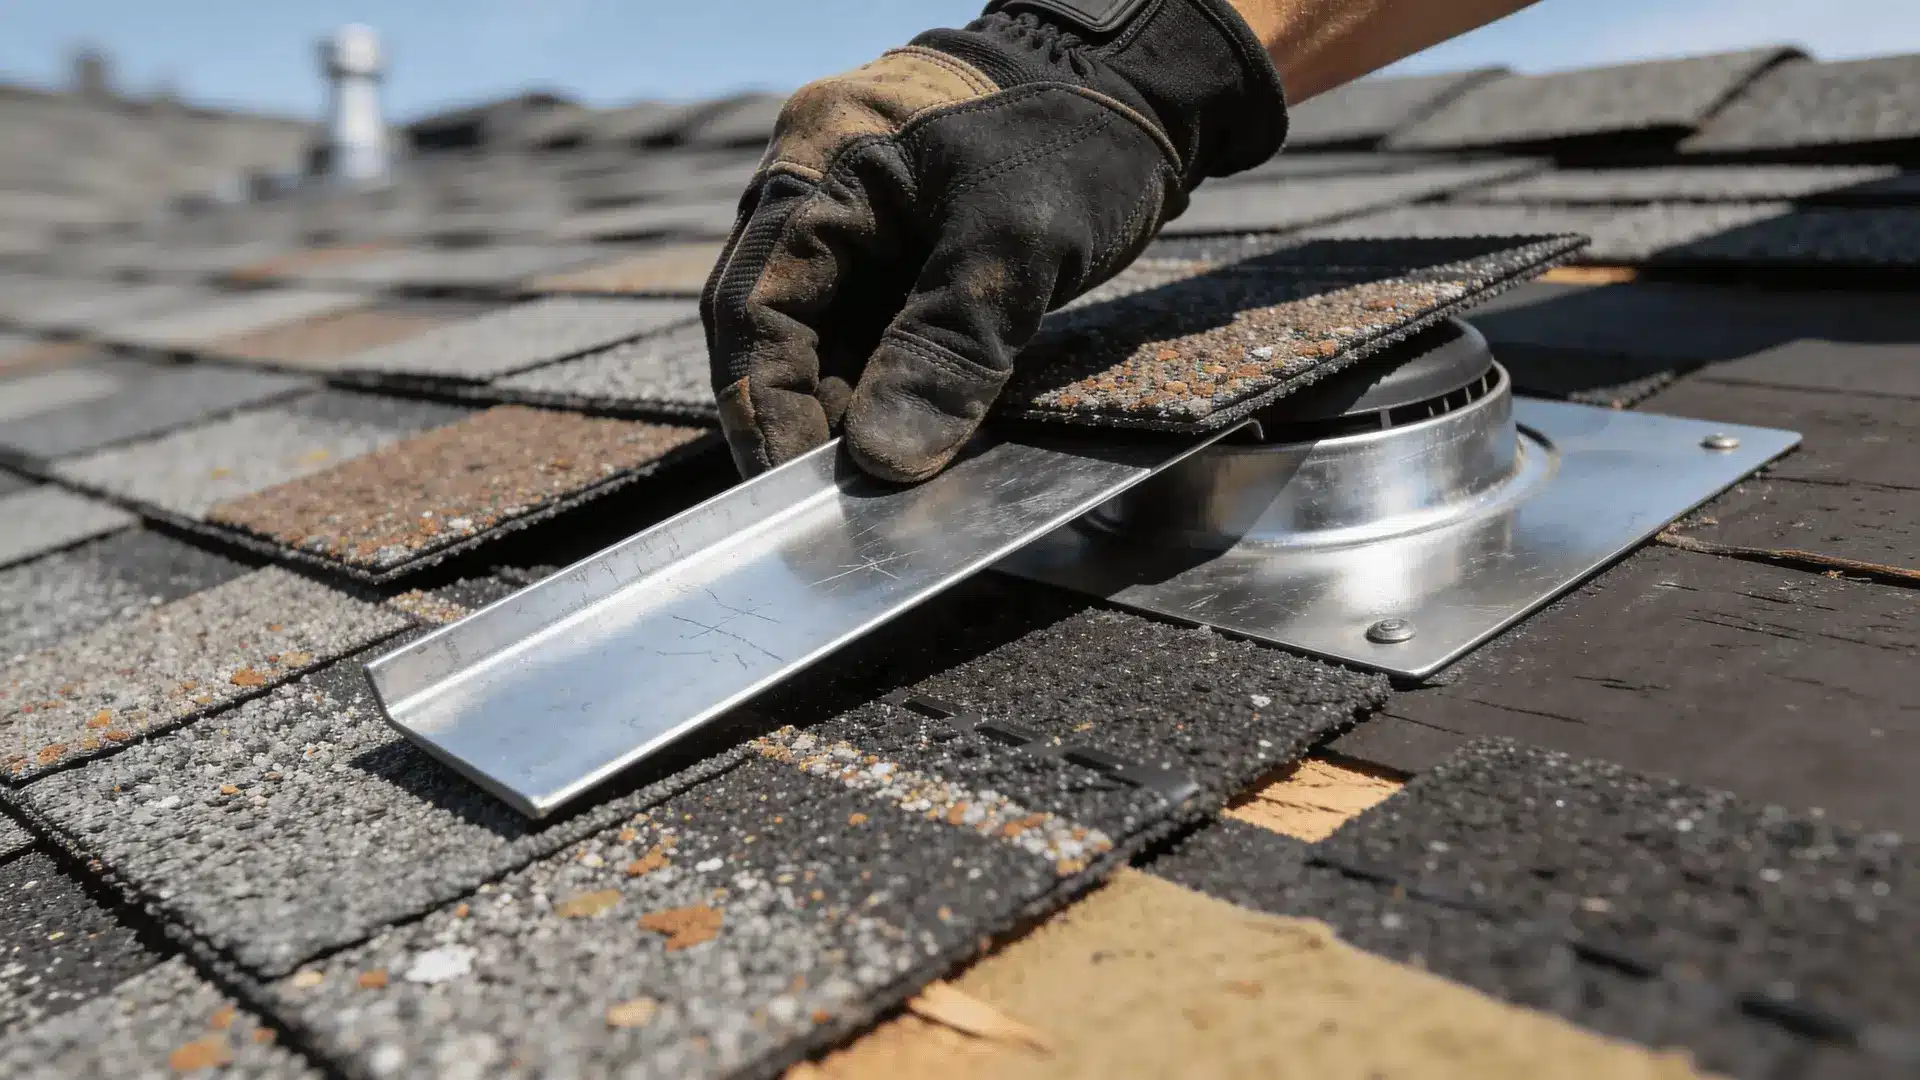
Every roof penetration creates a leak risk. Water doesn’t travel only downward. It can move sideways under shingles through capillary action and wind-driven rain.
Flashing works by layering metal under upper shingles and over lower shingles, redirecting water around the penetration instead of letting it follow the bolt.
The sequence matters:
Shingle lifted → Mount installed → Flashing placed → Sealant applied → Shingle reset
If flashing sits incorrectly, water can follow the bolt shaft into the roof deck. Small leaks may take months to appear, and by then rot has already begun.
Variability comes from roof type. Asphalt shingles differ from tile or metal roofing, and each requires a different flashing approach.
Sealant alone doesn’t prevent leaks. Flashing does the real work.
3. Mounting and Leveling Rails
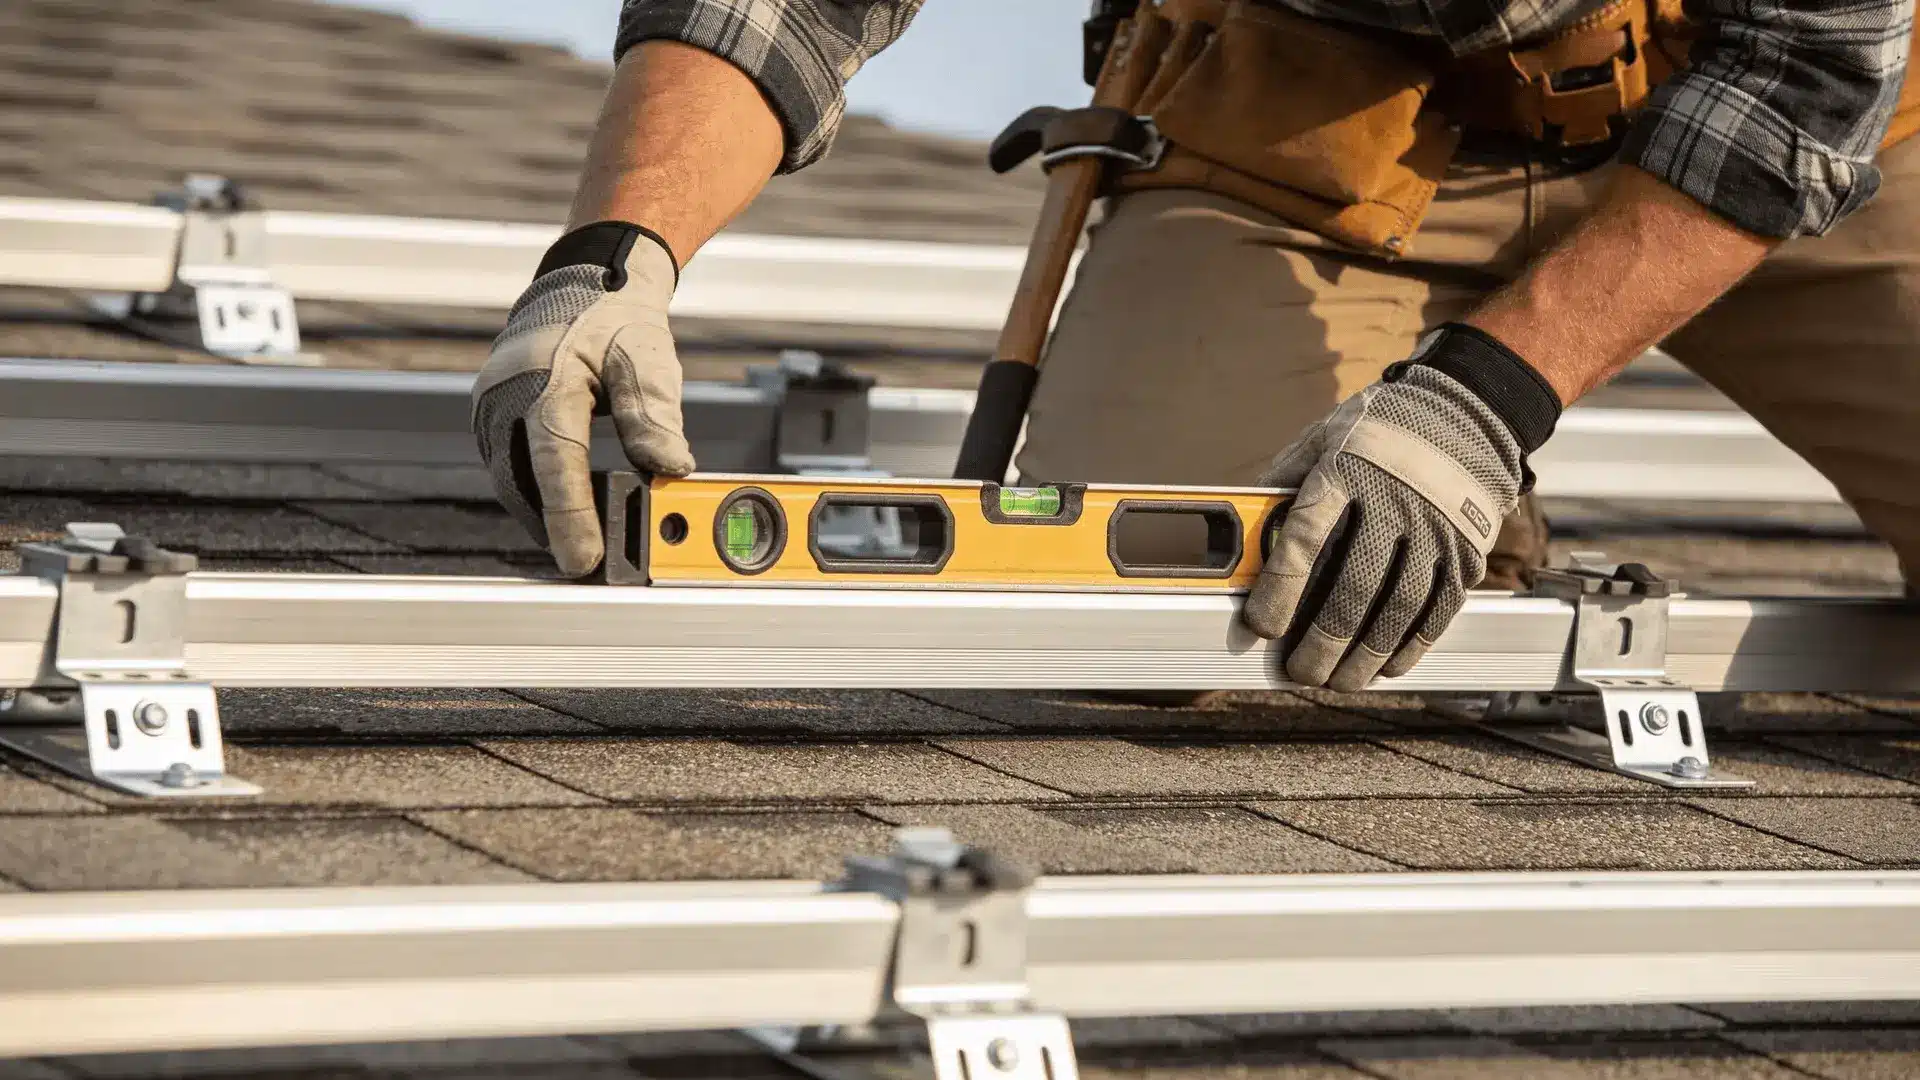
Rails connect all roof mounts into a single stable frame. If the rails are not level, the panels twist. Clamps stress frames. Over time, expansion and contraction can cause warping.
Metal expands and contracts with temperature changes. Rails must allow slight movement without bending, which is why expansion gaps are built into proper layouts.
Compare the results:
- Level, aligned rails → Even load sharing → Reduced stress
- Twisted rails → Uneven clamping → Frame fatigue
Rail alignment affects both mechanical stability and panel lifespan. Once rails are secure and level, panels can be installed.
How are Solar Panels Mounted and Secured to The Rails?
Panels attach to rails using mid-clamps between panels and end-clamps at outer edges. Clamp position matters more than most people realize.
Clamp Positioning and Pressure Distribution
Manufacturers specify clamp zones along the panel frame. These zones are tested to handle wind and snow loads safely.
Clamping outside approved zones can bend the frame or create stress that leads to cracked cells over time. The mechanism looks like this:
Wind load → Frame flex → Clamp pressure concentration
Correct placement spreads force evenly across the aluminum frame instead of focusing it in one weak area.
Panels also need a small spacing between them. That space allows for thermal expansion without panels pressing against each other.
Torque Requirements and Frame Protection
Bolts must be tightened to manufacturer torque specifications. If they’re too loose, panels can shift, develop noise in the wind, or loosen further over time. If they’re too tight, the frame can distort, and microcracks can form in the cells, reducing lifespan.
Metal hardware compresses slightly under load, so proper torque ensures secure attachment without overstress.
Assuming that tighter always equals saferis a big mistake. It doesn’t. Stop once panels are secure and evenly spaced. Do not adjust tilt or layout here beyond mounting requirements.
How are the Panels Electrically Connected and Wired?
Panels produce direct current (DC). That electricity must be configured properly before reaching the inverter. More panels do not automatically mean better results. Configuration determines whether the inverter can even operate.
Series vs. Parallel Wiring Explained
In series wiring, voltage increases while current stays the same. In parallel wiring, current increases while voltage stays the same.
Inverters have specific voltage input ranges. If series strings exceed the inverter’s maximum voltage, it can shut down or fail. If voltage is too low, the inverter may not start at all.
For example:
- Correct string voltage → Inverter operates efficiently
- Over-voltage string → Inverter damage risk
System design must match inverter specifications exactly, not approximately.
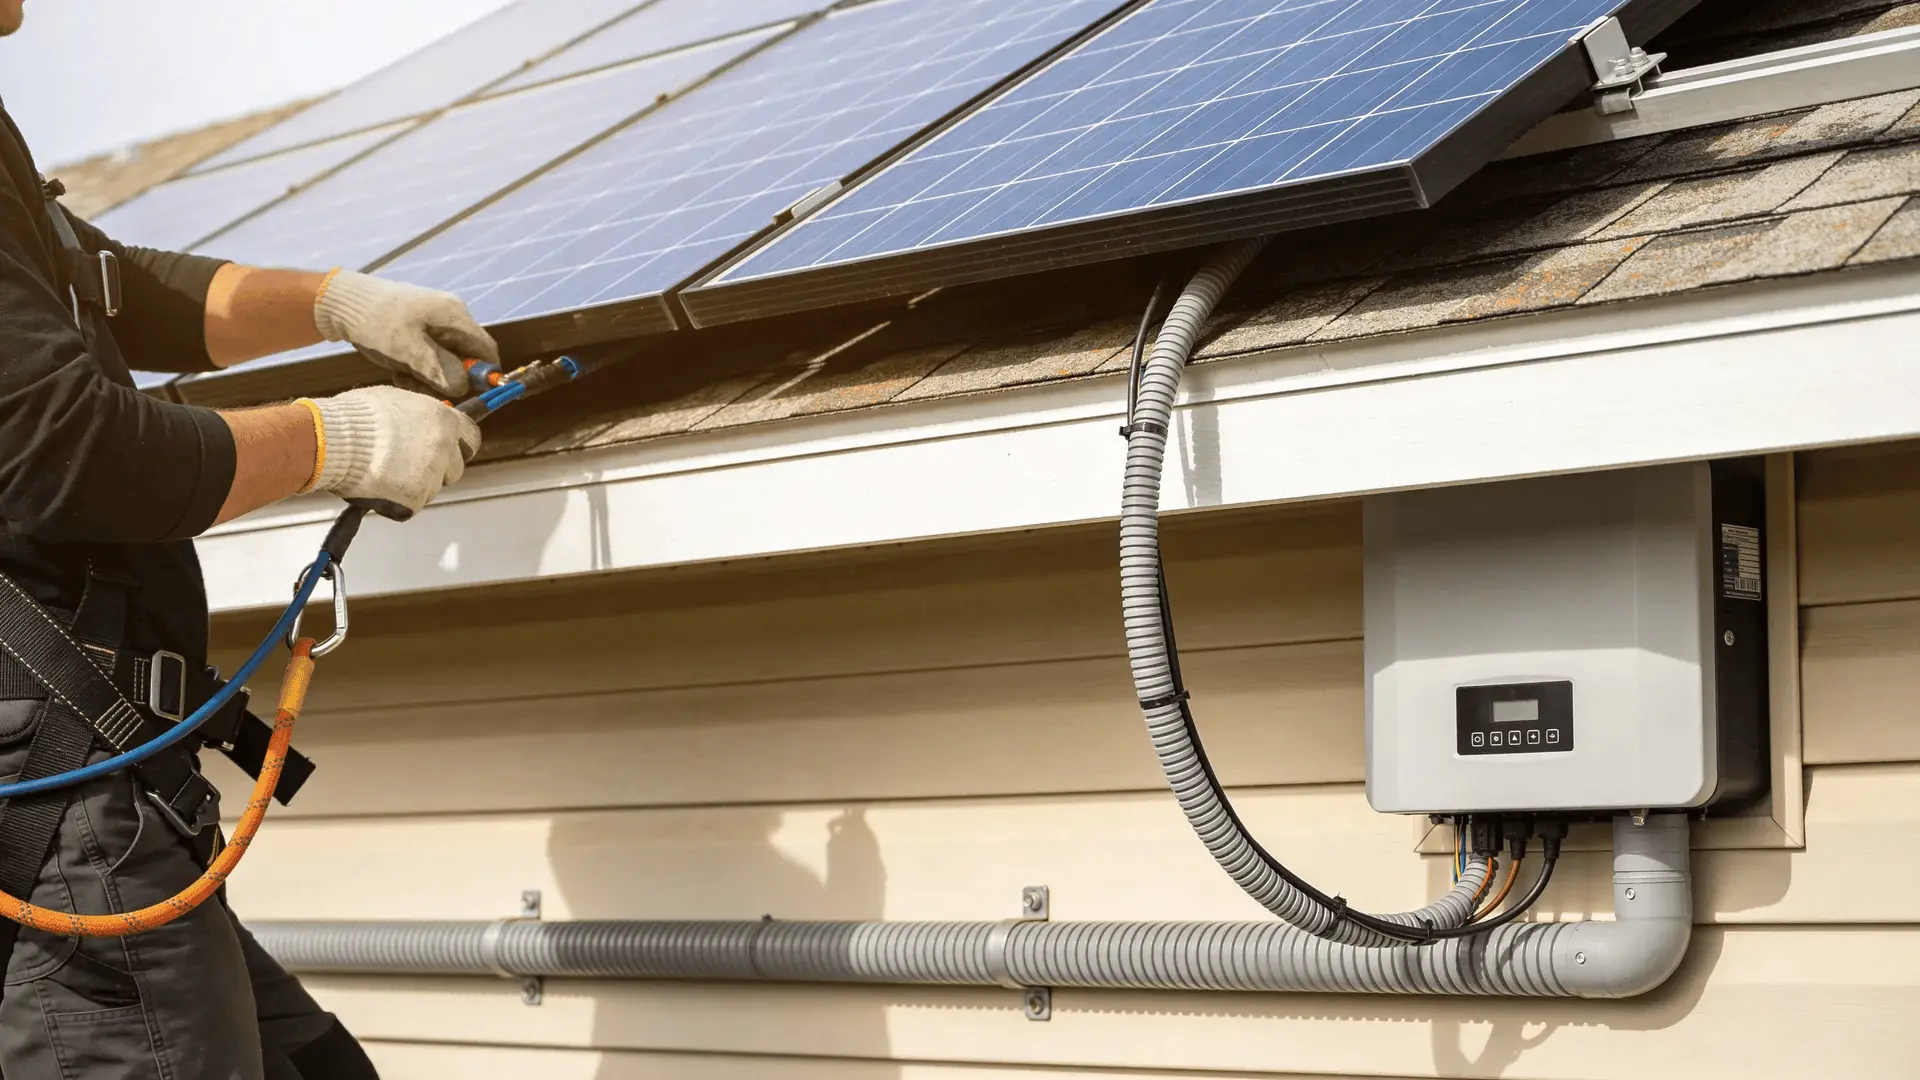
Routing Wiring Through Conduit
DC wiring runs across the roof to a junction point. Exposed wires degrade from UV radiation, water exposure, and mechanical abrasion. Over time, insulation can break down.
Conduit protects wires from sunlight and physical damage, and it keeps wiring elevated off the roof surface. Loose wires resting on the roof can trap moisture and accelerate wear.
Conduit also ensures compliance with electrical codes. Inspectors check for proper routing and secure fastening.
Installing the Inverter
The inverter converts DC electricity into usable AC power. Placement matters. It should be mounted securely in a shaded or ventilated area and remain accessible for inspection or service.
Heat affects inverter efficiency and lifespan. Poor airflow can reduce performance and shorten equipment life. The basic wiring sequence is:
Panels → DC disconnect → Inverter → AC breaker panel
Each stage must follow code requirements for breaker sizing and conductor rating.
The misconception is thinking the inverter is just a box that “makes power usable.” It also protects the grid and your home by controlling voltage and frequency within safe limits.
Stop once electrical connections are complete and remain unenergized pending inspection.
Why is Grounding Mandatory and How is it Properly Done?

Grounding protects people and property during fault conditions. If a damaged wire touches a metal panel frame, that frame can become energized.
Without grounding:
Fault current → Metal frame live → Shock risk
With grounding:
Fault current → Ground conductor → Breaker trips → Power stops
Grounding creates a low-resistance path back to the panel so protective devices activate quickly. Rails and modules must be bonded together so all metal components share the same electrical potential.
Compare the outcomes:
- Proper bonding → Rapid fault clearing
- Missing bond → Hidden energized metal parts
Grounding is not optional redundancy. It is basic life safety protection.
This does not include lightning system design or advanced surge devices. Basic code-required grounding is mandatory.
What Happens During Inspection and System Activation?
After installation, the system remains off. An inspector reviews structural attachment points, flashing placement, wire gauge, conduit protection, grounding connections, and breaker labeling.
If approved, the utility finalizes the interconnection. This may include installing or confirming a bidirectional meter.
Only after “permission to operate” can the inverter be energized.
A common misunderstanding is that if the system powers on, it is ready. That isn’t true. Legal activation requires approval. Once that’s approved:
System energized → Inverter syncs to grid → Power production begins
No monitoring tools or performance apps are required at this stage. Activation completes the installation process.
Wrapping Up
Installing a solar system is not just about attaching panels to a roof. It’s a chain of structural, electrical, and legal steps that must work together. When you understand how loads transfer, how voltage behaves, and how inspections protect safety, the process becomes clearer.
If you now see how to install solar panels as a system rather than a single task, you’re thinking about it the right way.
Take your time with planning, follow structural and electrical rules carefully, and move step by step. That steady approach turns a complex installation into a safe, working system.
Frequently Asked Questions
Can you legally install your own solar panels?
In many areas, yes, but you must still obtain permits, pass inspections, and meet electrical codes. Some jurisdictions restrict homeowner electrical tie-ins to licensed professionals.
Can I install a solar panel system myself?
Mechanically, many homeowners can mount panels. Electrical interconnection often requires training and strict code compliance to pass inspection and operate legally.
What is the 120 rule for solar panels?
The 120% rule limits how much solar breaker capacity can be added to a panel busbar. It ensures the panel is not overloaded beyond safe ratings.
How do you connect solar panels to house electricity?
Panels connect to an inverter, which converts DC to AC. The inverter output ties into a dedicated breaker in your main electrical panel after inspection approval.